BathSelect romantic environment large widespread LED Brushed Gold Shower-head with hand shower & body jet spray comes in a high-pressure bathroom head shower. It comes in brushed gold finished. It has a LED bronze shower. The Shower can be used for hot & cold water. This shower set has been made with premium grade lightweight. Water flow capacity is around 10-60 L/min. The valve core material is a high quality of ceramic. It is ceiling wall shower head. Functions overview are Intelligence constant temperature, brass, large flow temperature water mixing, side spray, free switching spray, corrosion resistant. The BathSelect Romantic Environment LED Shower Head With Stress-Free Body Jet & Hand Held Shower can experience the true feeling of rain, as well as SPA body massage spray, relieving fatigue and stress. It is your best choice, a choice to enjoy life. This is a touch screen digital temperature control valve LED shower set.
BathSelect Large Light Oil Rubbed Bronze Shower-head Specifications:
-
Type: Bathroom Shower Head
-
Product Code: BS9640
-
Product Brand: BathSelect
-
Installation Mount: Embedded Ceiling Mount
-
Number of Handles: Six Handles
-
Installation Type: US Standard
-
Fixed Support: Yes
-
Style: Contemporary
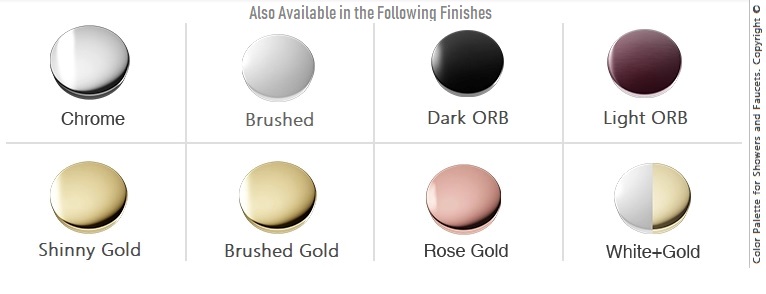
- Color: Brushed Gold
-
Shape: Square
-
Material: Brass
-
Customizable Shower: Yes
-
Shower Water Flow Yes 10-60 L/min or 2.6 GPM
-
Valve Core Material: Ceramic
-
Surface Finish: Bronze
-
Feature:: LED Light
-
Remote Control: Yes
-
Function: Massage Body Jet
-
Surface Treatment: Brushed Gold
|


 Satisfied, and reccommend this product.


