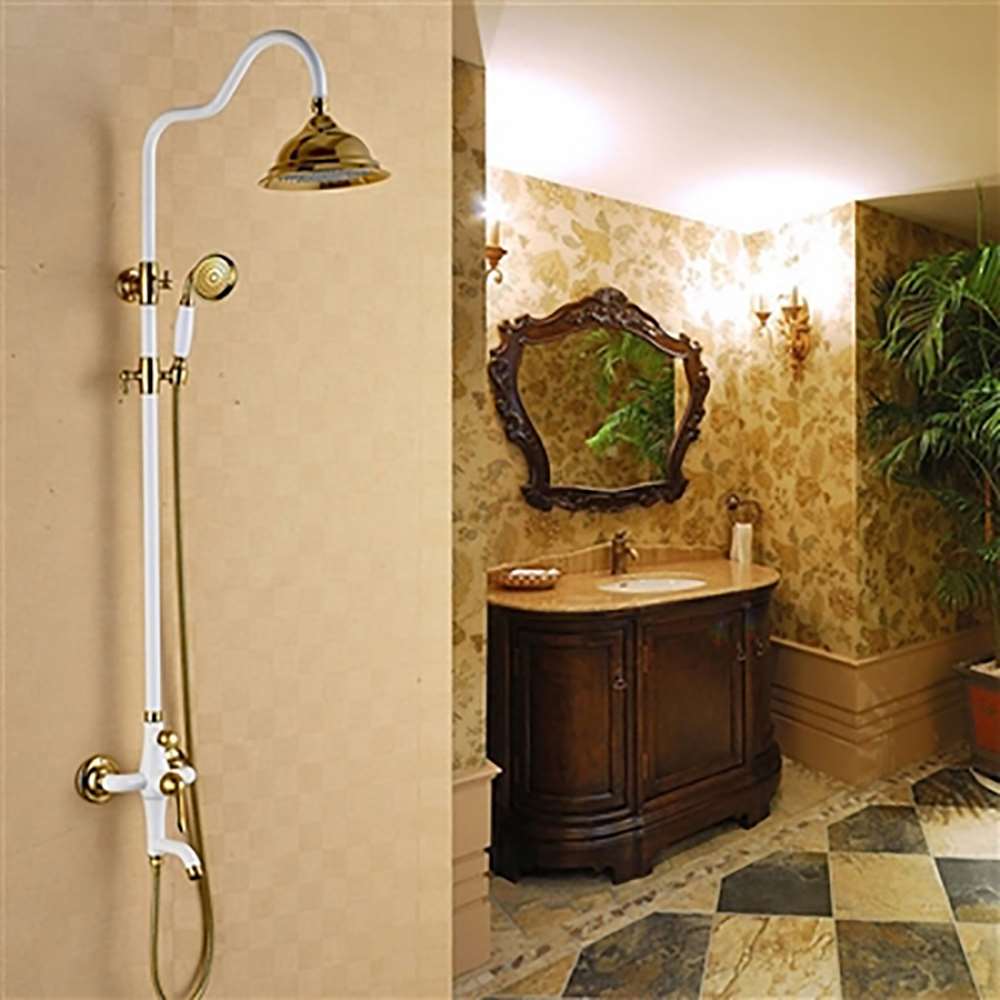
BathSelect Khloe Antique Brass Installation
Install the Khloe Wall-Mount Rain Shower
Explore antique-style shower systems, wall-mount rain heads and supporting installation resources.
Main Collections
Product Type
Related Finishes
Configurations
Components
Installation
This Khloe guide supports correct placement and connection of an antique-brass wall-mount rain shower. The system offers period-inspired style and relaxing rainfall coverage, although finish maintenance and precise rough-in measurements require attention. Secure structural support, balanced hot and cold supplies, proper waterproofing and pre-closure leak testing help protect both performance and the completed bathroom.
Installation Instructions for Khloe Antique Brass Wall Mount Rain Shower Set
Installation Instructions for Khloe Antique Brass Wall Mount Rain Shower SeT
That means whether you choose an 8-inch rain shower head or a 12-inch rain shower head, you'll get the same amount of water output. Not saying that larger rain showers aren't great, but it's something you need to keep in mind if you are more into strong pressure. The rainfall is all about relaxing under large water droplets, not getting blasted by a concentrated spray.
- Before you begin, please read the installation instructions below. Observe all local building and safety codes.
- Unpack and inspect the product for any shipping damages. If you find damages, do not install.
- Please note all showers must be installed by a professional and certified plumber otherwise warranty may be voided
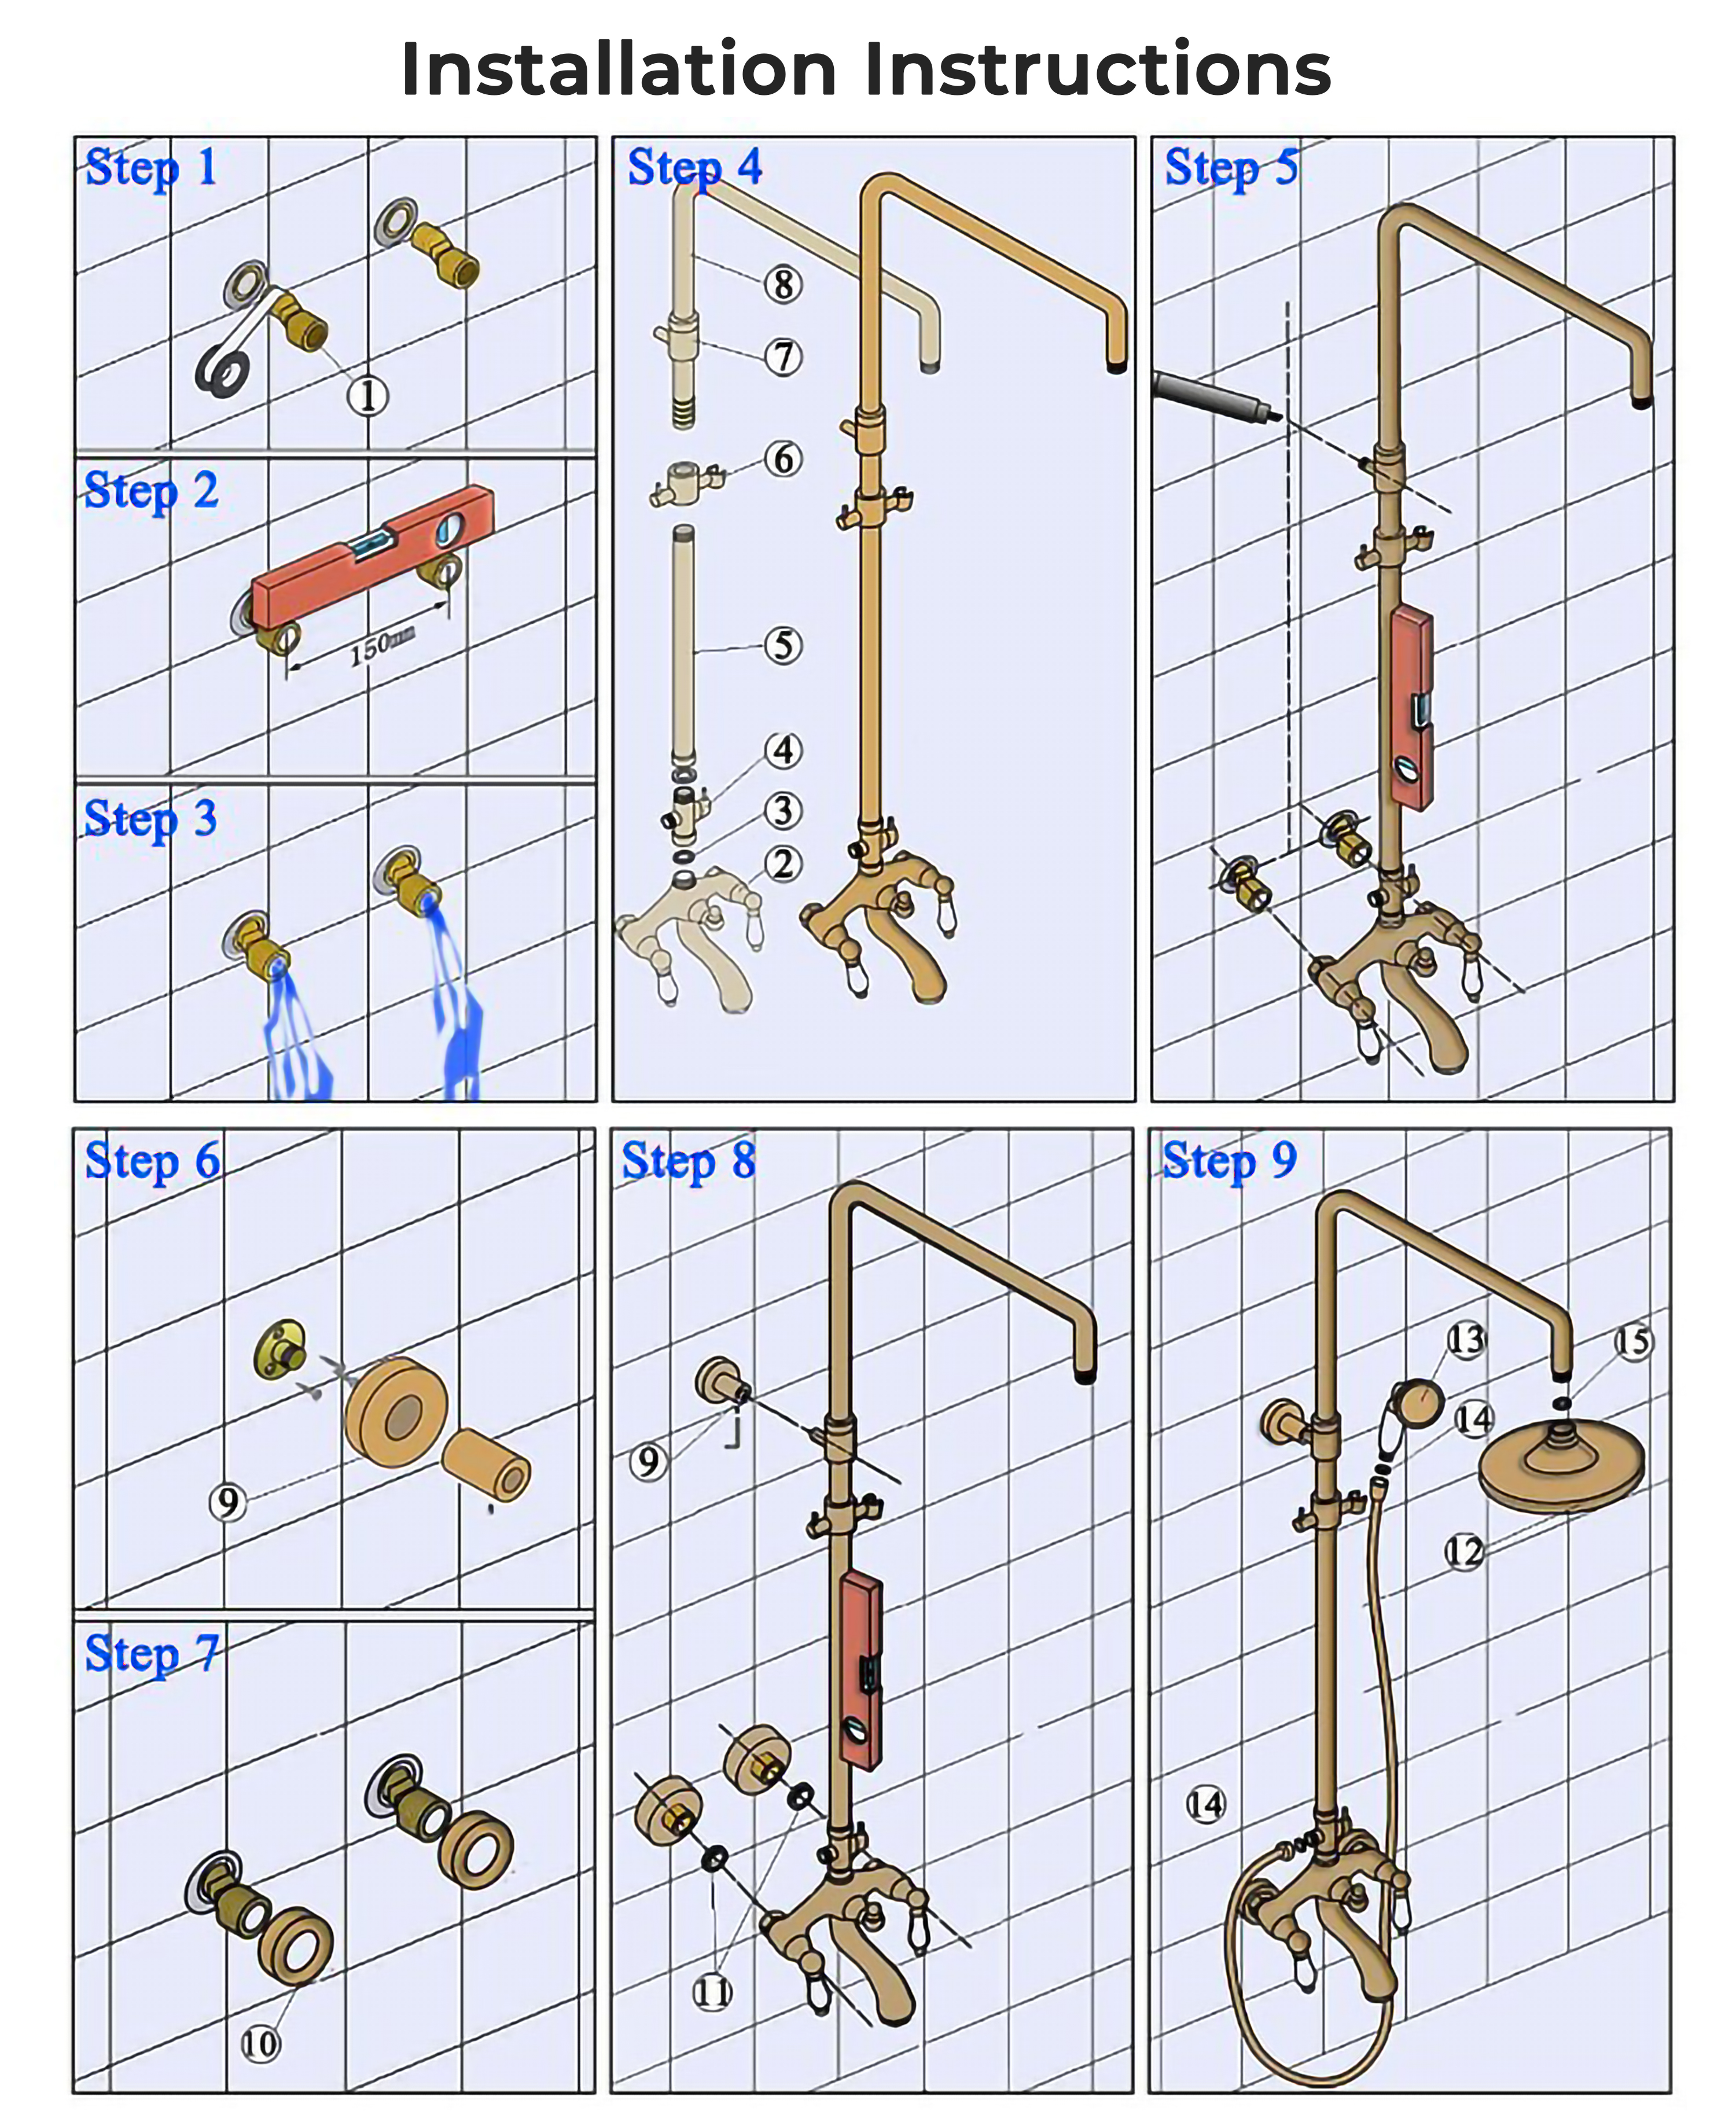
1. Brass Adapter
2. Faucet body
3. Washers
4. Diverter
5. Shower bar
6. Hand shower holder
7. Shower bar bracket
8. Shower bar
9. Mounting base
10. Decoration cover
11. Rain shower head
12. Handheld shower
Step 1: Connect the brass adapter provided to the water supply line.
Step 2: Adjust lever and distance to fit the faucet body.
Step 3: Turn the water valve on for a while to let the dust and impurities out.
Step 4: Assemble the shower set.
Step 5: Place a pre-assembled shower in the wall to find the proper position and then mark the mounting hole that needs to be drilled.
Step 6: Drill a hole for the upper part shower bar bracket, screw it.
Step 7: Place the decoration cover to the brass adapters.
Step 8: Install the pre-assembled shower to the connections.
Step 9: Connect shower hose, handheld shower, and rain shower head.



.jpg)