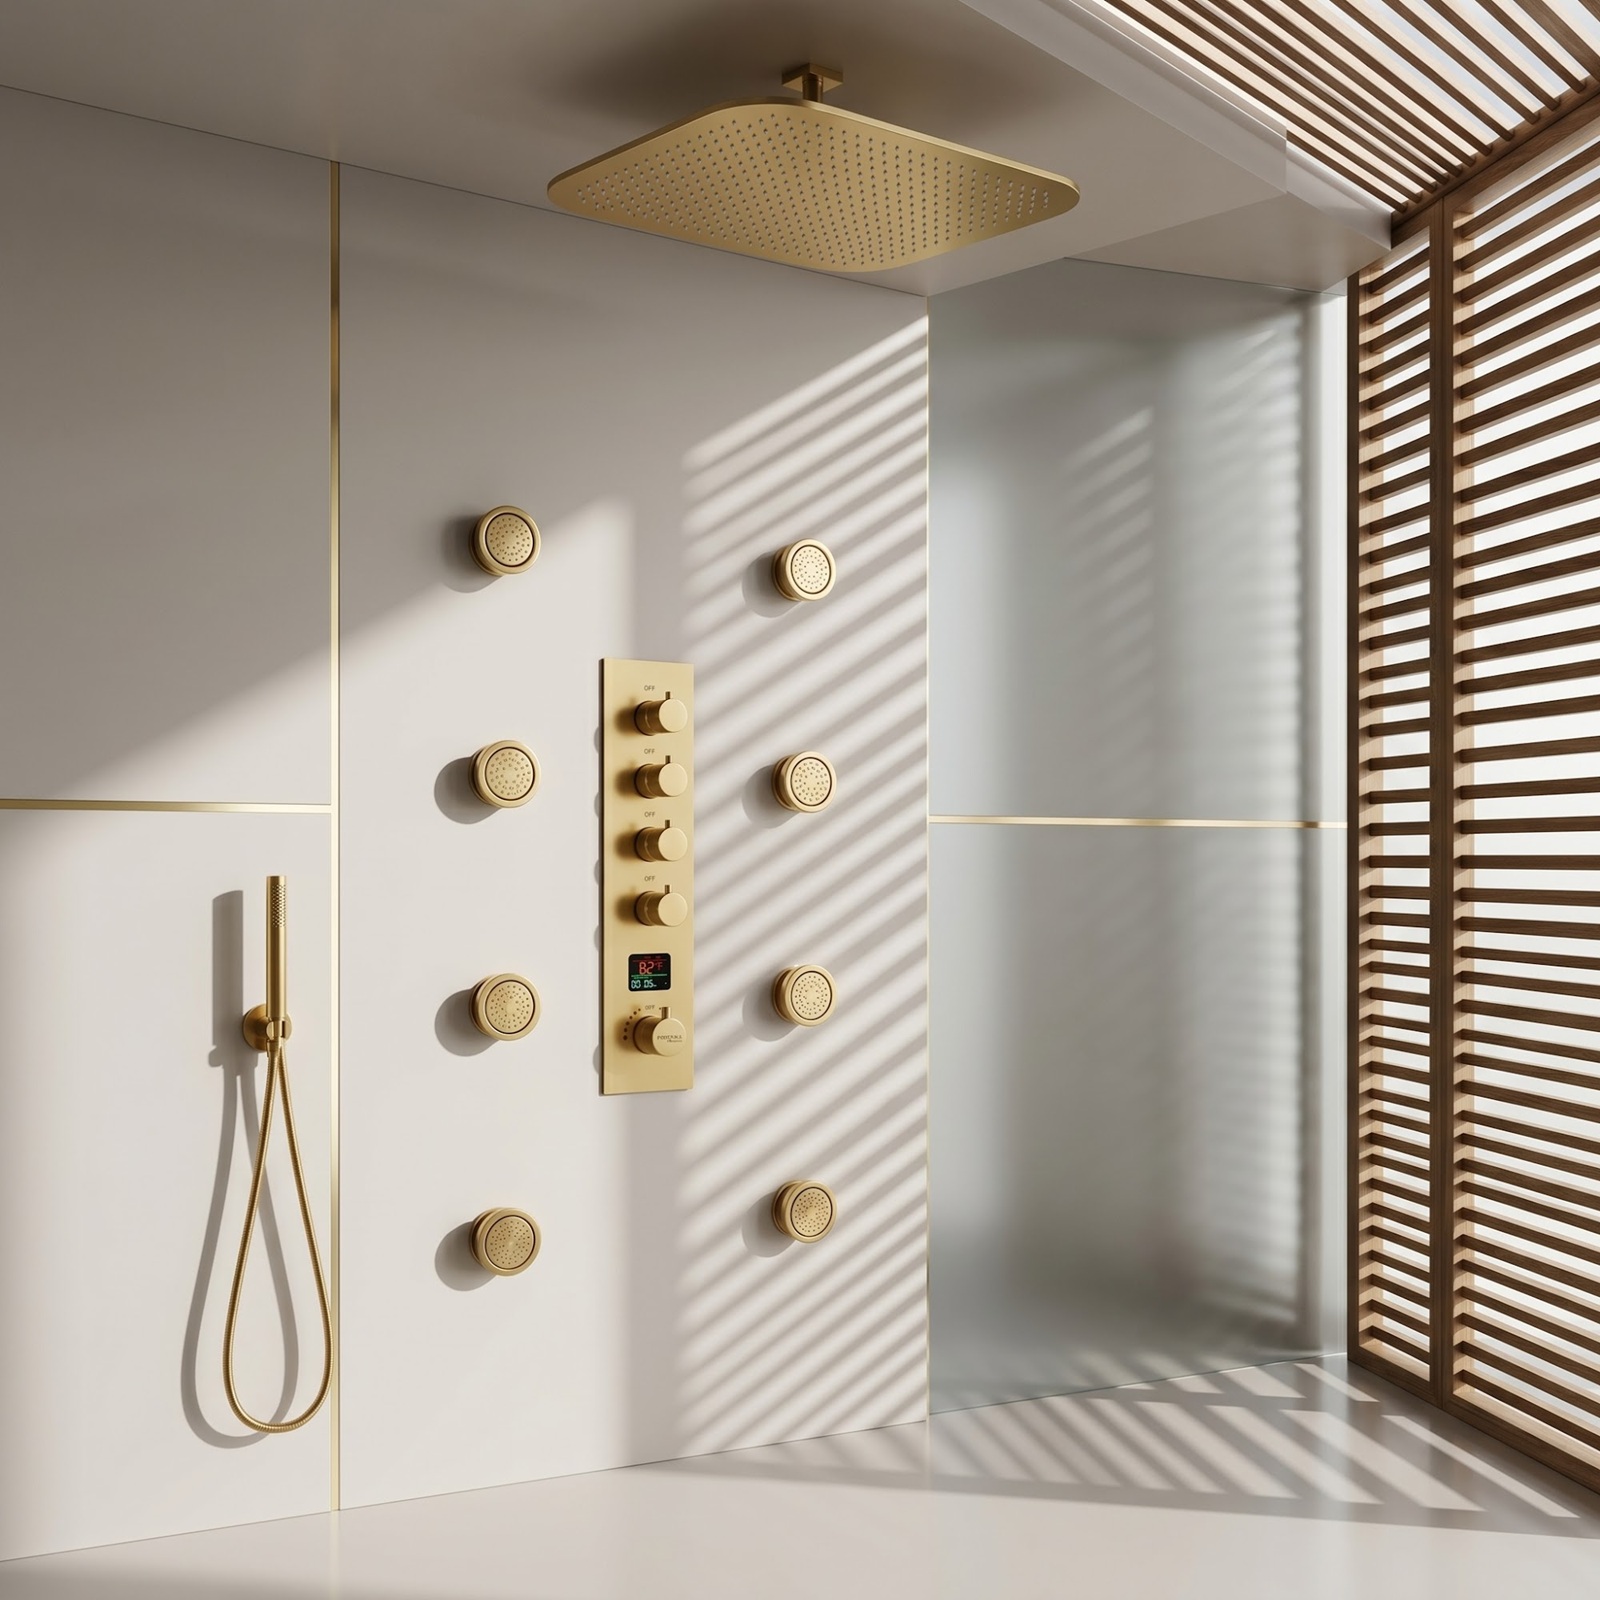
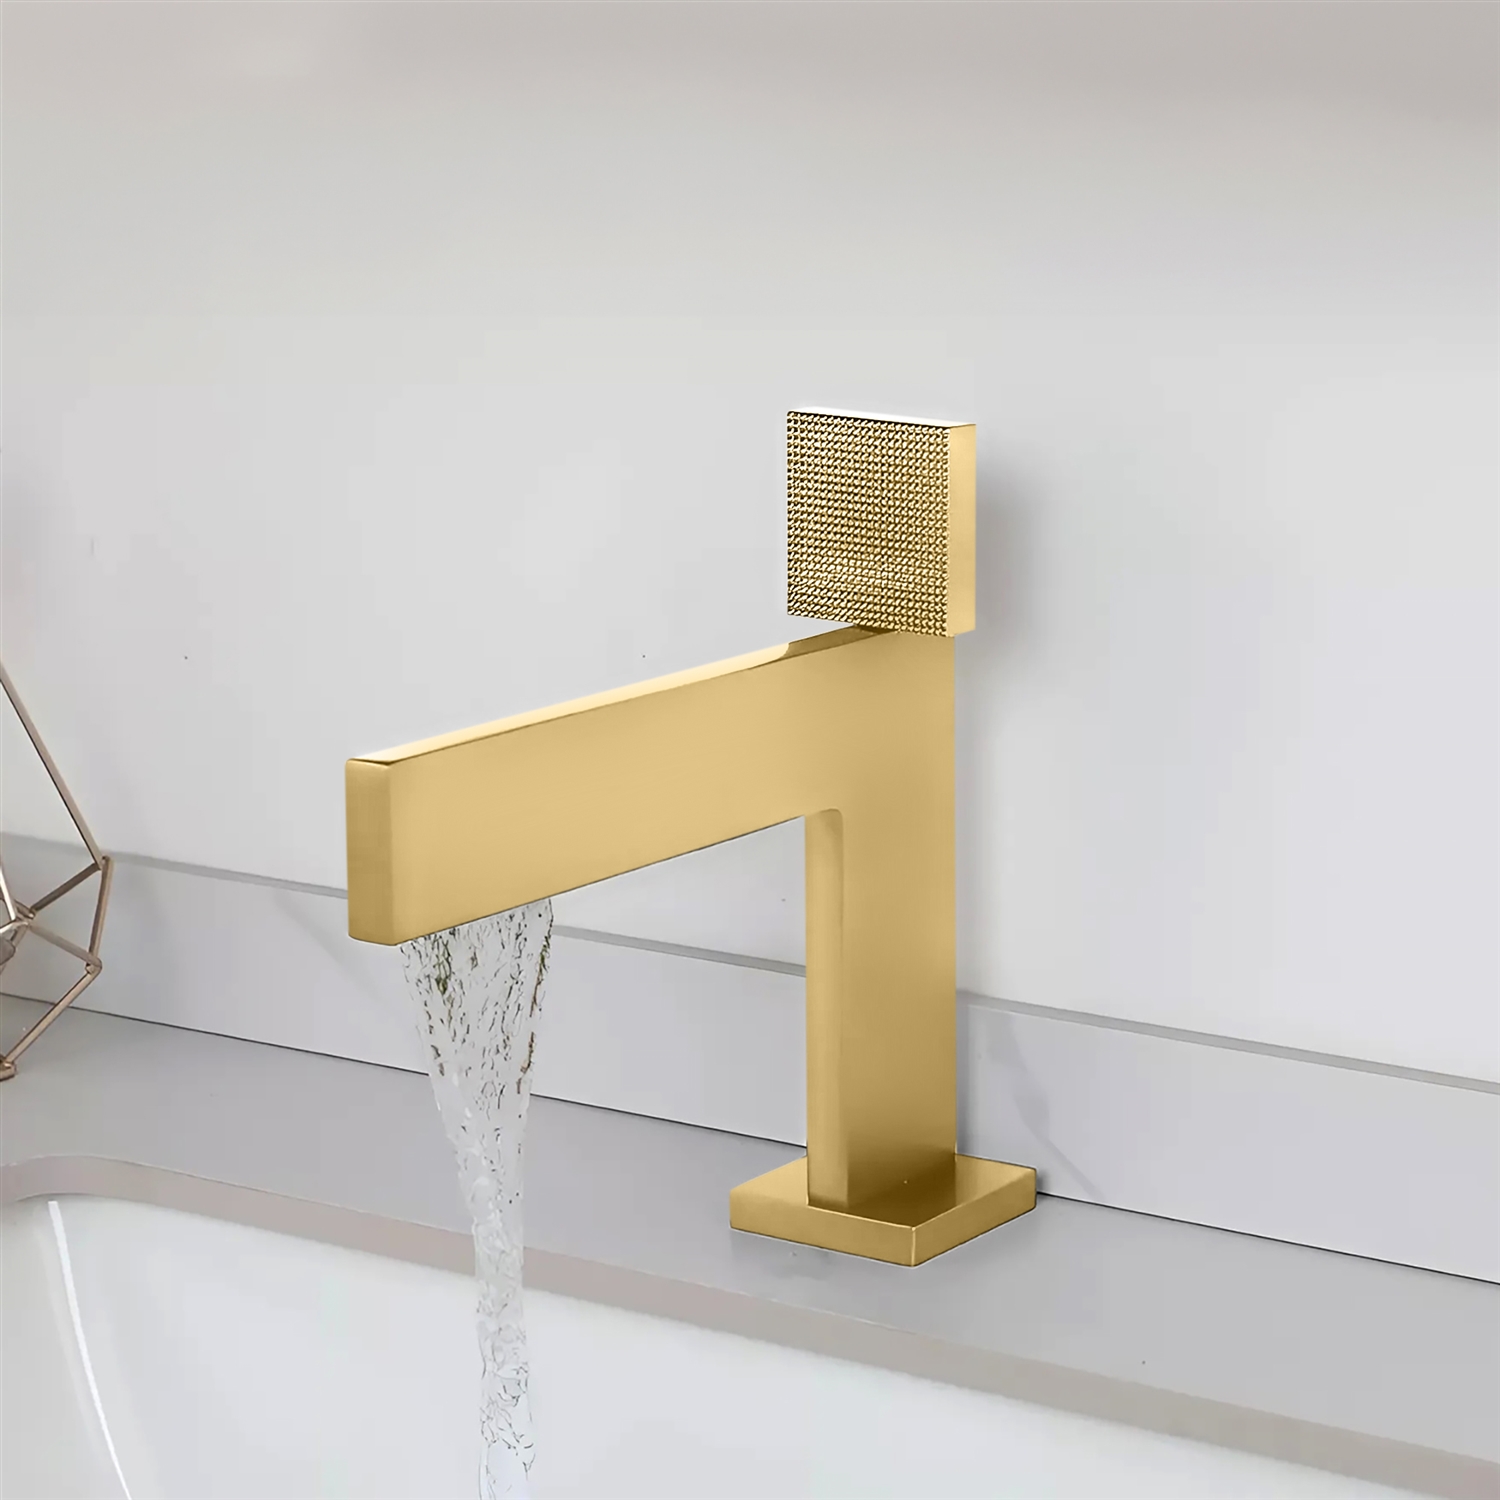
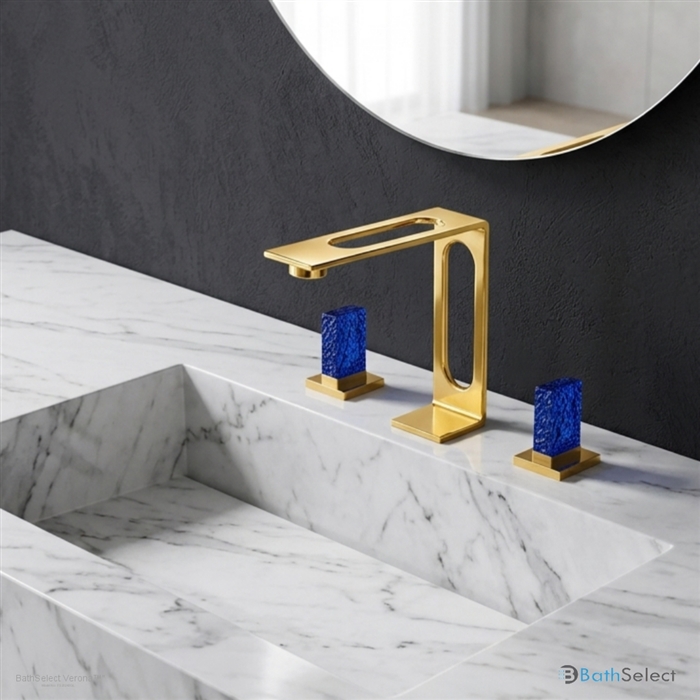
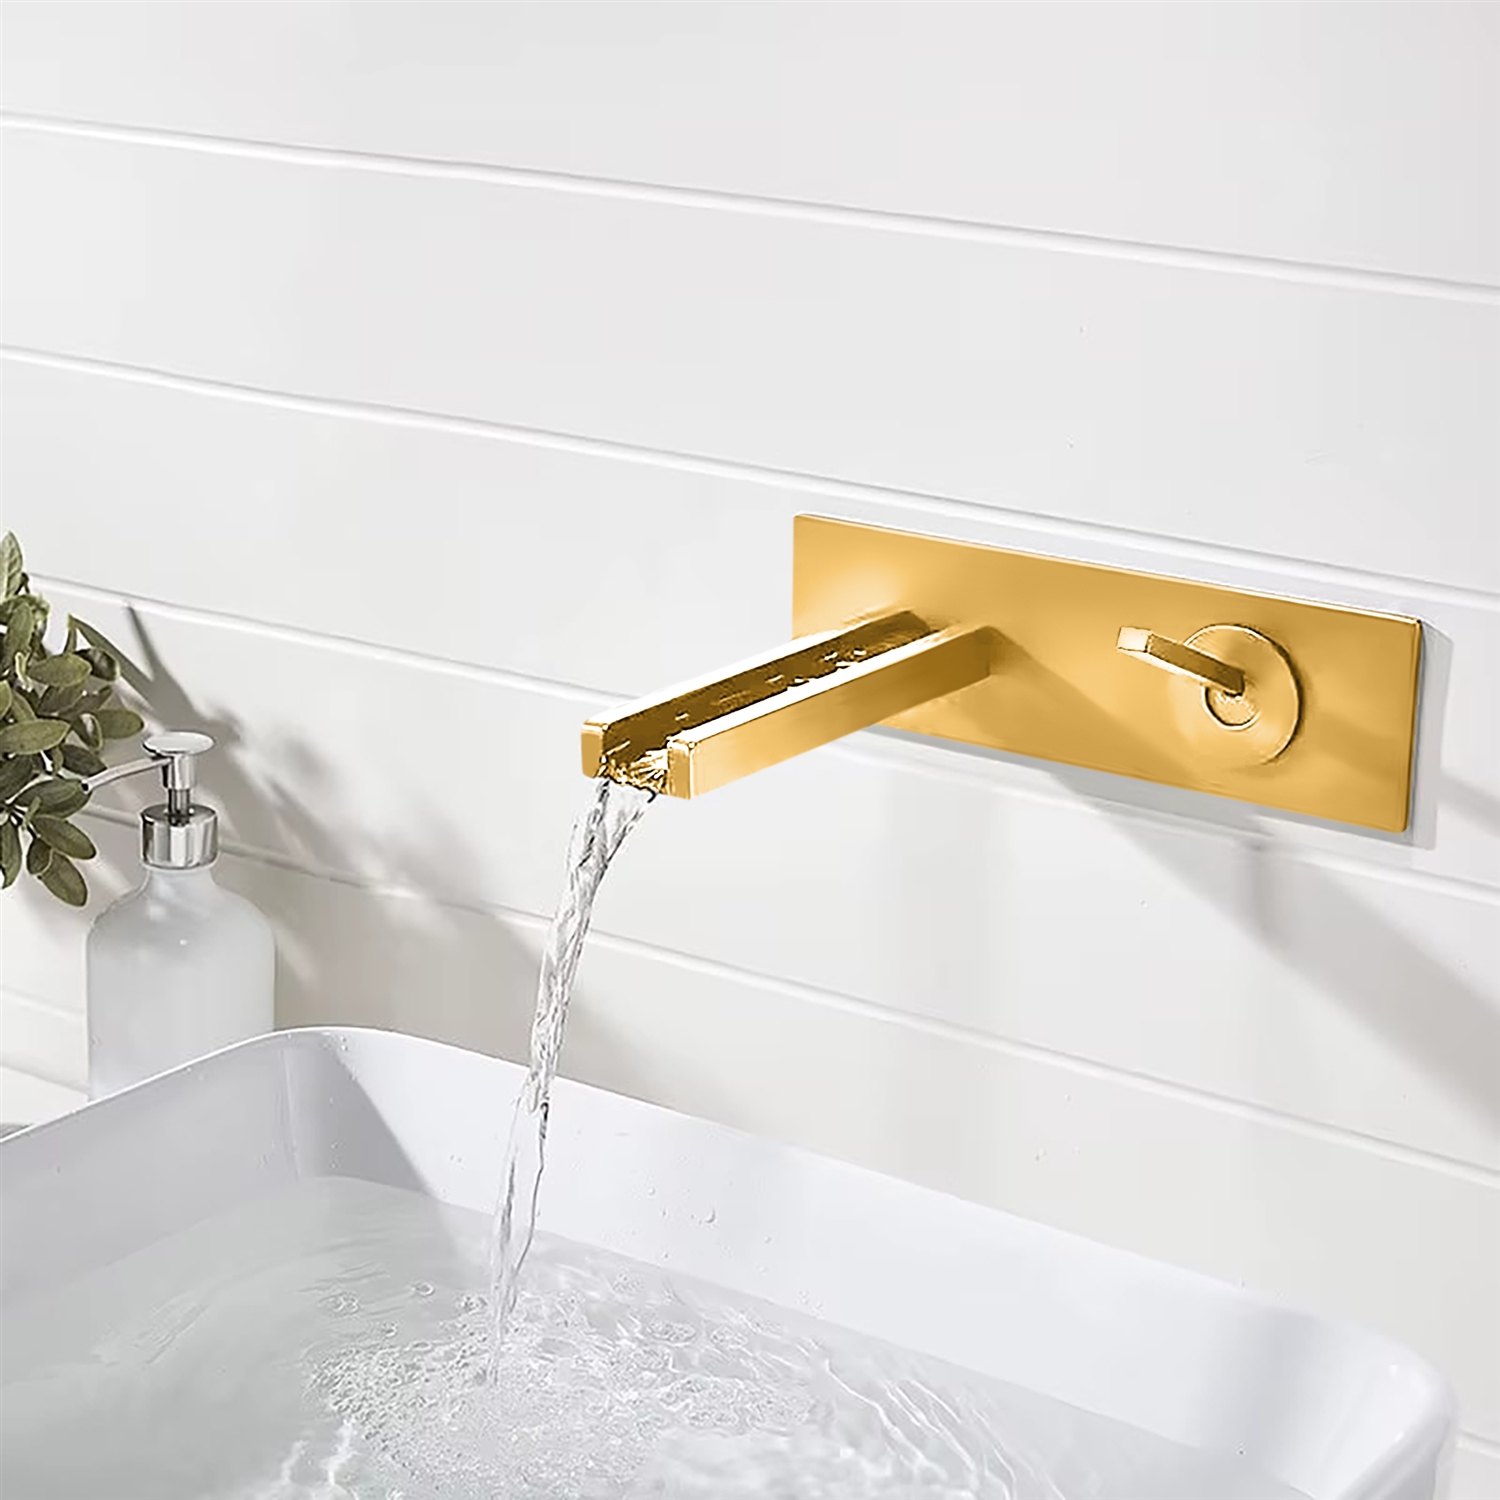
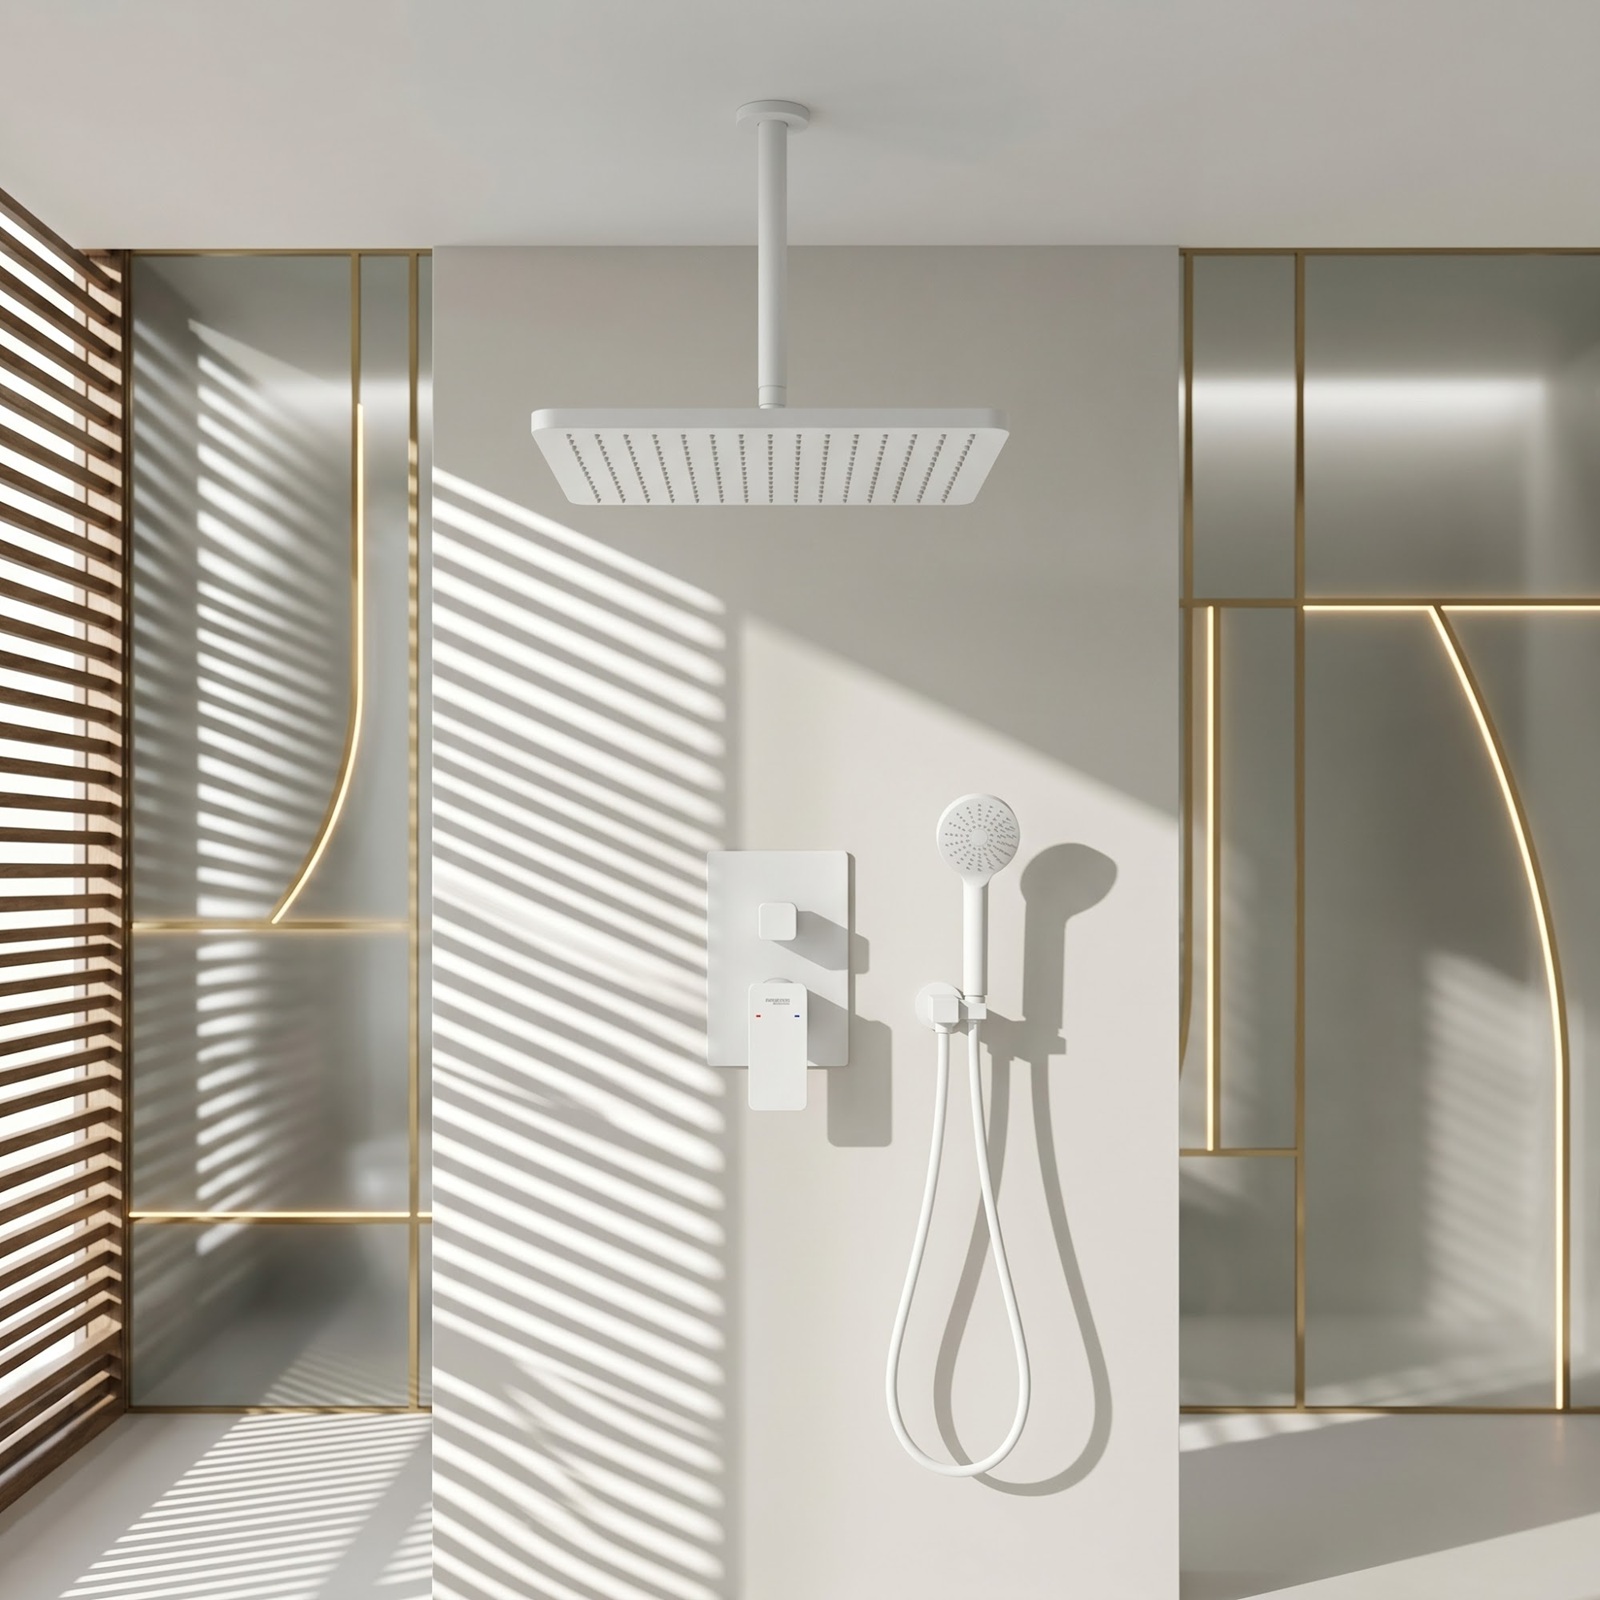
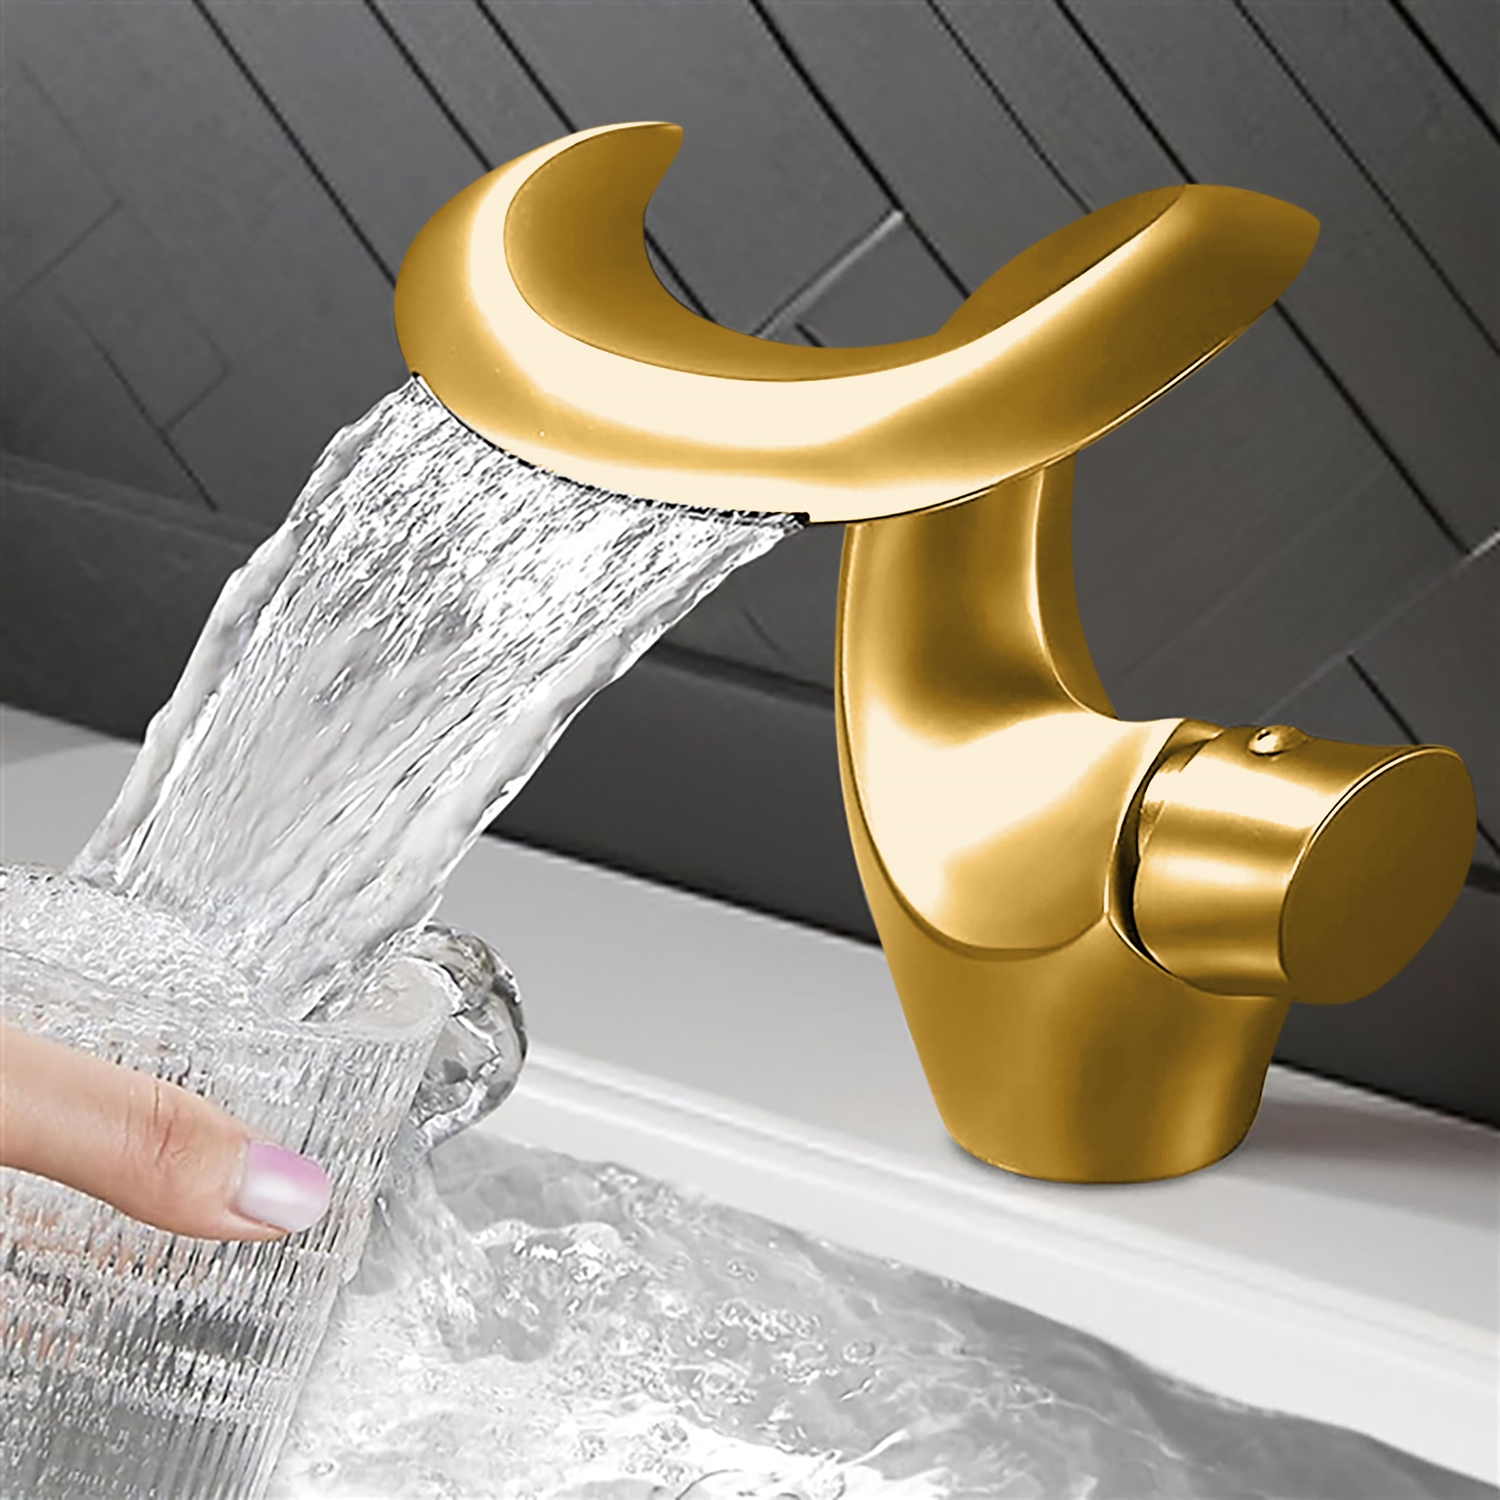
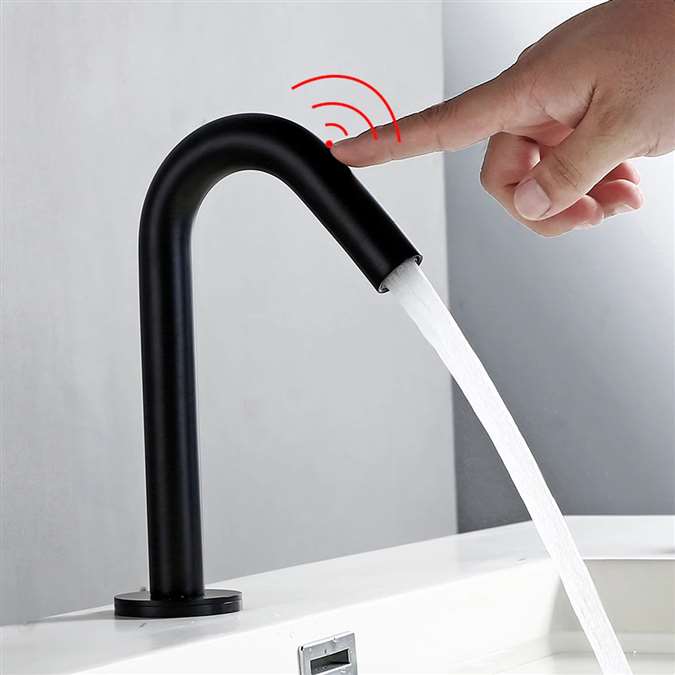
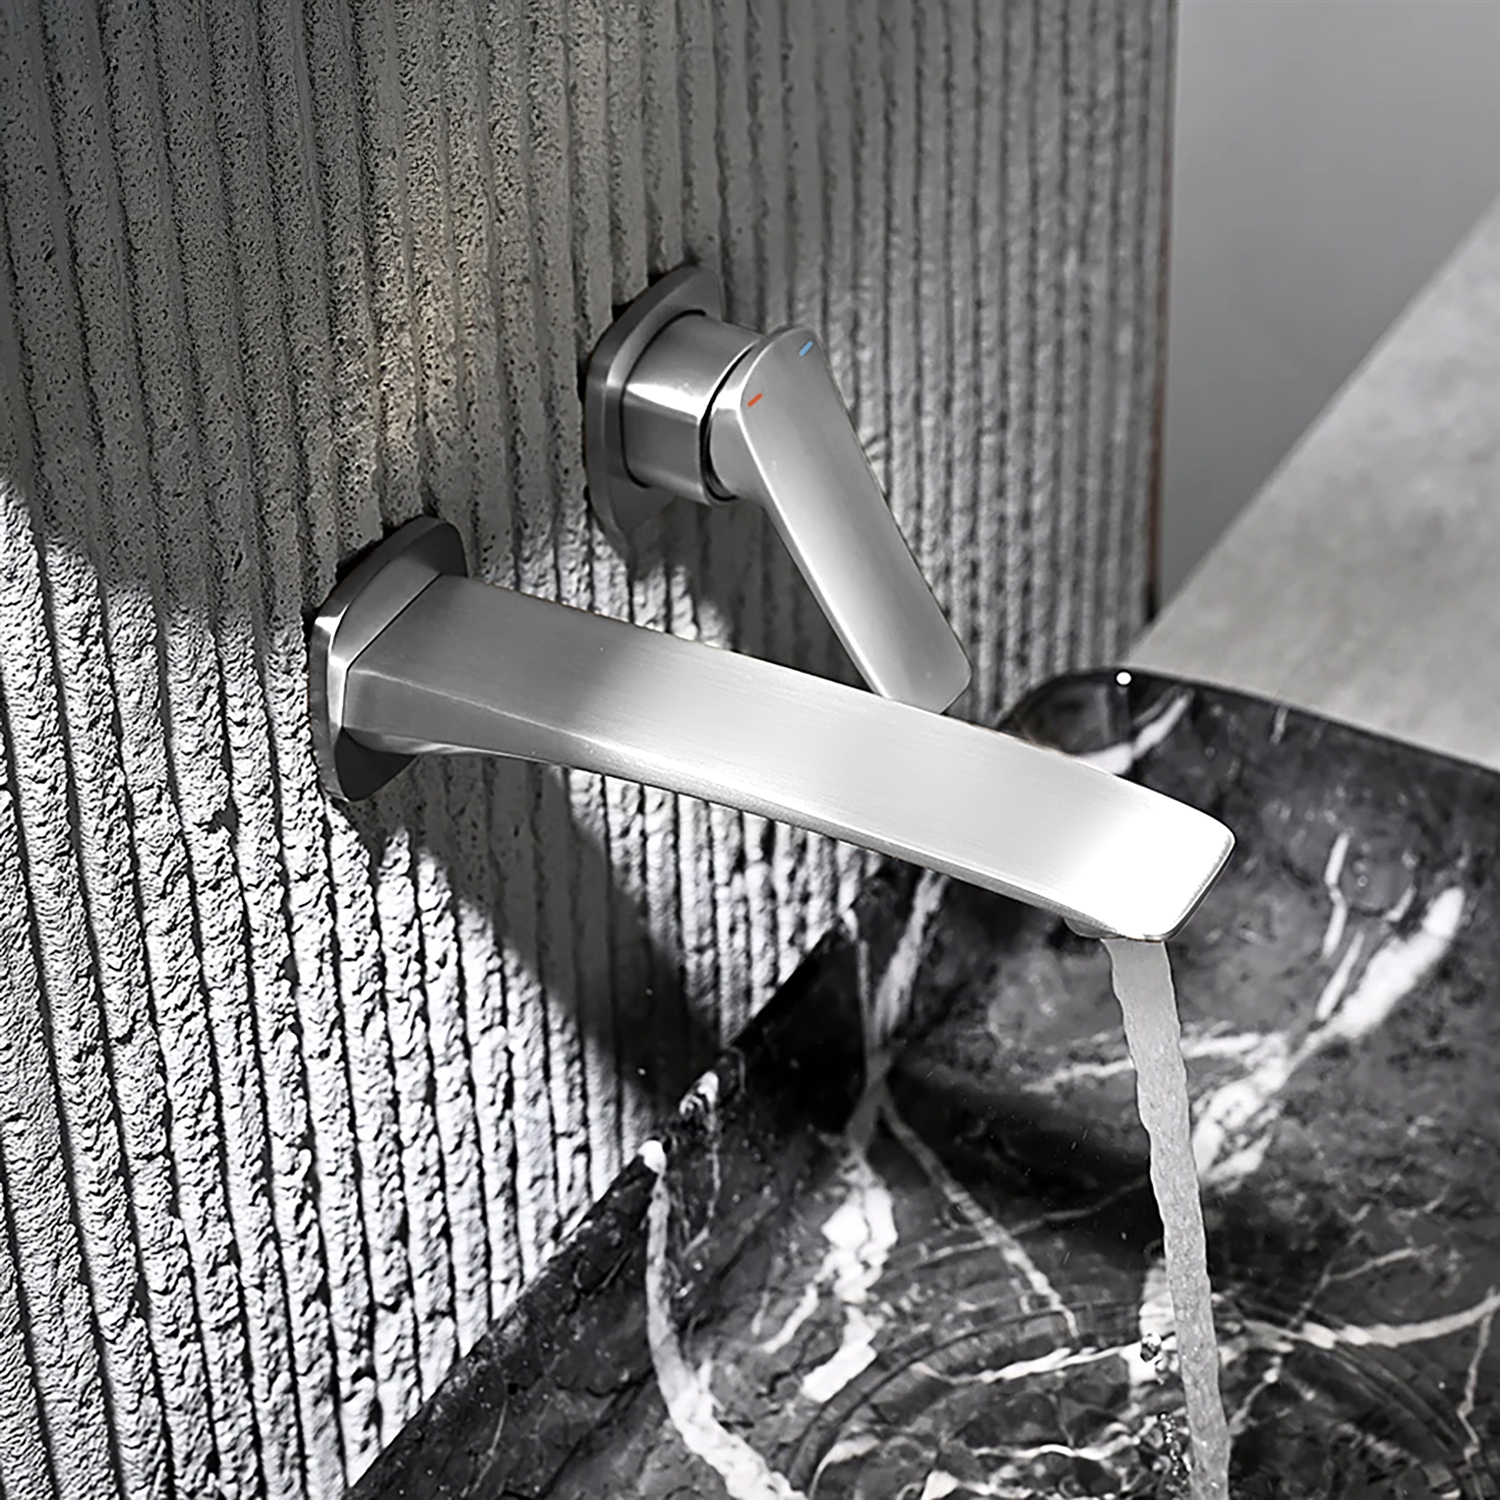
Residential, hospitality and commercial warranty guidance for
eligible BathSelect™ products.
Explore the BathSelect™ Warranty Center
Chapter 01Warranty EssentialsCoverage, care, claims, technical review and official terms
BathSelect Homeowner Product Warranty
Quality, Care and Long-Term Product Support
Eligible BathSelect™ bathroom products are backed by our product
warranty covering qualifying concerns involving finish and
function.
This warranty information provides important guidance on
maintaining the appearance, quality and intended performance of
your product.
Proof of product purchase or proof of original home ownership is
required to obtain any applicable warranty benefit. Commercial
and hospitality applications are subject to the limitations
described on this page.
01 / PURCHASE
Proof of Purchase
A dated receipt, invoice or acceptable order record is required
for warranty review.
02 / OWNERSHIP
Original Purchaser
Residential benefits apply to the original purchaser and
original installation location.
03 / INSTALLATION
Proper Installation
Products must be installed and used according to applicable
instructions and accepted plumbing practices.
04 / CARE
Approved Maintenance
Soft cloths and non-abrasive cleaners help preserve eligible
finish protection.
Coverage Overview
Warranty Support by Application
Coverage depends on the product, application, purchase date,
installation conditions, maintenance history and reported concern.
Residential
Homeowner Product Coverage
Eligible bathroom fixtures are covered against qualifying
defects in material and workmanship that impair their intended
and proper use.
Eligible mechanical components
Qualifying workmanship defects
Eligible finish concerns
Original purchaser documentation
Commercial
Commercial Application Coverage
Commercial installations are limited to one year for eligible
mechanical concerns and one year for eligible finish concerns
from the purchase date.
One-year mechanical coverage
One-year finish coverage
Project documentation required
Installation review when necessary
Hospitality
Hotels and Resorts
Hotels, resorts, spas, guest suites and similar installations are
generally treated as commercial applications unless separate
written project terms apply.
Property and project identification
Room or fixture location
Model and affected quantity
Maintenance history when requested
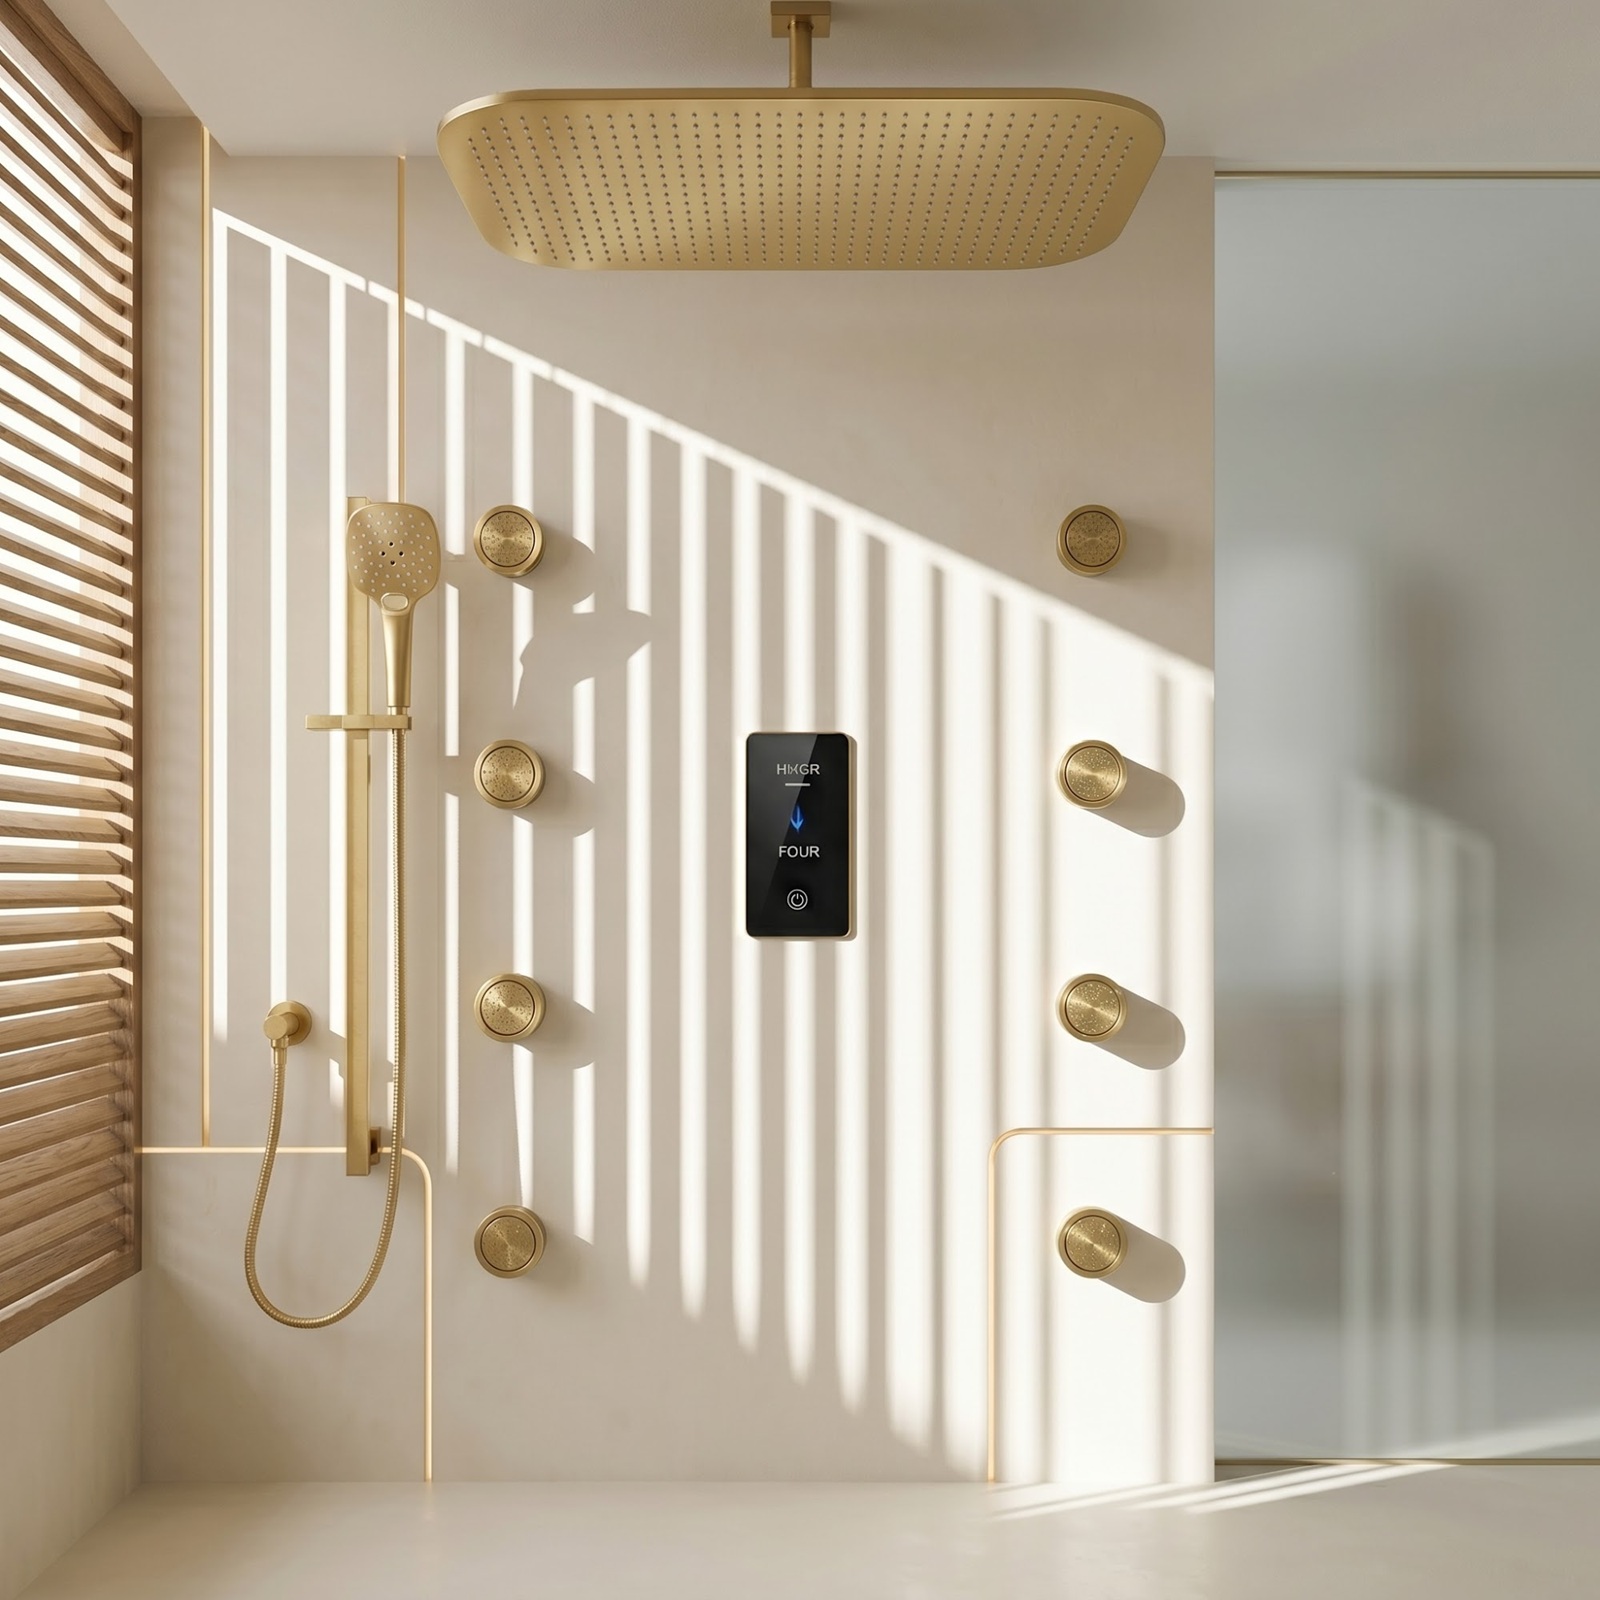
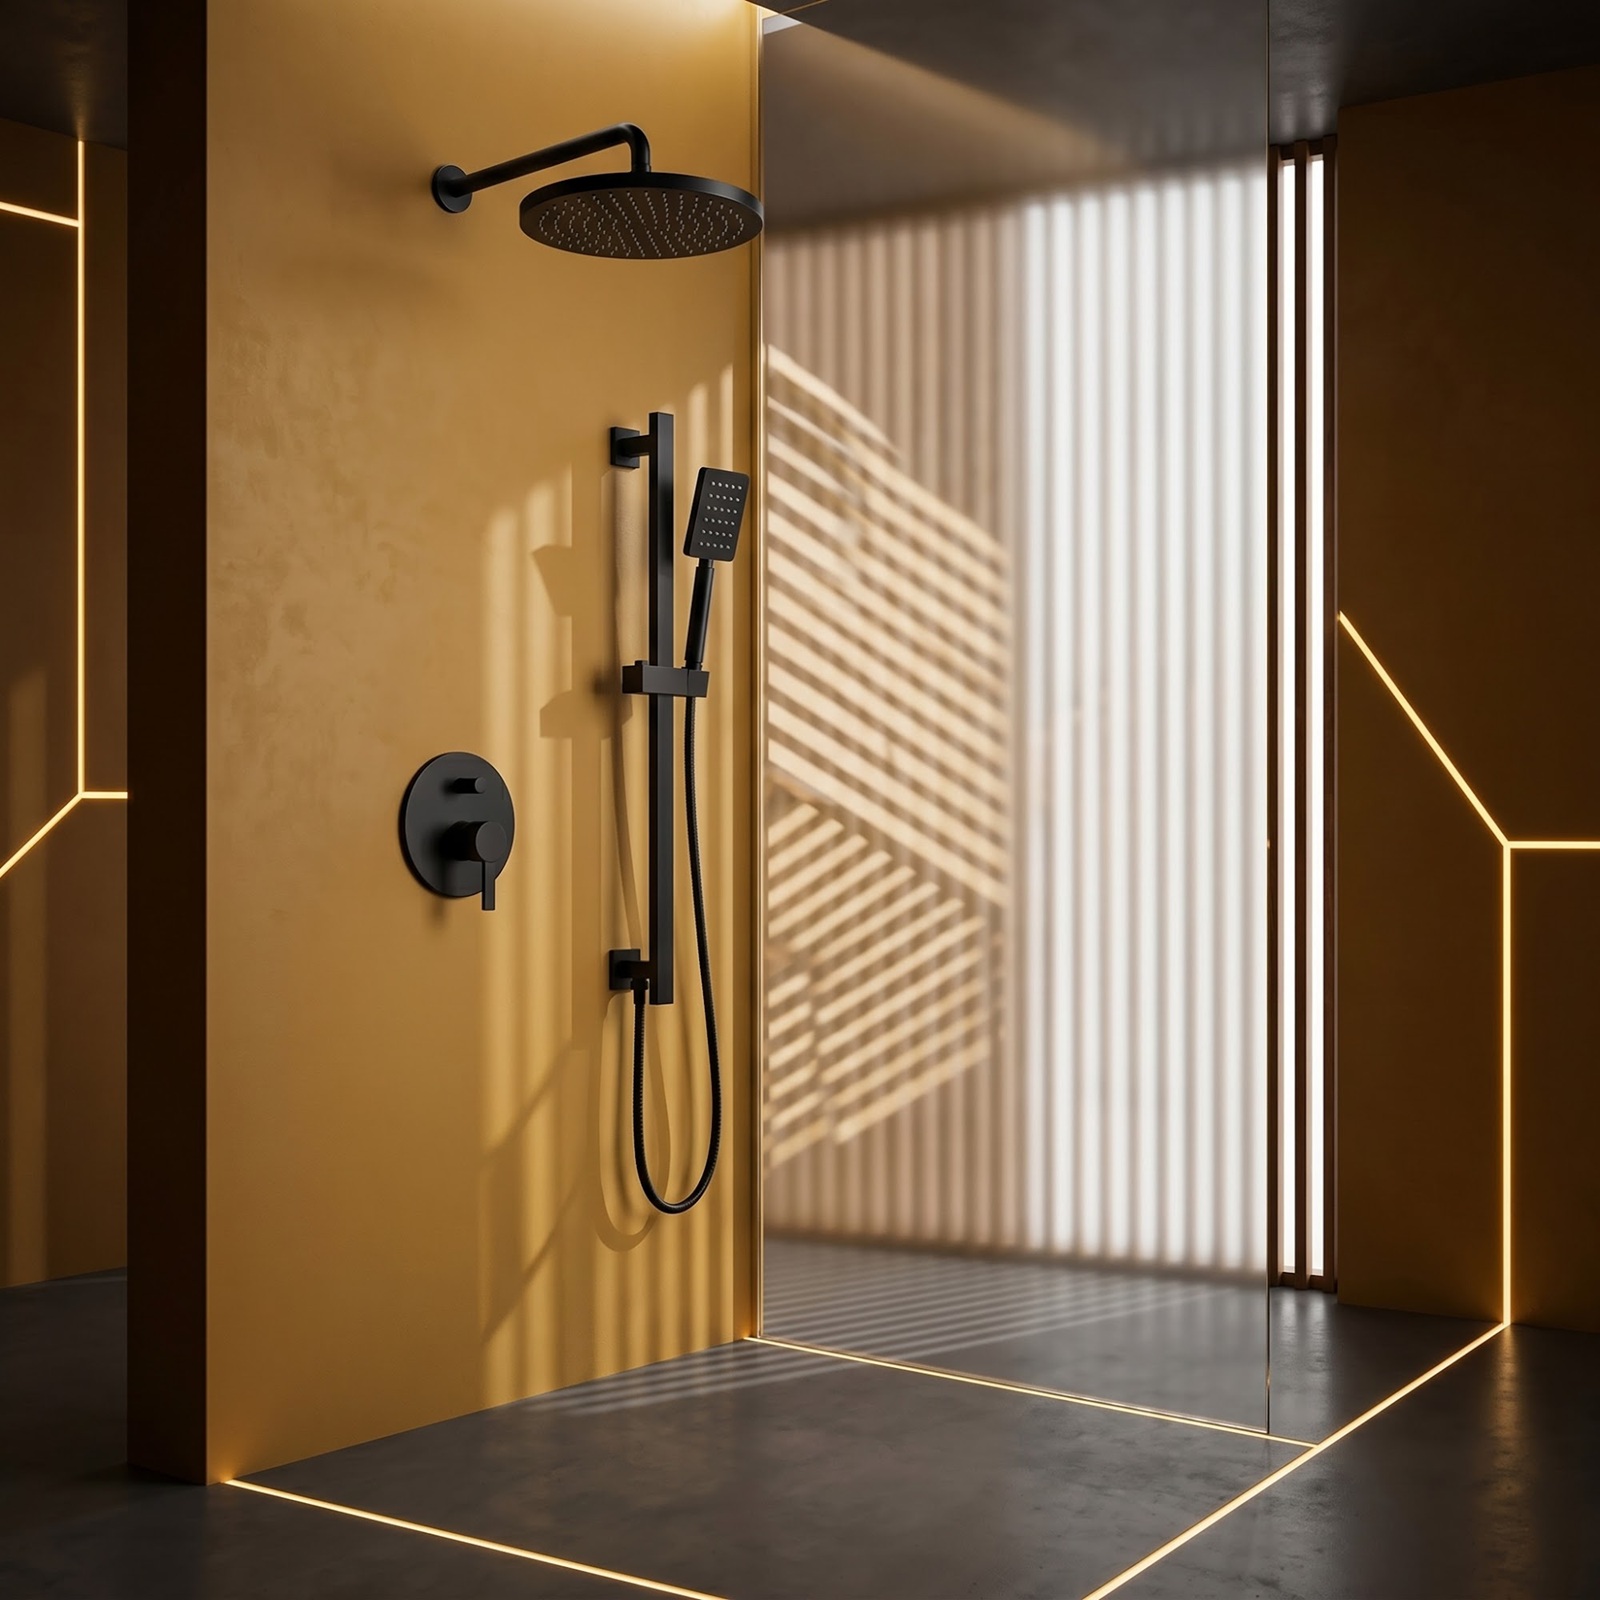
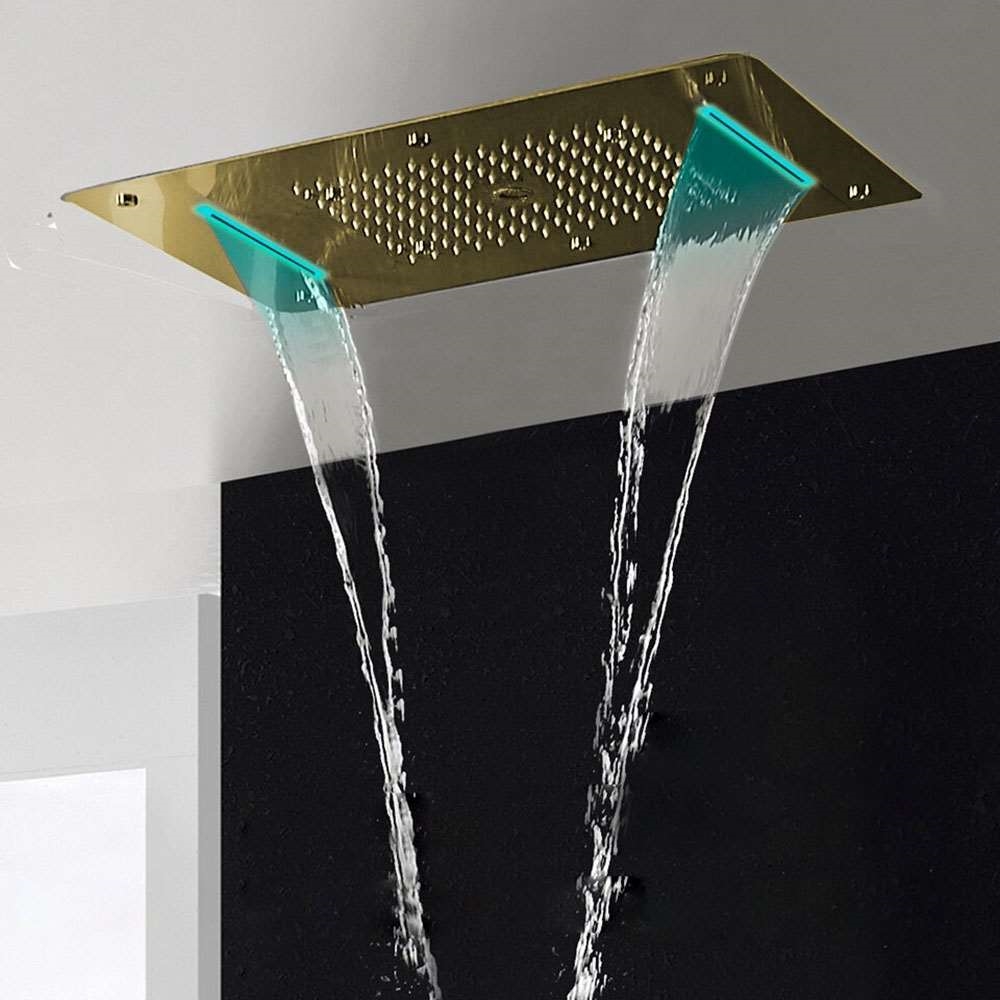
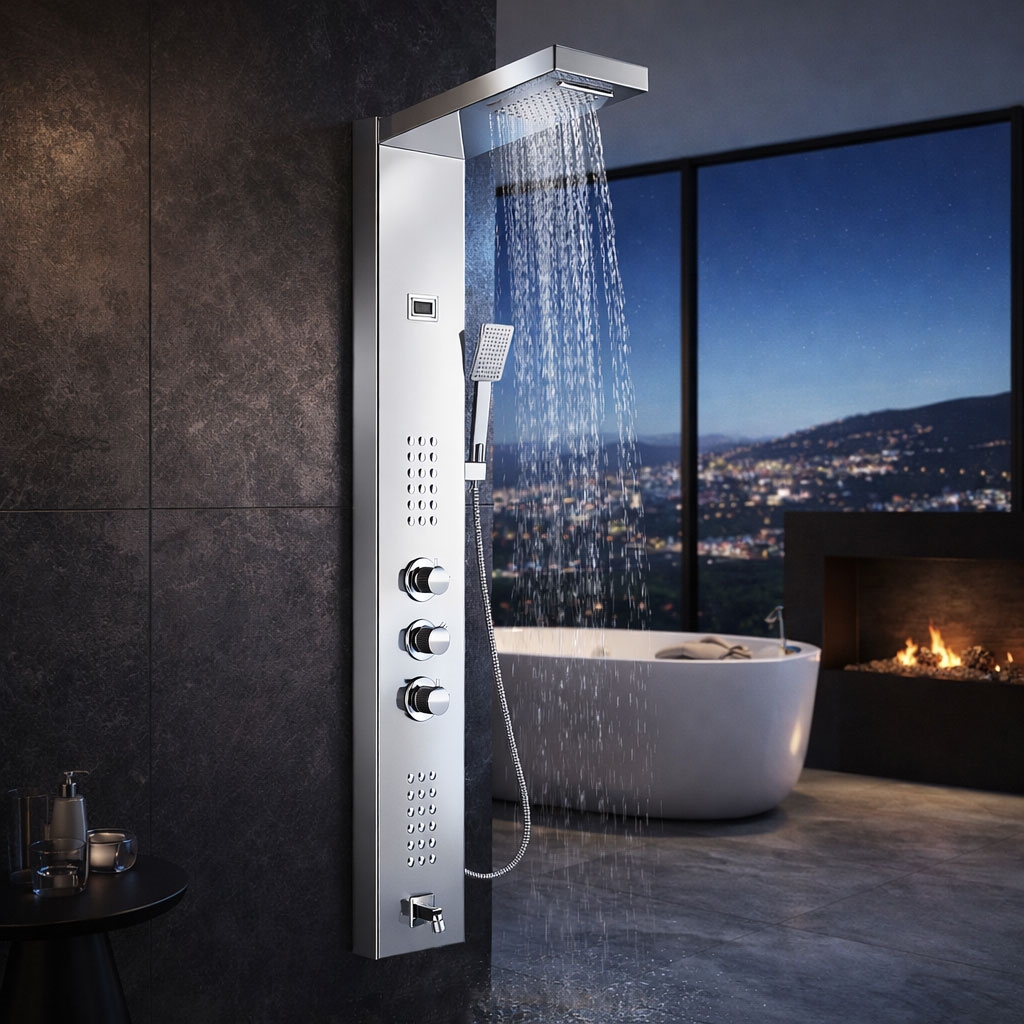
Shower Systems
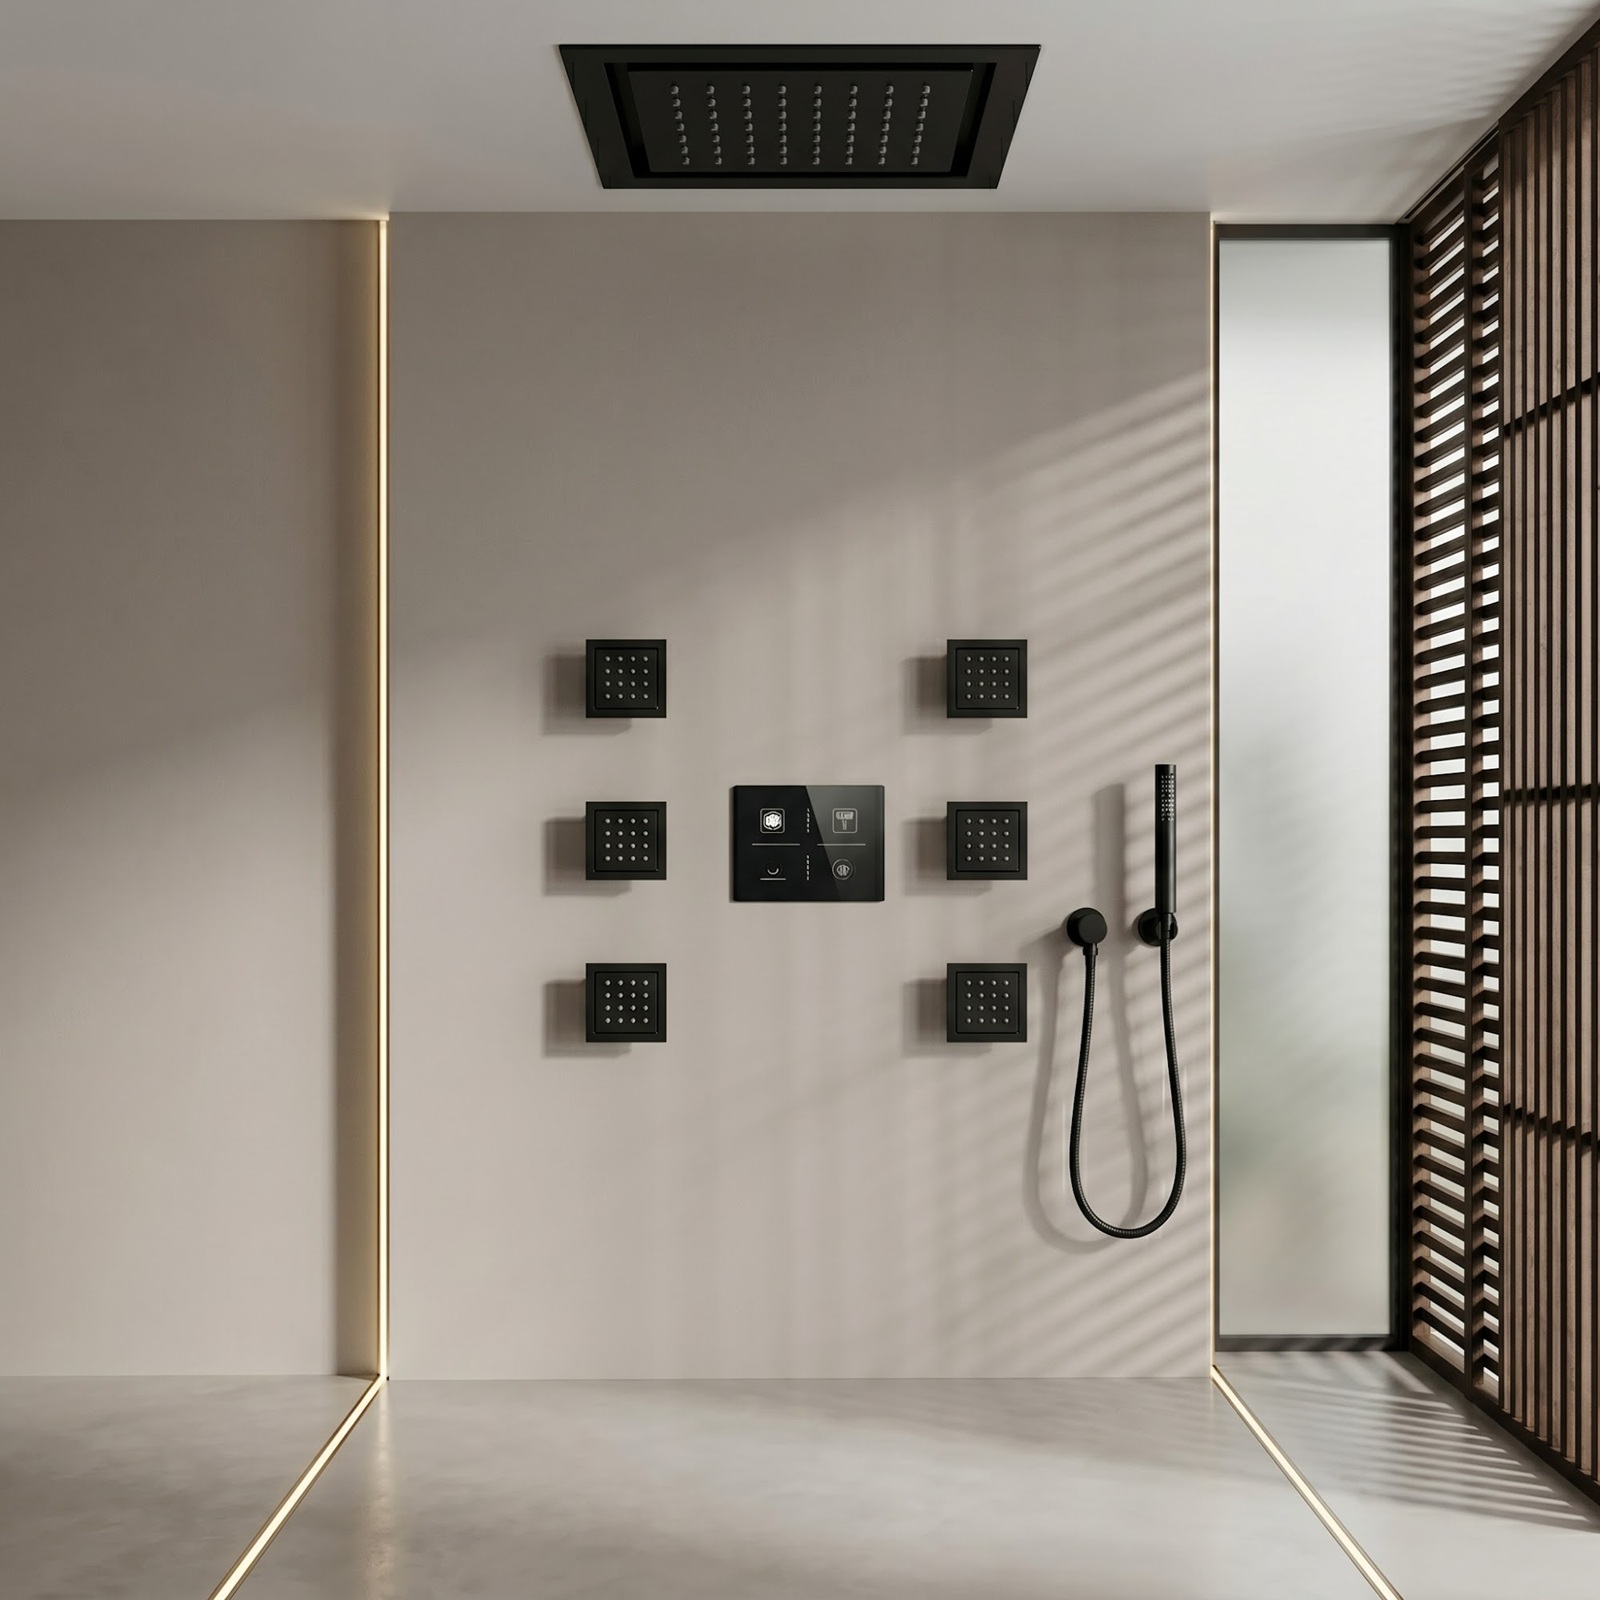
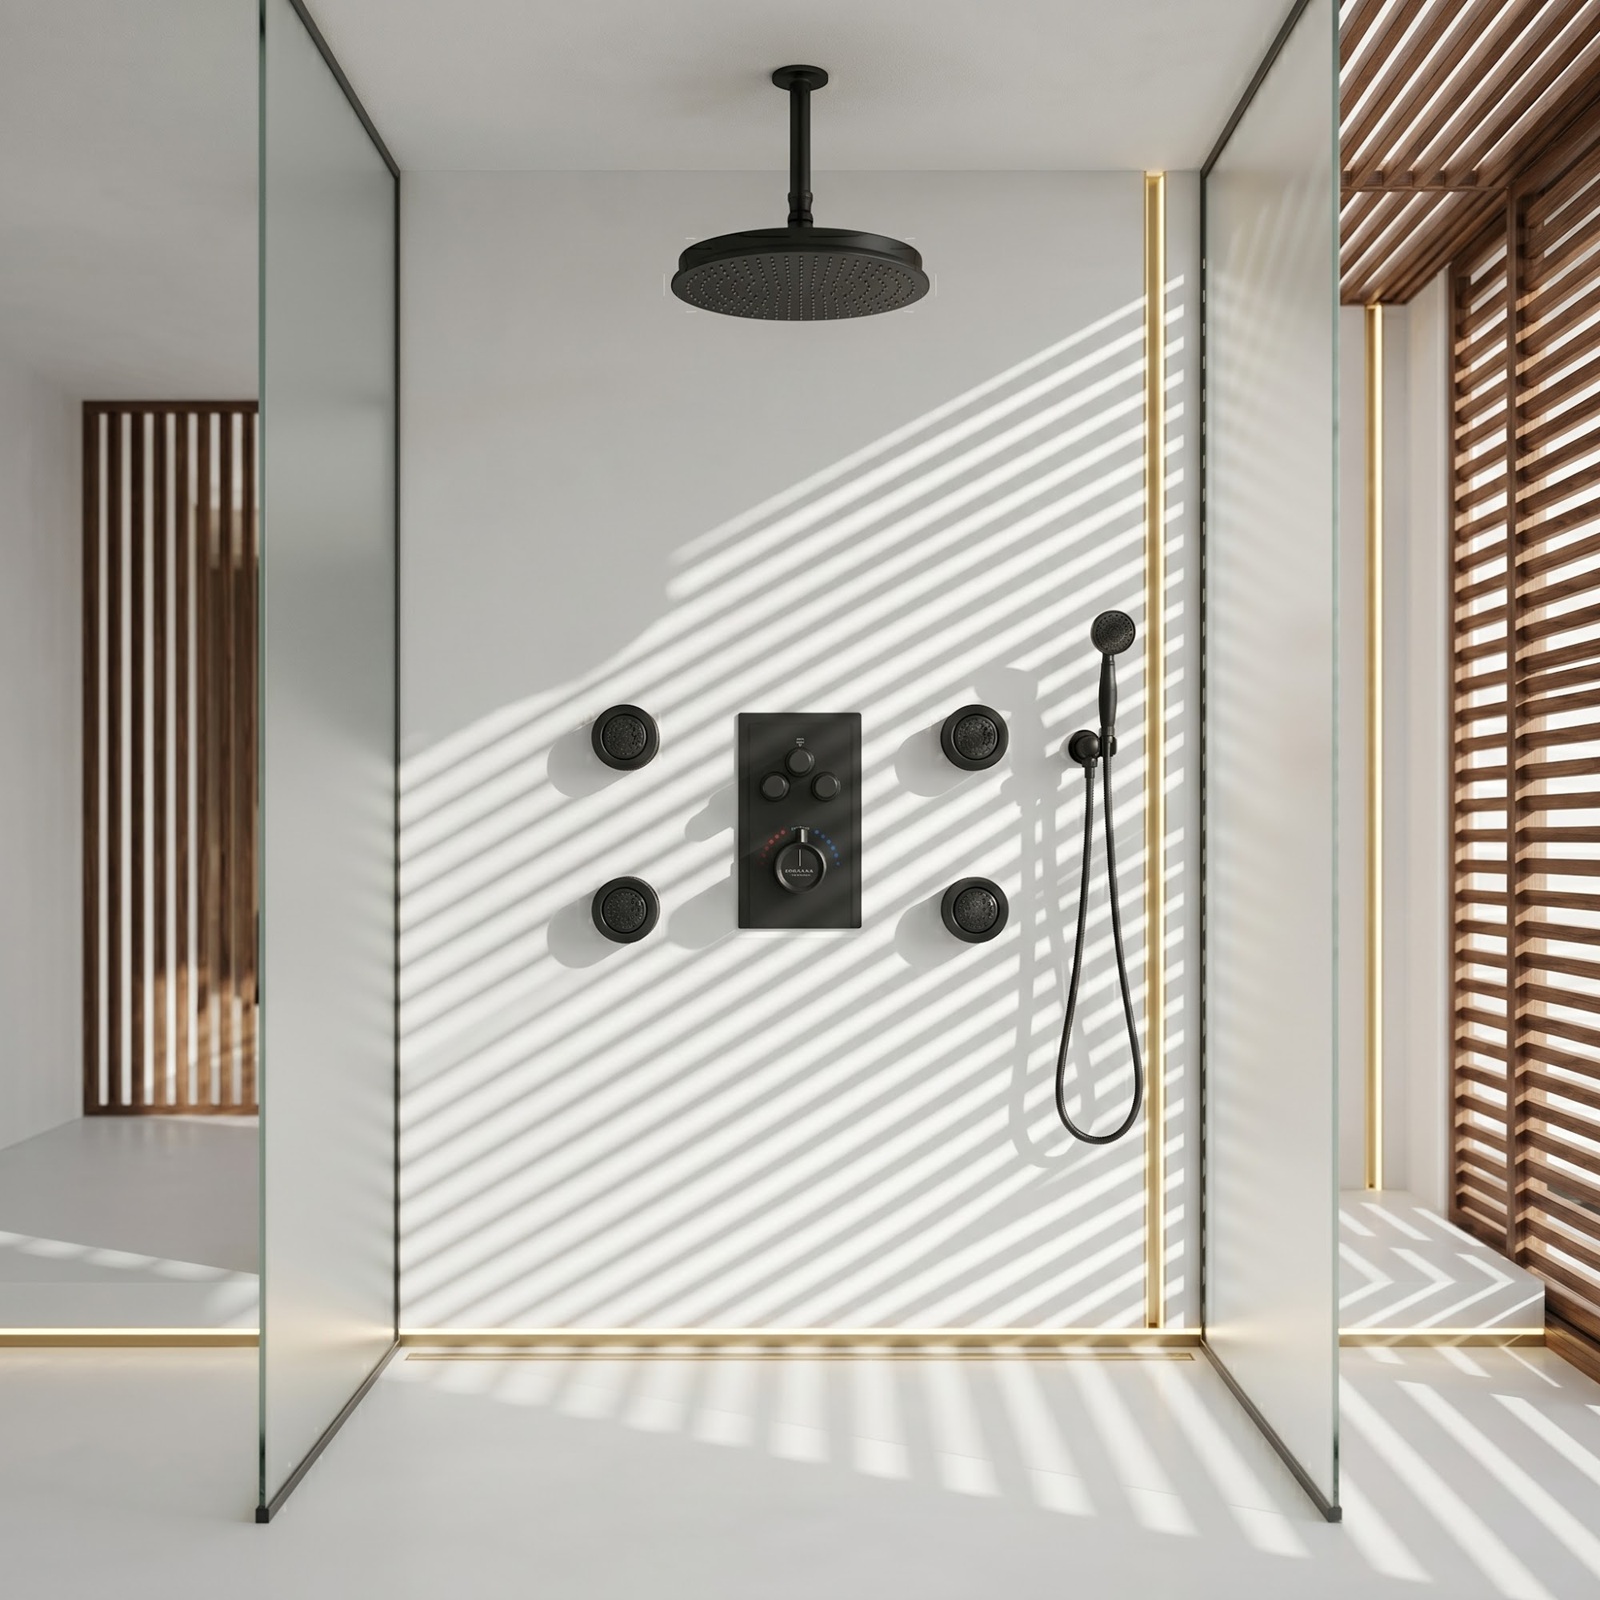
Luxury Shower System Review
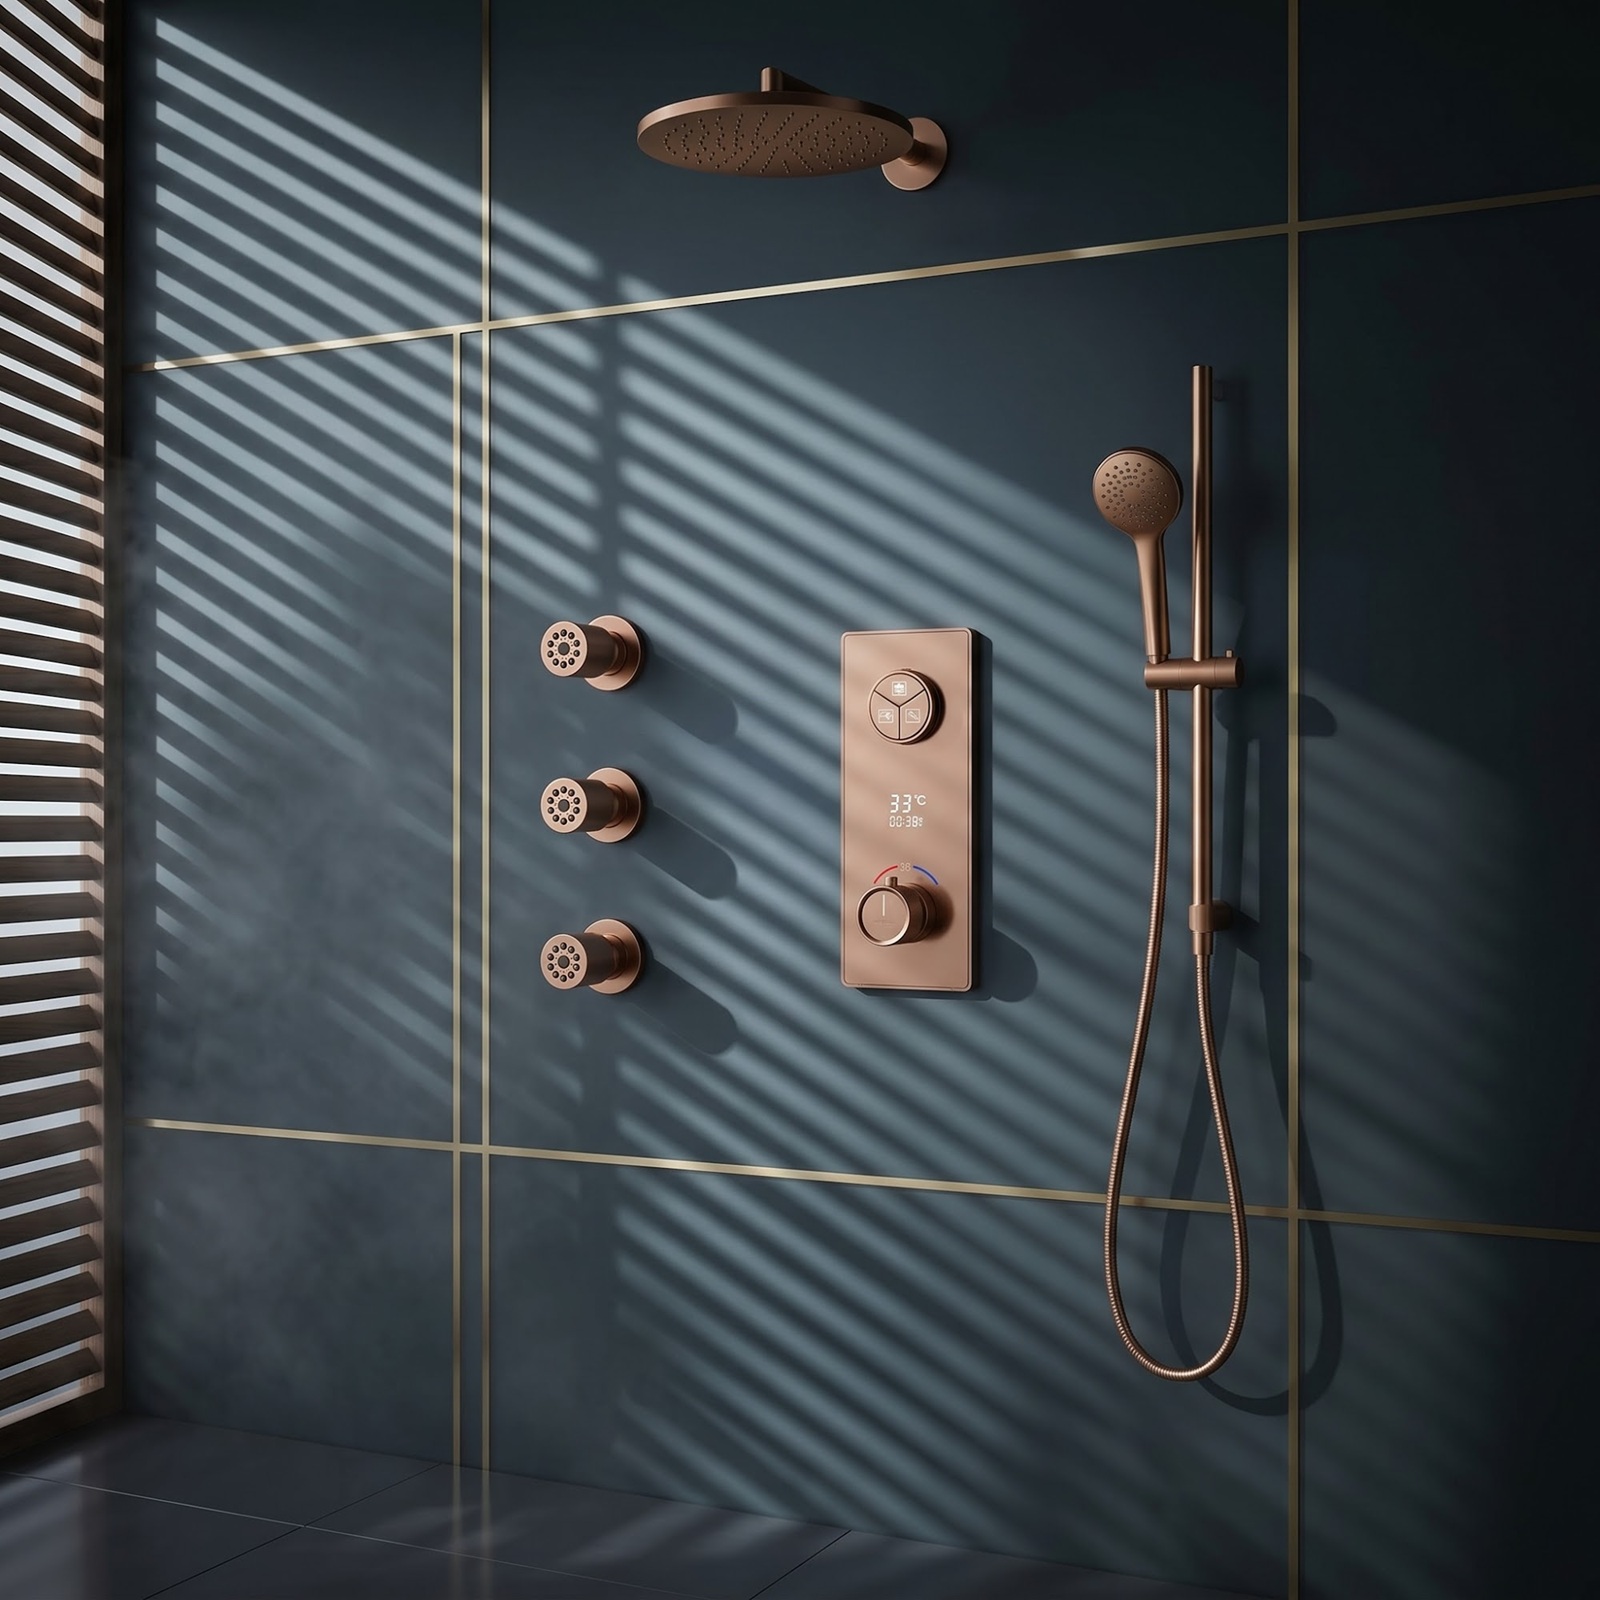
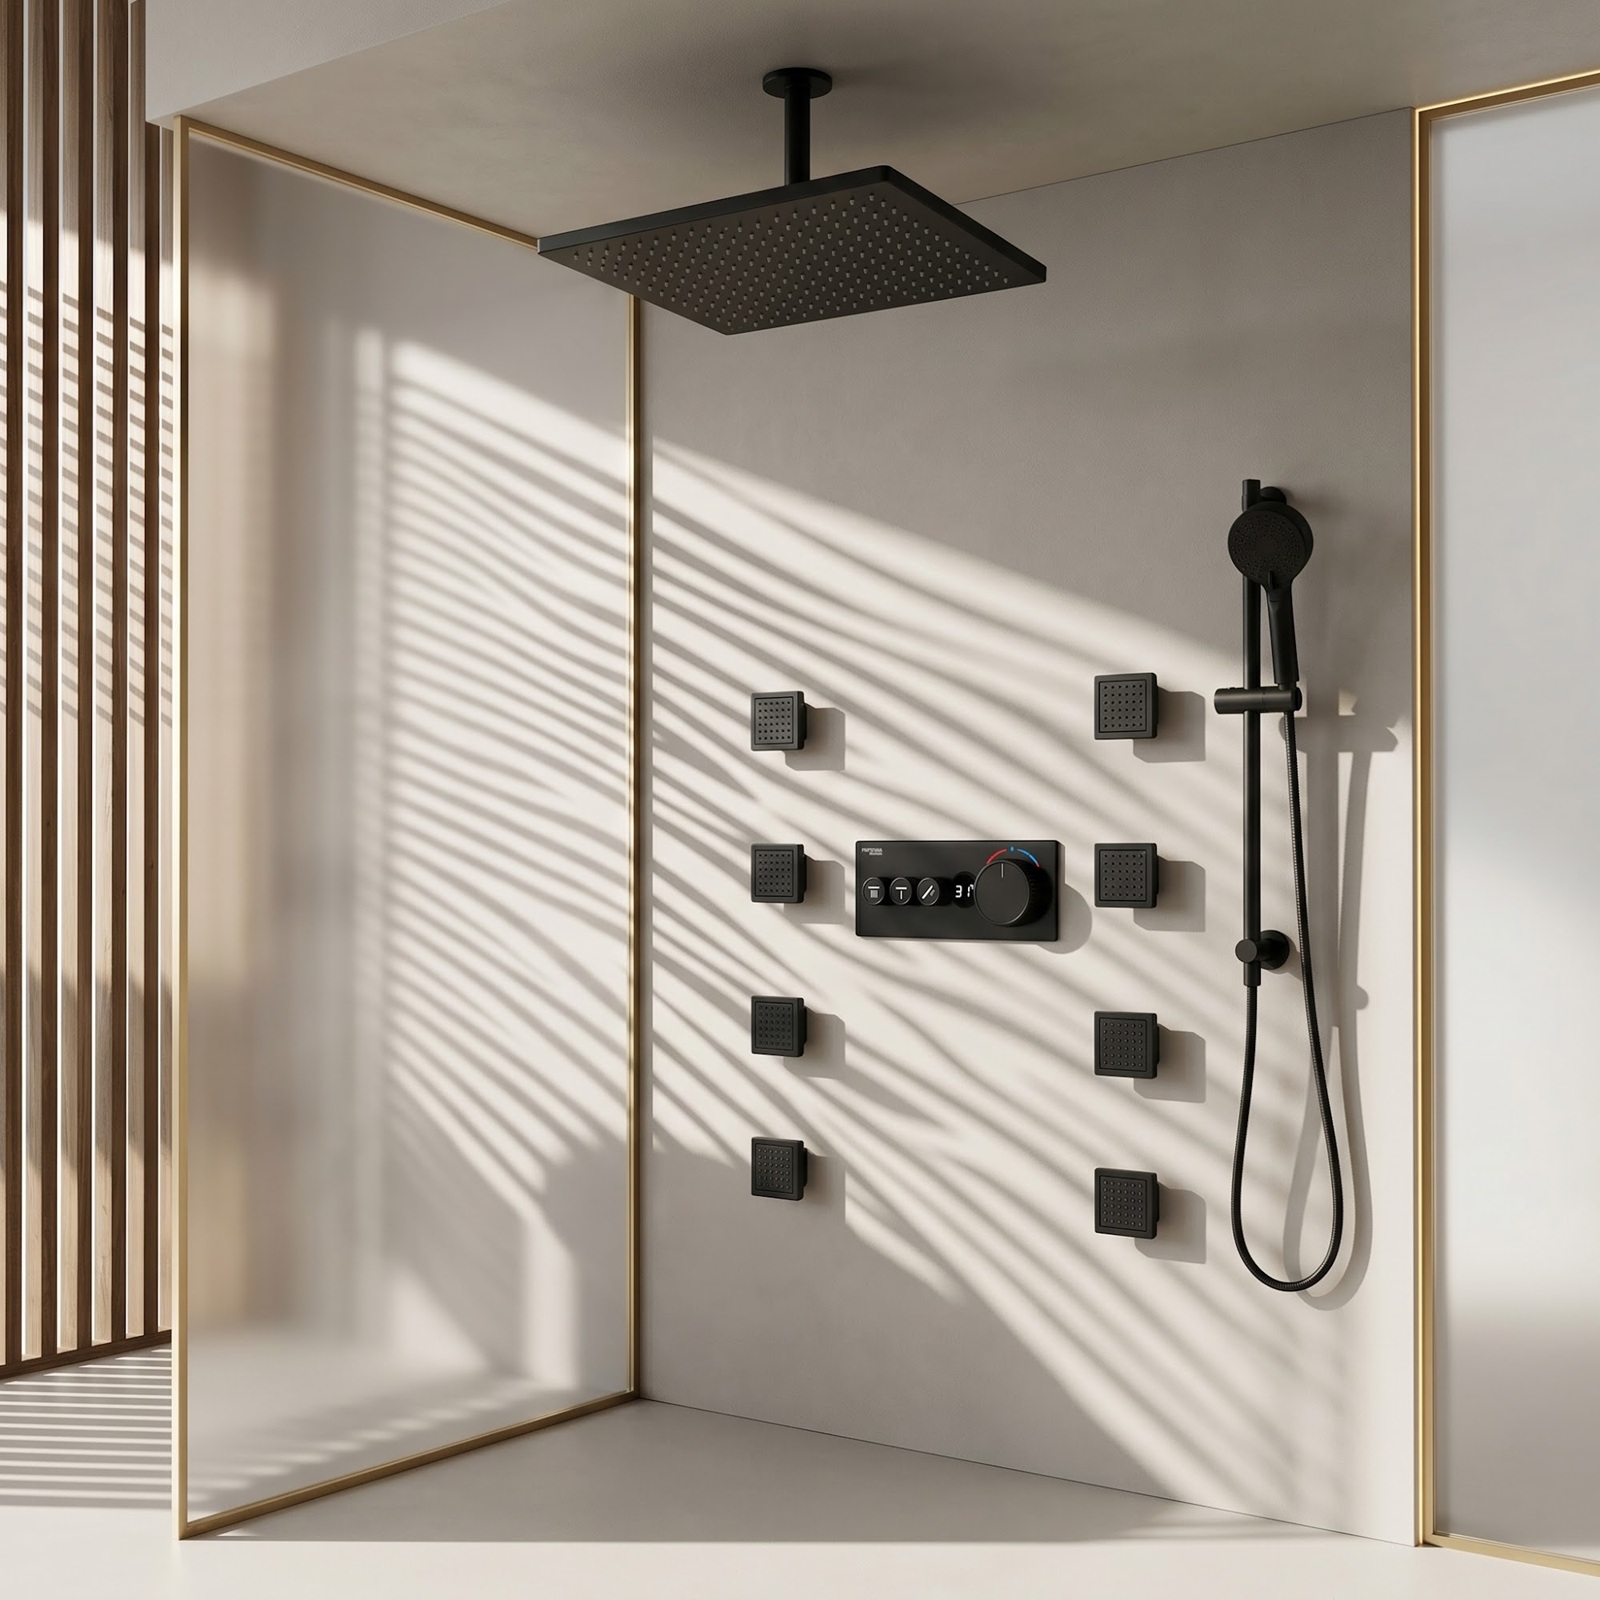
Review may involve the showerhead, valve, mixer, diverter, hand
shower, body jets, control components or other included parts.
Model and finish identification
Photos of installed components
Water-pressure information
Video of operational concerns
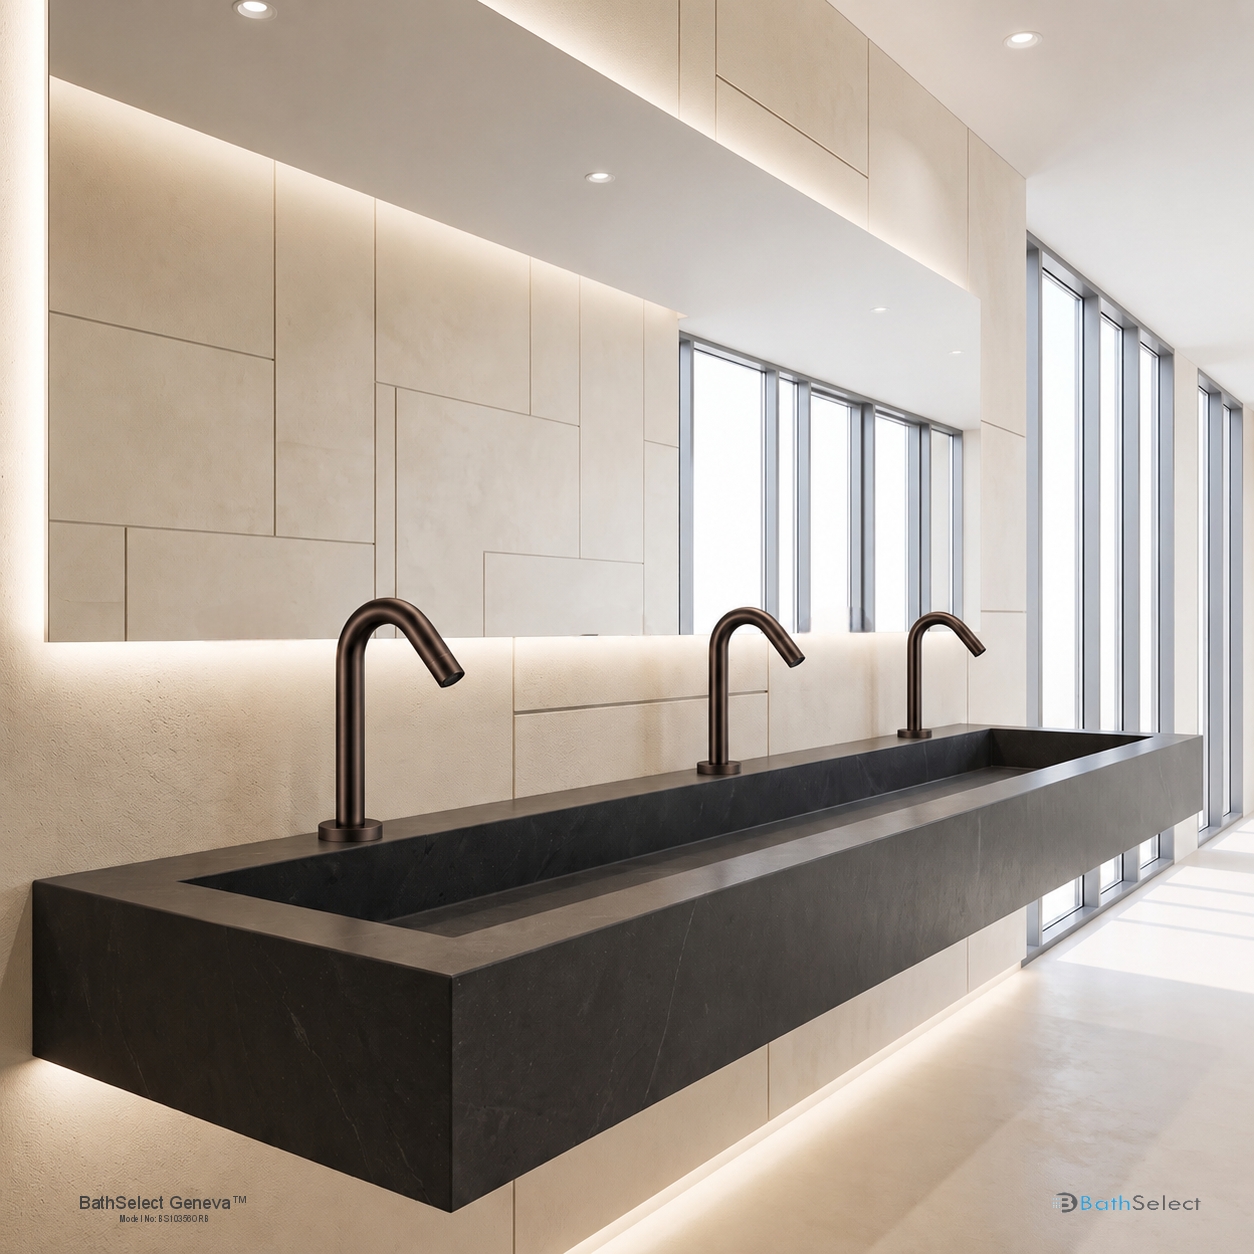
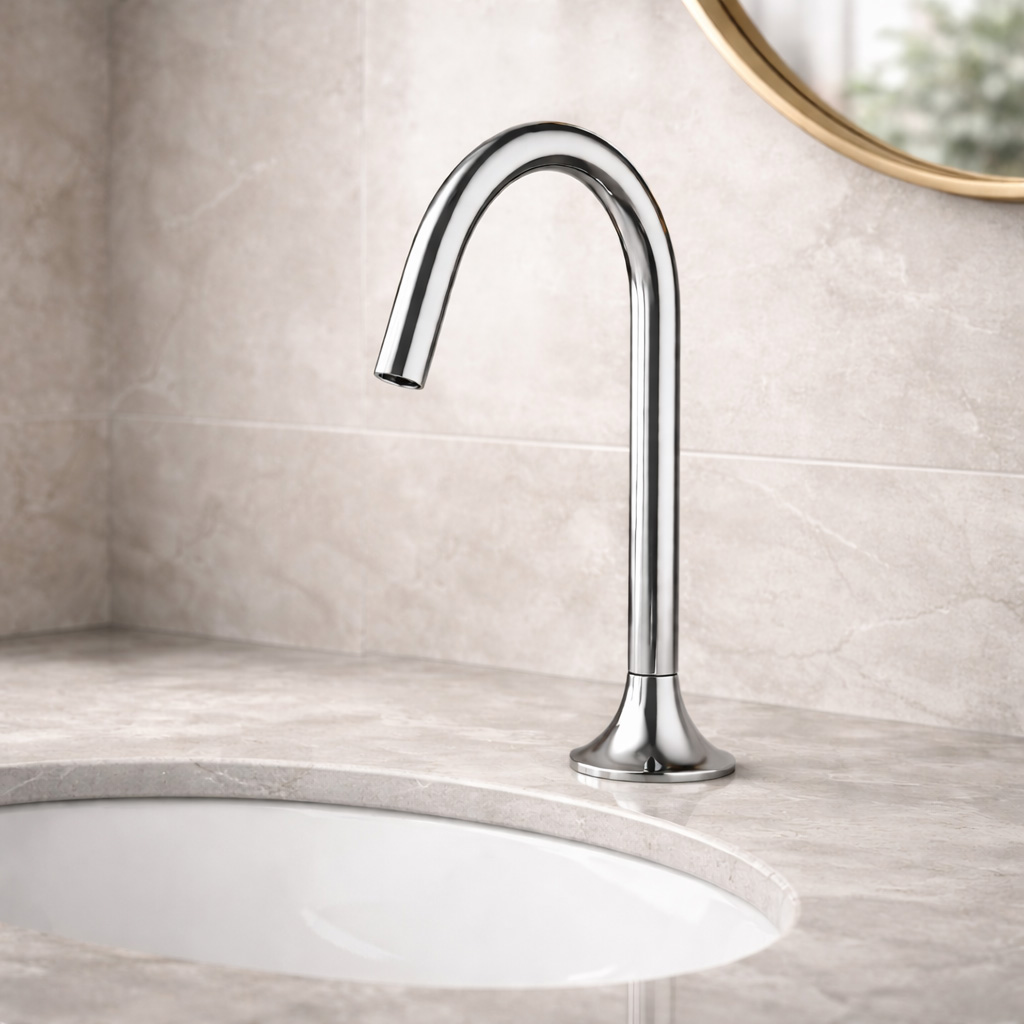
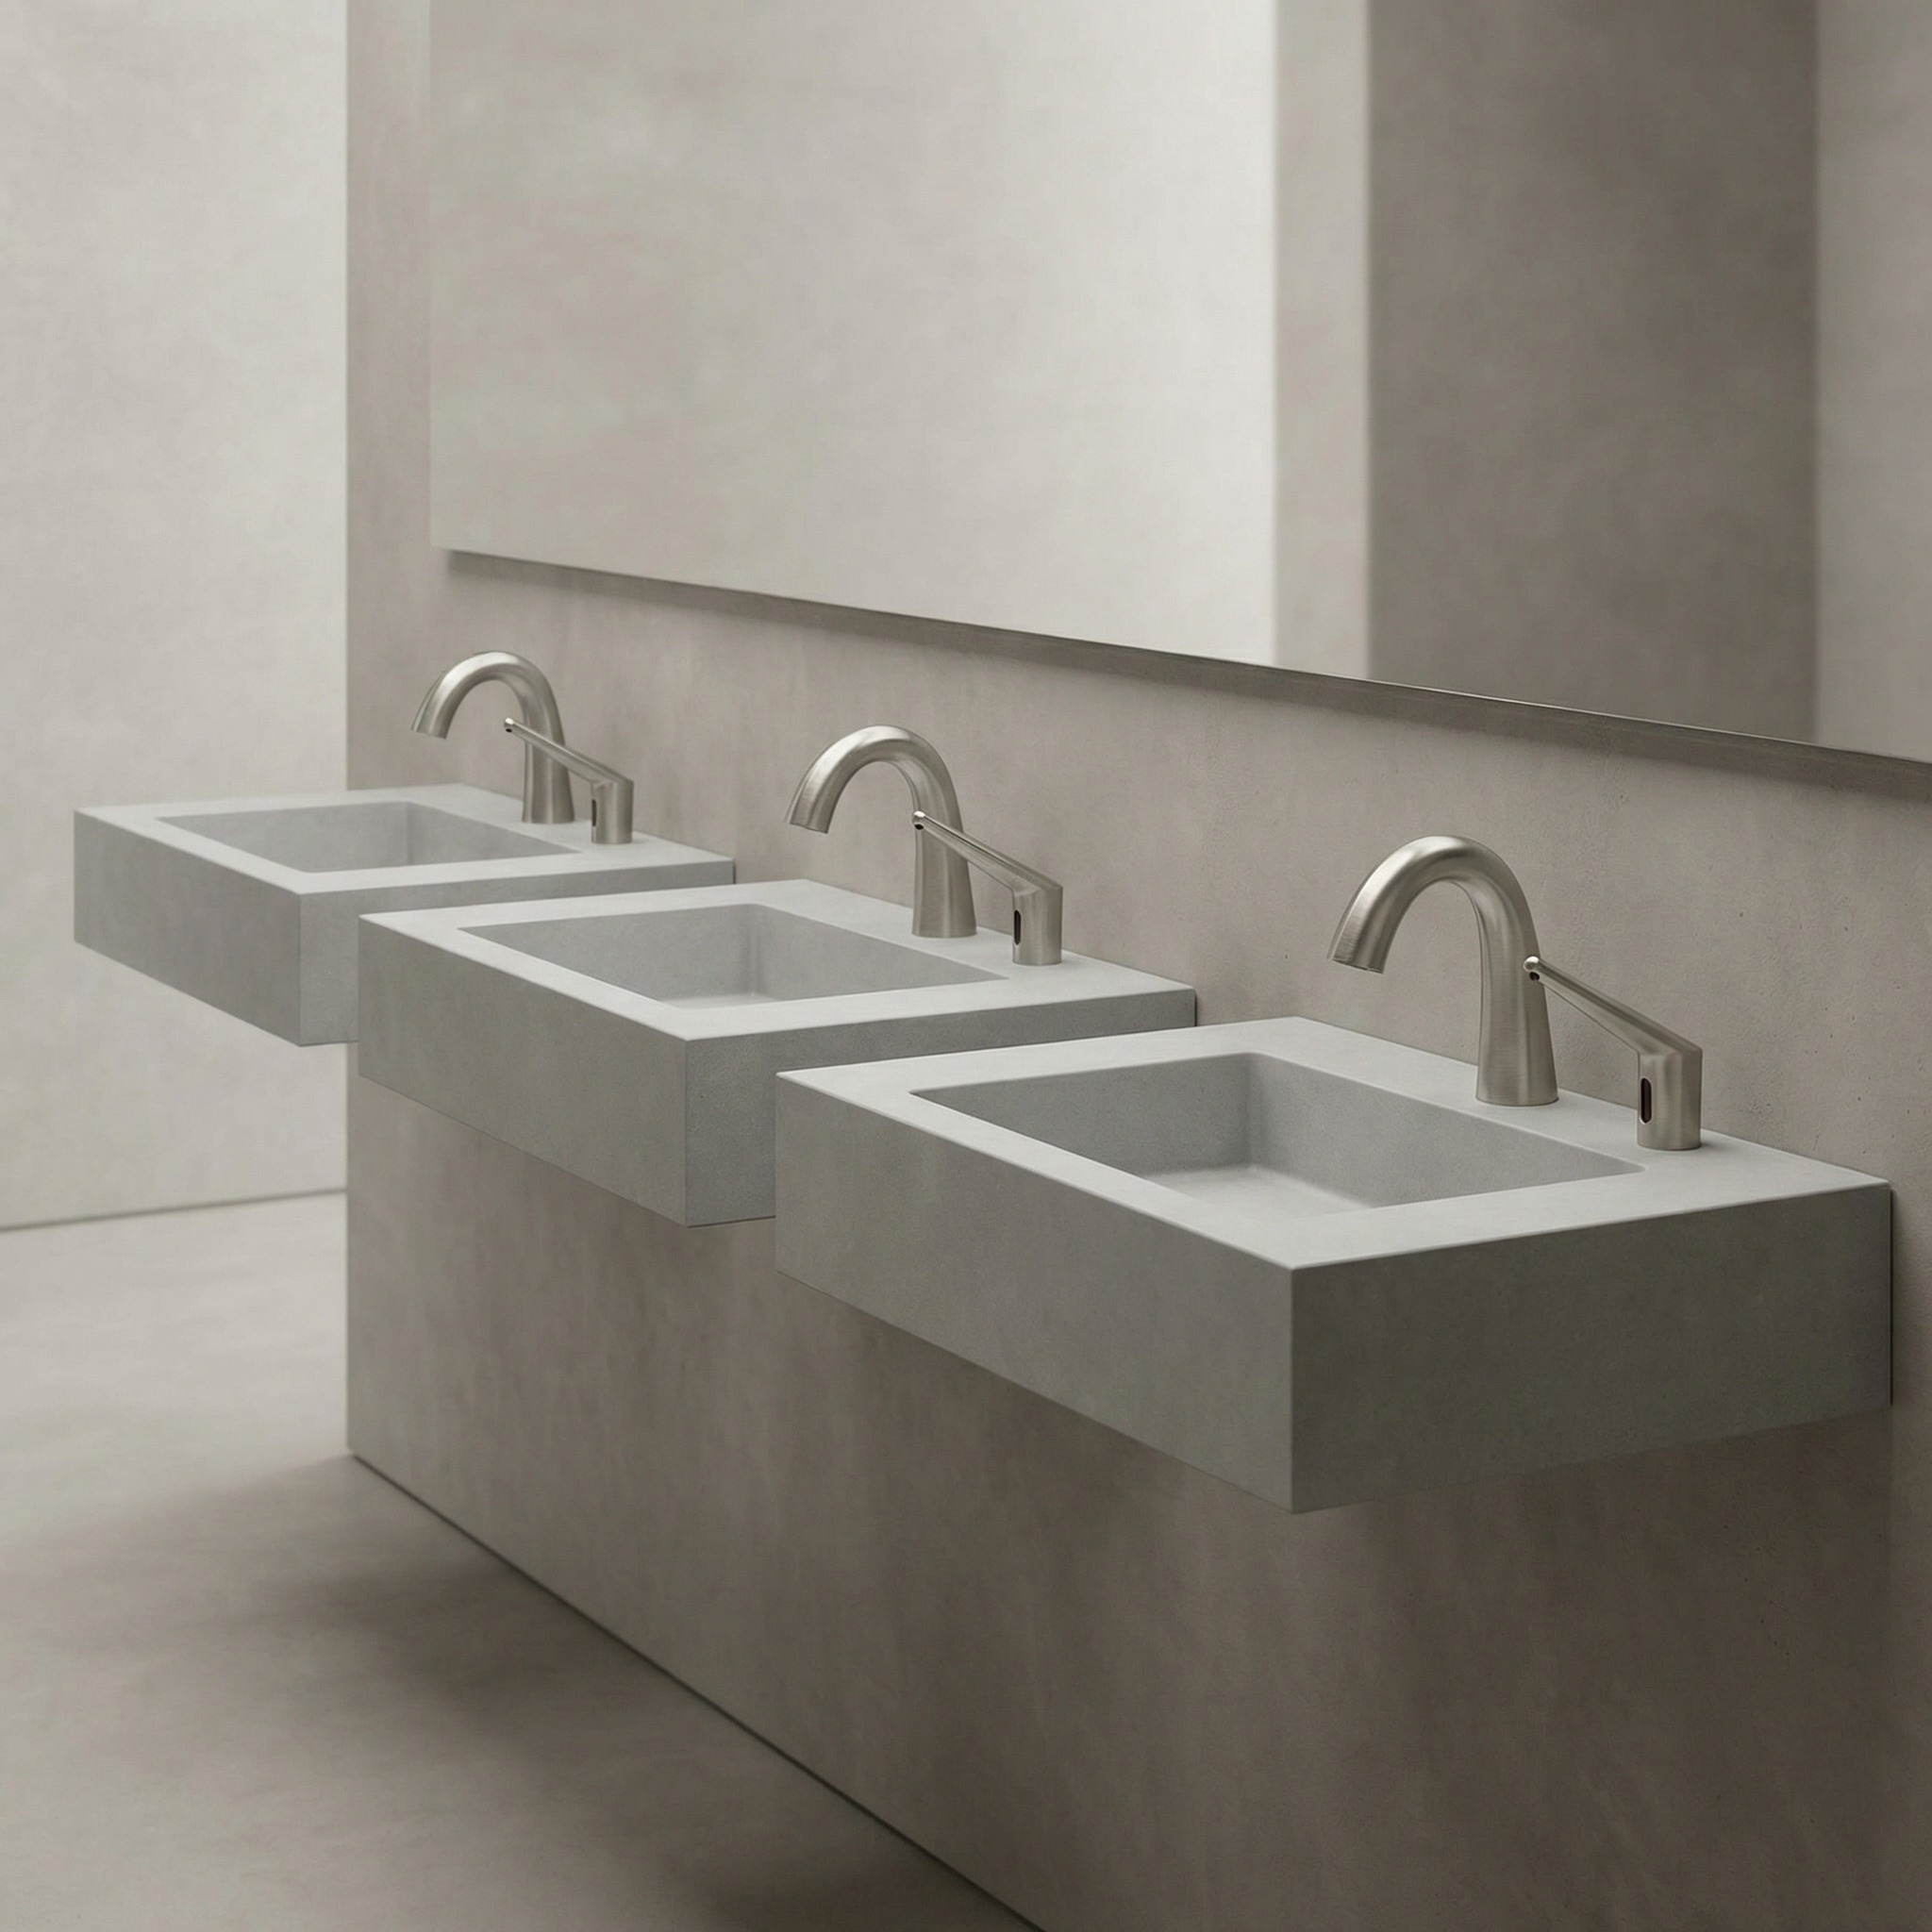
Touchless Systems
Electronic Fixture Assessment
Assessment may require documentation of the power source, sensor,
control box, solenoid, water supply and installation environment.
Power and connection photos
Sensor activation video
Control-box arrangement
Complete sink-area photograph
Special Components
LED and Decorative Elements
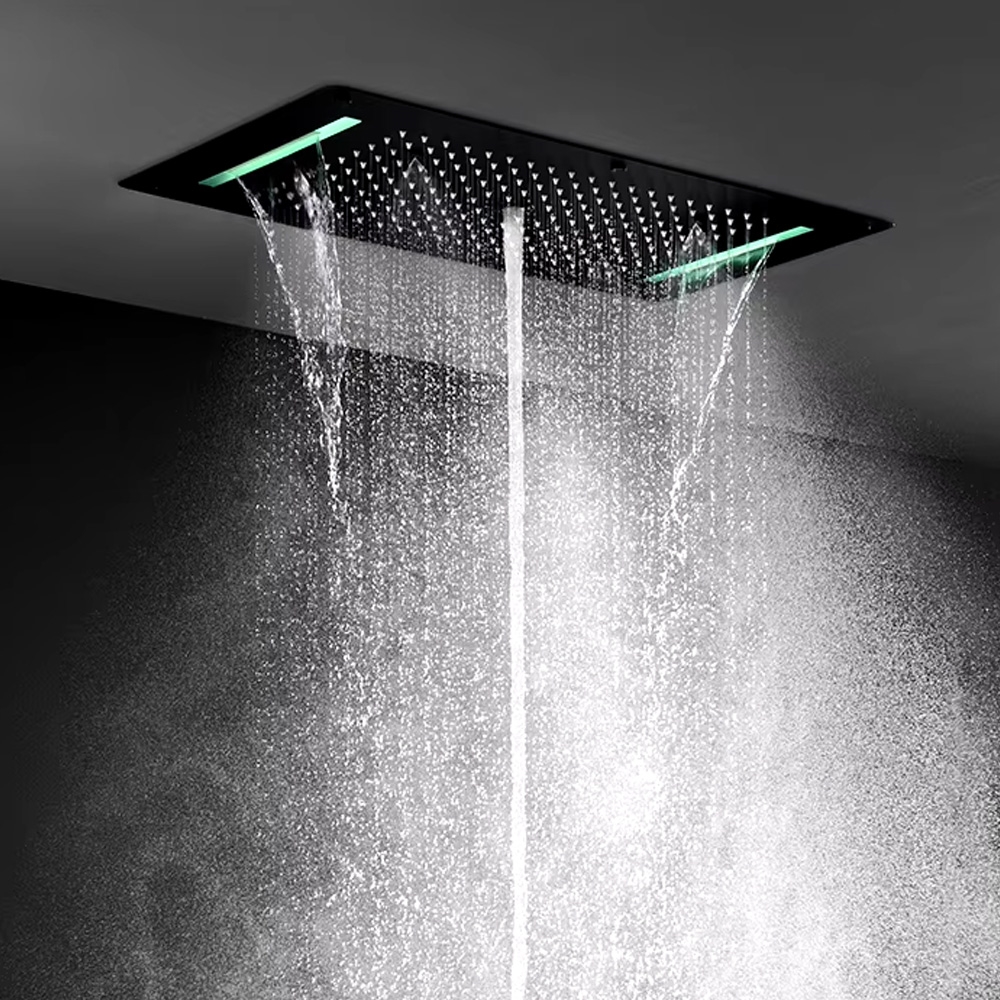
LED lights incorporated into showerheads, faucets and bathtubs
are not included in the warranty.
LED lighting excluded
Normal wear is not a defect
Cleaning damage is excluded
Consumable parts may have separate terms
Residential Warranty
Protection for the Details That Define Your Bathroom
Eligible BathSelect™ fixtures are covered against qualifying
defects in material and workmanship that impair intended use,
subject to the terms and exclusions on this page.
Proof of purchase or proof of original home ownership is required
before a request can be reviewed.
Keep the original invoice
Retain the product model information
Follow installation instructions
Use approved cleaning methods
Finish Care Is Part of Long-Term Protection
Use soft cloths, warm water and non-abrasive cleaning products.
Signature Shower Systems
BathSelect™ Luxury Shower Collections
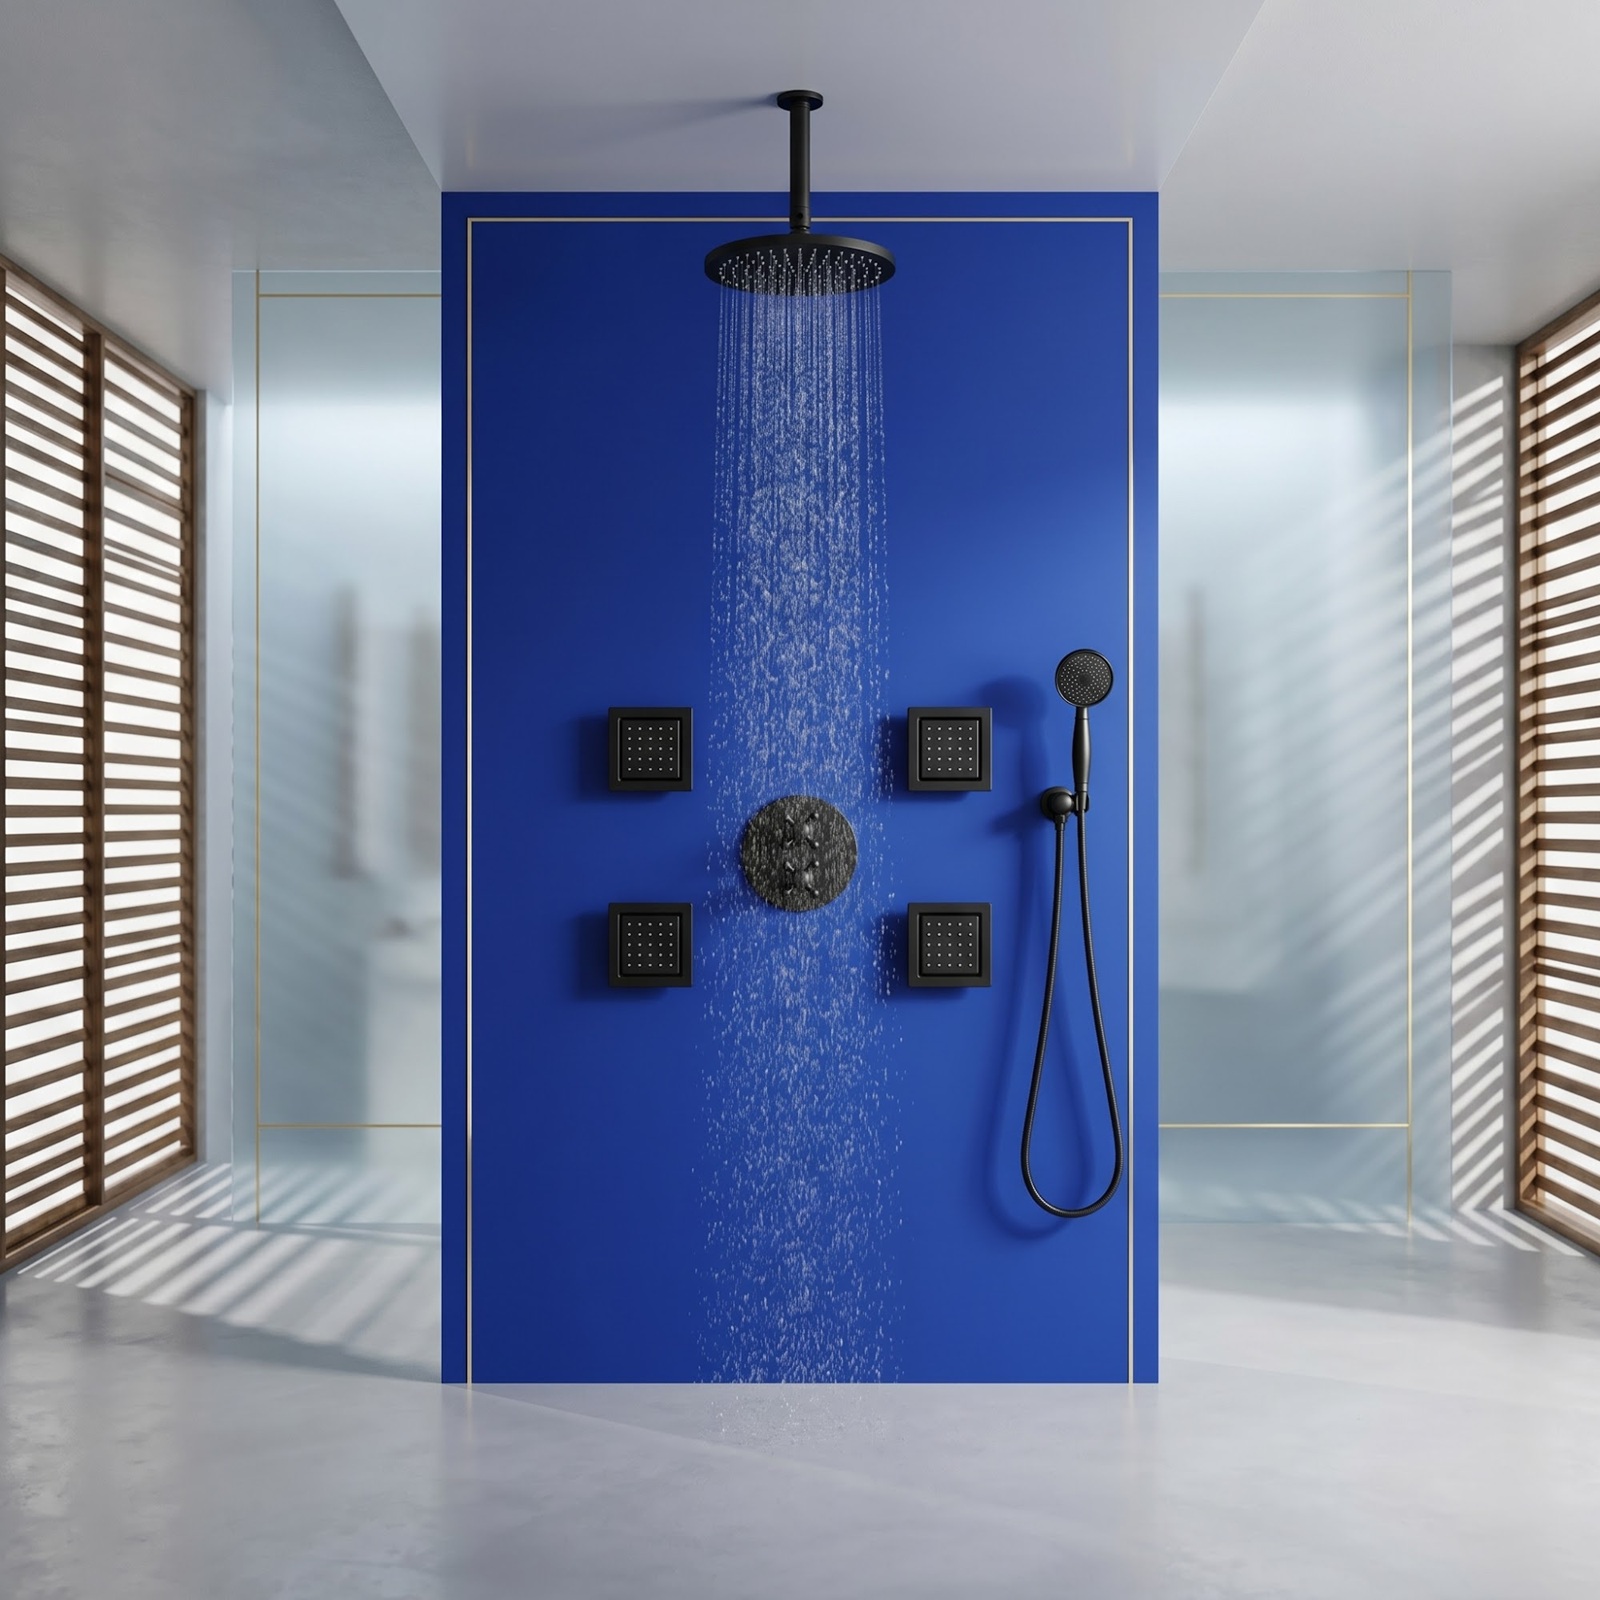
BathSelect™ shower systems may combine thermostatic valves,
diverters, rainfall heads, body jets, hand showers, specialty
finishes and multiple water functions.
Warranty assessment is based on the specific model, affected
component, installation conditions and supporting documentation.
BathSelect Aurelia™ Shower Systems
BathSelect Monarch™ Shower Systems
BathSelect Crystal™ Shower Systems
Thermostatic mixers and diverters
Rainfall heads, body jets and hand showers
Luxury Finishes
Finish-Specific Care and Documentation
Damage caused by abrasive cleaners, harsh chemicals or improper
maintenance is not considered a manufacturing defect.
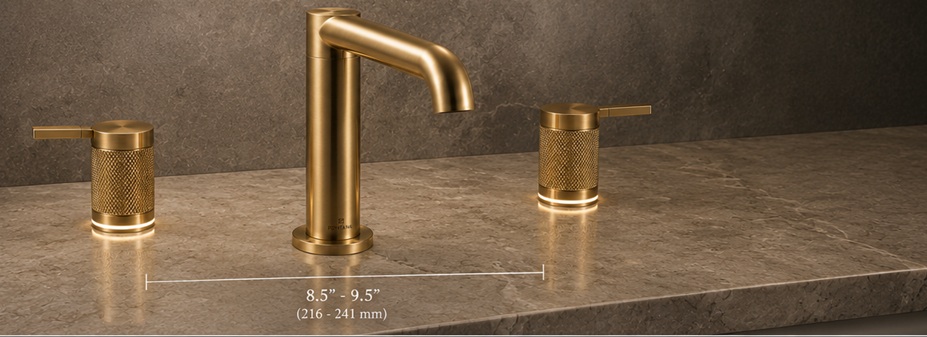
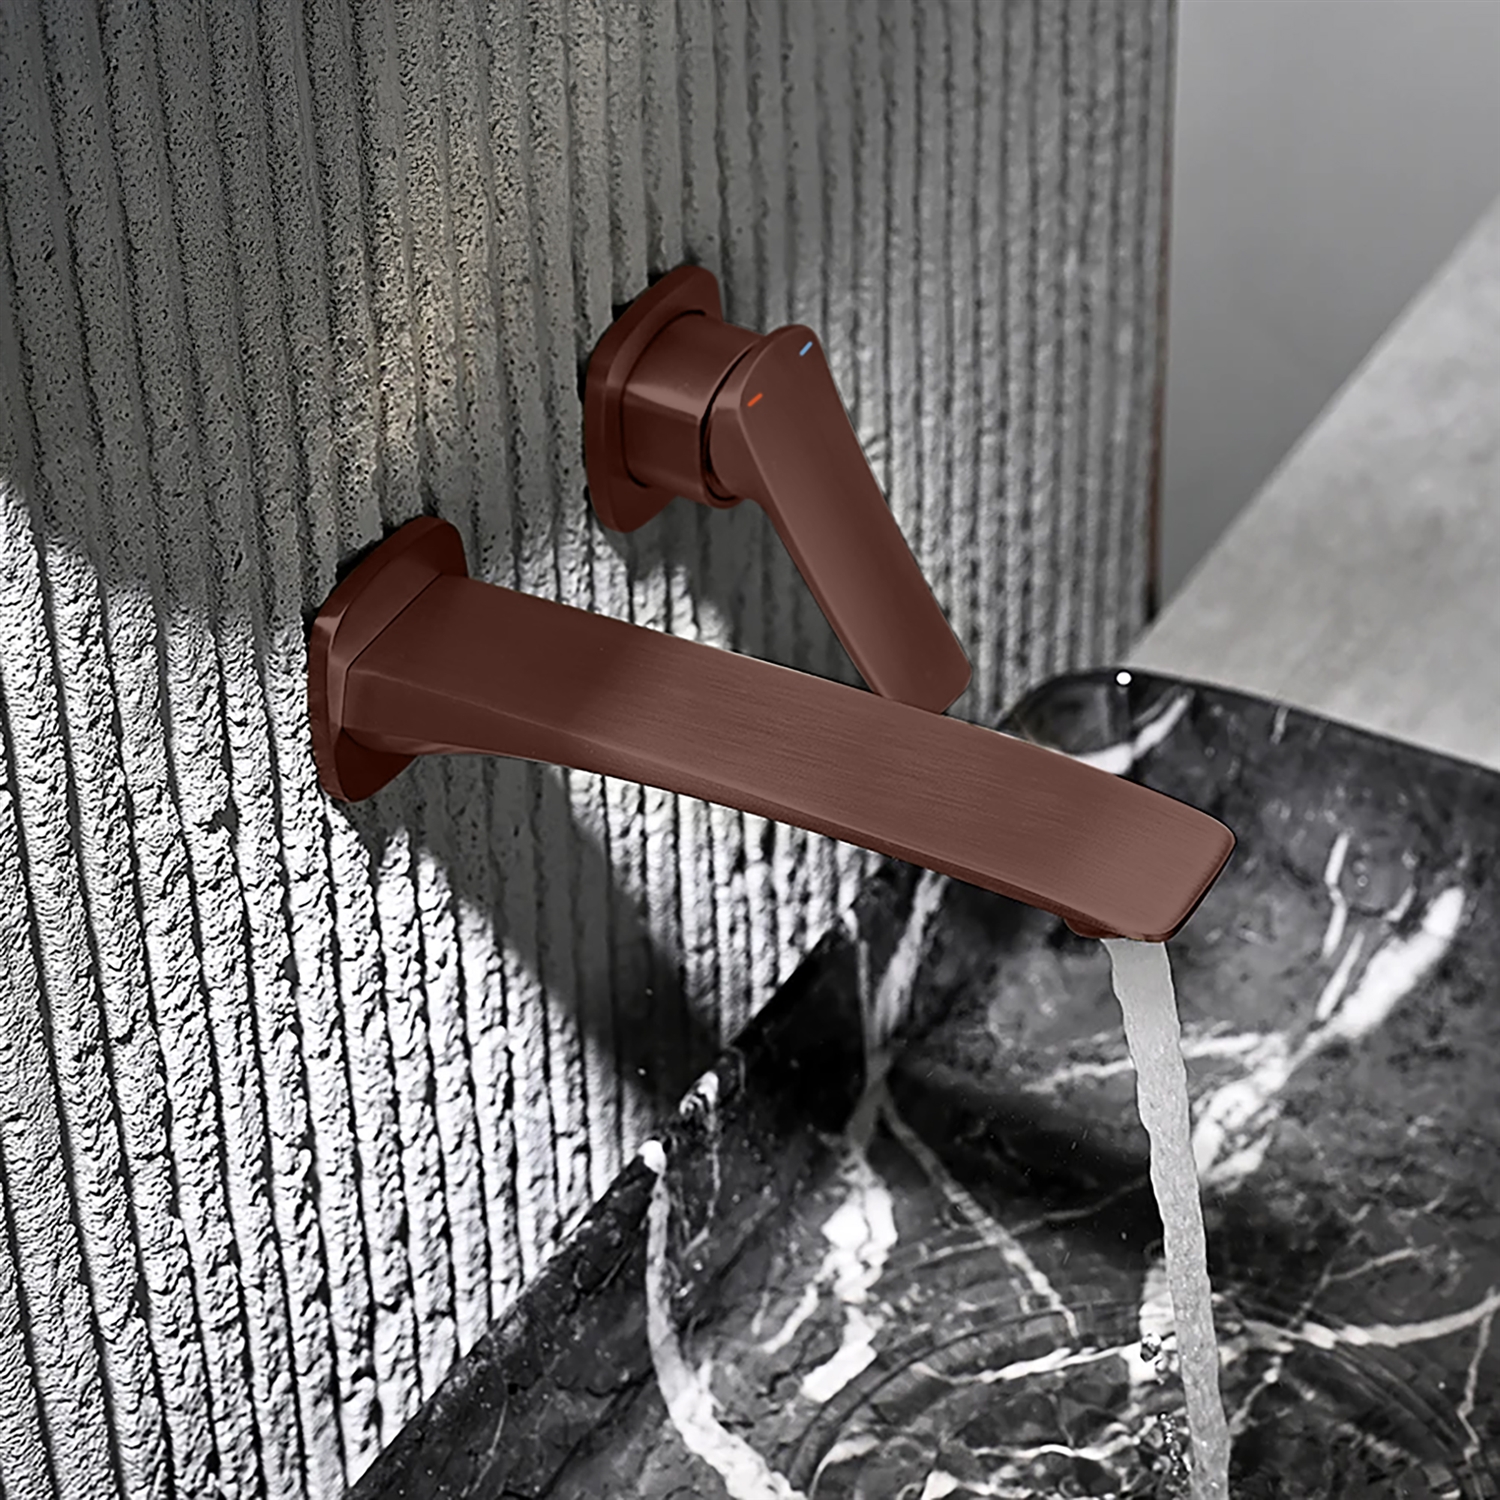
Luxury Faucet and Handle CollectionsRetain model and finish information.
Brushed Gold and Specialty FinishesAvoid abrasive polishing compounds.
Bronze and Architectural FinishesUse gentle, non-acidic cleaners.
BathSelect Hospitality™
Support for Luxury Hotels, Resorts and Premium Developments
BathSelect Hospitality™ products are specified for guest rooms,
suites, spas, resorts and premium commercial bathrooms.
Unless separate written terms apply, hospitality installations
are considered commercial applications.
Identify the property and project
Provide room or fixture location
List model, finish and quantity
Include service records when available
BathSelect Hospitality™ Collections
Warranty Guidance Across Signature Collections
Each collection may include different controls, finishes, components
and installation requirements.
Connected Luxury
BathSelect Hospitality™ SmartSpa Collection
Digitally enhanced products requiring documentation of controls,
power, water delivery and installation conditions.
Premium Guest Suites
BathSelect Hospitality™ Executive Collection
Refined fixtures for executive suites and luxury guest rooms where
finish consistency and reliable operation are essential.
Resort Environments
BathSelect Hospitality™ Resort Collection
Spa-inspired products for resort bathrooms and high-use
hospitality environments.
High-End Performance
BathSelect Hospitality™ Elite Collection
Coordinated luxury fixtures developed for premium hospitality
interiors.
Immersive Design
BathSelect Hospitality™ Infinity Collection
Expansive shower concepts incorporating coordinated controls,
outlets and specialty components.
Specification Focused
BathSelect Hospitality™ Architectural Collection
Architectural fixtures for design-led projects supported by
schedules, drawings and installation records.
BathSelect Monarch™ Collection
Architectural design supported by structured documentation and
approved maintenance.
Claim Documentation
What to Include With Your Request
Complete information helps the BathSelect™ support team review the
request efficiently and reduces repeated follow-up.
A technical review helps determine whether a concern may relate
to the product, installation, maintenance, water conditions or
another external factor.
Complex shower systems, smart fixtures and touchless faucets may
require several connected components to be reviewed together.
Product Identification
Model, finish, configuration and affected component.
Visual Documentation
Close-up and full-installation photographs.
Operating Evidence
Video for leaks, flow or sensor behavior.
Installation Review
Supply, mounting, valve and power arrangements.
Troubleshooting
Testing may be requested before resolution.
Resolution Decision
Available remedies depend on eligibility and review results.
Product Engineering
Complex Shower Systems Are Reviewed as Coordinated Assemblies
A multi-function shower may include a mixer, diverter, rainfall
head, hand shower, body jets, hoses and controls.
A concern affecting one function may originate from another
component or from the surrounding plumbing system.
BathSelect Aurelia™ Shower Systems
BathSelect Monarch™ Shower Systems
BathSelect Crystal™ Shower Systems
Thermostatic control components
Multi-outlet delivery systems
Smart shower fixtures
Replacement Components
Why Compatible BathSelect™ Components Matter
Replacement parts must correspond with the model, connection type,
finish and original product configuration.
01 / VALVES
Mixing Valves
Valve bodies must match the original system arrangement.
02 / CARTRIDGES
Cartridges
Selection depends on the product and operating function.
03 / CONTROLS
Handles and Controls
Visible parts must match the mounting and finish.
04 / DIVERTERS
Diverters
Compatibility depends on the number of water outlets.
05 / OUTLETS
Shower Outlets
Rain heads, body jets and hand showers may be model specific.
06 / SENSORS
Sensor Components
Touchless systems may require model-specific sensors.
07 / SOLENOIDS
Solenoids
Compatibility depends on voltage and connection arrangement.
08 / POWER
Power Supplies
Electronic fixtures require the correct power specification.
Replacement-part selection should begin with the affected function and the original fixture record rather than with the visible appearance of the component. Architects, Engineers, Consultants, contractors, facility managers, service technicians, and ownership teams should identify the exact model or SKU, collection, finish, installation location, affected function, valve or control arrangement, connection type, electrical requirements where applicable, component dimensions, previous troubleshooting, and available photographs before a cartridge, diverter, sensor, solenoid, power component, handle, or other service part is approved. Access, modularity, isolation, diagnostic clarity, and field-replacement feasibility can be evaluated through BathSelect Serviceability Engineering, repair frequency, component renewal, service history, and eventual replacement decisions can be considered through BathSelect Lifecycle Engineering, and model identification, technical documentation, warranty review, and replacement-part assistance can be coordinated through BathSelect Warranty and Product Support so diagnosis, part compatibility, targeted repair, and future maintenance remain connected to one traceable product-service record.
Genuine Product Compatibility
Do Not Select Replacement Parts by Appearance Alone
Handles, cartridges, valves and electronic parts may look similar
while using different dimensions or internal mechanisms.
Confirm the product model
Identify the finish
Photograph the affected part
Show removed parts when requested
Do not force incompatible components
Product Documentation
Photographs That Strengthen a Warranty Request
Close-up images document the concern while wider images show the
installation context.
Close-Up DetailShow the affected surface or component.
Complete InstallationShow the sink, connections and surroundings.
Control and Power ArrangementDocument sensors, cables and controls.
Luxury Finish Families
Identify the Finish Before Requesting a Replacement
The correct finish name helps identify compatible visible components
and supports accurate finish review.
Polished Chrome
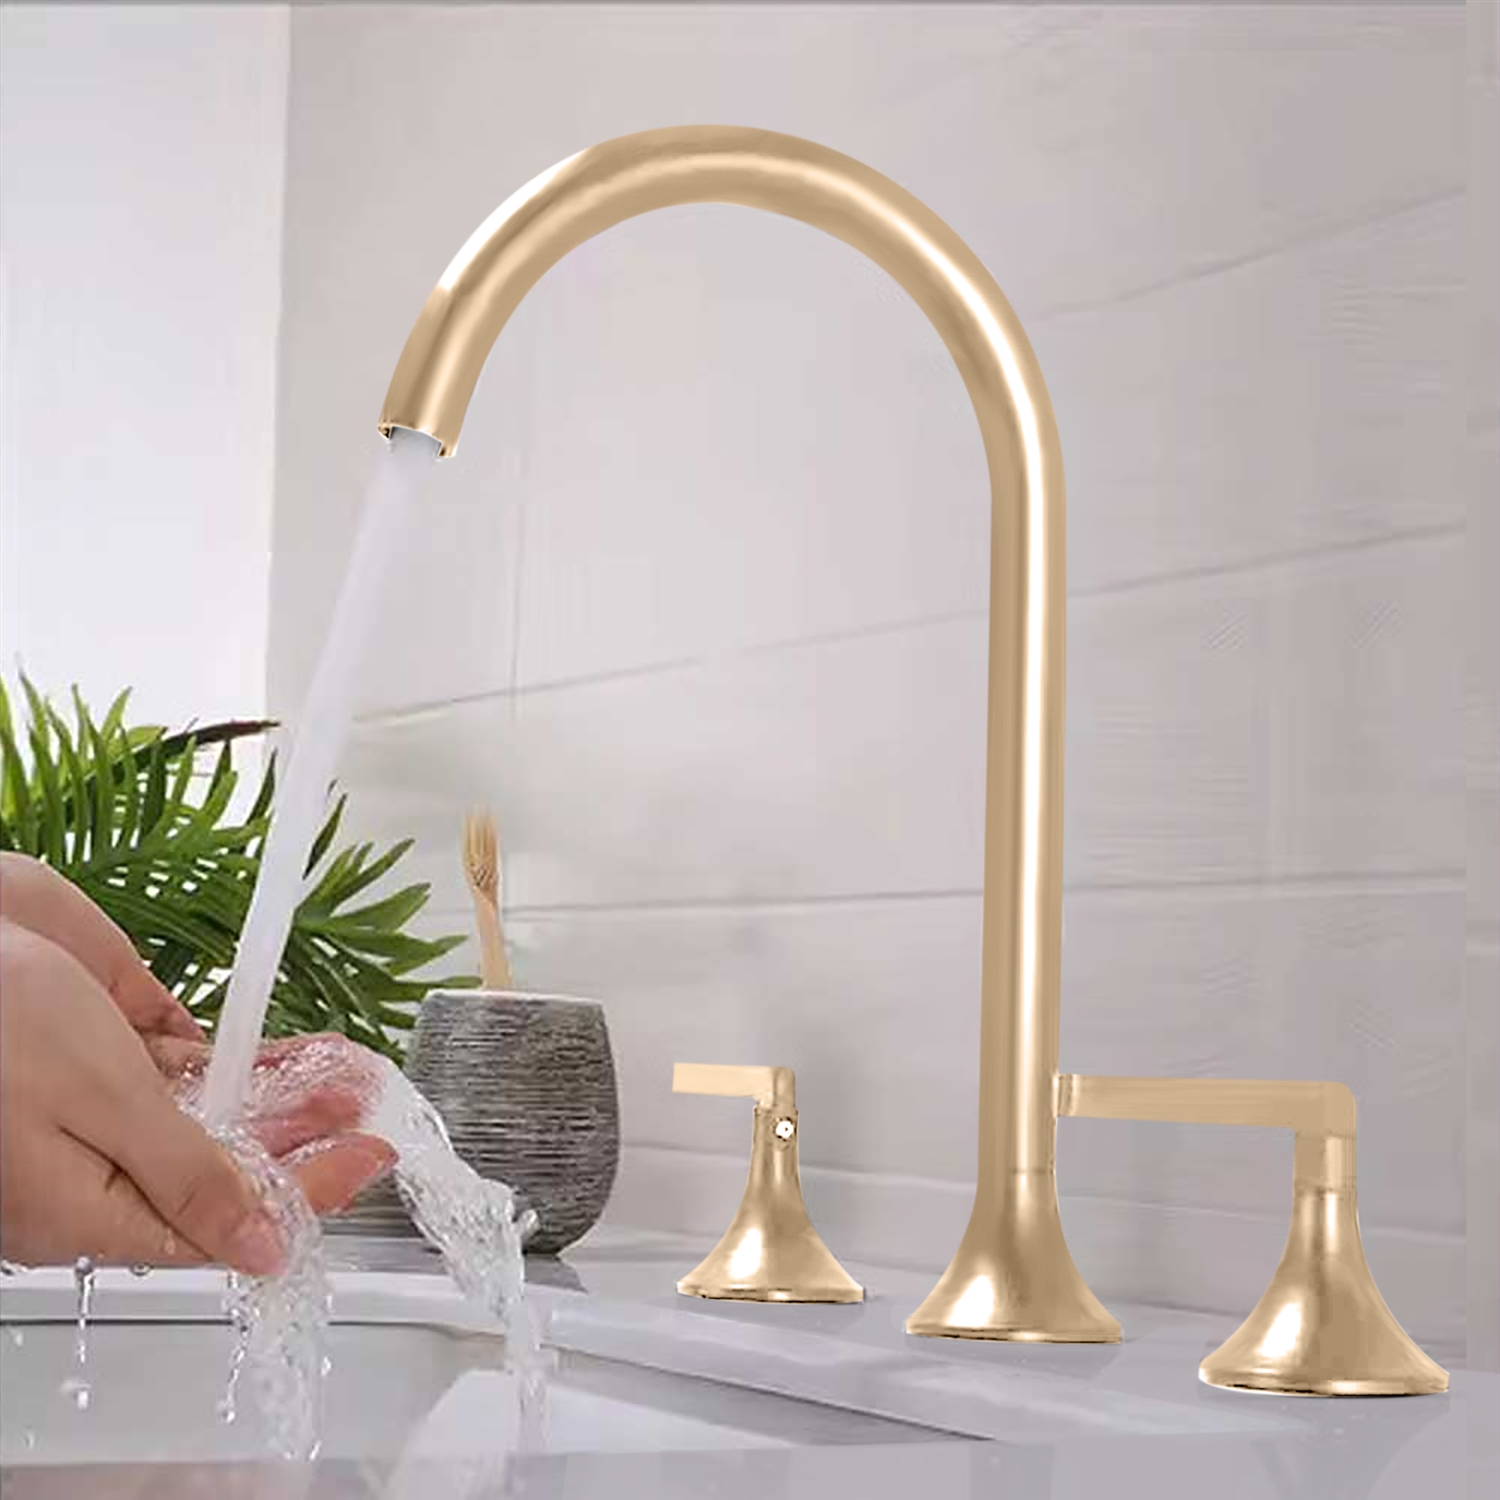
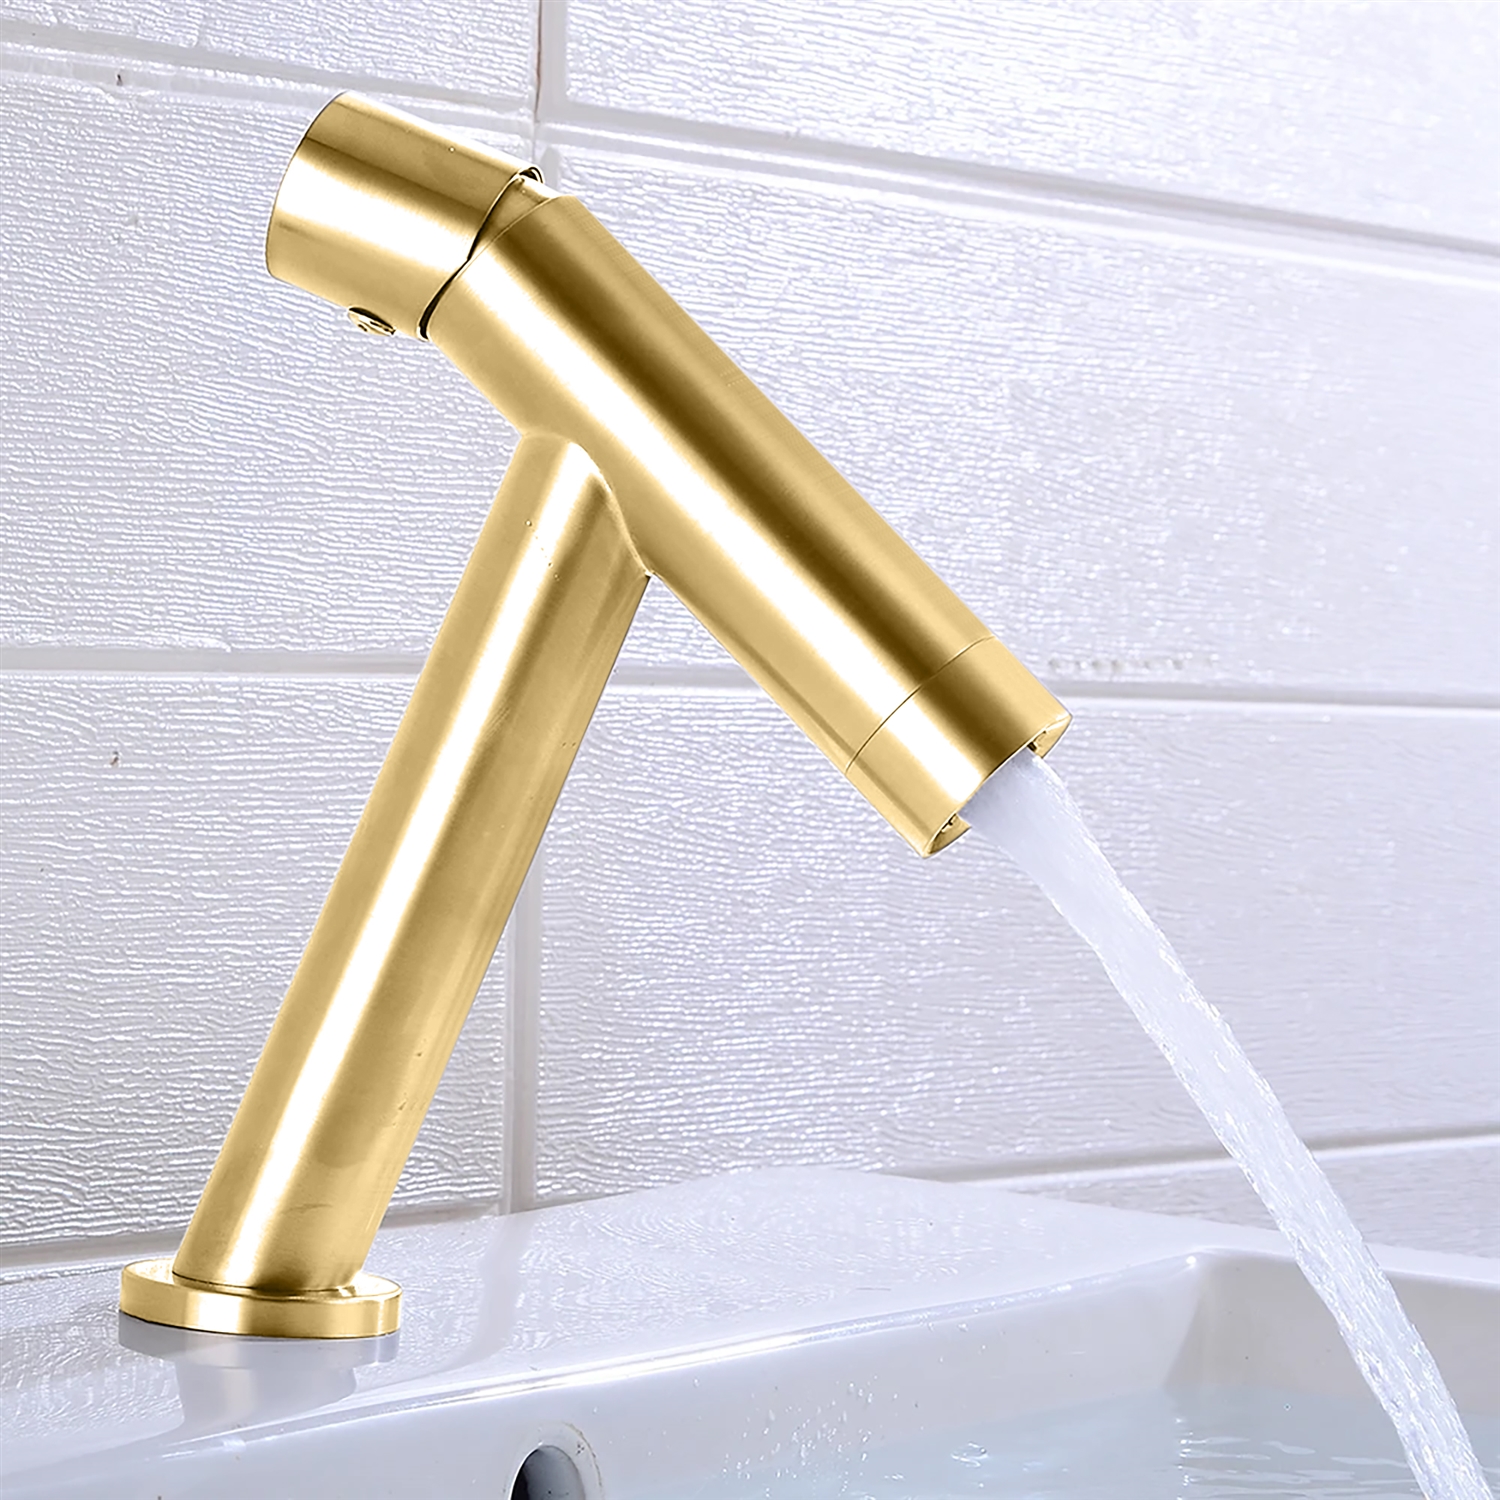
Brushed Gold
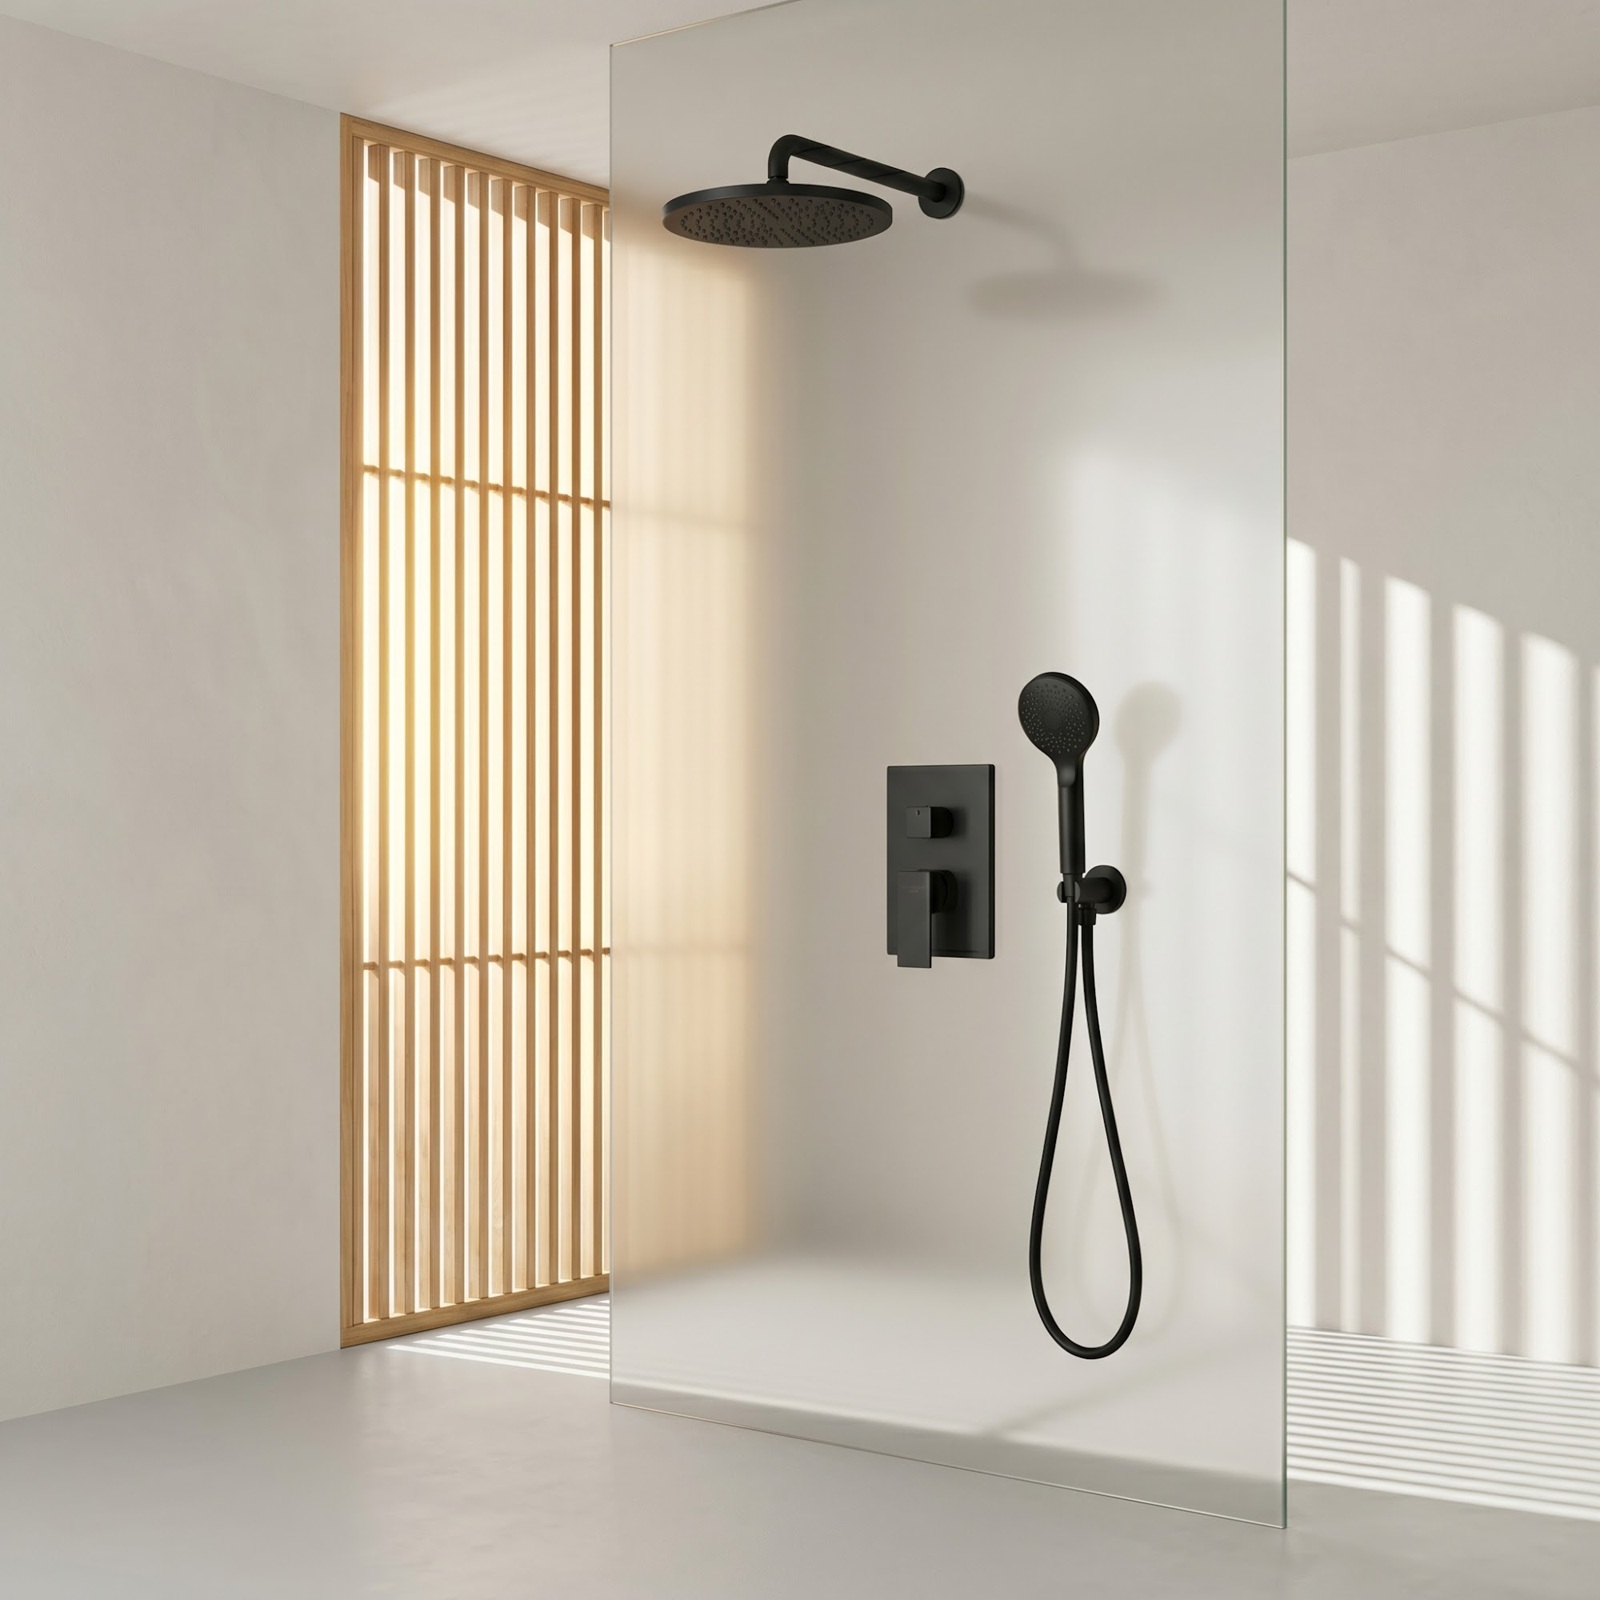
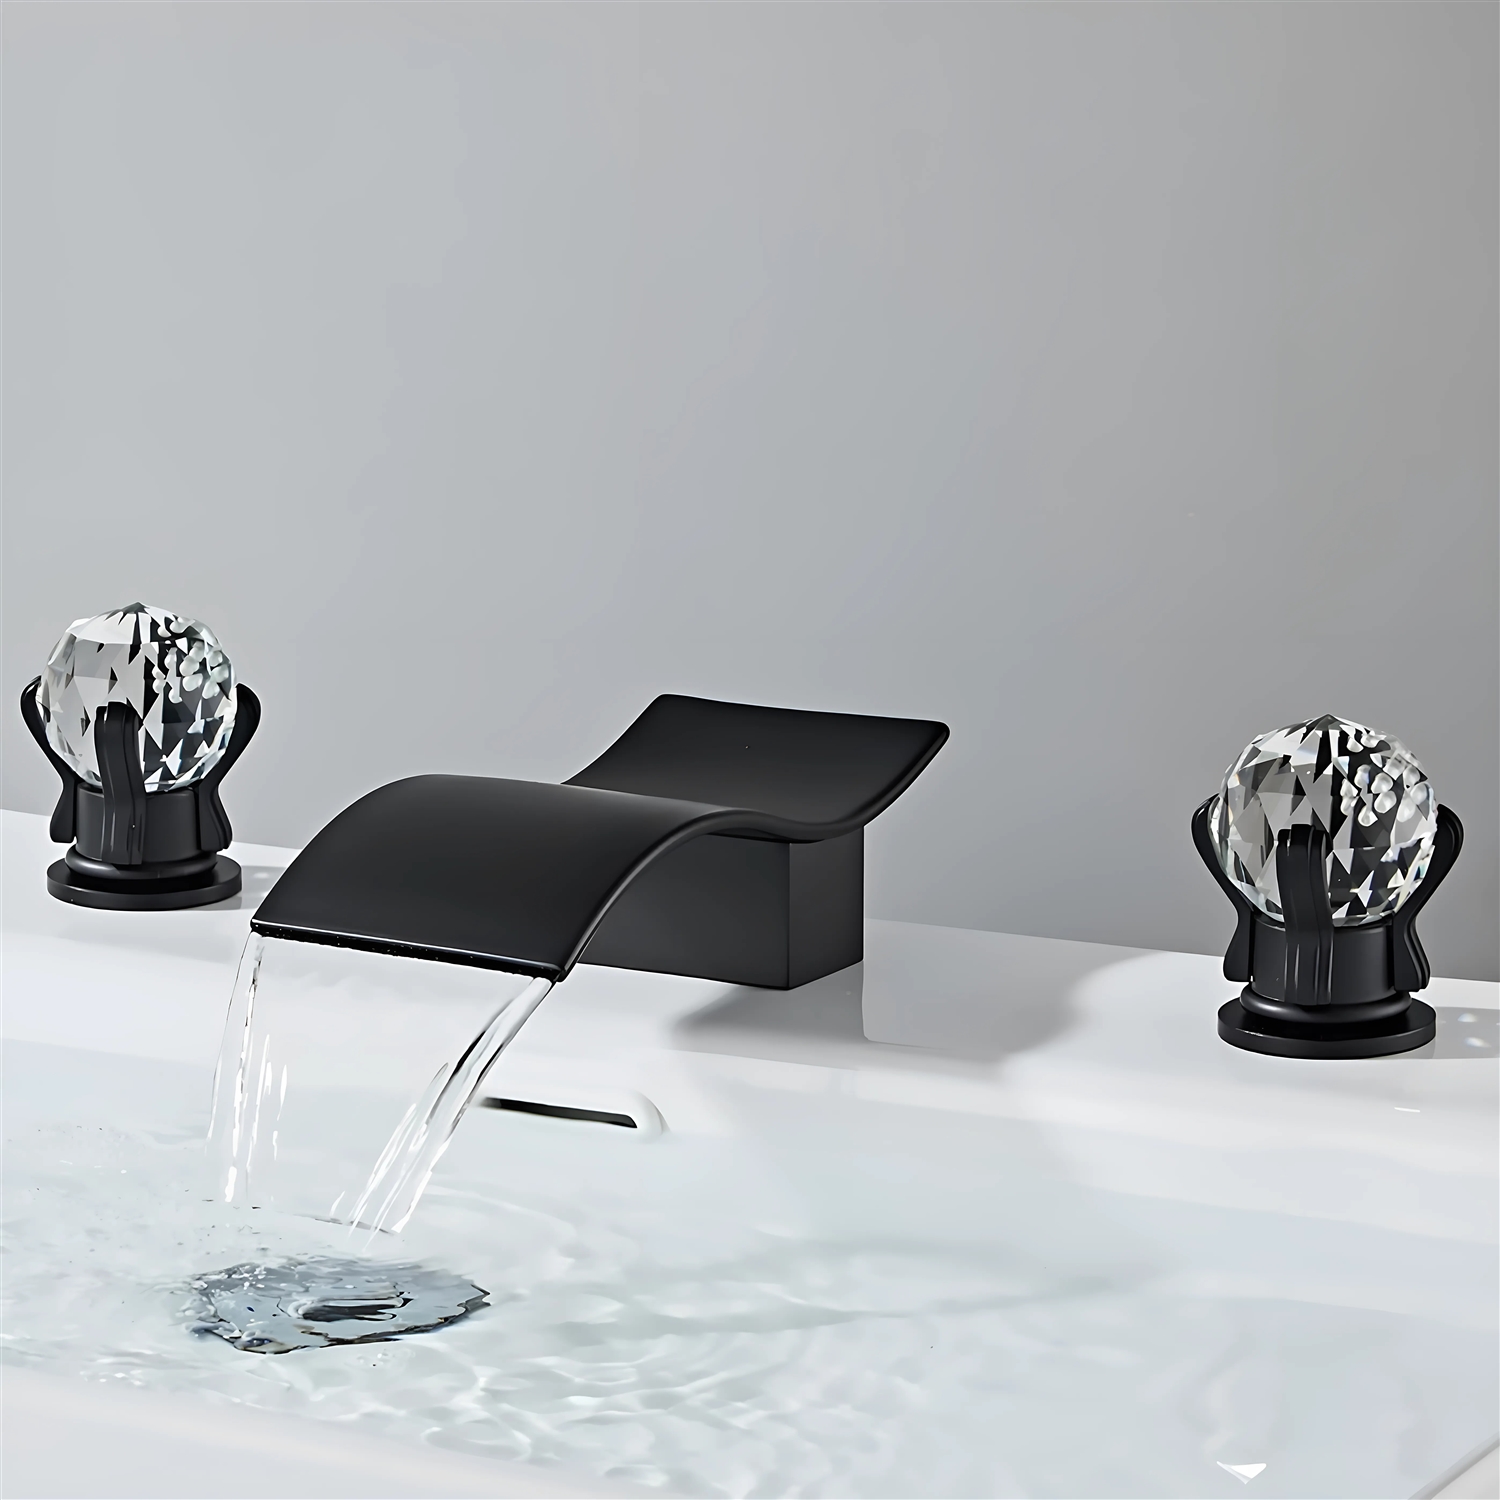
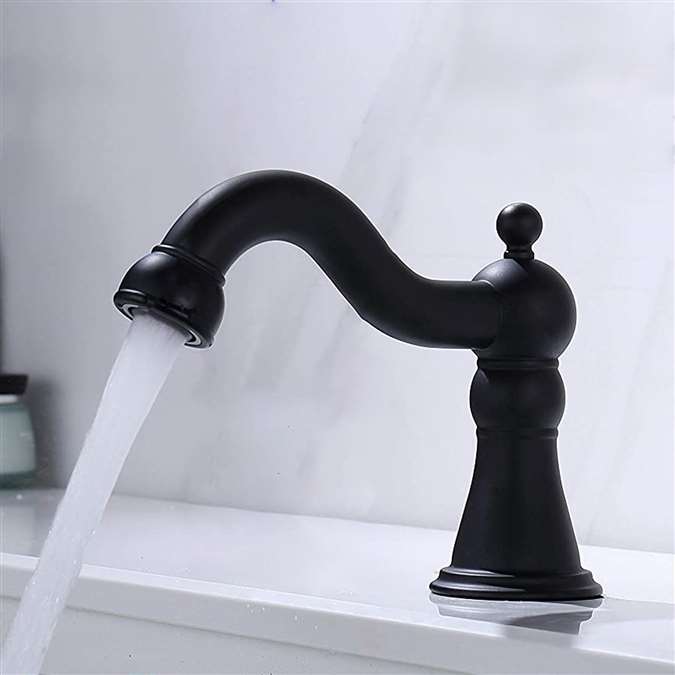
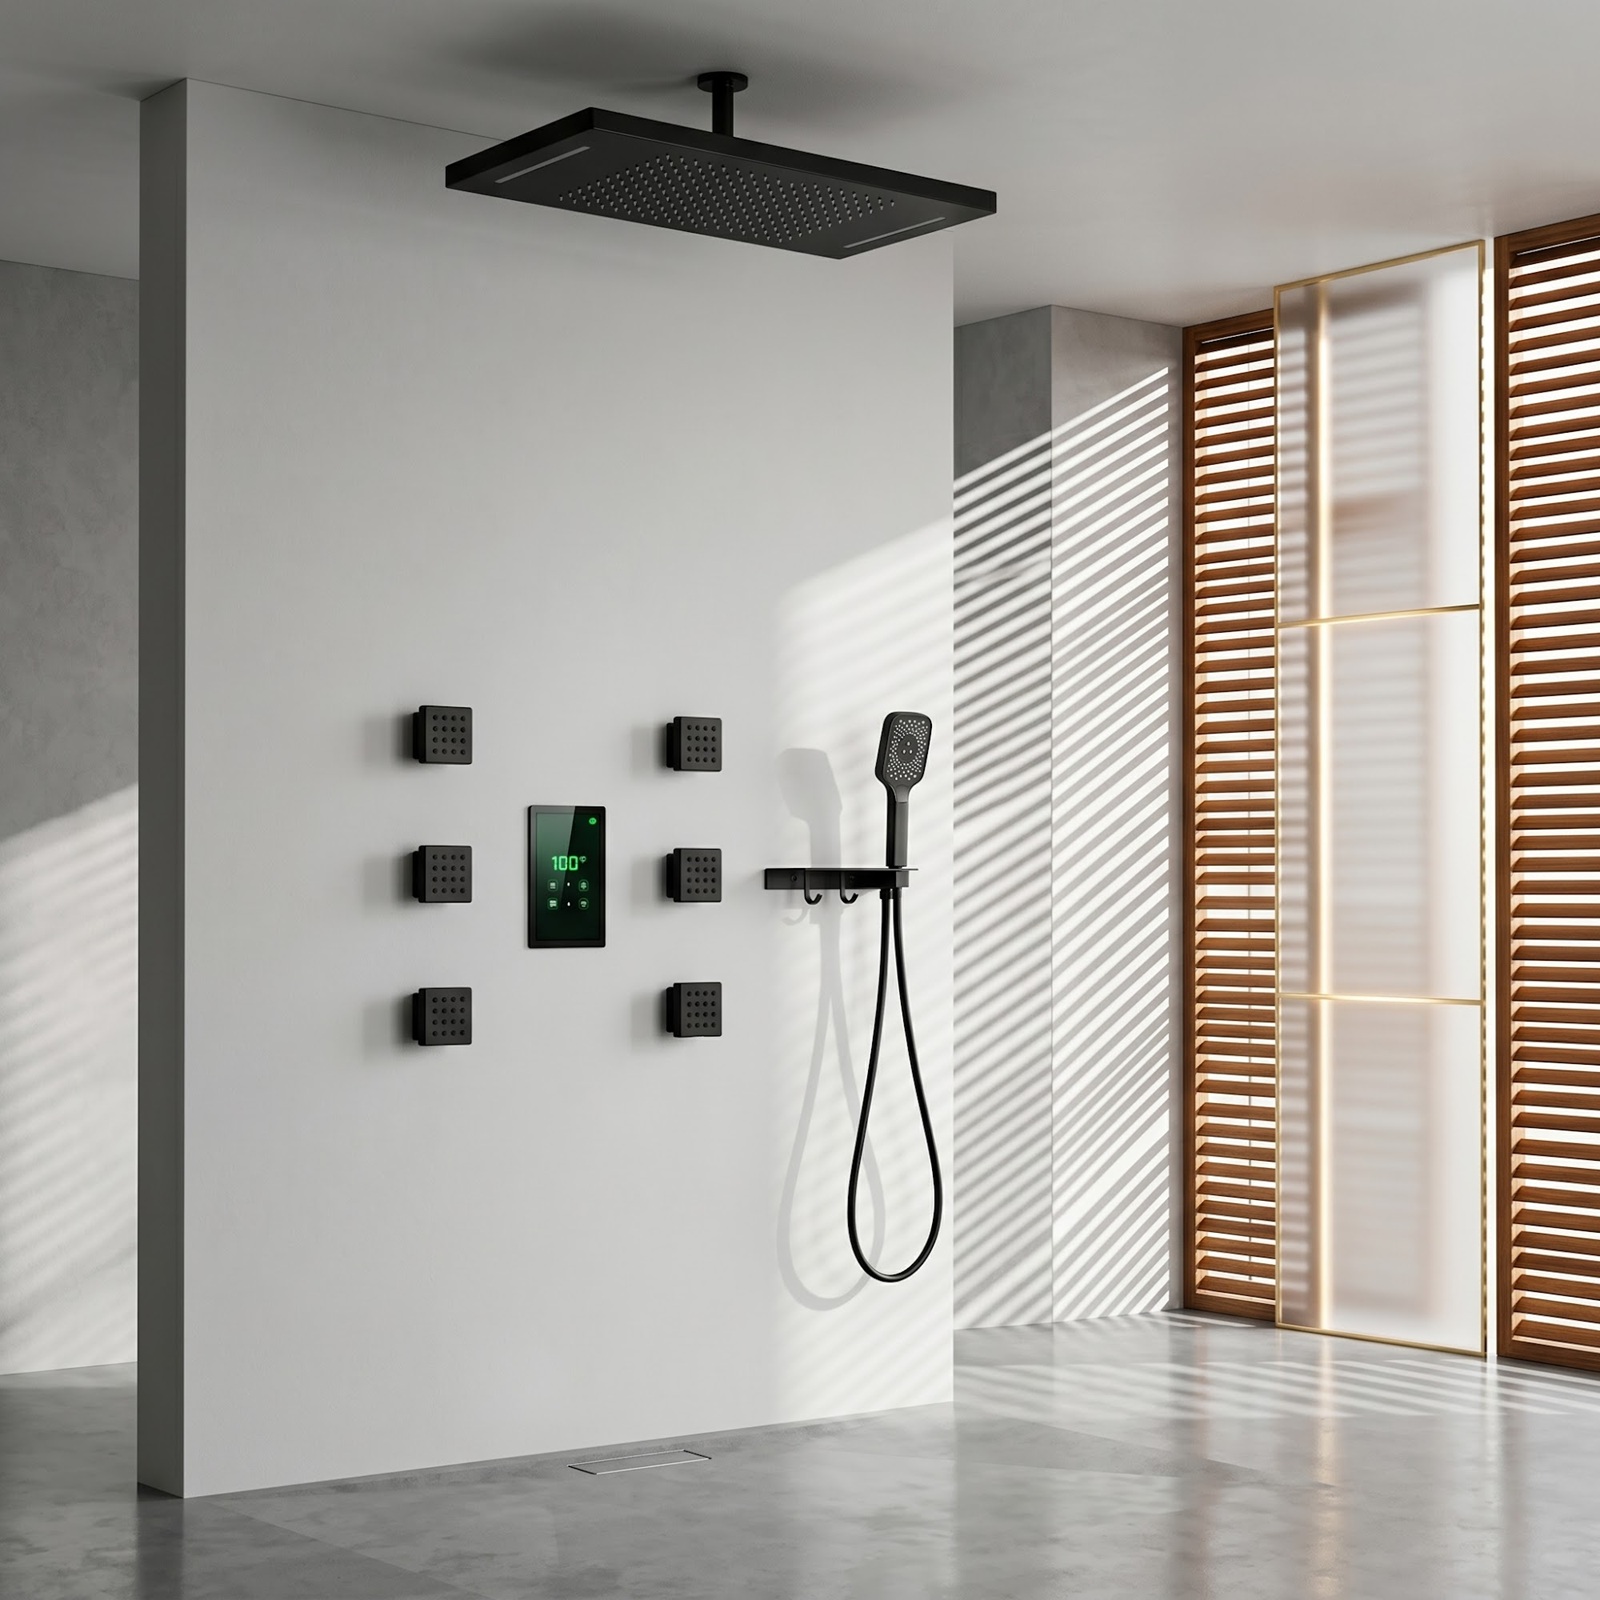
Matte Black
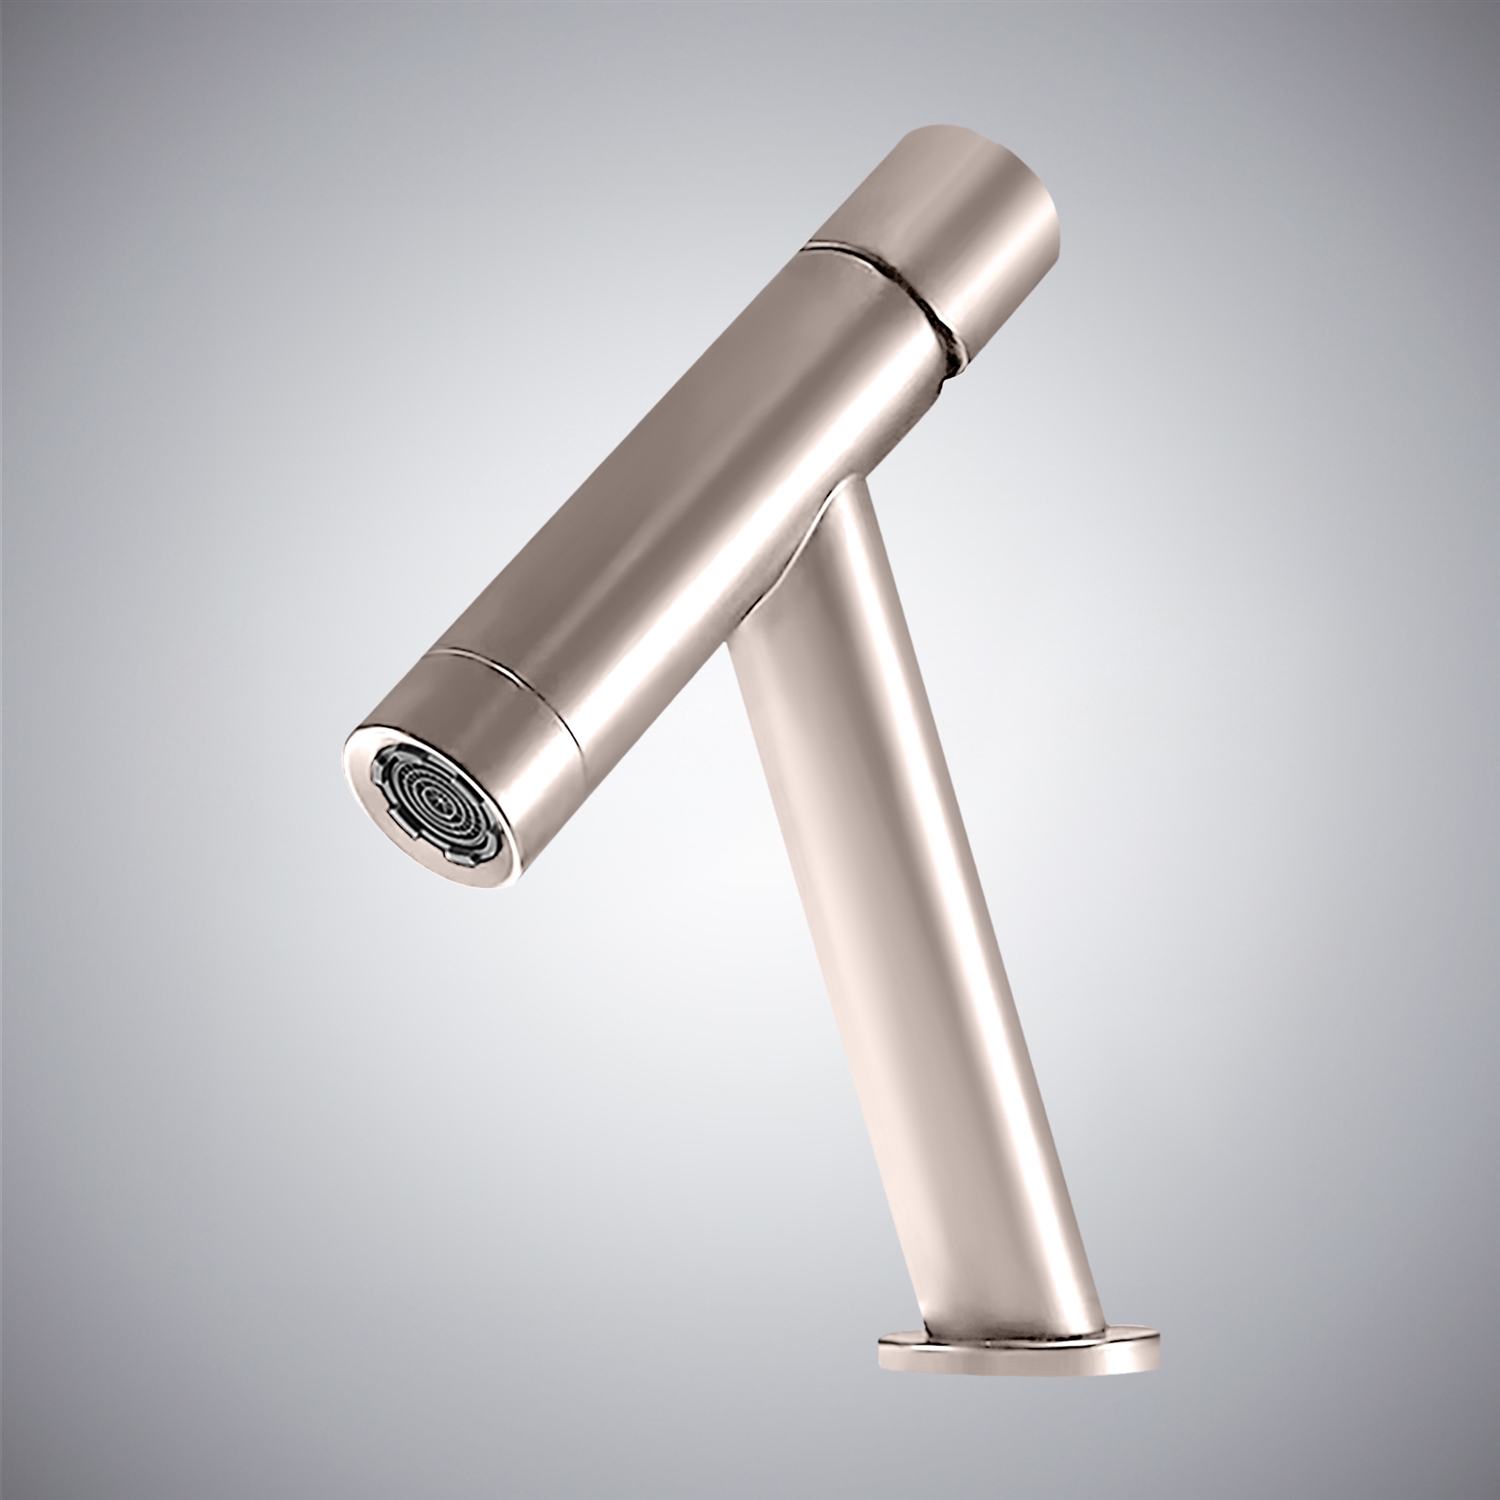
Brushed Nickel
Oil Rubbed Bronze
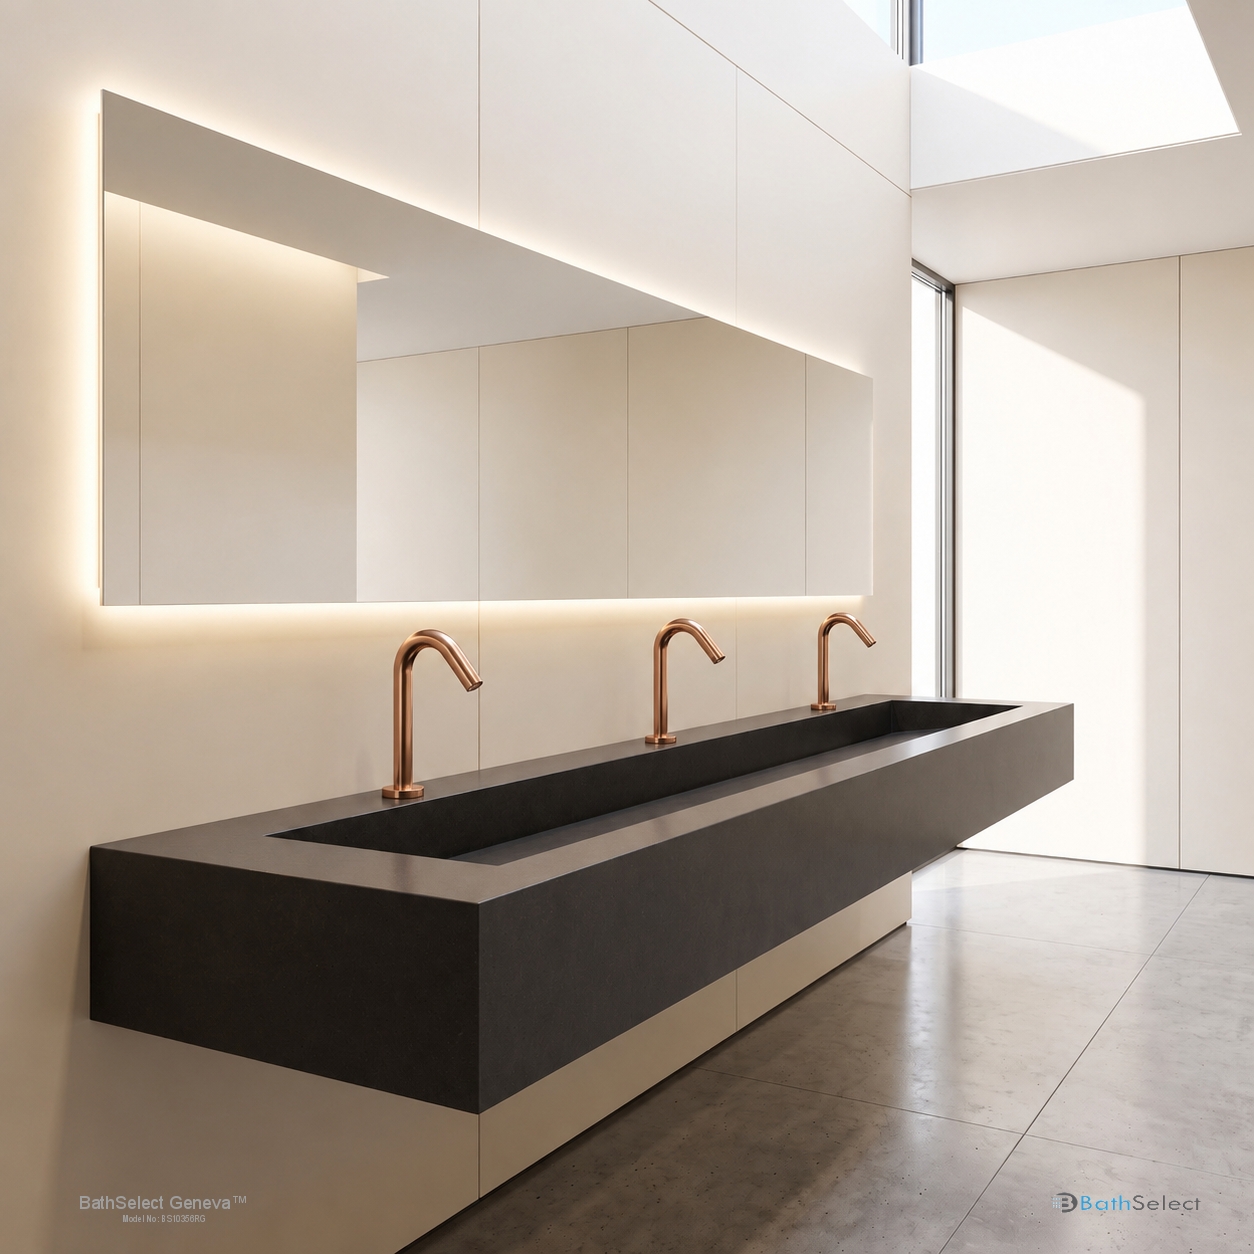
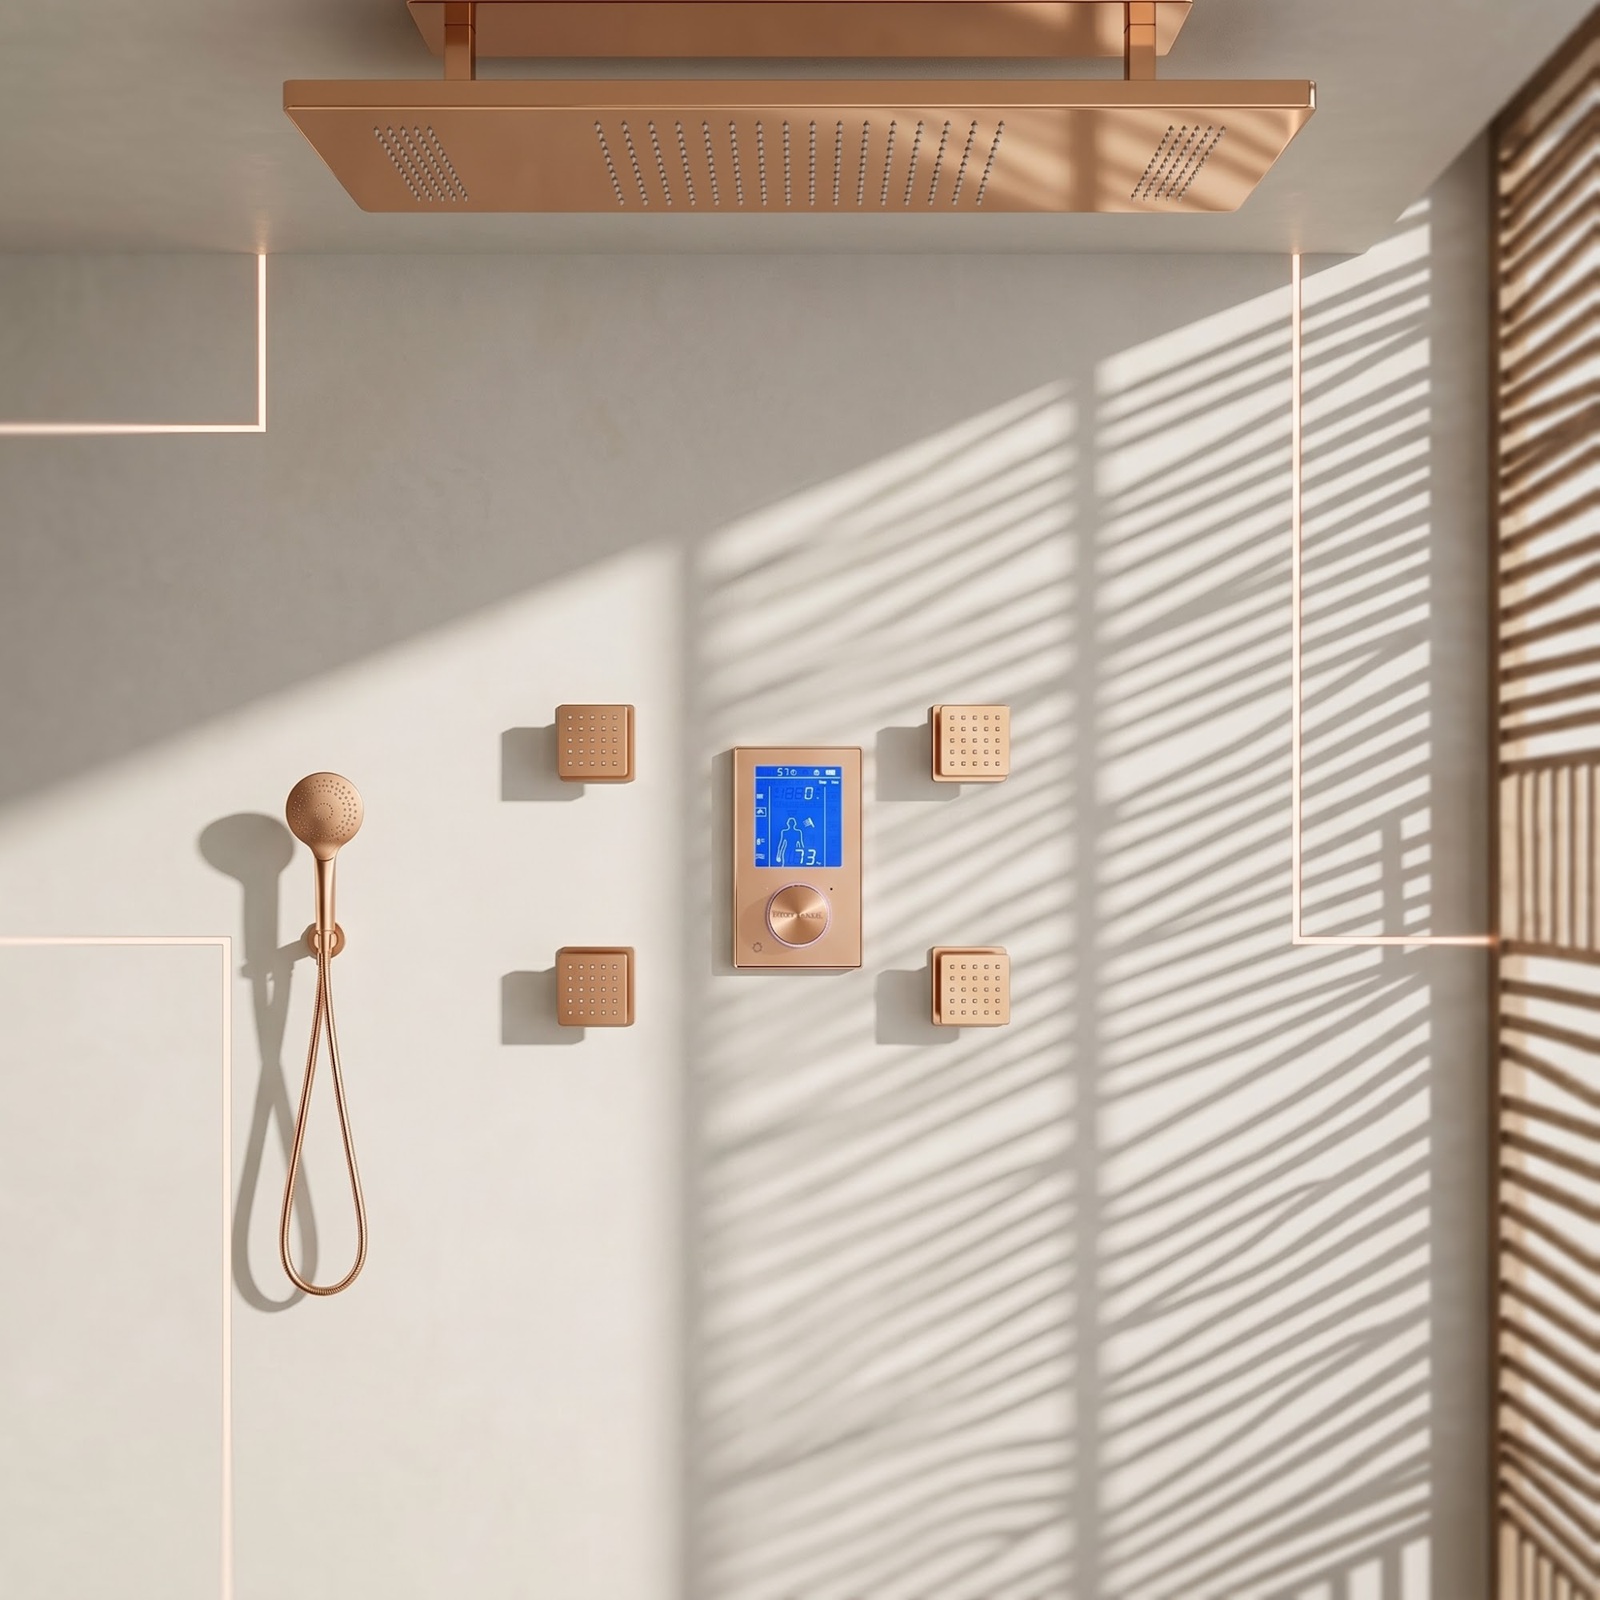
Rose Gold
Signature Collections
Support Tailored to the Purchased Model
Architectural Products
Installation Records Strengthen Long-Term Support
Product Care
Preserve the Finish and Protect Performance
Damage resulting from improper cleaning, maintenance or installation
is not covered.
Recommended Care
Use a soft cloth rinsed in warm water and, when needed, a typical
non-abrasive dishwashing soap.
Use a clean soft cloth
Rinse after cleaning
Dry water droplets when practical
Follow product-specific care instructions
Inspect strainers periodically
Avoid These Conditions
Abrasive cleaners, organic solvents, acids and harsh polishing
products will nullify eligible finish coverage.
Abrasive pads
Scouring powders
Acidic bathroom cleaners
Industrial solvents
Metal-polishing compounds
Construction debris exposure
Warranty Process
How a Warranty Request Is Reviewed
Complete and accurate information helps determine the appropriate
next step.
STEP 01
Submit Documentation
Send purchase, product, photo and video information.
STEP 02
Technical Review
The support team reviews the product and installation.
STEP 03
Additional Testing
Further images or troubleshooting may be requested.
STEP 04
Resolution
An eligible replacement or other available remedy may follow.
Official Warranty Terms
BathSelect™ Product Warranty Conditions
This section preserves and reorganizes the information from the
original BathSelect warranty page.
Defects in Material, Workmanship and Finish
Bathroom fixtures will be free of defects in material and
workmanship that would impair the intended and proper use of
the product.
BathSelect™ also warrants against eligible deterioration of the
product finish for as long as the original purchaser owns the
home in which the product was originally installed, subject to
all requirements and exclusions.
Commercial and Hospitality Applications
If the product is installed in a commercial application, the
warranty is limited to one year for eligible mechanical
concerns and one year for eligible finish concerns from the
date of purchase.
Hotels, resorts, restaurants, public washrooms, offices,
institutional buildings and similar non-residential locations
are considered commercial applications unless separate written
terms apply.
LED lights for showerheads, faucets and bathtubs are not
included in the warranty.
Required Product Care
Regular use of a soft cloth rinsed in warm water and, when
needed, a typical non-abrasive dishwashing soap such as Dawn or
Palmolive will help keep the finish looking clean and new.
The use of abrasive cleaners, organic solvents or acids to
clean, shine or polish a finish will nullify the BathSelect™
warranty as it relates to that finish.
Exclusive Remedy
In the event of a defect that breaches the foregoing
warranties, BathSelect™, at its option, may require the customer
to send the defective part or product prepaid for inspection,
or BathSelect™ may elect to send an eligible replacement part.
Repair or replacement is the exclusive remedy. Damage caused
by accident, misuse or abuse is not covered.
How to Request Assistance
BathSelect™ must be notified of the reported concern. Be
prepared to provide a description of the problem, model number,
purchaser contact information and purchase date.
Proof of purchase is required. Be prepared to return the
product or affected component for inspection when requested.
Limitation of Liability
BathSelect™ will not be liable for other damages or losses,
including labor charges, installation charges, incidental
damages or consequential damages, regardless of the legal
theory asserted.
This includes claims arising in contract or tort, including
negligence and strict liability.
BathSelect™ has the right to discontinue or modify any product
at any time. This warranty gives specific legal rights, and
other rights may vary from state to state.
For states that do not allow limitations or exclusions of
incidental or consequential damages, some limitations may not
apply.
Conditions Not Covered
The warranty does not cover labor charges or damage resulting
from improper maintenance, repair, cleaning or installation;
misuse; abuse; alterations; accidents; or Acts of God.
It also does not cover damage caused by improper water
conditions, unapproved chemicals, abrasive cleaners,
unauthorized modification, incorrect assembly, normal wear or
failure to perform reasonable maintenance.
Construction Debris and Water-Line Flushing
During construction, renovation or installation, dirt, sand,
stones, pipe material, sealant or other particles may enter the
water lines.
BathSelect™ recommends thoroughly flushing water lines before
connecting the fixture and inspecting strainers, filters,
cartridges and supply connections.
Damage or blockage caused by construction debris is not
considered a manufacturing defect.
Important: Warranty eligibility is determined after
review of the product, purchase documentation, installation
conditions, maintenance history and supporting photographs or video.
Submission of a request does not confirm warranty approval.
Warranty FAQ
Common BathSelect™ Warranty Questions
Final eligibility depends on the product and submitted documentation.
What proof of purchase is required?
Provide a dated invoice, receipt, order confirmation or other
acceptable documentation showing the product and purchase date.
Are hospitality installations residential applications?
No. Hotels, resorts, spas and similar non-residential
installations are generally treated as commercial applications.
Are LED lights included?
No. LED lights incorporated into showerheads, faucets and
bathtubs are not included in the warranty.
Does the warranty cover installation labor?
No. Labor charges, installation charges and related incidental
or consequential expenses are excluded.
What photographs should be included?
Include close-up images and wider images showing the complete
fixture, sink, wall, power arrangement and surrounding area.
Can abrasive cleaners affect coverage?
Yes. Damage caused by abrasive cleaners, acids, solvents or
harsh polishing products is excluded.
What is needed for a shower-system claim?
Provide the model, finish, purchase documentation, photos of
all installed components and a video when possible.
What is needed for a touchless faucet claim?
Include the model, power source, sensor and control-box photos,
water-supply information and an activation video.
BathSelect™ Consumer Support
Ready to Submit Your Warranty Request?
Include your order number, model, finish, installation address,
issue description and supporting photographs.
Although many products may appear visually similar,
internal engineering,
cartridge design,
thermostatic components,
sensor electronics,
mounting hardware,
water connections,
replacement parts
and finish specifications often differ significantly between models.
Providing accurate identification allows our technical support specialists to review the correct engineering documentation before recommending troubleshooting steps or replacement components.
Product Families Supported Through the BathSelect™ Warranty Program
BathSelect™ develops coordinated luxury bathroom products across multiple residential,
hospitality and commercial collections.
Providing the collection name during your warranty request helps reduce processing time
and improves replacement component accuracy.
Luxury Shower Systems
BathSelect Aurelia™ Shower Systems
Luxury thermostatic rainfall shower systems featuring coordinated controls,
body sprays,
hand showers,
ceiling rain heads
and premium architectural finishes.
Luxury Collection
BathSelect Monarch™ Shower Systems
Premium contemporary shower systems developed for sophisticated residential bathrooms,
luxury hospitality projects
and executive suites.
Designer Collection
BathSelect Crystal™ Shower Systems
Architectural shower systems emphasizing modern luxury,
precision water delivery
and coordinated fixture design.
Hospitality
BathSelect Hospitality™ Collections
Luxury bathroom fixtures designed specifically for hotels,
resorts,
executive hospitality environments,
premium developments
and commercial guest accommodations.
Wall-mounted,
deck-mounted,
waterfall,
thermostatic
and specialty luxury faucet collections
available in multiple architectural finishes.
Engineering Support
BathSelect™ Engineering Documentation
Our warranty specialists frequently reference engineering drawings,
component specifications,
exploded assemblies,
finish standards,
installation documentation
and production records to determine the appropriate support solution.
Providing complete information from the beginning allows the review process to proceed more efficiently.
Engineering review
Component verification
Finish verification
Replacement compatibility
Installation assessment
Warranty eligibility review
Chapter 03Quality Control & Product ReadinessInspection, handling, installation preparation and quality review
Manufacturing and Quality Review
Quality Begins Before a BathSelect™ Product Reaches the Project
A dependable warranty program begins with accurate product
identification, coordinated components, finish review, operating
inspection and careful preparation before installation.
Product Readiness
Coordinated Components Support Reliable Installation
BathSelect™ luxury products may include valves, trim, handles,
outlets, hoses, controls, mounting hardware and specialty
components that must correspond with the purchased configuration.
Before installation begins, the complete package should be
inspected against the order record, product images and installation
instructions.
Confirm the model and finish
Verify the number of included components
Inspect visible surfaces before installation
Keep the packaging until installation is complete
Photograph the product before wall access is closed
Inspect the Product Before Installation Begins
Visible finish concerns, missing components or shipping damage
should be documented before the product is installed.
Product Quality Process
Key Areas of Manufacturing and Product Review
The exact manufacturing and inspection process depends on the product
category, product complexity, finish and included components.
01 / COMPONENTS
Component Coordination
Valves, trim, controls, outlets and connection components should
correspond with the purchased model and intended configuration.
02 / MATERIAL
Material Review
Product bodies, mounting elements and internal components are
considered according to the product design and application.
03 / SURFACE
Finish Inspection
Visible surfaces should be inspected for consistency, handling
damage and condition before the product is installed.
04 / FUNCTION
Operating Function
Mechanical or electronic components may require product-specific
inspection and testing based on their intended function.
05 / CONNECTIONS
Connection Verification
Supply connections, hoses, fittings, cables and control
arrangements should match the installation documentation.
06 / PACKAGING
Packaging Protection
Protective packaging helps reduce handling damage during storage,
transportation and delivery to the installation site.
07 / DOCUMENTATION
Product Information
Order records, model information and installation instructions
support correct product identification and installation.
08 / DELIVERY
Arrival Inspection
The customer or installer should inspect the shipment promptly and
report visible damage or missing items before installation.
Component Review
Verify Every Visible and Concealed Component Before Installation
Finish Inspection
Document the Product Condition Before Installation Begins
Quality Responsibility
Product Quality and Installation Quality Work Together
A premium bathroom product depends on both the product itself
and the conditions in which it is stored, handled, installed
and maintained.
Protective packaging should remain in place until the installer
is ready. Visible surfaces should not be placed against rough
materials or exposed to construction chemicals.
Correct Storage
Store products in a dry, protected location before installation.
Careful Handling
Protect finished surfaces from tools, dust and abrasive materials.
Qualified Installation
Use an experienced professional familiar with the product type.
Final Inspection
Check the complete installation before the project is handed over.
Shower-System Quality Review
Multi-Function Systems Require Coordinated Inspection
A complete shower system may contain several concealed and visible
components. Each part should be identified before installation and
checked against the intended system layout.
Do not close the wall until supply connections, valve placement,
outlet positions and operating functions have been verified.
Thermostatic mixer and valve body
Diverter and control trim
Rainfall showerhead and ceiling arm
Hand shower, hose and wall bracket
Body jets and outlet connections
Access for future inspection and service
Product Inspection Matrix
What to Review Before, During and After Installation
This general checklist supports better product documentation and may
help reduce preventable installation-related concerns.
Review Stage
What to Inspect
What to Document
Why It Matters
Delivery
Before unpacking
Carton condition, visible impact, moisture or handling damage
Photograph the cartons, shipping labels and visible damage
Helps establish the condition of the shipment when received
Unpacking
Before installation
Model, finish, included parts, accessories and visible surfaces
Photograph all components together and retain the packing list
Helps identify missing, incorrect or visibly damaged components
Rough-In
Before closing walls
Valve placement, supply lines, outlets, connections and access
Photograph the complete concealed installation
Provides valuable reference if future technical review is required
Testing
Before final finishes
Leaks, flow, outlet selection, temperature and control operation
Record test results and operating video when practical
Confirms system operation before access becomes limited
Completion
After trim installation
Alignment, finish condition, mounting and complete operation
Take clear final photographs of the entire installation
Creates a reference record of the completed product and project
Protect Finished Surfaces Throughout Construction
Do not expose installed fixtures to grout haze, paint,
plaster dust, strong adhesives or acidic construction cleaners.
Touchless Product Readiness
Sensor Fixtures Require Mechanical and Electronic Verification
Touchless faucets combine water delivery, sensing, power and
electronic control components. Each part must be installed according
to the intended product arrangement.
Before reporting a product concern, verify the water supply,
strainers, power source, cables, sensor area and control equipment.
Confirm the correct power source
Inspect cable and connector placement
Verify supply valves are open
Flush debris from supply lines
Check the control box and solenoid orientation
Record activation behavior on video
Product Handling and Inspection
Document the Product at Every Important Stage
The following image positions are intentionally large and may later be
replaced with factory, packaging, testing or installation photography.
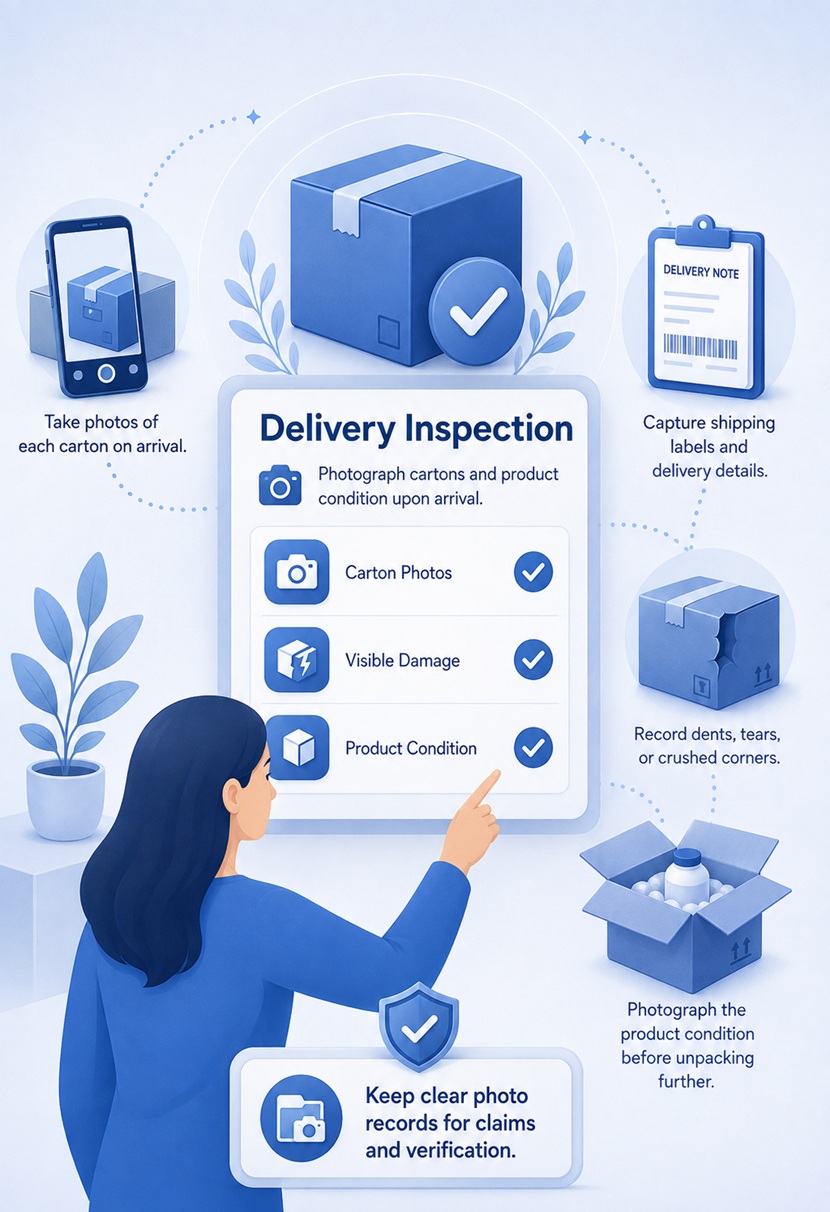
Delivery Inspection
Photograph cartons and product condition upon arrival.
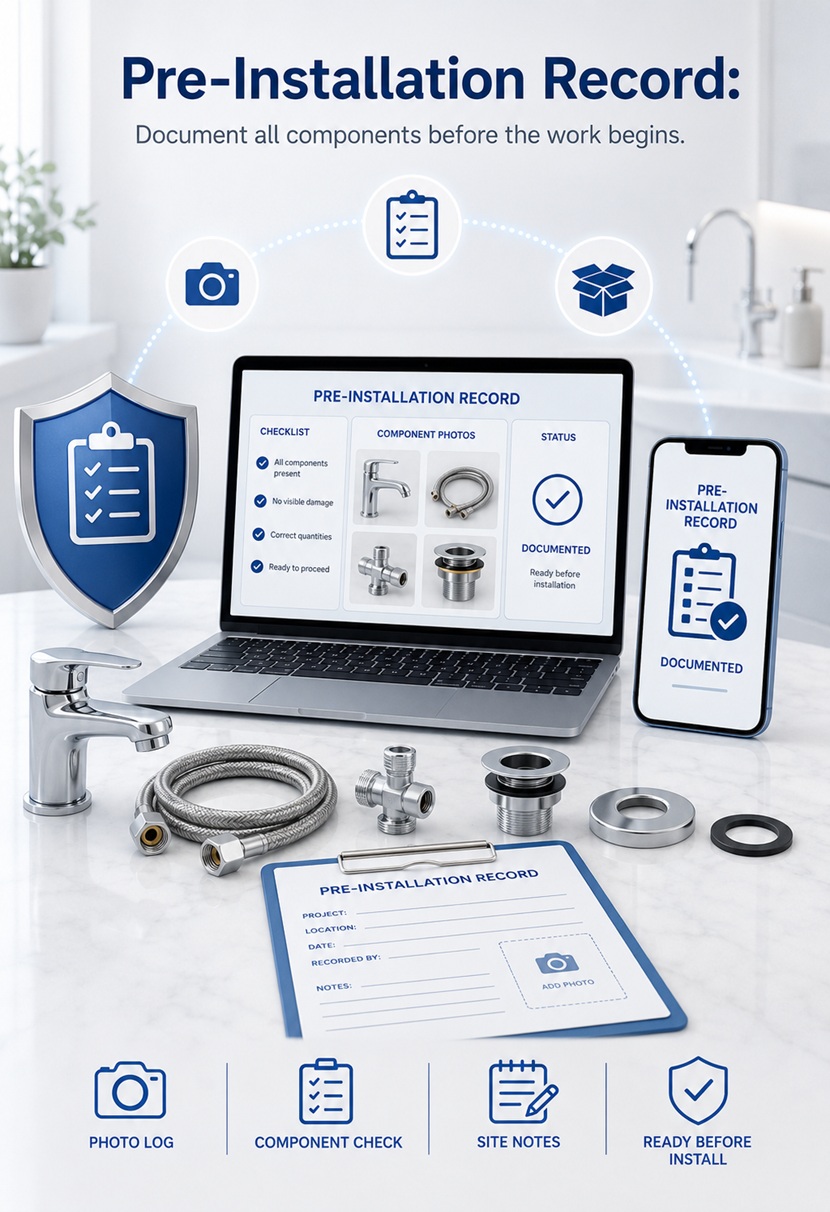
Pre-Installation Record
Document all components before the work begins.
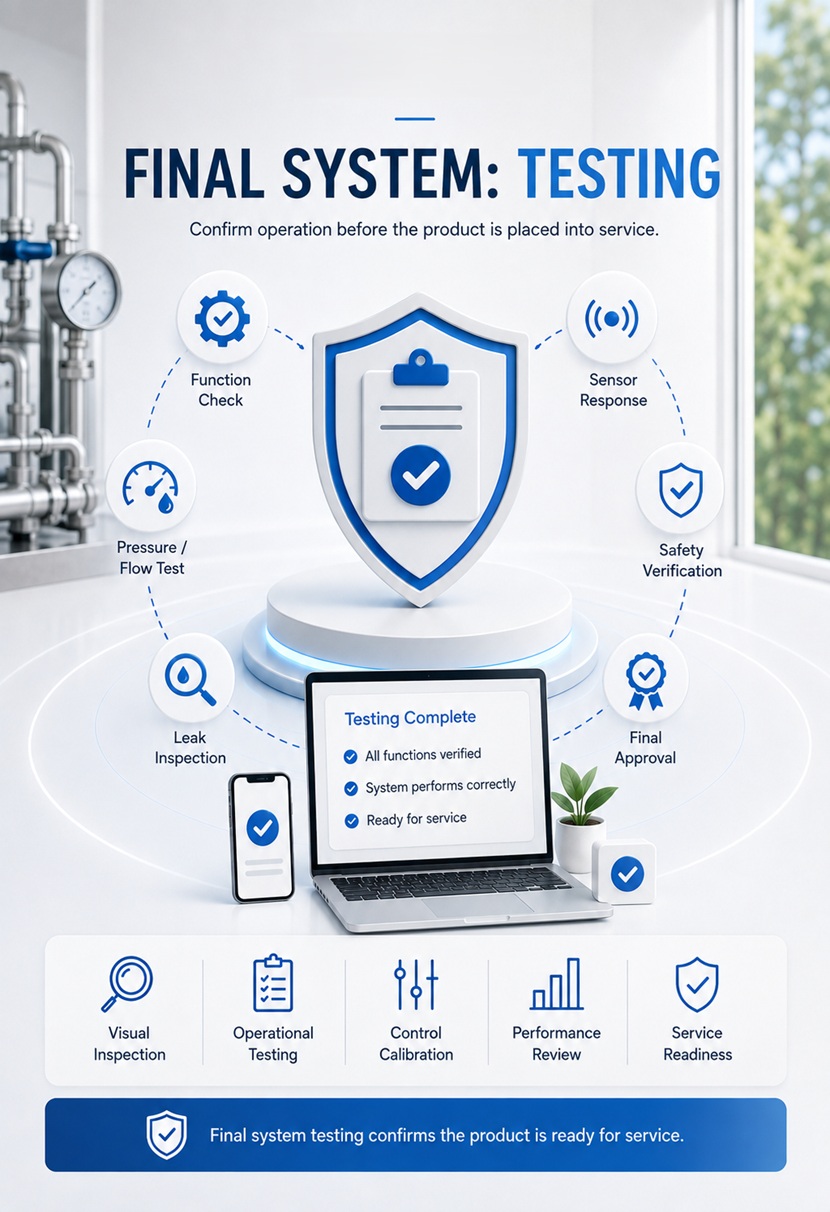
Final System Testing
Confirm operation before the product is placed into service.
Pre-Installation Checklist
Complete These Steps Before Installation
Proper preparation supports product performance and creates stronger
documentation if assistance is needed later.
Product
Confirm the Order
Verify the model, finish, configuration and included components
against the order confirmation.
Condition
Inspect Before Installation
Check all visible surfaces and components before tools, sealants or
construction materials are introduced.
Instructions
Review the Documentation
Read the installation instructions and confirm that the rough-in
conditions are suitable for the product.
Water Lines
Flush the Supplies
Remove construction debris from hot and cold water lines before
connecting valves, cartridges or electronic fixtures.
Access
Plan for Service
Maintain reasonable access to concealed valves, control equipment,
filters and connection points.
Documentation
Take Project Photographs
Photograph concealed plumbing, installed components and the final
completed fixture from multiple angles.
Project Handover
Keep the Product Record With the Property
At project completion, the property owner, facility manager or
maintenance team should receive the product information needed for
future care and technical support.
Product model and finish schedule
Purchase or project documentation
Installation instructions
Photographs of concealed components
Final installation photographs
Recommended care information
Installer and contractor contact information
Before Installation
Report Visible Product Concerns Before the Product Is Installed
Retain the packaging, photograph the product and include the order
number, model, finish and affected component in your message.
Chapter 04Product Coverage by CategoryShowers, faucets, touchless systems and category-specific guidance
Product Coverage Guide
Warranty Review by BathSelect™ Product Category
Different product categories contain different mechanical, electronic,
decorative and finish components. Warranty review therefore depends on
the exact product, affected part and installed application.
Mechanical, thermostatic, electronic and decorative products
require category-specific documentation and technical review.
General Coverage Matrix
Product Components Commonly Considered During Review
This matrix provides general guidance only. It does not replace the
official warranty terms, product-specific limitations or final warranty
eligibility review.
Product Category
Mechanical Components
Finish Review
Electronic Components
Installation Review
Special Limitations
Luxury Shower Systems
Aurelia™, Monarch™ and Crystal™
Reviewed
Reviewed
Model Specific
Valve, diverter, outlet and pressure documentation may be required.
LED elements are excluded. Multi-component systems require full documentation.
Bathroom Faucets
Deck, wall and vessel models
Reviewed
Reviewed
If Equipped
Cartridge, supply, mounting and handle installation may be reviewed.
Finish damage from harsh cleaners or installation tools is excluded.
Touchless Faucets
Residential and commercial
Reviewed
Reviewed
Model Specific
Power, sensor, solenoid and control-box documentation may be required.
Batteries, incorrect power and damaged cables may carry separate limitations.
Bathtubs and Tub Fillers
Freestanding and integrated
Reviewed
Reviewed
If Equipped
Base support, drain, supply and surrounding installation may be reviewed.
LED lighting and installation-related structural issues are excluded.
Vanities and Sinks
Furniture and basin products
Limited
Surface Specific
Not Typical
Leveling, wall attachment, plumbing cuts and moisture exposure may be reviewed.
Water damage, improper support and site modification are generally excluded.
Smart Mirrors
Lighted and electronic mirrors
Model Specific
Reviewed
Model Specific
Power, wall support, ventilation and wiring may be reviewed.
Improper electrical installation and impact damage are excluded.
Drains and Accessories
Linear drains and bath hardware
Reviewed
Reviewed
Not Typical
Slope, waterproofing, drainage and mounting may be reviewed.
Clogs, construction debris and waterproofing failure are excluded.
Property, room, quantity and maintenance records may be required.
Commercial warranty periods and exclusions apply.
Luxury Shower Systems
Category Guidance for Multi-Function Shower Products
Luxury shower systems may combine several water outlets and control
components. A complete review may require documentation of both
visible trim and concealed plumbing.
Thermostatic mixer and cartridge
Two-way or three-way diverter
Rainfall and waterfall outlets
Body jets and hand shower
Supply pressure and temperature
Rough-in and concealed valve photographs
Operating video showing the affected function
Signature Collection Review
Documentation for Aurelia™, Monarch™ and Crystal™ Systems
Each shower-system collection may contain multiple sizes, finishes,
valve arrangements and water-function combinations.
BathSelect Aurelia™
Aurelia™ Shower-System Documentation
Provide full system images and identify each water outlet. Include
the mixer, diverter and all included hand-shower or body-jet
components.
Complete product model and finish
Number and type of water outlets
Photographs of control trim
Video of temperature and diverter operation
Installation pressure information
BathSelect Monarch™
Monarch™ Shower-System Documentation
Monarch™ systems may include coordinated architectural controls and
multiple water functions. Identify the exact configuration before
requesting components.
Order confirmation and model name
Finish and visible trim photographs
Valve and diverter arrangement
Rainfall-head connection details
Description of the affected function
BathSelect Crystal™
Crystal™ Shower-System Documentation
Decorative and specialty components should be photographed carefully
to document both the operating concern and the visible product
condition.
Product and component identification
Close-up decorative-detail photographs
Complete installation photographs
Video showing the operating issue
Cleaning and care history when relevant
Smart Shower Systems
Electronic Control Documentation
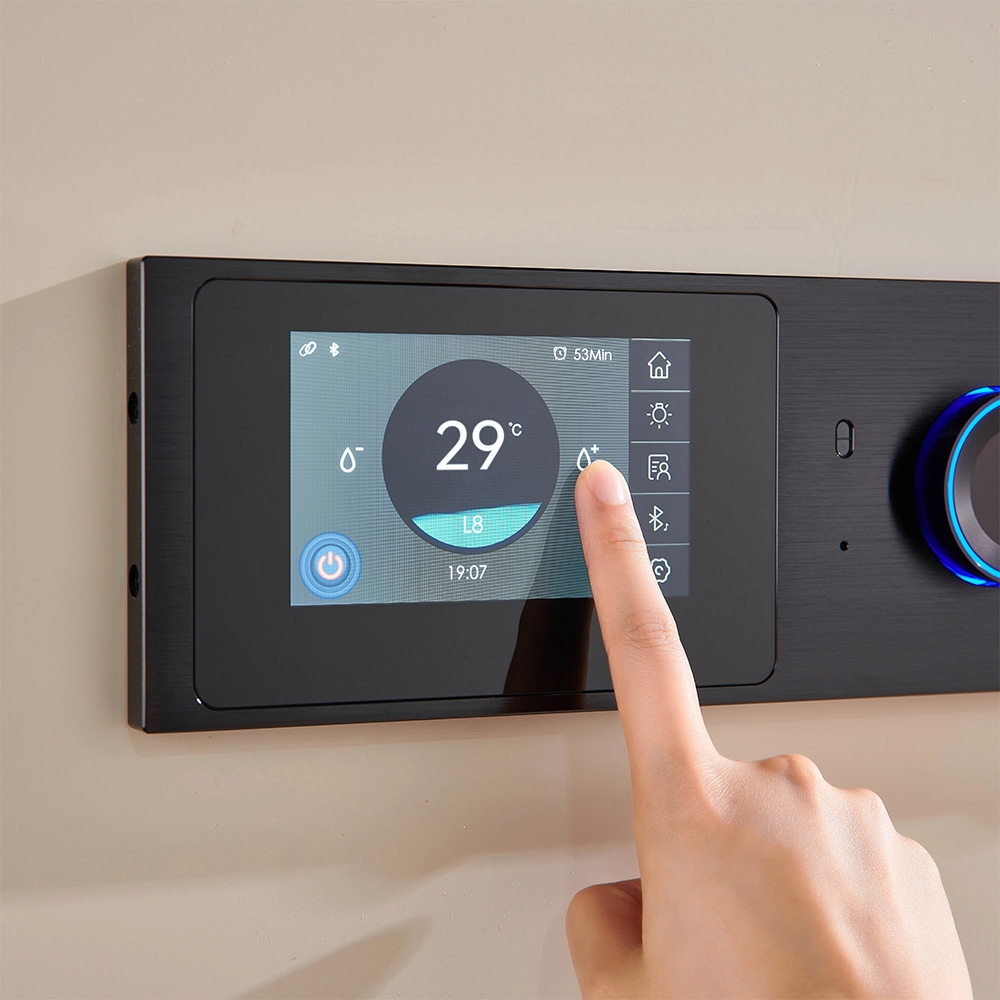
Smart shower products may require additional power, controller,
display, cable and operating documentation.
Power-supply information
Controller and display photographs
Cable and connection arrangement
Error message or screen photograph
Video of the complete operating sequence
Show the Entire System, Not Only the Affected Part
One component may depend on valve settings, supply conditions or
another connected water outlet.
Bathroom Faucets
Deck-Mount, Wall-Mount and Vessel Faucet Review
Faucet assessment may involve the cartridge, handle, spout,
aerator, supply connections, mounting hardware and visible finish.
Photograph the full faucet and sink
Identify the model and finish
Show the handle and spout alignment
Photograph under-counter connections
Record leaking or flow concerns on video
State whether the issue affects hot, cold or mixed water
Handles and Cartridges
Provide Clear Images of the Complete Control Assembly
Finish Review
Use Natural Lighting to Document Surface Concerns
Touchless Systems
Sensor, Solenoid and Power-System Documentation
Touchless faucet performance depends on both water-delivery and
electronic-control components. The complete arrangement may need to
be reviewed.
Sensor activation distance and behavior
Battery or AC power source
Control box and solenoid orientation
Cable and connector condition
Supply valves and strainers
Video of activation and water flow
Number of affected fixtures in the project
Additional Product Categories
Product-Specific Documentation Requirements
Use the following guidance when preparing requests for additional
BathSelect™ bathroom product categories.
Bathtubs and Tub Fillers
Bathtub Product Review
Provide complete images of the bathtub, drain, filler, surrounding
floor and supporting installation.
Model, finish and purchase documentation
Full tub and surrounding-area photographs
Drain and overflow documentation
Video of leaks or operating concerns
Photographs taken before site modification
Vanities and Sinks
Vanity and Basin Review
Surface condition, wall mounting, cabinet support, moisture exposure
and site modification may be considered during review.
Full vanity and sink photograph
Wall and floor installation view
Close-up of the reported concern
Plumbing-cut and modification photographs
Description of water or moisture exposure
Smart Mirrors
Lighted and Electronic Mirror Review
Smart mirrors may require documentation of power, wall support,
wiring, controls and visible glass or frame condition.
Model and installation date
Full wall and mirror photograph
Power and wiring information
Video of lighting or control concerns
Close-up of glass, frame or display issues
Drains and Accessories
Drain and Accessory Review
Drain performance may depend on slope, waterproofing, pipe
conditions, debris and surrounding construction.
Drain model and finish
Full shower-floor photograph
Close-up of drain installation
Video of drainage performance
Description of waterproofing and slope
Bathtubs and Tub Fillers
Show the complete product and installation environment.
Vanities and Bathroom Sinks
Document surface condition and surrounding moisture.
Smart Mirrors and Accessories
Include power, mounting and operating documentation.
Application-Specific Review
Residential, Hospitality and Commercial Documentation
The same product may require different supporting information depending
on where it is installed and how many fixtures are affected.
Residential
Homeowner Installations
Provide proof of purchase, product model, installation address,
issue description and complete photographs. Original purchaser
requirements apply.
Hospitality
Hotels, Resorts and Guest Suites
Include property name, room or fixture location, installed quantity,
affected quantity, model schedule and relevant maintenance history.
Commercial
Public and High-Use Facilities
Provide project information, affected fixture locations, installation
and service records, and evidence showing whether the concern affects
one or multiple products.
BathSelect Hospitality™
Collection-Level Records Support Multi-Room Projects
For large hospitality projects, maintain a schedule showing the
product model, finish and room or area in which each product was
installed.
BathSelect Hospitality™ SmartSpa Collection
BathSelect Hospitality™ Executive Collection
BathSelect Hospitality™ Resort Collection
BathSelect Hospitality™ Elite Collection
BathSelect Hospitality™ Infinity Collection
BathSelect Hospitality™ Architectural Collection
Installed and affected quantities by location
Category Review Sequence
How Product-Specific Warranty Review Is Organized
Each product category follows the same core review process, while the
technical information requested varies by product.
01 / IDENTIFY
Identify the Product
Confirm the model, collection, finish and installed configuration.
02 / DOCUMENT
Document the Concern
Provide close-up photographs, complete-installation images and video.
03 / CONTEXT
Show the Installation
Include plumbing, power, mounting and surrounding project conditions.
04 / TEST
Complete Testing
Perform category-specific troubleshooting when requested.
05 / REVIEW
Determine the Remedy
Available support depends on product status and warranty eligibility.
The Correct Product Category Leads to Better Technical Guidance
Start every request with the model, finish, installation type and
a clear description of the affected function.
Product-Specific Support
Identify the Product Before Requesting Warranty Assistance
Include the product category, model, collection, finish, installation
type and supporting photographs in the first message.
Chapter 05Hospitality Project SupportMulti-room records, fixture tracking and lifecycle documentation
BathSelect Hospitality™ Warranty Center
Project-Level Support for Luxury Hotels, Resorts and Commercial Properties
Large hospitality and commercial projects require more than a single
product photograph. Effective warranty review depends on accurate
project records, room-level fixture identification, installation
documentation and maintenance history.
Project Warranty Support
Every Fixture Should Be Connected to a Location Record
In a multi-room property, identical products may be installed across
guest rooms, suites, spas, public restrooms and staff areas.
Location-specific records make it easier to identify patterns and
determine whether a reported concern is isolated or project-wide.
Maintain a property schedule showing the model, finish, installation
location, installation date and service history for each product group.
Property and project name
Building, tower or wing
Floor and room number
Product model and finish
Installed quantity by area
Affected quantity by issue type
Maintenance or service history
Multi-Room Projects Need Room-Level Product Records
Record the exact location of every affected fixture before
requesting technical or warranty assistance.
BathSelect Hospitality™ Collections
Collection-Specific Project Documentation
Each hospitality collection may include multiple product types,
finishes, control systems and installation conditions. Keep a separate
schedule for each collection used within the property.
SmartSpa Collection
BathSelect Hospitality™ SmartSpa Collection
SmartSpa projects may include digitally controlled shower systems,
smart fixtures and electronically managed guest-bathroom products.
Controller and power documentation
Display, cable and connection photographs
Room-specific operating video
Software or control message documentation
Total affected and unaffected quantities
Executive Collection
BathSelect Hospitality™ Executive Collection
Executive suites often use coordinated finishes across faucets,
showers, tub fillers and bathroom accessories.
Suite and room identification
Complete finish schedule
Coordinated product model list
Photographs of adjacent matching fixtures
Service and housekeeping records
Resort Collection
BathSelect Hospitality™ Resort Collection
Resort projects may include high-moisture environments, spa areas,
outdoor-adjacent guest rooms and intensive housekeeping schedules.
Environmental and humidity conditions
Cleaning product information
Water quality and mineral conditions
Guest-room and spa-area location
Maintenance frequency
Elite Collection
BathSelect Hospitality™ Elite Collection
Elite Collection products should be documented as part of the
property’s premium fixture schedule.
Model and finish schedule
Luxury-suite location records
Installation photographs
Replacement-part history
Preventive maintenance notes
Infinity Collection
BathSelect Hospitality™ Infinity Collection
Infinity installations may include expansive shower layouts,
multiple water outlets and coordinated architectural components.
Complete shower-layout documentation
Valve and outlet location photographs
Water-pressure and supply records
Operating video for each function
Concealed plumbing photographs
Architectural Collection
BathSelect Hospitality™ Architectural Collection
Architectural products should remain connected to the project’s
specification, drawing and room-finish schedule.
Architectural specification reference
Room-finish and product schedule
Installation drawing reference
Contractor and installer information
Project handover documentation
SmartSpa and Executive Collections
Document Controls, Finishes and Room-Specific Product Configurations
Resort and Architectural Collections
Environmental Conditions and Maintenance Records Support Review
Commercial Project Sectors
Warranty Documentation by Property Type
The information needed for a large property may vary according to
traffic, fixture quantity, maintenance structure and the operating
environment.
Luxury Hotels
Guest Rooms and Suites
Track products by room number and floor. Record whether concerns are
isolated to one room or repeated across similar room types.
Room type and room number
Fixture model and finish
Installed and affected quantities
Housekeeping product information
Luxury Resorts
Resort and Spa Areas
Document humidity, water conditions, spa-use intensity and cleaning
practices where products are installed.
Spa, suite or villa location
Water-quality conditions
Cleaning and maintenance frequency
Environmental exposure
Healthcare
Healthcare and Wellness Facilities
Healthcare environments may use specialized cleaning schedules and
high-frequency touchless fixtures.
Department and fixture location
Approved cleaning products
Daily use level
Service and sanitation records
Airports
Airport and Transit Facilities
High-traffic public restrooms require fixture-level identification
and records showing service frequency and affected quantities.
Terminal and restroom location
Fixture identification number
Daily traffic conditions
Power and maintenance records
Universities
Universities and Education
Record the building, floor, restroom, residence hall or athletic
facility in which each fixture is installed.
Campus and building name
Restroom or room location
Fixture quantity by building
Facilities service records
Commercial Towers
Office and Mixed-Use Properties
Track products by tower, tenant floor, public area and restroom to
support efficient facilities review.
Tower and floor location
Tenant or public area
Fixture model and quantity
Facilities maintenance history
Luxury Hotels and Resorts
Track every product by property, floor and room.
High-Traffic Commercial Facilities
Record usage, service frequency and affected quantity.
Universities and Office Properties
Keep fixture records connected to building locations.
Fixture Location Tracking
Build a Consistent Location Code for Every Product
A standardized location code helps facility teams identify the exact
product without relying only on photographs or verbal descriptions.
01 / PROPERTY
Property Identifier
Use the hotel, resort, campus, airport, building or commercial
property name.
02 / BUILDING
Tower or Wing
Identify the building, tower, terminal, wing or project phase.
03 / LEVEL
Floor or Level
Record the floor, concourse, basement, podium or public-area level.
04 / ROOM
Room or Restroom
Identify the guest room, suite, restroom, spa room or service area.
05 / FIXTURE
Fixture Position
Record the basin, shower, tub, vanity or fixture position within the room.
06 / MODEL
Product Model
Connect the location code to the model, finish and configuration.
07 / INSTALL
Installation Date
Record the installation, renovation or replacement date.
08 / SERVICE
Service History
Link inspections, repairs and replacement components to the location.
Project Record Matrix
Recommended Records for Hospitality and Commercial Properties
These records help property teams prepare complete support requests and
identify recurring issues across multiple fixtures or locations.
Record
Recommended Information
Who Maintains It
When It Is Used
Why It Matters
Product Schedule
Fixture inventory
Model, finish, quantity, room type and installation location
Procurement, design or facilities team
Project handover and warranty identification
Connects every installed product to the original specification
Purchase Record
Order documentation
Order number, invoice, purchase date and product quantities
Procurement or accounting
Warranty eligibility and product verification
Provides proof of purchase and confirms the ordered configuration
Room Schedule
Location tracking
Building, floor, room, fixture position and product model
Facilities or property operations
Fixture-specific service requests
Identifies the exact product location quickly
Installation Record
Project photographs
Rough-in photos, connections, valve locations and final images
Contractor or installation team
Technical review and concealed-component assessment
Shows conditions that may no longer be visible after completion
Maintenance Log
Service history
Inspection dates, cleaning methods, replaced parts and technician notes
Facilities or engineering team
Recurring issues and warranty review
Shows how the product has been maintained over time
Issue Register
Affected fixtures
Issue type, first observed date, location and current status
Facilities or property management
Multi-fixture claim preparation
Reveals whether a concern is isolated or repeated
Multi-Fixture Review
Separate Isolated Concerns From Project-Wide Conditions
When several fixtures show a similar condition, document both the
affected and unaffected products. This comparison may reveal whether
the cause relates to a product group, installation phase, cleaning
practice, water supply or shared building condition.
Total installed quantity
Total affected quantity
Total unaffected quantity
Shared floor, wing or installation phase
Common cleaning or maintenance schedule
Shared water or power source
Date the issue first appeared
Property Lifecycle Support
Maintain Product Records From Procurement Through Ongoing Service
Good project records should remain with the property after construction
and become part of the facility’s ongoing maintenance program.
01 / SPECIFY
Specification
Record the product model, finish and intended project application.
02 / PURCHASE
Procurement
Retain order records, quantities, invoices and delivery documentation.
03 / INSTALL
Installation
Photograph concealed components, connections and final installations.
04 / OPERATE
Operation
Keep cleaning, inspection and preventive-maintenance records.
05 / SUPPORT
Technical Support
Use the complete product history when requesting warranty assistance.
Product Records Should Remain With the Property
Transfer model schedules, installation photographs and care
information to the facility team during project handover.
Maintenance and Service Records
Records That Strengthen Hospitality Warranty Review
Maintenance documentation helps establish how the fixture has been
cleaned, inspected, serviced and operated since installation.
Preventive Maintenance
Recommended Facility Records
Maintain a recurring inspection record for high-use and electronically
controlled fixtures.
Inspection date and technician
Fixture location and model
Filter or strainer condition
Battery or power-system check
Leak, flow and temperature test
Cleaning product used
Corrective work completed
Repair History
Record Previous Service Work
Previous repairs and replacement parts may help identify the current
product configuration and recurring conditions.
Date of prior service
Technician or contractor
Component replaced
Reason for replacement
Product behavior after service
Photographs before and after repair
Open or unresolved conditions
Housekeeping
Cleaning Product Documentation
Finish review may require information about the products and methods
used by housekeeping or janitorial teams.
Cleaner brand and product name
Dilution instructions
Application method
Cleaning frequency
Cloth, pad or tool used
Whether the surface is rinsed
Training provided to staff
Utilities
Shared Building Conditions
Multiple affected fixtures may require review of shared water, power
or environmental conditions.
Water pressure and temperature
Water-treatment system
Mineral or sediment conditions
Shared electrical source
Recent utility interruption
Construction or renovation activity
Changes to facility operations
Preventive Maintenance
Routine Inspection Records Help Explain Product Performance
Housekeeping and Finish Care
Document Cleaning Products Used Across Guest Rooms and Public Areas
Project Handover
Transfer Warranty and Product Records to the Facility Team
At completion, the owner or facility team should receive the records
needed to identify, maintain and support every BathSelect™ product.
Final product and finish schedule
Purchase and order records
Installation instructions
Concealed plumbing photographs
Power and control-system photographs
Room and fixture location schedule
Recommended cleaning guidance
Installer and contractor contact information
Initial testing and commissioning records
Better Property Records Create Faster Technical Review
Include the project name, location code, model, finish, quantity
and maintenance history in every hospitality request.
Hospitality Project Support
Prepare a Property-Level Warranty Request
Include the property name, room or fixture location, product model,
finish, installed quantity, affected quantity and supporting records.
Chapter 06Luxury Finish CareCleaning standards, surface protection and finish documentation
BathSelect™ Luxury Finish Care
Protecting the Surface Quality of Premium Bathroom Fixtures
Luxury finishes require gentle, consistent care. Abrasive products,
strong chemicals, construction residue, mineral buildup and incorrect
cleaning methods may permanently alter the appearance of a fixture.
Finish Protection
Gentle Cleaning Supports Long-Term Appearance
Use a clean, soft cloth with warm water. When additional cleaning is
necessary, use a mild non-abrasive dishwashing soap, rinse the
surface and dry it gently.
Do not use abrasive pads, powders, acids, bleach-based products,
industrial solvents or aggressive polishing compounds.
Use clean microfiber or soft cotton cloths
Apply cleaner to the cloth rather than directly to the fixture
Rinse away all soap residue
Dry the surface gently
Test unfamiliar products in an inconspicuous area
Keep construction chemicals away from finished fixtures
Do Not Polish a Decorative Finish Like Raw Metal
Metal polishes and aggressive rubbing may remove or permanently
alter a decorative surface treatment.
Recommended Cleaning Method
A Simple Four-Step Routine for BathSelect™ Finishes
A consistent gentle routine is safer than occasional aggressive
cleaning. Clean deposits before they become difficult to remove.
01 / RINSE
Warm Water
Begin with warm water to loosen ordinary soap residue, dust and
light surface deposits.
02 / CLEAN
Mild Soap
When needed, use a small amount of non-abrasive dishwashing soap on
a clean, soft cloth.
03 / RINSE
Remove Residue
Rinse the fixture thoroughly so cleaning residue does not remain on
the surface.
04 / DRY
Soft Drying
Dry the fixture gently with a clean cloth to reduce water spots and
mineral residue.
Daily Surface Care
Use Soft Materials and Light Pressure on Every Luxury Finish
Handles and Controls
Clean Around Edges and Decorative Details Without Abrasion
Cleaning Compatibility
What to Use and What to Avoid
When uncertain about a cleaning product, do not use it until its
compatibility with decorative plumbing finishes has been confirmed.
Recommended
Gentle Cleaning Materials
Use the least aggressive method necessary to remove ordinary residue.
Warm clean water
Mild non-abrasive dishwashing soap
Clean microfiber cloth
Soft cotton cloth
Gentle rinsing
Immediate drying after cleaning
Product-specific care instructions
Do Not Use
High-Risk Cleaning Products
The following materials may scratch, discolor, strip or chemically
alter a decorative finish.
Scouring pads or abrasive sponges
Powdered cleansers
Acidic bathroom cleaners
Bleach or chlorine concentrates
Organic solvents
Metal polishing compounds
Steel wool
Construction adhesive removers
Undiluted commercial chemicals
Finish Care Matrix
General Guidance by Finish Family
Always follow the product-specific care instructions when available.
This matrix provides general maintenance guidance only.
Finish
Recommended Routine
Common Visible Concern
Avoid
Documentation Tip
Polished Chrome
Reflective bright finish
Warm water, mild soap and a clean microfiber cloth
Water spots, fingerprints and mineral residue
Abrasive pads, powdered cleaner and aggressive polishing
Photograph the surface from several angles to control reflections
Brushed Gold
Directional decorative finish
Gentle wiping in the direction of the visible grain
Uneven residue, staining or rubbing marks
Metal polish, acids and repeated aggressive rubbing
Use even lighting and include an unaffected nearby area for comparison
Matte Black
Low-reflection finish
Warm water, mild soap and immediate gentle drying
Soap film, mineral deposits and visible rubbing
Waxes, oily polish, hard brushes and abrasive cloths
Photograph dry surfaces to avoid confusing water with finish variation
Brushed Nickel
Soft metallic finish
Gentle cleaning with a soft cloth following the grain
Water marks, residue and directional streaking
Steel wool, acids and coarse polishing materials
Show the complete component and a close-up of the affected surface
Oil Rubbed Bronze
Dark decorative finish
Light cleaning with warm water and mild soap only
Finish variation, mineral deposits or worn high-contact areas
Metal polish, acids, bleach and aggressive scrubbing
Document high-touch and low-touch areas for comparison
Rose Gold
Warm decorative finish
Soft-cloth cleaning and gentle drying after each cleaning
Fingerprints, water spots and chemical discoloration
Abrasive polish, acids and industrial cleaning chemicals
Photograph in neutral lighting without color filters
Gun Metal Gray
Dark metallic finish
Mild soap, warm water and a clean lint-free cloth
Mineral residue, streaks and cleaning-product film
Strong degreasers, abrasives and solvent-based products
Include both close-up and complete-fixture photographs
Brushed and Directional Finishes
Clean in the Direction of the Visible Grain
Brushed finishes have a directional surface appearance. Repeated
rubbing across the grain or the use of coarse cloths may create
visible marks.
Use light pressure and a clean cloth. Do not attempt to restore a
decorative finish with metal polish or abrasive refinishing products.
Use a clean cloth for every cleaning session
Wipe with the visible grain
Remove soap residue completely
Dry gently without buffing aggressively
Do not use metal polish
Document the condition before attempting corrective cleaning
Environmental Exposure
Conditions That May Affect a Luxury Finish
Finish appearance can be influenced by water chemistry, cleaning
products, humidity, construction residue and surrounding materials.
Hard Water
Mineral Deposits
Hard-water deposits may build up around aerators, joints, controls
and areas where water is allowed to dry repeatedly.
Cleaning Chemicals
Chemical Discoloration
Acids, bleach, solvents and strong commercial cleaners may alter
color, sheen or surface texture.
Construction
Grout and Plaster Dust
Construction dust may be abrasive. Do not wipe dusty surfaces before
rinsing loose particles away.
Adhesives
Sealant and Adhesive Residue
Do not use aggressive solvent removers on finished fixtures. Protect
surfaces before applying sealants nearby.
High Humidity
Moisture and Condensation
High-humidity spaces may require more frequent gentle drying and
ventilation to reduce recurring deposits.
Metal Contact
Tool and Hardware Damage
Unprotected tools, wrenches and installation hardware may scratch or
mark decorative surfaces.
Keep Finished Fixtures Covered During Construction
Protect products from dust, grout, paint, adhesives, tools and
other construction materials until final project cleaning.
Construction-Phase Protection
Do Not Use the Fixture as a Construction Cleaning Surface
Fixtures should not be used to rinse tools, brushes, grout materials,
paint equipment or construction containers.
Protect all visible surfaces until construction is complete. Remove
loose dust with water before wiping to avoid dragging abrasive
particles across the finish.
Keep protective wrapping in place when practical
Cover fixtures during wall and tile work
Do not store tools on finished surfaces
Keep grout and adhesive away from trim
Rinse dust before wiping
Use only approved products for final cleaning
Photograph any concern before attempting removal
Hospitality Housekeeping Standards
A Consistent Cleaning Procedure Protects Multi-Room Installations
Hotels, resorts and commercial properties should standardize cleaning
materials and staff procedures across rooms using the same finish.
01 / APPROVE
Approve Products
Select mild, non-abrasive cleaners suitable for decorative plumbing
finishes.
02 / TRAIN
Train Staff
Provide clear instructions on cloths, dilution, rinsing and drying.
03 / SEPARATE
Separate Cloths
Do not use cloths that were previously used with abrasive or acidic
cleaners.
04 / RINSE
Rinse Surfaces
Remove all cleaning residue from faucets, shower trim and accessories.
05 / RECORD
Record Changes
Document any change in cleaner, procedure, contractor or service team.
Housekeeping Procedures
Use the Same Approved Cleaning Method Across Every Guest Room
Finish Consistency
Compare Affected Fixtures With Unaffected Fixtures in Similar Rooms
Finish Concern Documentation
How to Photograph and Report a Surface Concern
Accurate photographs should show the actual surface condition without
filters, dramatic shadows or color-changing artificial effects.
01 / CLEAN
Gently Clean First
Remove ordinary water and soap residue using an approved gentle method.
02 / LIGHT
Use Even Lighting
Photograph in neutral, even light without strong glare or dark shadows.
03 / ANGLES
Show Several Angles
Include close-up, medium and complete-fixture views from multiple angles.
04 / HISTORY
Describe the History
State when the change appeared and identify the cleaning products used.
Close-Up Finish Detail
Show the exact surface condition clearly.
Complete Product View
Show the affected area in relation to the full fixture.
Installed Comparison
Include nearby unaffected products when available.
Water Spots and Mineral Deposits
Prevent Buildup Before It Requires Aggressive Cleaning
Recurring water spots are often easier to manage through gentle,
frequent drying than through strong chemical removal.
Do not scrape mineral deposits with blades, metal tools or abrasive
pads. If buildup cannot be removed using the approved routine,
contact support before using stronger products.
Dry high-splash areas regularly
Inspect aerators and outlet edges
Remove soap film before it hardens
Do not scrape decorative finishes
Do not experiment with acidic descaling products
Photograph deposits before attempting corrective treatment
Consistent Gentle Care Protects Luxury Finish Quality
Use approved materials, document cleaning procedures and report
visible concerns before attempting aggressive corrective cleaning.
Finish Care Assistance
Unsure Whether a Cleaning Product Is Safe?
Provide the BathSelect™ product model, finish name, photographs of
the surface and the complete name of the proposed cleaning product.
Chapter 07Replacement Parts & TroubleshootingServiceability, compatible components and technical checks
BathSelect™ Replacement Parts
Compatible Components Support Reliable Product Service
A replacement component should match the original product model,
function, connection type, finish and generation. Similar appearance
does not guarantee technical compatibility.
Component Identification
Identify the Original Product Before Selecting a Part
Replacement handles, cartridges, valve components, diverters,
sensors and control parts may vary by model even when the visible
product appears similar.
Provide the original order information and clear photographs before
requesting or installing a replacement component.
Original product model
Collection or series name
Finish name
Approximate purchase date
Photograph of the complete fixture
Close-up of the affected component
Photograph of the removed part when requested
Do Not Modify a Part to Force Compatibility
Cutting, drilling, grinding or altering a component may damage the
product and may affect warranty eligibility.
Replacement Component Families
Common Parts That May Require Model Verification
The following categories may contain multiple sizes, connection methods,
operating mechanisms and product generations.
01 / CARTRIDGE
Faucet Cartridges
Cartridge size, stem design, rotation direction and flow function
must match the original faucet.
02 / THERMOSTATIC
Thermostatic Cartridges
Thermostatic components are model-specific and may require
temperature-calibration information.
03 / DIVERTER
Diverter Cartridges
Diverter components vary according to the number of outlets and
internal water-routing arrangement.
04 / HANDLE
Handles and Trim
Visible trim must correspond with the original stem, mounting method,
orientation and finish.
05 / OUTLET
Shower Outlets
Rain heads, body jets and hand showers may use different connection
sizes, flow limits and mounting systems.
06 / SENSOR
Sensors and Controllers
Touchless fixtures may require the correct sensor, controller,
cable and activation configuration.
07 / SOLENOID
Solenoid Valves
Solenoids may differ by voltage, flow direction, connection size and
controller compatibility.
08 / POWER
Power Components
Adapters, battery holders and power supplies must match the product’s
electrical requirements.
Shower-System Components
Valves, Diverters and Controls Must Match the Original Assembly
Touchless Components
Sensors, Solenoids and Power Parts Require Technical Verification
Product Serviceability
Plan for Inspection, Maintenance and Component Access
Product service is more efficient when valves, controllers, filters and
connections remain reasonably accessible after installation.
Concealed Valves
Maintain Service Access
Where practical, provide access to concealed valves, connections and
critical control components.
Filters
Inspect Strainers and Filters
Filters and strainers may collect construction debris, sediment or
mineral material over time.
Electronics
Keep Controllers Accessible
Touchless control boxes, batteries, adapters and cables should remain
accessible for inspection.
Shower Systems
Document Concealed Components
Photographs taken before walls are closed can become valuable
references during future technical review.
Fixtures
Avoid Permanent Obstruction
Cabinetry, stonework or decorative panels should not prevent
reasonable service access where access is required.
Records
Keep Service Information
Record each inspection, replacement part and repair performed during
the product lifecycle.
Service Access
Concealed Does Not Have to Mean Inaccessible
Luxury installations often conceal valves, hoses and controls behind
finished walls, ceilings or cabinetry. Access planning should be
considered before construction is completed.
Where practical, maintain access to components that may require
inspection, adjustment or replacement during the product lifecycle.
Thermostatic valve access
Diverter and connection access
Touchless control-box access
Battery and power-supply access
Filter and strainer access
Photographs of concealed rough-in conditions
Troubleshooting Documentation
Record What Was Tested Before Requesting Replacement Parts
Troubleshooting records help prevent unnecessary part replacement and
make technical review more efficient.
01 / OBSERVE
Describe the Symptom
State exactly what the product is doing and when the issue occurs.
02 / DOCUMENT
Photograph and Record
Provide clear photographs and video of the reported behavior.
03 / TEST
Complete Basic Checks
Verify supply, power, filters, connections and visible installation.
04 / REPORT
Send the Results
Include what was tested, who performed the work and the result.
General Troubleshooting Matrix
Information Commonly Requested During Technical Review
Do not disassemble or modify a product beyond the steps requested by
BathSelect™ support or a qualified professional.
Reported Concern
Initial Information
Photographs
Video
Basic Checks
Possible Component Area
Dripping Faucet
Water continues after shutoff
Model, installation date and whether hot or cold is affected
Full faucet, handle, spout and under-counter connections
Show the dripping after the handle is fully closed
Confirm handle position and supply conditions
Cartridge, valve seat or internal seal
Low Shower Flow
Reduced water delivery
Water pressure, affected outlets and whether all functions are reduced
Controls, outlets, hoses and visible supply arrangement
Show flow from each outlet separately
Check filters, strainers, supply valves and debris
Filter, cartridge, diverter, hose or outlet
Temperature Variation
Unstable or incorrect temperature
Hot and cold supply temperatures and pressure information
Mixer trim, valve installation and water-heater information
Show temperature changes during operation
Confirm hot/cold orientation and supply consistency
Thermostatic cartridge or supply condition
Diverter Concern
Outlet will not change correctly
Number of outlets and affected functions
Diverter control, trim and complete shower layout
Show each selector position and resulting outlet
Confirm control position and outlet arrangement
Diverter cartridge or internal routing
Touchless No Activation
No water after sensor input
Power source, model and whether nearby fixtures operate
Sensor, control box, solenoid, power and supply connections
Show hand movement and sensor response
Check power, connectors, supply and sensor obstruction
Power supply, sensor, controller or solenoid
Touchless Continuous Flow
Water will not stop
When the issue began and whether power was recently changed
Sensor area, control box, solenoid and water connections
Show continuous flow and sensor area
Check sensor obstruction and connector condition
Sensor, controller or solenoid
Finish Concern
Discoloration, spotting or surface change
Finish name, cleaning products and date first observed
Close-up, full fixture and unaffected comparison area
Usually optional unless the condition changes when wet
Gently clean using approved methods only
Finish, residue, water chemistry or chemical exposure
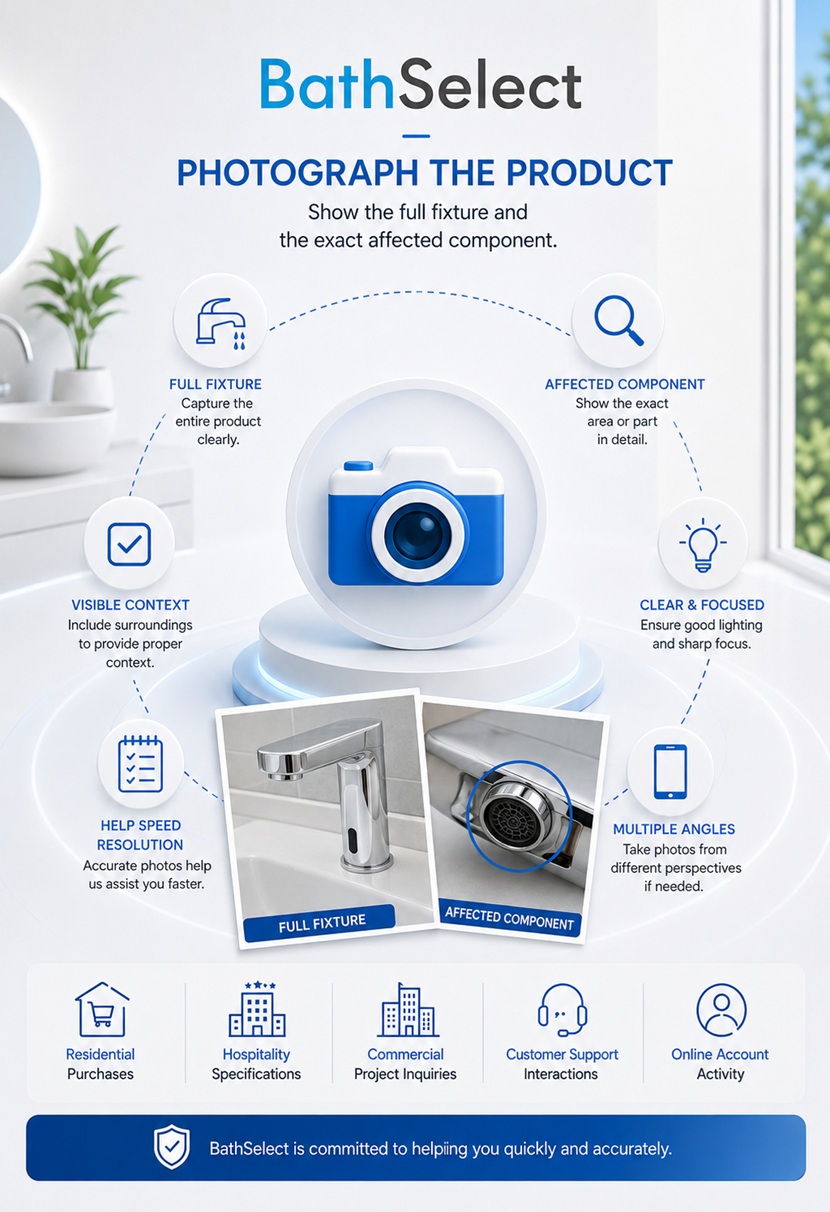
Photograph the Product
Show the full fixture and the exact affected component.
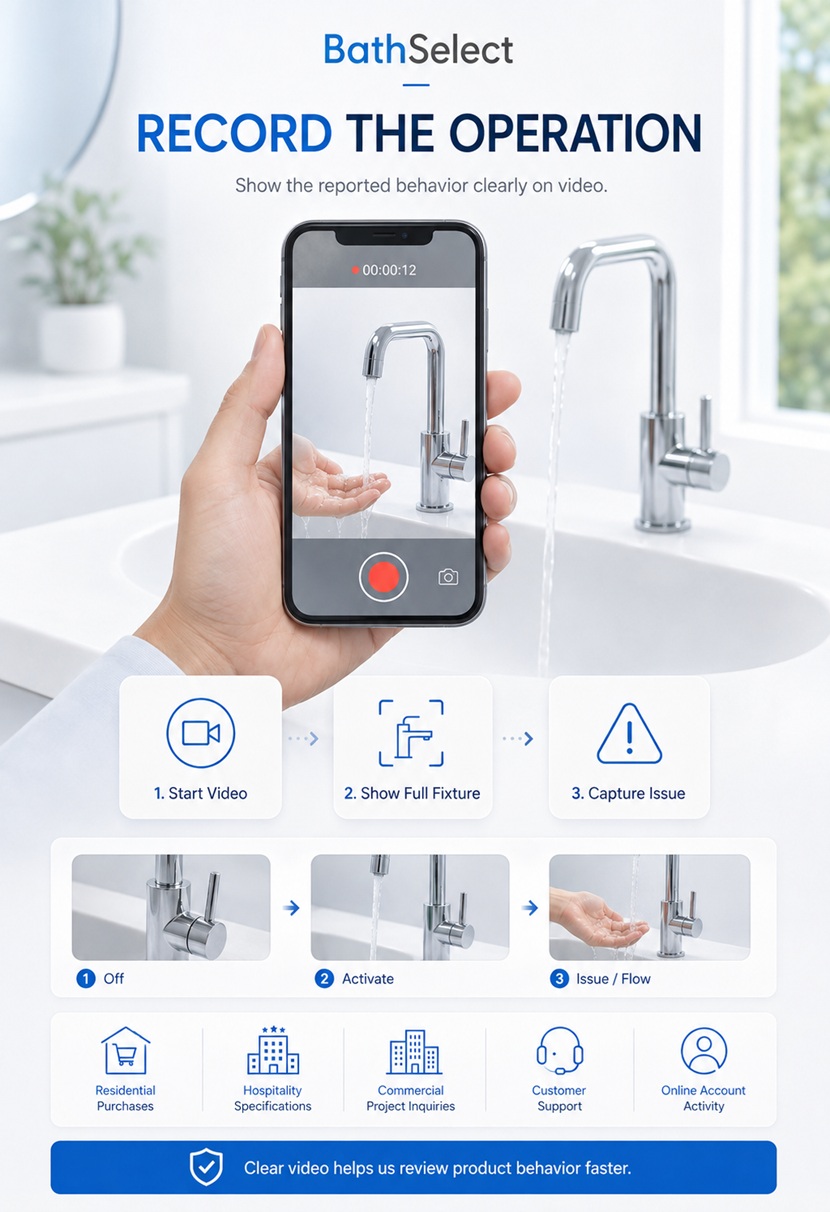
Record the Operation
Show the reported behavior clearly on video.
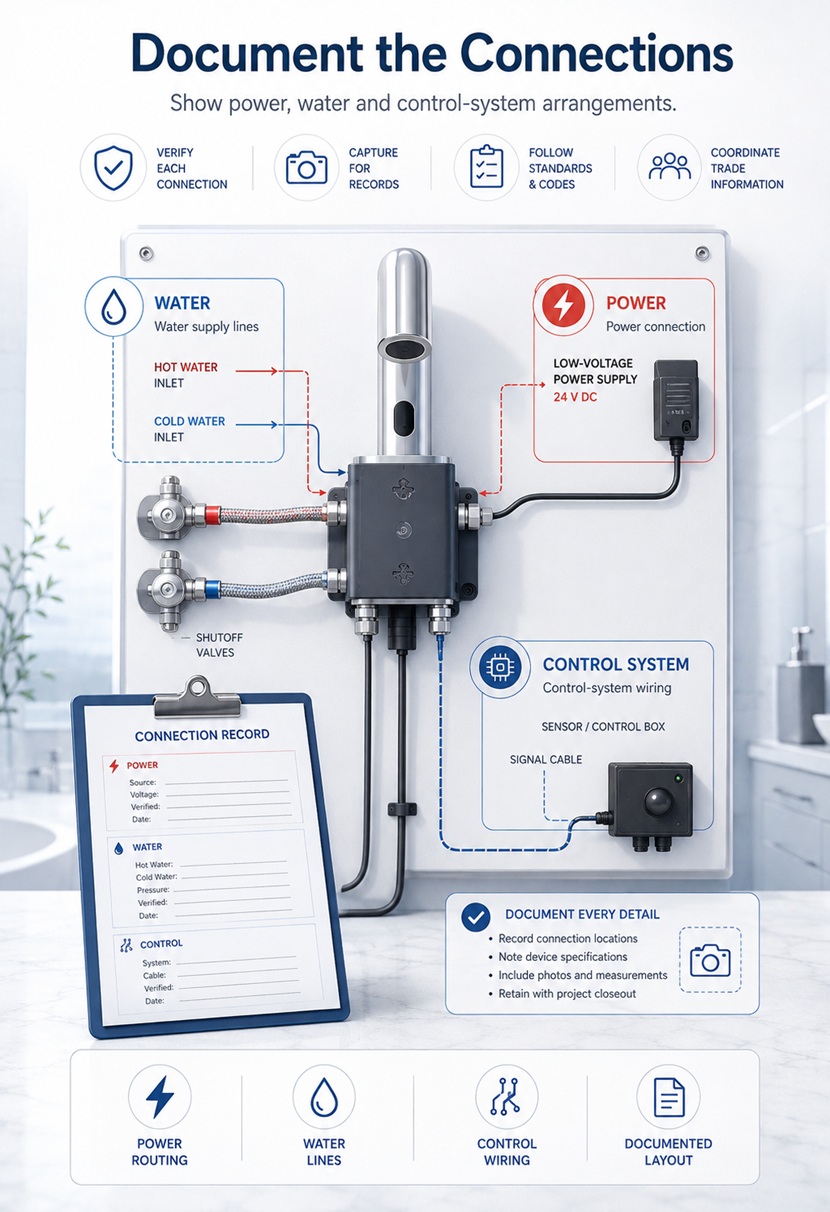
Document the Connections
Show power, water and control-system arrangements.
Repair or Replacement
The Smallest Correct Solution Is Often the Best Solution
Many product concerns may be resolved by identifying and replacing
the affected serviceable component rather than replacing the entire
product.
The appropriate solution depends on the product model, installation,
component availability, reported condition and warranty eligibility.
Confirm the exact affected function
Identify the serviceable component
Verify part compatibility
Review installation access
Document previous repair attempts
Do not replace unrelated components without guidance
Replace Only the Confirmed Compatible Component
A targeted repair can preserve the original product, finish and
installed configuration.
Replacement-Part Request
What to Include Before Requesting a Component
Complete identification reduces the risk of receiving a component that
does not match the original product.
Product Information
Provide the information needed to identify the original fixture.
Order number or proof of purchase
Product model and collection
Finish name
Approximate purchase date
Residential, hospitality or commercial application
Complete fixture photograph
Installation location
Component Information
Show the affected component and explain why replacement is being requested.
Close-up of the affected component
Photograph from several angles
Dimensions when requested
Connection or stem photograph
Description of the operating issue
Video showing the issue
Previous troubleshooting completed
Touchless Replacement Components
Electronic Parts Must Match the Complete Control System
Sensor faucets may use coordinated sensors, solenoids, controllers,
cables and power components. Replacing one electronic component with
an incompatible part may prevent the fixture from operating correctly.
Confirm the faucet model and generation
Photograph the sensor and spout
Photograph the controller label
Show the solenoid and flow direction
Document the power source
Photograph all cable connectors
Provide an activation video
Shower-System Components
Confirm the Valve and Outlet Configuration Before Ordering
A multi-function shower system may contain several internal
cartridges and outlets. The correct replacement depends on which
function is affected.
Identify the mixer and diverter separately
List all shower outlets
Show the control positions
Record which outlet is affected
Provide temperature and pressure information
Photograph the removed cartridge when requested
Do not mix cartridges from different valve systems
Signature Shower Systems
Keep Replacement Components Connected to the Original Model Record
Long-Term Service Records
Document Every Part Replaced During the Product Lifecycle
Replacement-Part Assistance
Need Help Identifying the Correct Component?
Send the order number, product model, finish, complete fixture
photograph, affected-part images and a description of the issue.
A Complete First Submission Supports a More Efficient Review
The strongest warranty request clearly identifies the product,
documents the installation, explains the reported concern and includes
visual evidence showing how the product is currently operating.
Claim Preparation
Prepare the Product Record Before Contacting Support
Collect the order record, model information, installation details,
clear photographs and operating video before sending the first
message.
A complete first submission helps reduce repeated follow-up and
allows the support team to begin technical review with more context.
Proof of purchase
Product model and collection
Finish identification
Installation address or project location
Detailed issue description
Close-up and wide photographs
Video for operational concerns
Installer or facility contact information
Start With the Product Model, Finish and Exact Location
Accurate identification helps connect the request to the correct
product configuration and technical information.
Claim Readiness
Four Questions to Answer Before Submitting
A clear request should answer who purchased the product, what product is
affected, where it is installed and how the concern appears.
01 / WHO
Who Purchased It?
Provide the purchaser name, order number, invoice and current contact
information.
02 / WHAT
What Product Is It?
Identify the model, collection, finish, configuration and affected
component.
03 / WHERE
Where Is It Installed?
Provide the home address, property name, building, floor, room or
fixture location.
04 / HOW
How Does the Issue Appear?
Describe when the concern began, how it behaves and whether it is
continuous or intermittent.
Installation Context
Show the Complete Product and Surrounding Installation
Issue Detail
Include Clear Close-Up Images From More Than One Angle
Warranty Review Workflow
From Initial Submission to Available Resolution
Each stage depends on the completeness of the information provided and
the technical review required for the product category.
01 / SUBMIT
Send the Request
Provide purchase, model, location, description and visual documentation.
02 / VERIFY
Verify the Product
The product model, finish, application and purchase record are reviewed.
03 / REVIEW
Review the Evidence
Photographs, video and installation information are assessed.
04 / TEST
Complete Testing
Additional checks or technical troubleshooting may be requested.
05 / DETERMINE
Determine Eligibility
The warranty terms and review findings are considered together.
06 / RESOLVE
Available Resolution
Technical guidance, inspection or an eligible replacement may follow.
Evidence Standards
Recommended Evidence by Reported Concern
The following matrix explains the type of evidence that commonly helps
support technical review.
Reported Concern
Close-Up Photograph
Full Installation
Operating Video
Technical Information
Additional Records
Finish Concern
Discoloration, spotting or surface variation
Several angles in neutral, even lighting
Show the full product and nearby unaffected surfaces
Optional unless the condition changes when wet
Finish name and cleaning products used
Cleaning history and date first observed
Leak
Visible water from a fixture or connection
Show the exact point from which water appears
Show the fixture, sink, wall and visible plumbing
Show the leak during operation and after shutoff
Water pressure and affected hot or cold supply
Installer information and prior repair attempts
Low Flow
Reduced water delivery
Show outlet, aerator, showerhead or affected component
Show controls, hoses and complete product
Show flow from each available outlet
Water pressure, supply condition and filter status
Line-flushing or maintenance history
Temperature Concern
Incorrect or unstable temperature
Show mixer, control trim and temperature marking
Show the complete shower or faucet installation
Show temperature behavior during use
Hot/cold supply temperature and pressure
Water-heater and installer information
Touchless Activation
No activation or continuous flow
Show sensor, controller, solenoid and connectors
Show the full sink, faucet and under-counter equipment
Show hand movement and resulting fixture behavior
Power source, battery status and water supply
Number of affected and unaffected fixtures
Missing or Incorrect Component
Shipment or configuration concern
Show the received part and product labeling
Show all received components together
Usually not required
Model, finish and ordered configuration
Carton, shipping label and packing-list photographs
Close-Up Evidence
Show the exact affected surface or component clearly.
Complete Installation
Show the product, connections and surrounding environment.
Operating Evidence
Record the reported behavior from beginning to end.
Photography Standards
How to Create Useful Warranty Photographs
Photographs should be clear, current and representative of the actual
condition without filters, dramatic lighting or visual effects.
Lighting
Use Even, Neutral Light
Avoid dark shadows, colored lighting and strong reflections that may
hide or distort the visible condition.
Focus
Keep the Image Sharp
Make sure the affected surface, connection or component is clearly
visible and not blurred.
Context
Include Wide Views
Show how the product relates to the sink, wall, plumbing, controls,
power equipment and surrounding area.
Angles
Photograph Several Angles
Include front, side, top and connection views when the component or
installation is difficult to understand.
Comparison
Show Unaffected Products
In multi-fixture projects, include similar unaffected fixtures for
comparison when practical.
Original Files
Do Not Apply Filters
Send original photographs whenever possible so color, finish and
surface condition are represented accurately.
Operating Video
Record the Complete Product Behavior
Begin the video with the complete fixture visible. Show the controls,
activate the product and continue recording until the reported issue
is clearly demonstrated.
Show the complete product first
Show the control or sensor action
Record water flow or leakage clearly
Show each shower-system function separately
Record visible controller or display messages
Avoid editing out important operating steps
Keep narration brief and factual
Record the Issue Before Disassembly or Repair
Original operating evidence may be difficult to recreate after a
component has been removed or adjusted.
Final Submission Check
Review the Request Before Sending
A short final review helps confirm that the message includes all
essential product, purchase and evidence information.
Required Identification
Confirm that the request clearly identifies the purchaser and product.
Purchaser name and contact information
Order number or invoice
Product model and collection
Finish name
Purchase date
Installation address or project name
Room or fixture location when applicable
Required Evidence
Confirm that the reported concern is shown clearly and completely.
Detailed written description
Date the concern began
Close-up photographs
Complete-installation photographs
Operating video when applicable
Installer or technician information
Previous troubleshooting or repair history
Possible Review Outcomes
What May Follow After Technical Review
The available next step depends on the evidence provided, warranty terms,
product status and findings of the technical review.
01 / INFORMATION
More Information
Additional photographs, video, measurements or records may be requested.
02 / GUIDANCE
Technical Guidance
Troubleshooting, maintenance or installation guidance may be provided.
03 / INSPECTION
Product Inspection
The affected component or product may need to be returned for inspection.
04 / REMEDY
Eligible Resolution
An eligible replacement component or other available remedy may follow.
Complete Evidence
Clear Documentation Helps Support an Accurate Technical Review
Resolution Support
Available Remedies Depend on Eligibility and Review Findings
Complete Documentation Creates a Stronger Product Record
Keep copies of the original request, photographs, support
correspondence and final resolution with the product records.
Submit a Warranty Request
Ready to Send Your Complete Documentation?
Include the order number, product model, finish, installation
location, written description, photographs and operating video.
Warranty Guidance Built Around Product, Installation and Service Knowledge
A trustworthy warranty center should explain not only what the policy
says, but also how products are identified, how technical evidence is
evaluated and how installation or maintenance conditions may affect
product performance.
Professional Product Review
Technical Context Matters in Every Warranty Decision
A reported concern may involve the product, installation,
water supply, power arrangement, cleaning method, maintenance
history or a combination of several conditions.
BathSelect™ warranty review therefore considers the full product
and installation record rather than relying only on a single
close-up photograph.
Product model and configuration
Finish and affected component
Installation conditions
Water or electrical conditions
Cleaning and maintenance history
Photographs and operating evidence
Applicable warranty terms
Product Knowledge Strengthens Warranty Accuracy
Model-specific documentation helps separate product concerns
from installation, maintenance and environmental conditions.
Areas of Technical Review
Product Knowledge Applied Across the BathSelect™ Portfolio
Different products require different forms of technical evidence,
installation review and component identification.
01 / SHOWERS
Luxury Shower Systems
Thermostatic valves, diverters, rainfall heads, body jets and
multi-outlet configurations require coordinated review.
02 / FAUCETS
Architectural Faucets
Cartridges, handles, spouts, aerators, mounting systems and visible
finishes may require separate documentation.
03 / TOUCHLESS
Touchless Systems
Sensor, controller, solenoid, power and water-delivery components
must be evaluated as a connected system.
04 / FINISH
Luxury Finish Review
Finish assessment may include cleaning methods, water deposits,
construction exposure and environmental conditions.
05 / HOSPITALITY
Hospitality Projects
Multi-room properties require fixture-level location records,
quantities, maintenance history and project documentation.
06 / INSTALLATION
Installation Conditions
Rough-in, water pressure, supply orientation, service access and
electrical arrangements may affect operation.
07 / SERVICE
Replacement Components
Cartridges, valves, sensors and visible trim must correspond with the
original model and configuration.
08 / RECORDS
Product Documentation
Order records, installation photographs and maintenance history help
create a reliable product lifecycle record.
Architectural Products
Drawings, Installation Records and Model Details Support Review
Electronic Fixtures
Power, Sensor and Control Documentation Builds Technical Context
Professional Review Framework
Multiple Areas of Expertise May Support One Warranty Review
Complex concerns may require product, plumbing, installation,
electronic or property-maintenance information to be considered
together.
Product Review
Product and Component Identification
This review confirms the product model, visible configuration,
finish and potentially affected component family.
Model and collection
Finish and trim configuration
Component compatibility
Product-generation differences
Installation Review
Plumbing and Installation Context
This review considers water supplies, pressure, valve placement,
mounting, rough-in and service access.
Hot and cold orientation
Pressure and flow conditions
Valve and outlet layout
Concealed connection records
Electronic Review
Sensor and Control-System Context
This review considers power, sensors, controllers, solenoids,
cables and activation behavior.
Power source
Controller compatibility
Sensor response
Solenoid and cable arrangement
Finish Review
Surface and Maintenance Context
This review considers finish type, lighting, cleaning products,
water deposits and surrounding exposure.
Finish identification
Cleaning history
Water and mineral exposure
Construction or chemical contact
Project Review
Hospitality and Commercial Context
This review compares affected and unaffected fixtures across rooms,
floors, buildings or project phases.
Property and room schedule
Installed quantity
Affected quantity
Maintenance and service history
Warranty Review
Policy and Eligibility Context
This review considers the purchase record, application, warranty
period, exclusions and available remedy.
Proof of purchase
Residential or commercial use
Warranty limitations
Available eligible remedy
Good Evidence Allows Different Review Areas to Work Together
Include enough documentation to show the product, installation,
operating behavior and maintenance context.
Warranty Information Standards
How This Warranty Center Should Be Maintained
Trust is strengthened when policy information is clearly written,
consistently reviewed and updated when products or procedures change.
01 / ACCURACY
Product Accuracy
Product names, collections and support requirements should match
current records.
02 / CLARITY
Clear Language
Warranty terms and exclusions should be presented in understandable
language.
03 / REVIEW
Periodic Review
Technical guidance should be reviewed when products or procedures
change.
04 / TRANSPARENCY
Revision Transparency
Important policy updates should be recorded with a revision date and
description.
BathSelect™ Warranty Resources
Recommended Product and Support Documents
The following resource cards may later be connected to official
BathSelect™ PDF documents, installation instructions or support pages.
Warranty
Product Warranty Guide
A downloadable summary of residential, commercial and hospitality
warranty terms.
Chapter 10Installation, Water & SafetyProfessional responsibility, water conditions and compliance context
Installation Responsibility
Professional Installation Supports Product Performance and Warranty Review
Luxury bathroom products may include concealed plumbing, thermostatic
valves, multiple outlets, electronic controls and specialty mounting
requirements. Correct installation is essential to intended performance.
Qualified Installation
Use Experienced Professionals Familiar With the Product Type
The installer should review the product model, installation
instructions, rough-in requirements, water supplies, electrical
conditions and service-access needs before work begins.
Improper installation, incorrect connection, unsupported components
or unauthorized modification may affect product performance and
warranty eligibility.
Review all instructions before installation
Confirm the model and configuration
Verify the rough-in dimensions
Flush hot and cold water supplies
Protect finished surfaces during installation
Test the system before closing walls
Retain installation photographs
Test the Complete System Before Closing the Wall
Confirm water delivery, temperature control, outlet selection and
connection integrity while concealed components remain accessible.
Installation Review Areas
Key Responsibilities Before the Product Is Placed Into Service
The installer, contractor, project team and owner each contribute to
protecting the product and creating a reliable installation record.
01 / VERIFY
Confirm the Product
Verify the model, finish, included components and intended
configuration before beginning work.
02 / PREPARE
Prepare the Site
Confirm wall support, plumbing, drainage, electrical supply and
required service access.
03 / PROTECT
Protect the Finish
Keep tools, adhesives, grout, solvents and abrasive materials away
from visible surfaces.
04 / CONNECT
Complete Connections
Install water, drain, power and control connections according to the
intended product arrangement.
05 / TEST
Test Every Function
Test all outlets, handles, temperature controls, sensors and
electronic functions before completion.
06 / DOCUMENT
Photograph the Work
Document concealed valves, connections, wiring, controls and final
product placement.
07 / HANDOVER
Transfer Records
Provide the owner or facility team with model, care and installation
documentation.
08 / MAINTAIN
Support Future Service
Keep service access available and record future repairs or
replacement components.
Concealed Components
Photograph Valves and Connections Before Wall Closure
Power and Controls
Keep Electronic Components Accessible for Inspection and Service
Water Conditions
Water Quality and Supply Conditions Can Affect Product Performance
Pressure, temperature, mineral content, sediment and construction debris
may influence flow, valve operation, surface appearance and service life.
Pressure
High or Low Water Pressure
Pressure outside the intended operating conditions may affect flow,
temperature stability, outlet performance and valve operation.
Sediment
Construction Debris
Dirt, sand, pipe material and sealant may enter supply lines and
block filters, cartridges, aerators or solenoids.
Minerals
Hard-Water Buildup
Mineral deposits may collect around outlets, aerators, shower nozzles
and visible fixture surfaces.
Temperature
Hot-Water Conditions
Unstable supply temperature or incorrect hot and cold connections may
affect thermostatic and mixed-water performance.
Treatment
Water-Treatment Systems
Water softeners, filtration and treatment systems may influence
mineral conditions and maintenance requirements.
Stagnation
Extended Non-Use
Products left unused for extended periods may require inspection,
line flushing and operational testing before regular use.
Flush Water Lines Before Connecting the Fixture
Construction debris should be removed before it reaches
cartridges, aerators, shower outlets, filters or electronic valves.
Installation Documentation Matrix
Records Recommended for Major Product Categories
These records may help support future technical review. The exact
requirements depend on the product and installation.
Product Category
Before Installation
Concealed Work
Final Testing
Owner Record
Common Review Concern
Luxury Shower Systems
Aurelia™, Monarch™ and Crystal™
Model, finish, outlet count and valve configuration
Valve, diverter, supply and outlet photographs
Temperature, pressure and every water function
System layout, model and installation photographs
Incorrect outlet routing, pressure or valve installation
Wall-Mounted Faucets
Concealed valve products
Spout reach, valve depth and sink alignment
Valve body, supply and wall-depth photographs
Flow, shutoff, handle alignment and leak test
Rough-in dimensions and valve-access information
Incorrect depth, alignment or inaccessible valve body
Deck-Mounted Faucets
Sink and vanity installations
Hole spacing, sink clearance and component arrangement
Under-counter mounting and supply photographs
Handle operation, flow and connection leak test
Model, finish and under-counter installation images
Loose mounting, incorrect spacing or supply-line stress
Touchless Faucets
Sensor-operated fixtures
Power type, sink compatibility and control arrangement
Controller, solenoid, cables and water connections
Activation, shutoff, flow and sensor behavior
Fixture location, model and control-system photographs
Power, cable, sensor, solenoid or supply-condition concern
Bathtubs and Tub Fillers
Freestanding or integrated products
Floor support, drain, filler placement and clearances
Drain, overflow, supply and access photographs
Filling, draining, leakage and control operation
Tub model, filler model and installation photographs
Support, drain, access or site-modification concern
Smart Mirrors
Lighted and electronic products
Wall support, power location and required clearances
Wiring and mounting-point photographs
Lighting, controls, display and electrical operation
Model, power and final wall-installation photographs
Power, wall support, wiring or impact damage
Professional Installation Record
Information to Retain From the Installer or Contractor
Installer information and project records may become important if
technical questions arise after the work is completed.
Installer Information
Keep the contact and project information associated with the
installation.
Installer or contractor name
Company name
Telephone and email
Installation date
Project or work-order number
Product model and installed location
Description of testing completed
Technical Installation Record
Retain enough information to explain concealed conditions and final
product operation.
Rough-in photographs
Valve and supply arrangement
Water-pressure information
Power and control-system photographs
Final operating test results
Service-access location
Approved project changes
Safety and Product Protection
Stop Use When Continued Operation May Cause Damage or Injury
When a fixture presents uncontrolled water flow, electrical concern,
unstable mounting or another potentially unsafe condition, discontinue
use and contact a qualified professional.
01 / WATER
Uncontrolled Leakage
Close the appropriate water supply when leakage may damage the
property.
02 / ELECTRICAL
Electrical Concern
Discontinue use of electronic products showing damaged wiring,
moisture intrusion or overheating.
03 / TEMPERATURE
Unsafe Temperature
Stop use when water temperature cannot be controlled safely.
04 / MOUNTING
Loose Product
Do not continue using a loose showerhead, faucet, mirror or mounted
component.
05 / DAMAGE
Broken Component
Avoid contact with broken glass, sharp metal or visibly damaged
electronic parts.
Electronic Product Safety
Keep Power Components Dry, Protected and Accessible
Touchless faucets, smart mirrors and electronic shower controls must
be installed with suitable power arrangements and protected
connections.
Electrical work should be completed according to applicable project
requirements by a qualified professional.
Use the intended power specification
Protect connectors from water exposure
Do not operate damaged power components
Keep control boxes accessible
Do not splice or modify cables without authorization
Photograph the complete power arrangement
Project Compliance Context
Product Warranty Does Not Replace Project-Code Responsibility
Product selection and installation must be evaluated for the specific
project location, building type, plumbing system and applicable local
requirements.
Plumbing
Plumbing Requirements
The project team is responsible for confirming that product
selection, rough-in, drainage and installation are suitable for the
project and local requirements.
Electrical
Electrical Requirements
Smart mirrors, electronic showers and touchless fixtures may require
project-specific electrical review and qualified installation.
Accessibility
Accessible Design
The designer and project team should confirm mounting heights,
clearances, controls and reach conditions required for the intended
application.
Water Use
Flow and Performance
Flow requirements and performance expectations should be confirmed
for the product, jurisdiction and project specification.
Commercial
Commercial Applications
Hotels, airports, healthcare facilities and public buildings may
require additional specification, maintenance and accessibility review.
Project Approval
Authority and Professional Review
Final project approval remains the responsibility of the applicable
design professionals, contractors and authorities having jurisdiction.
Architectural Coordination
Confirm rough-in, mounting and fixture clearances.
Electrical Coordination
Document power, controls and protected connections.
Project Compliance
Confirm suitability for the intended property and application.
Product Modifications
Do Not Alter Components to Force Installation
Cutting, drilling, grinding, reshaping, rewiring or otherwise
modifying a component may damage the product and create an unsafe or
unsupported installation.
Contact support when a component does not fit or does not match the
expected configuration before attempting modification.
Do not drill visible product surfaces
Do not grind valve or cartridge components
Do not alter electronic wiring or connectors
Do not combine unrelated valve systems
Do not use excessive force during assembly
Photograph the compatibility concern
Request model verification before proceeding
Finish Protection
Protect Visible Surfaces From Tools, Adhesives and Construction Debris
Final Commissioning
Test, Photograph and Record the Completed Installation
Installation Records Become Part of the Product History
Keep rough-in photographs, testing records, installer details and
final product images with the original purchase documentation.
Installation Support
Have a Product or Installation Compatibility Question?
Send the model, finish, installation drawings or photographs,
rough-in conditions and a clear description before modifying the
product or closing the installation area.
Chapter 11Definitions, Exclusions & RecordsOwnership files, exclusions, legal context and record retention
Warranty Definitions
Understanding the Terms Used Throughout the BathSelect™ Warranty Center
Clear definitions help customers, property owners, installers and
facility teams understand how product applications, documentation and
warranty review are described on this page.
Clear Warranty Language
The Product, Purchaser and Installation Must Be Identified Clearly
A warranty request begins with three essential records: the product
that was purchased, the person or organization that purchased it and
the location in which it was installed.
Additional information may be required when a product has been moved,
modified, installed in a commercial application or incorporated into
a multi-room project.
Original purchaser or project purchaser
Product model and finish
Original installation location
Purchase and installation dates
Residential or commercial application
Current product condition
Previous repair or replacement history
Keep Purchase and Installation Records Together
The strongest product record connects the invoice, model,
finish and installation location in one organized file.
Core Warranty Terms
Definitions Used for Product and Claim Documentation
These descriptions are provided for clarity and should be read together
with the official warranty terms already included on this page.
Original Purchaser
The Documented Buyer
The person or organization shown on the original acceptable purchase
record for the BathSelect™ product.
Original Installation
The First Installed Location
The residence, room, property or project location in which the
product was first installed after purchase.
Residential Application
Owner-Occupied Home Use
A qualifying installation in the original purchaser’s home, subject
to the ownership, care and documentation requirements stated in the
warranty.
Commercial Application
Non-Residential Product Use
Installation in hotels, resorts, offices, public facilities,
restaurants, healthcare properties, rental properties or other
non-residential environments.
Mechanical Component
Product Operating Hardware
A valve, cartridge, diverter, handle mechanism, connection or other
physical component involved in the intended product function.
Electronic Component
Powered Product Equipment
A sensor, controller, solenoid, cable, display, adapter or other
powered component used by a touchless or smart product.
Finish Concern
Reported Surface Condition
A reported change involving the visible color, sheen, texture or
appearance of a finished product surface.
Manufacturing Defect
Qualifying Product Condition
A condition determined through review to involve covered material,
workmanship, mechanical operation or finish under the applicable
warranty terms.
External Condition
Condition Outside the Product
An installation, water, electrical, maintenance, environmental,
handling or construction condition that may affect product operation
or appearance.
Original Installation
Record the First Property and Exact Product Location
Product Identification
Connect the Model, Finish and Purchase Record
Ownership and Purchase Records
Documents That Help Establish the Product History
Keep the original purchase record and installation information available
for as long as the product remains in service.
01 / INVOICE
Purchase Invoice
Retain a dated invoice showing the purchaser, ordered product,
quantity and purchase date.
02 / ORDER
Order Confirmation
Keep the order number, product description, finish and configuration
selected at purchase.
03 / DELIVERY
Delivery Record
Keep shipping, delivery and carton photographs when the product
condition at arrival may be relevant.
04 / INSTALL
Installation Record
Record the installation address, completion date and installer or
contractor information.
05 / MODEL
Product Identification
Keep product labels, photographs, model numbers and finish schedules
with the original purchase record.
06 / PROPERTY
Property Record
Connect the product to the original residence, hotel, project or
commercial property.
07 / SERVICE
Service History
Record troubleshooting, inspection, repairs and replacement
components throughout the product lifecycle.
08 / CLAIM
Warranty Correspondence
Keep copies of submitted photographs, support messages, case details
and final resolution records.
Property Records
Transfer Product Documentation During Property or Project Handover
When a contractor completes a residence, hotel, resort or commercial
project, product records should be transferred to the owner or
facility team.
The handover file should explain what was purchased, where it was
installed and how the product should be maintained.
Purchase and order documentation
Product and finish schedule
Installation photographs
Concealed valve and control photographs
Cleaning and maintenance guidance
Installer and contractor information
Initial testing records
Coverage Clarifications
Conditions That Require Additional Review
The following situations may require additional information before
warranty applicability can be determined.
Relocated Product
Product Moved After Installation
Provide the original and current installation locations, removal
records and details of the second installation.
Modified Product
Altered Components
Document any drilling, cutting, refinishing, rewiring or component
substitution performed after purchase.
Project Purchase
Purchased Through a Contractor
Provide the contractor invoice, project purchase record and
documentation linking the product to the installation location.
Replacement Product
Previously Replaced Component
Provide the earlier case information and identify whether the current
concern involves the original or replacement component.
Unknown Model
Product Cannot Be Identified
Provide photographs of the complete product, trim, controls,
connections and any visible labels or packaging.
Multiple Products
More Than One Fixture Is Affected
List installed, affected and unaffected quantities and identify every
room or fixture location.
Report Product Changes and Previous Repairs
Complete history helps the support team understand the current
configuration and avoid recommending incompatible components.
Exclusion Guidance
Examples of Conditions Generally Outside Manufacturing-Defect Coverage
This matrix explains common external conditions referenced throughout
the warranty center. Final determination is made after review of the
specific product and evidence.
Condition
Common Example
Evidence Reviewed
Recommended Prevention
Support Information
Improper Installation
Incorrect assembly or rough-in
Incorrect valve depth, reversed supplies, unsupported fixture
or improper mounting
Installation photographs, measurements and contractor records
Review instructions and test before completing walls or finishes
Provide installer details and photographs of concealed work
Construction Debris
Sediment in water lines
Sand, pipe material or sealant blocking a cartridge, aerator,
filter or solenoid
Removed-component photographs and line-flushing history
Flush hot and cold supply lines before fixture connection
Describe what material was found and where it was located
Chemical Damage
Harsh cleaning exposure
Acid, bleach, solvent or abrasive cleaner altering a finish
Cleaning product names, photographs and housekeeping records
Use warm water, mild soap and clean soft cloths
Provide cleaner labels, dilution information and cleaning frequency
Unauthorized Modification
Product or component alteration
Cutting, drilling, grinding, rewiring or combining unrelated parts
Current and original product photographs
Request compatibility review before making changes
Describe every modification and identify who performed it
Accidental Damage
Impact or misuse
Dropped tools, broken glass, scratched trim or bent components
Close-up and complete-location photographs
Protect products during construction, cleaning and service
Explain when and how the damage occurred
Water Conditions
Mineral or pressure-related concern
Hard-water deposits, unstable pressure or sediment accumulation
Water records, pressure information and deposit photographs
Maintain supplies, filters, strainers and suitable water conditions
Provide available water-pressure and treatment information
Normal Wear
Expected change from use
Gradual change at frequently handled or contacted areas
Product age, use level and comparison photographs
Follow recommended care and preventive-maintenance procedures
State the installation date and estimated use conditions
Acts of God
External catastrophic event
Flooding, fire, freezing, storm damage or other external event
Property photographs and event documentation
Protect plumbing and products according to property conditions
Explain the event and the product condition afterward
Finish and Chemical Exposure
Document Cleaning Products Before Attempting Corrective Treatment
Installation and Utilities
Show Water, Power and Control Conditions During Review
Claim File Retention
Keep a Complete Record After the Warranty Review Is Finished
A complete claim file may become valuable during future maintenance,
technical support or replacement-component identification.
01 / REQUEST
Original Request
Keep the original message and written description of the concern.
02 / MEDIA
Photos and Video
Retain all original photographs and operating video submitted.
03 / REVIEW
Support Correspondence
Keep troubleshooting instructions and technical-review messages.
04 / PARTS
Replacement Records
Record every replacement component and the date it was installed.
05 / RESULT
Final Resolution
Retain the final outcome and confirmation of completed work.
Keep Every Claim Document in One Product File
Organized records help future owners, installers and facility
teams understand the product and its service history.
Product Record Organization
Maintain Both Digital and Property-Level Documentation
Important records should remain available even when contractors,
property managers or maintenance personnel change.
Digital Product File
Create a digital folder for each residence, property, room group or
commercial fixture program.
Scanned invoice or purchase record
Product model and finish photographs
Installation instructions
Rough-in and final-installation photographs
Warranty correspondence
Maintenance and repair records
Replacement-component information
Property Maintenance File
Keep essential product information accessible to the person
responsible for ongoing service.
Fixture location schedule
Product and finish schedule
Installer and contractor contacts
Cleaning and care procedures
Service-access locations
Preventive-maintenance schedule
Open technical or warranty cases
Product Record Status
Review the File Before Submitting a New Request
Confirm that the product information is complete, current and connected
to the correct installation location.
Verified
Model Confirmed
The product model and collection match the order and installed fixture.
Documented
Location Recorded
The property, room and fixture position are clearly identified.
Current
Configuration Updated
Repairs, replaced components and product modifications are recorded.
Complete
Evidence Available
Current photographs, operating video and service history are ready.
Warranty Rights
Specific Legal Rights May Vary by State
The BathSelect™ warranty provides specific legal rights. Other rights
may vary according to state law and applicable consumer-protection
requirements.
Some jurisdictions may not permit certain limitations or exclusions
of incidental or consequential damages. Where such restrictions
apply, portions of the stated limitations may not apply.
This page does not replace applicable law, project contracts or
separately issued written warranty terms.
Review the official warranty terms
Retain all purchase documentation
Keep written project-specific agreements
Do not rely on verbal modifications
Record the applicable product and application
Seek qualified advice for legal interpretation when needed
Purchase Documentation
Keep invoices, model records and finish details together.
Installation and Service History
Document every important change during the product lifecycle.
Technical Support Records
Keep troubleshooting, correspondence and final outcomes.
Architectural Product Records
Keep Drawings, Rough-In Photos and Project Schedules Available
Warranty File Organization
One Complete Product File Supports Future Service and Review
A Complete Product History Supports Long-Term Ownership
Retain purchase, installation, maintenance, claim and replacement
records for as long as the product remains in service.
Product Record Assistance
Need Help Identifying a Product or Organizing a Warranty Request?
Send the available purchase information, product photographs,
installation location, finish details and current issue description.