Installation Instructions for Chrome Finish Color Changing LED Pull-Down Kitchen Sprayer | BS9367
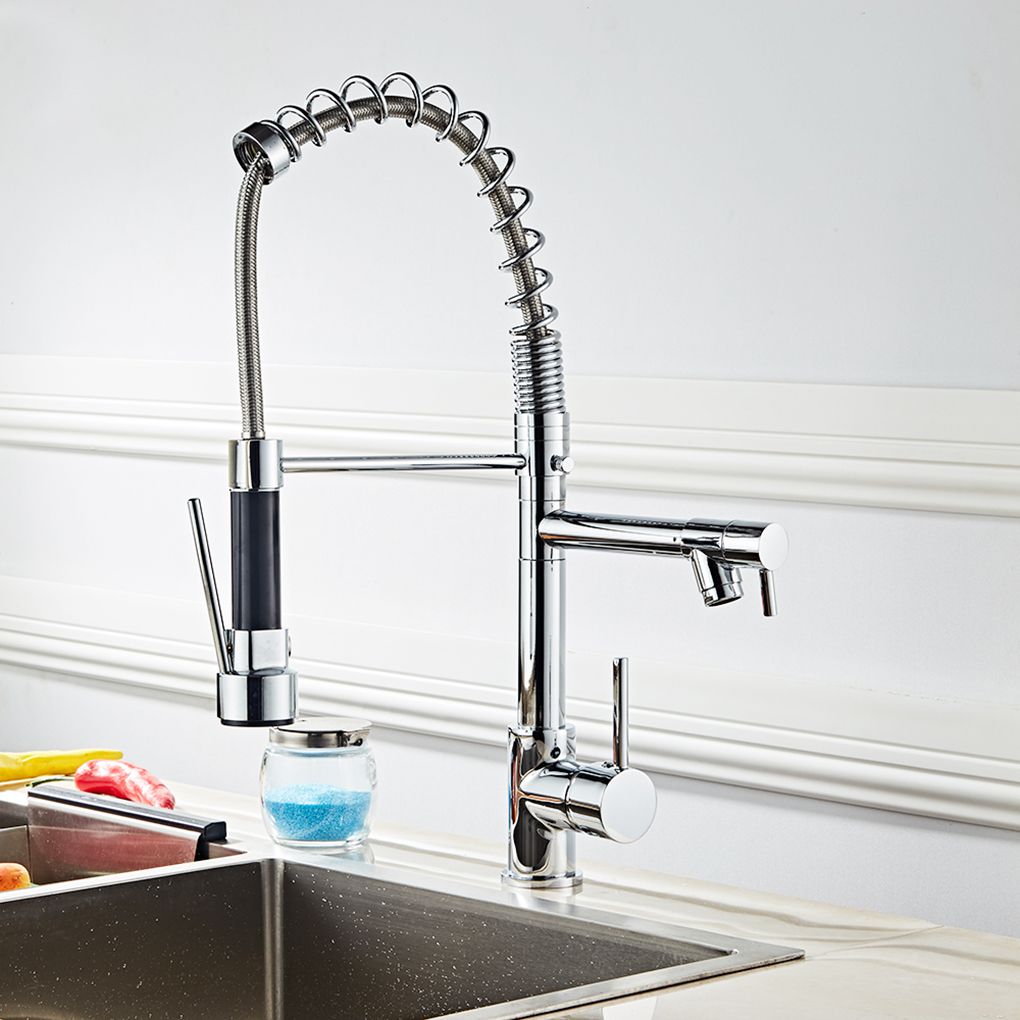
Deck Mount Kitchen Faucet
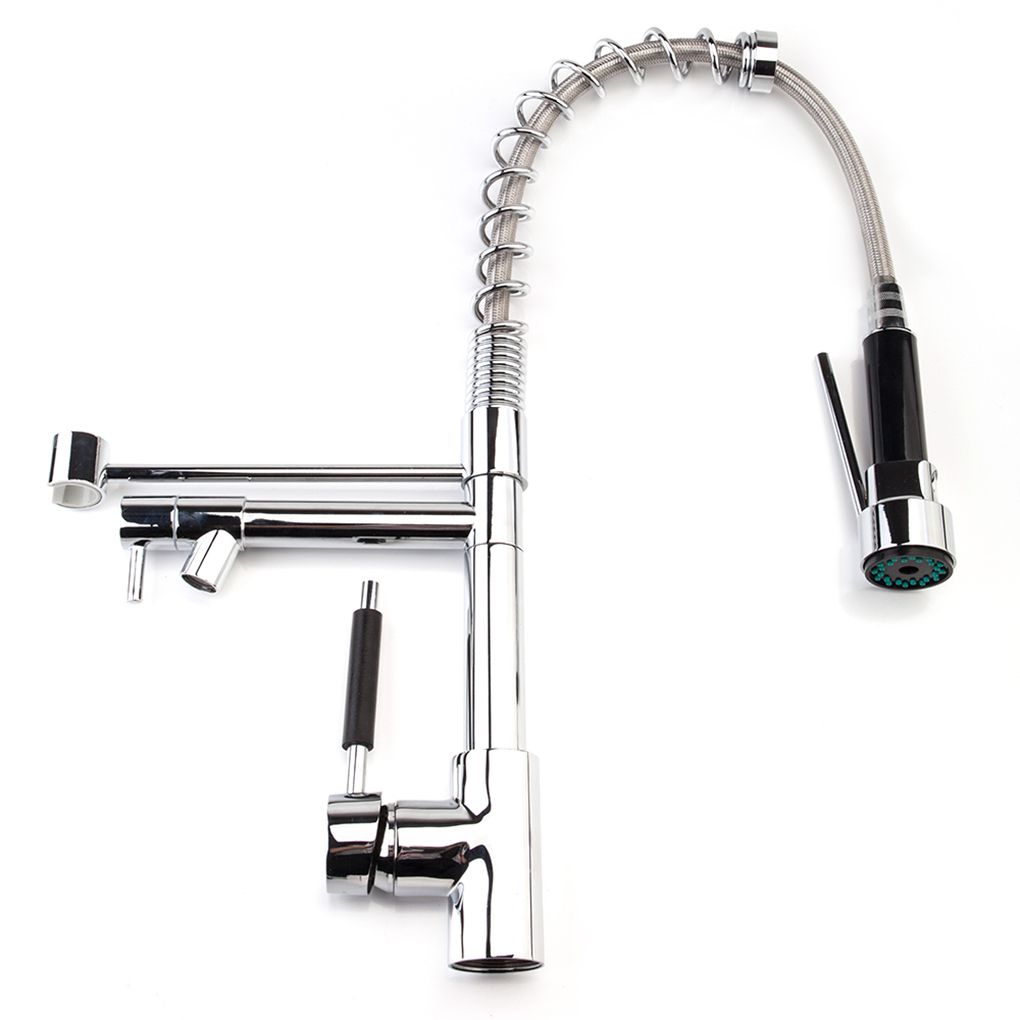
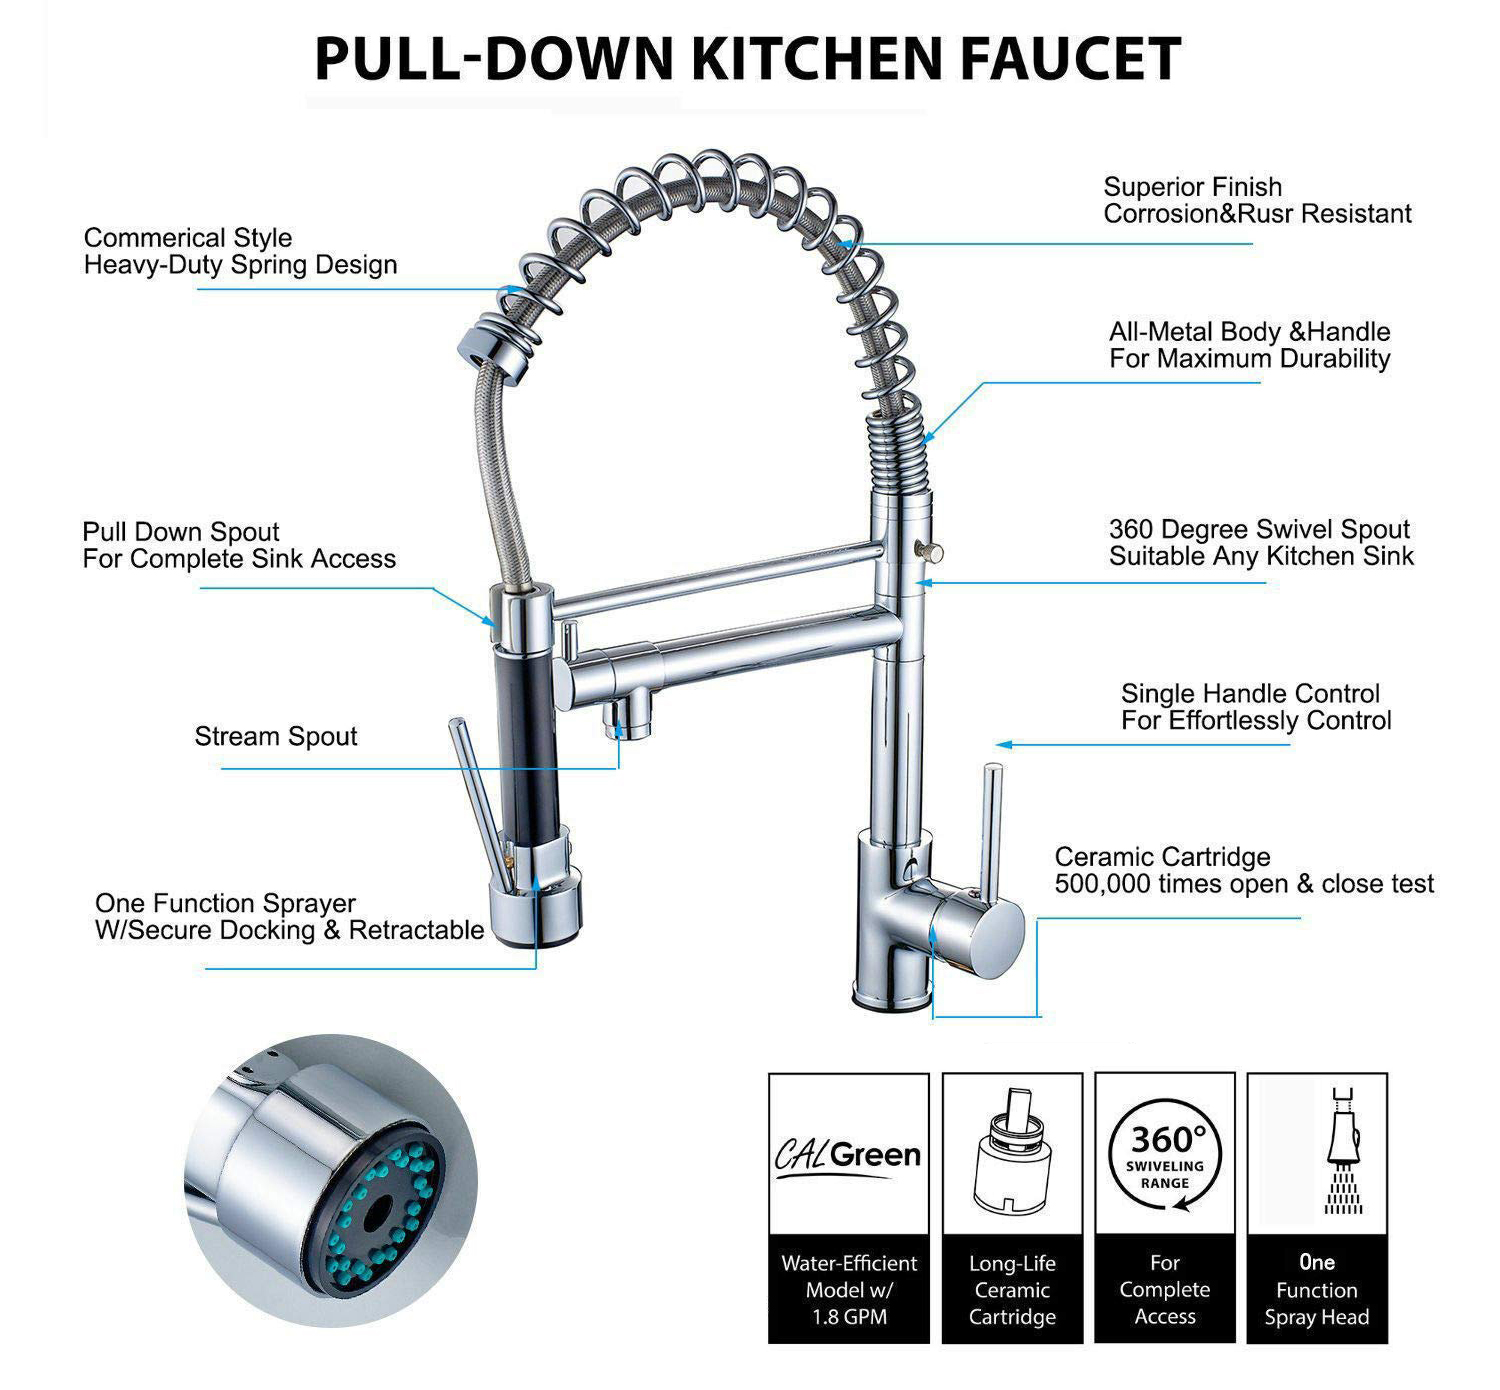
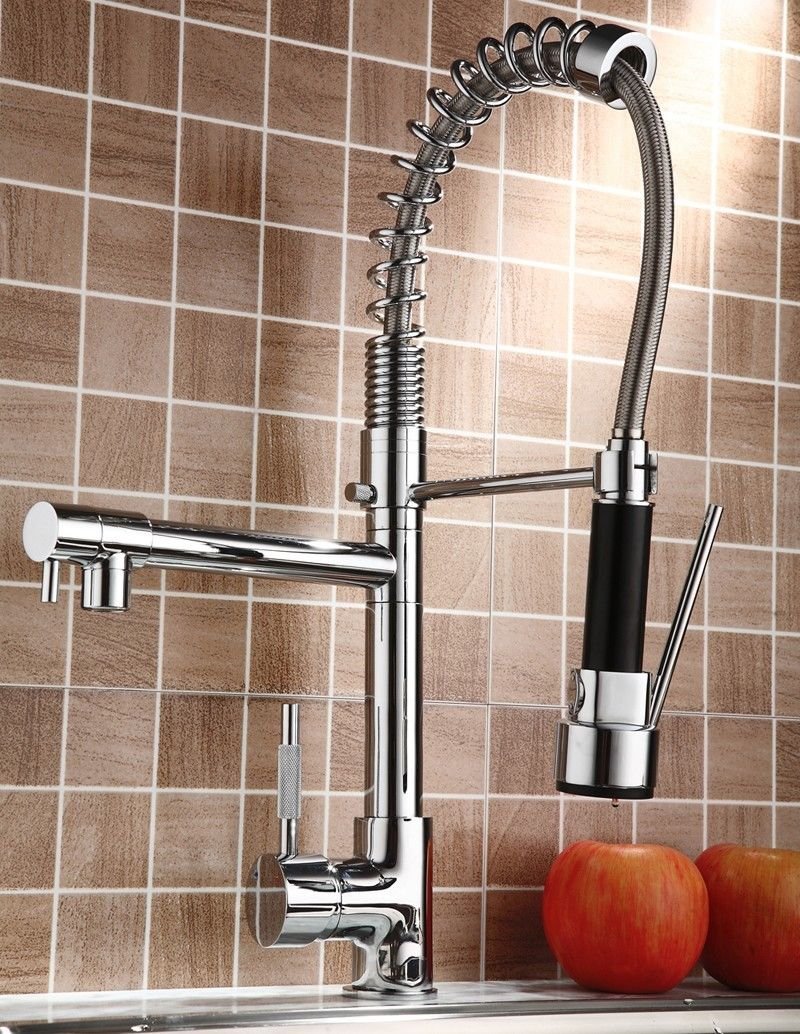
| Single Solid Brass Kitchen Faucet Mixer 360 Degree Swivel Bracket Sink Faucet Pull Out Spray Chrome Plated Faucet, Great Unique Design. | |  | | |
|
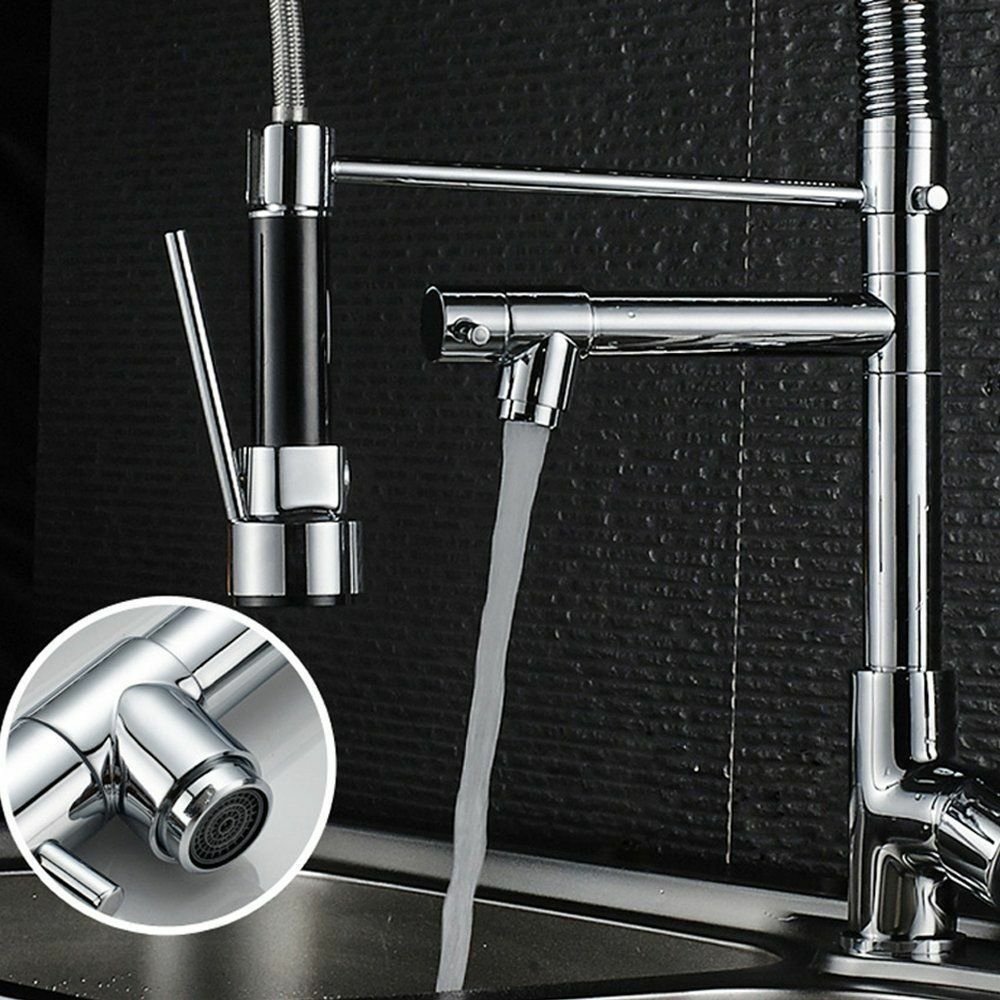
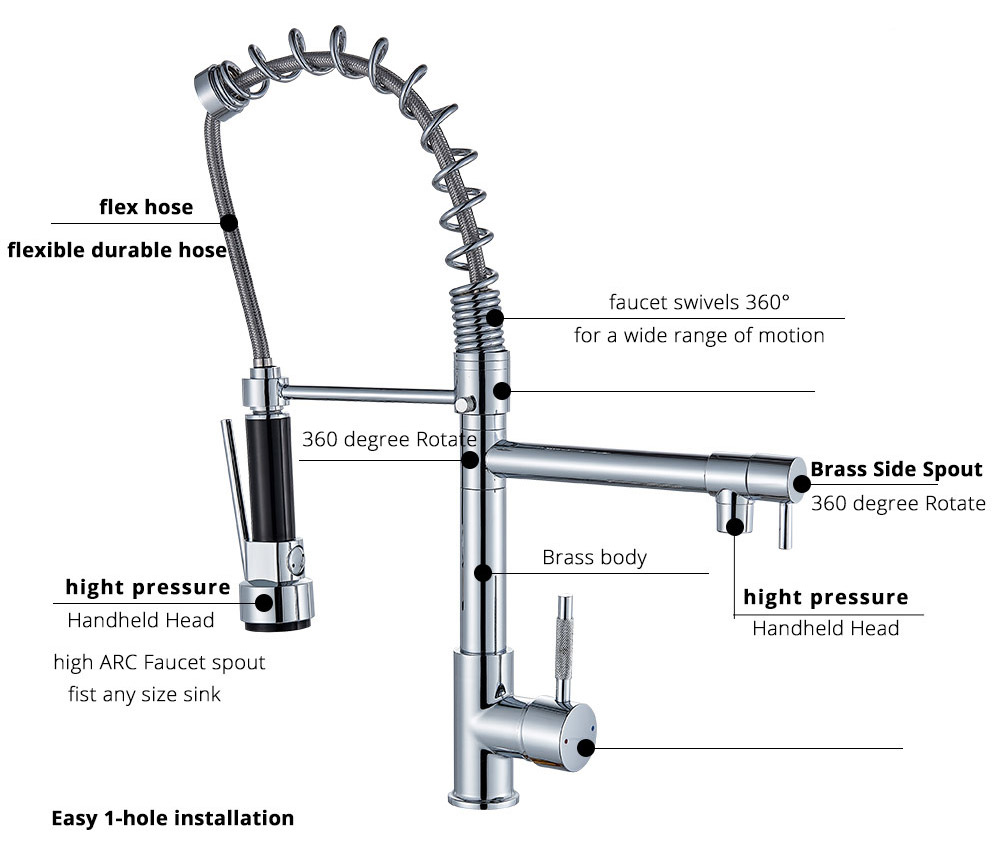
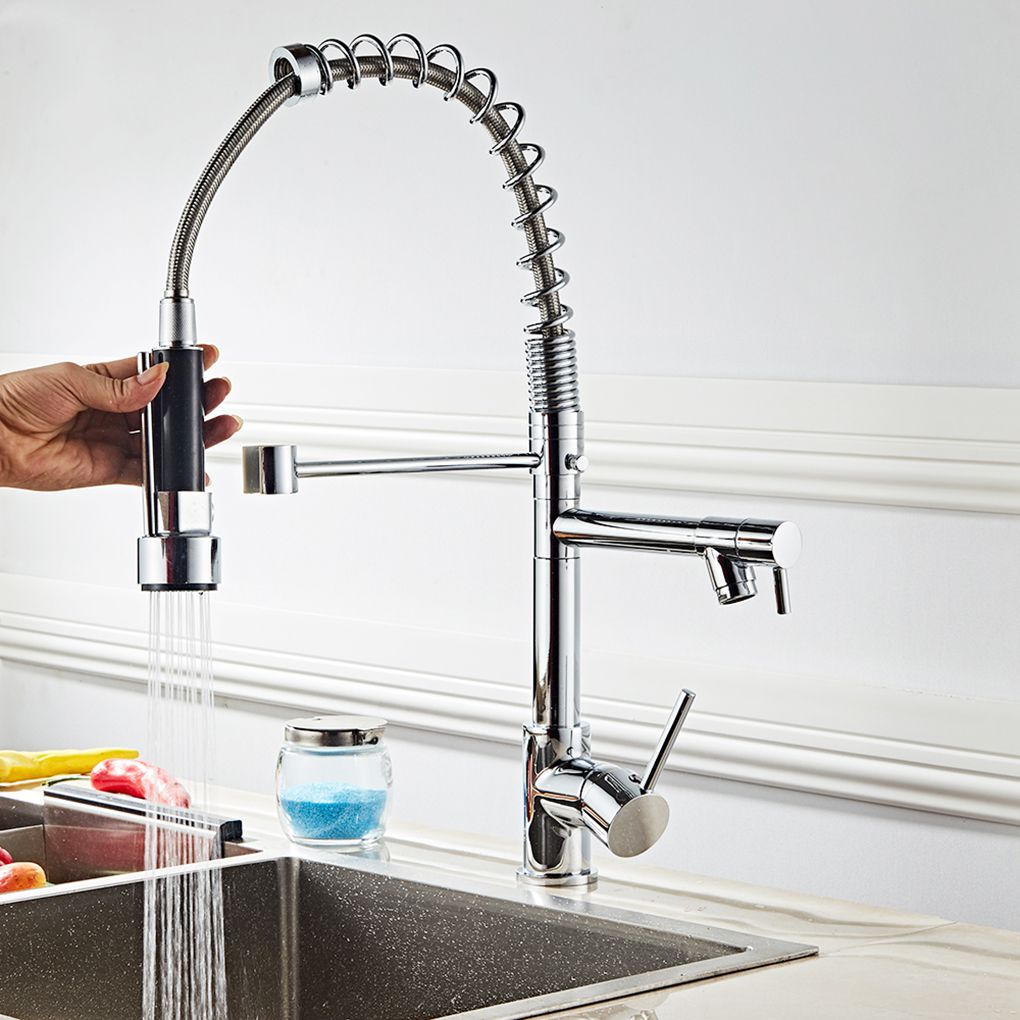
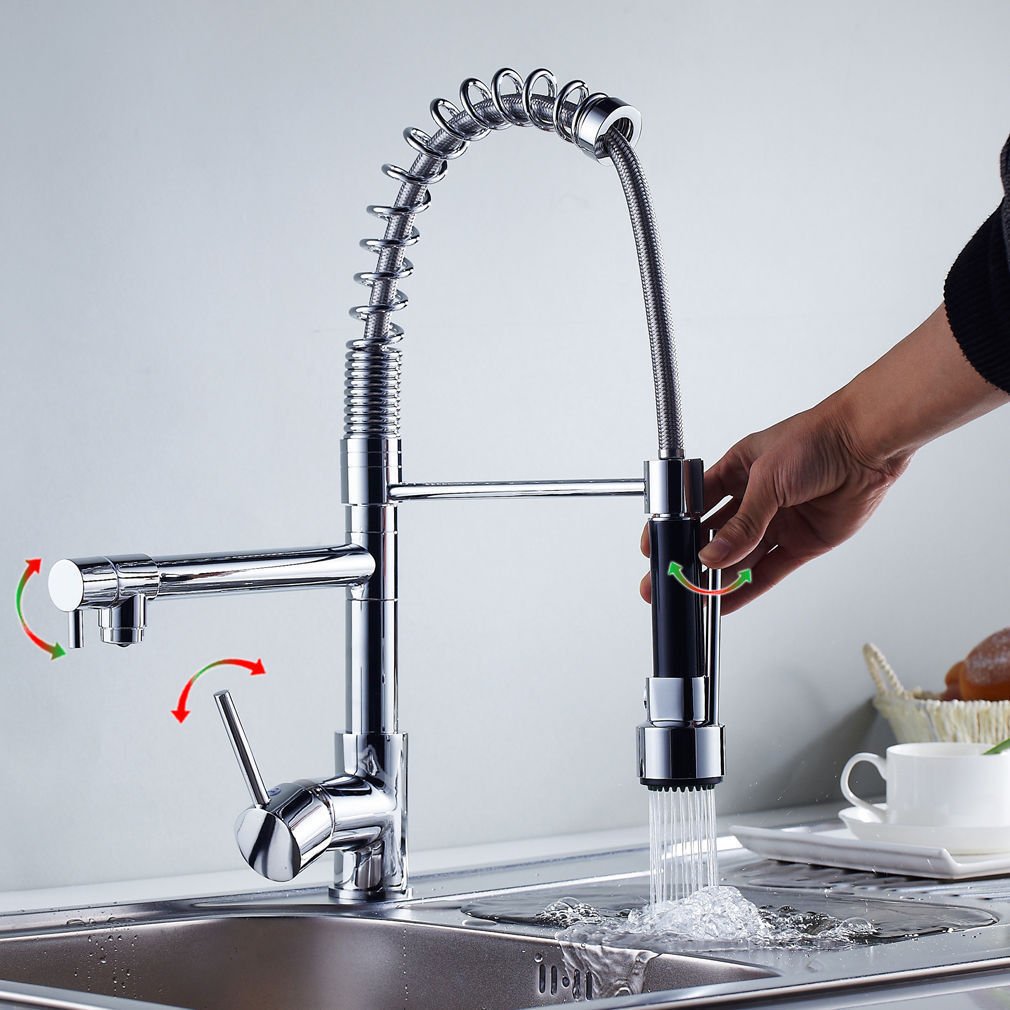
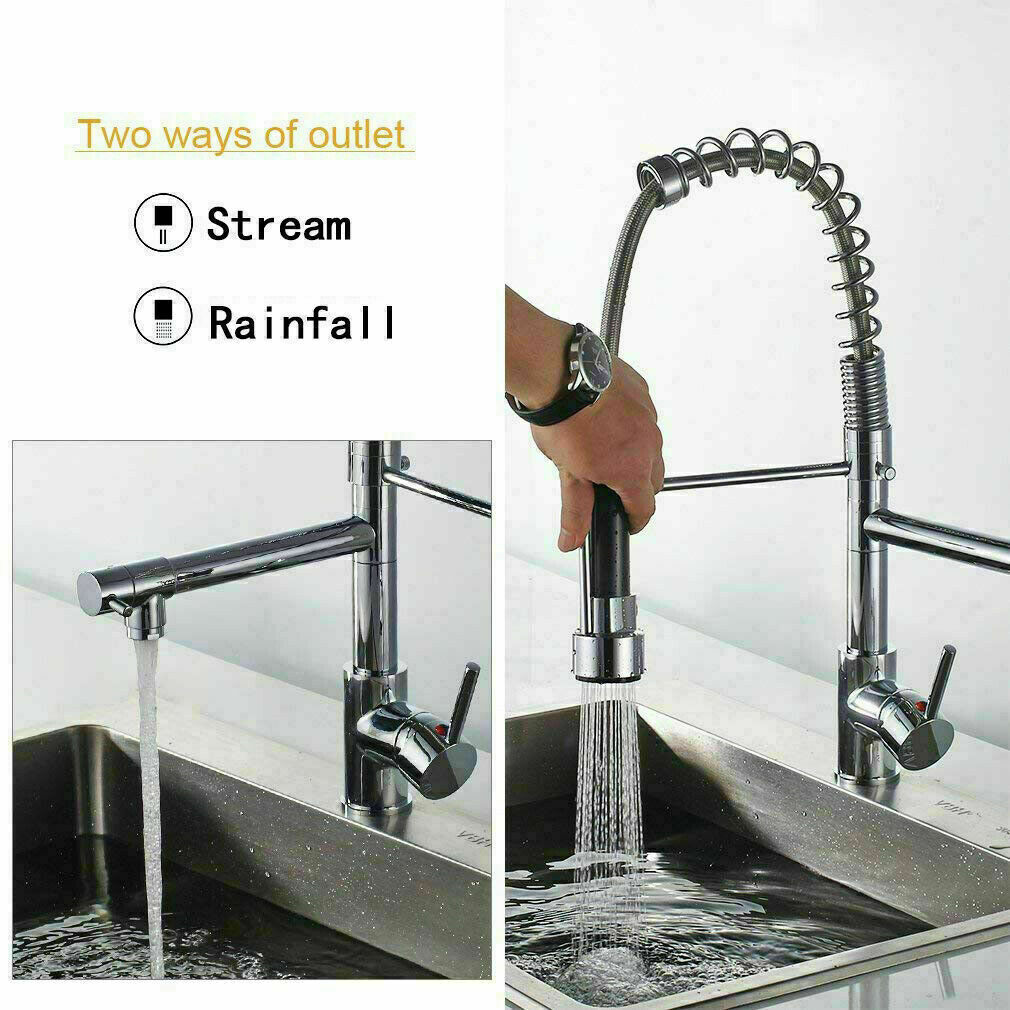
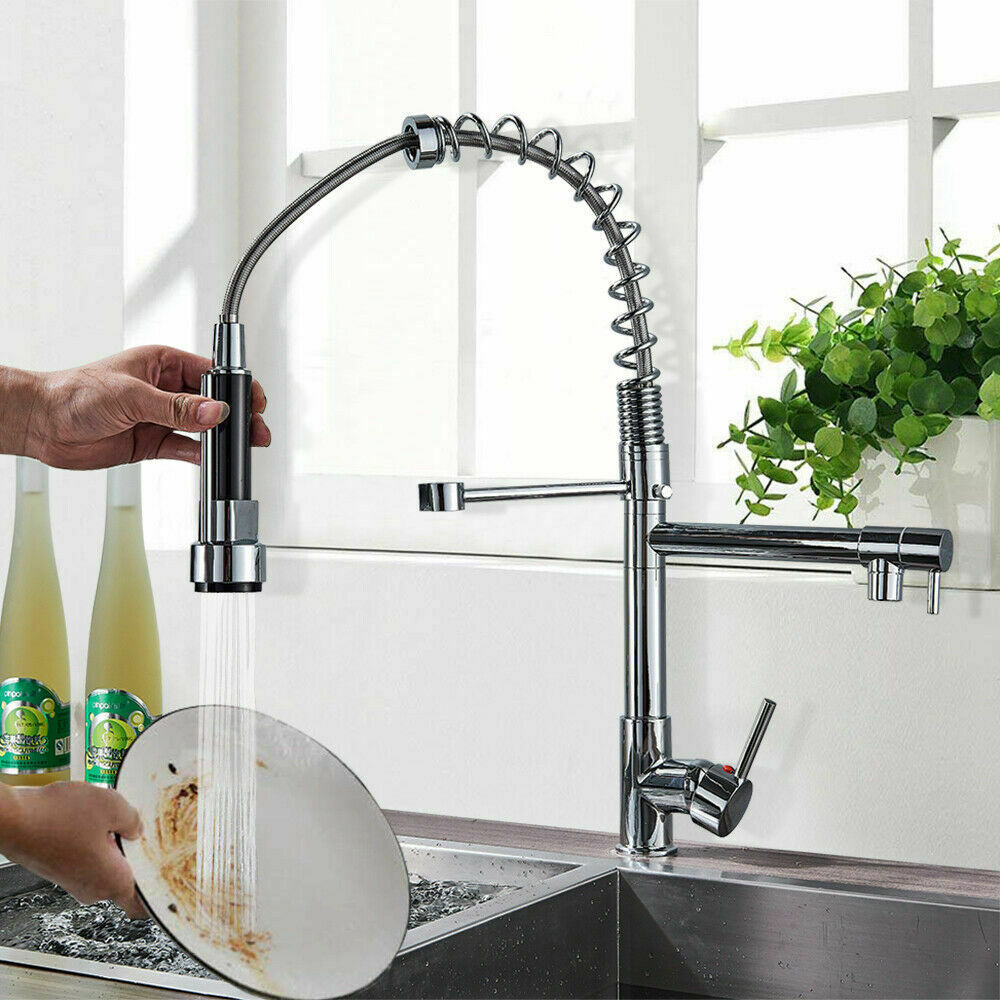
| | | | Features: | faucet | | - Function: Kitchen Sink Sprayer
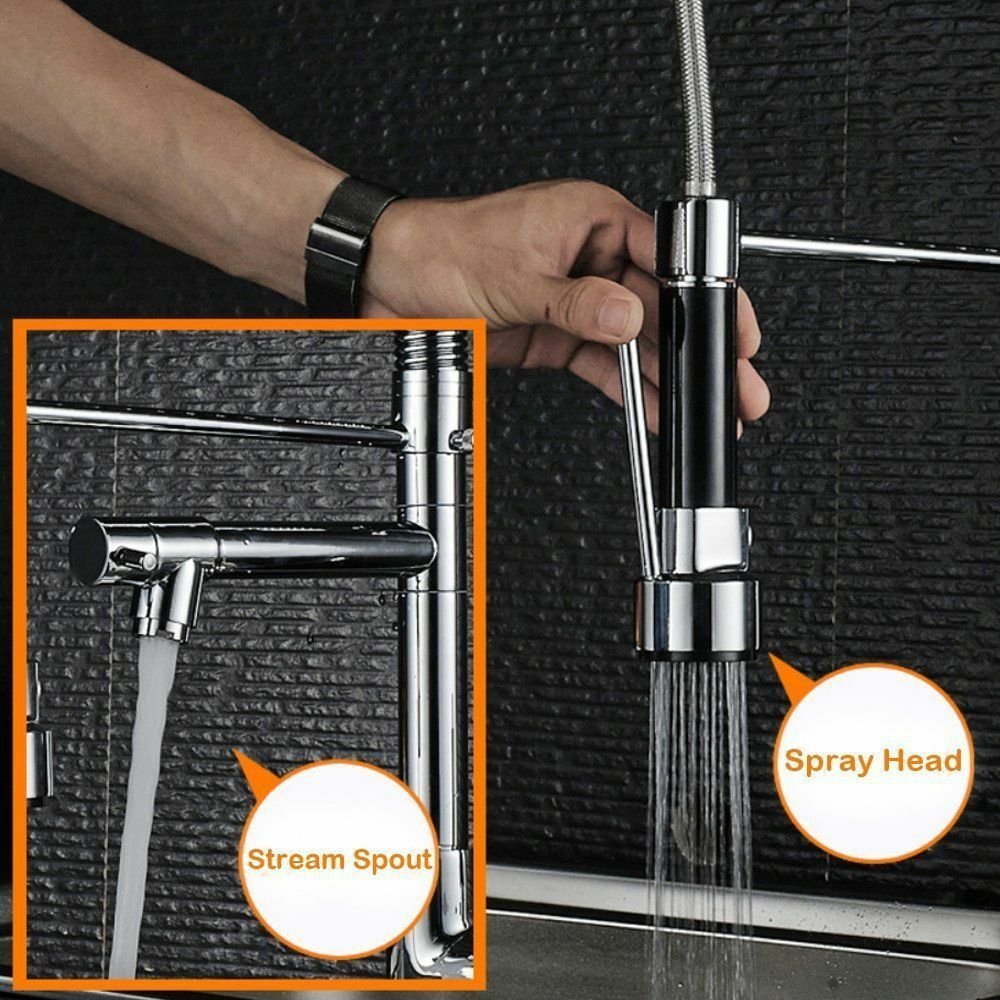
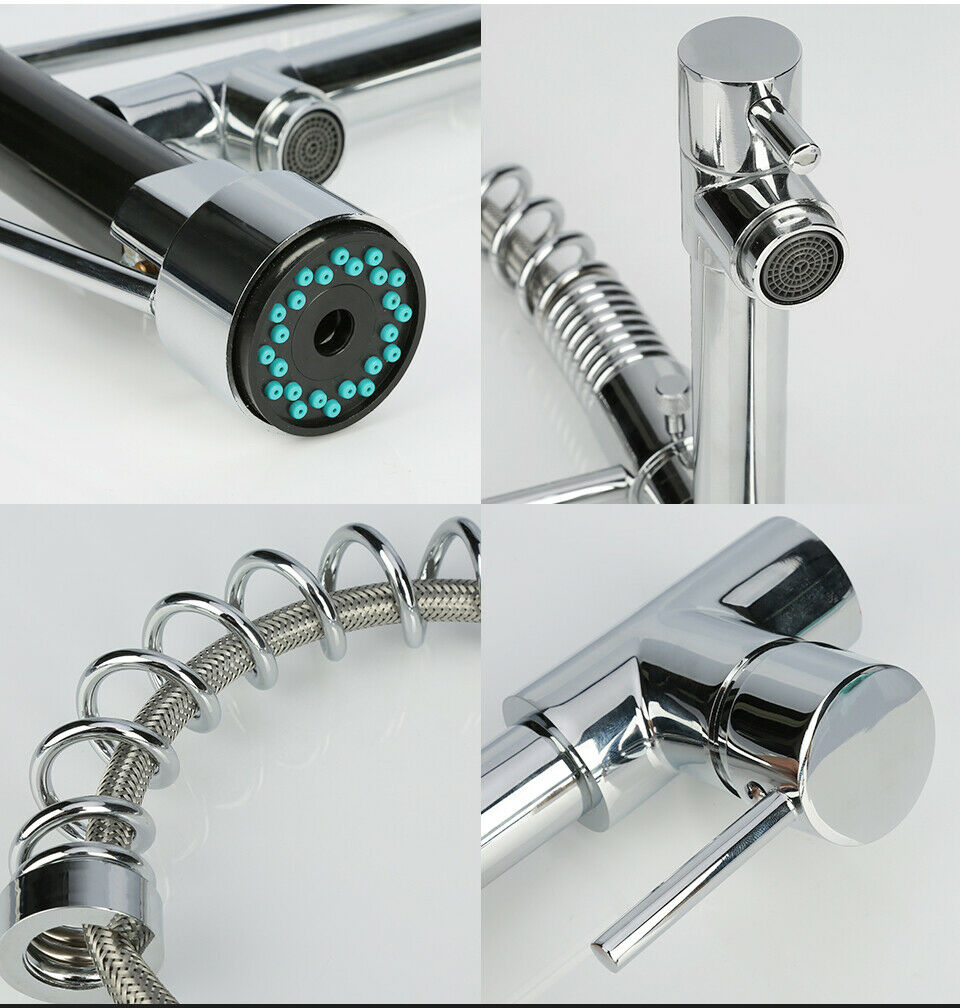
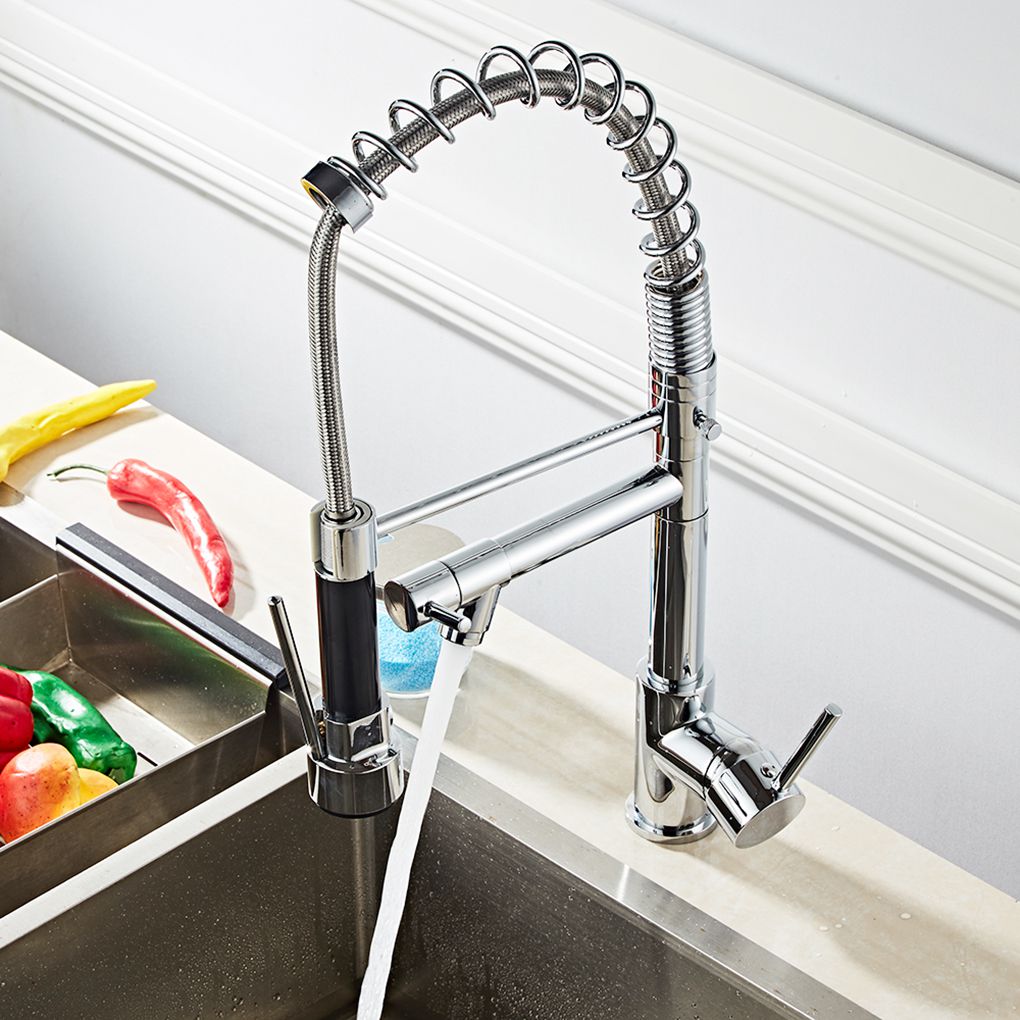
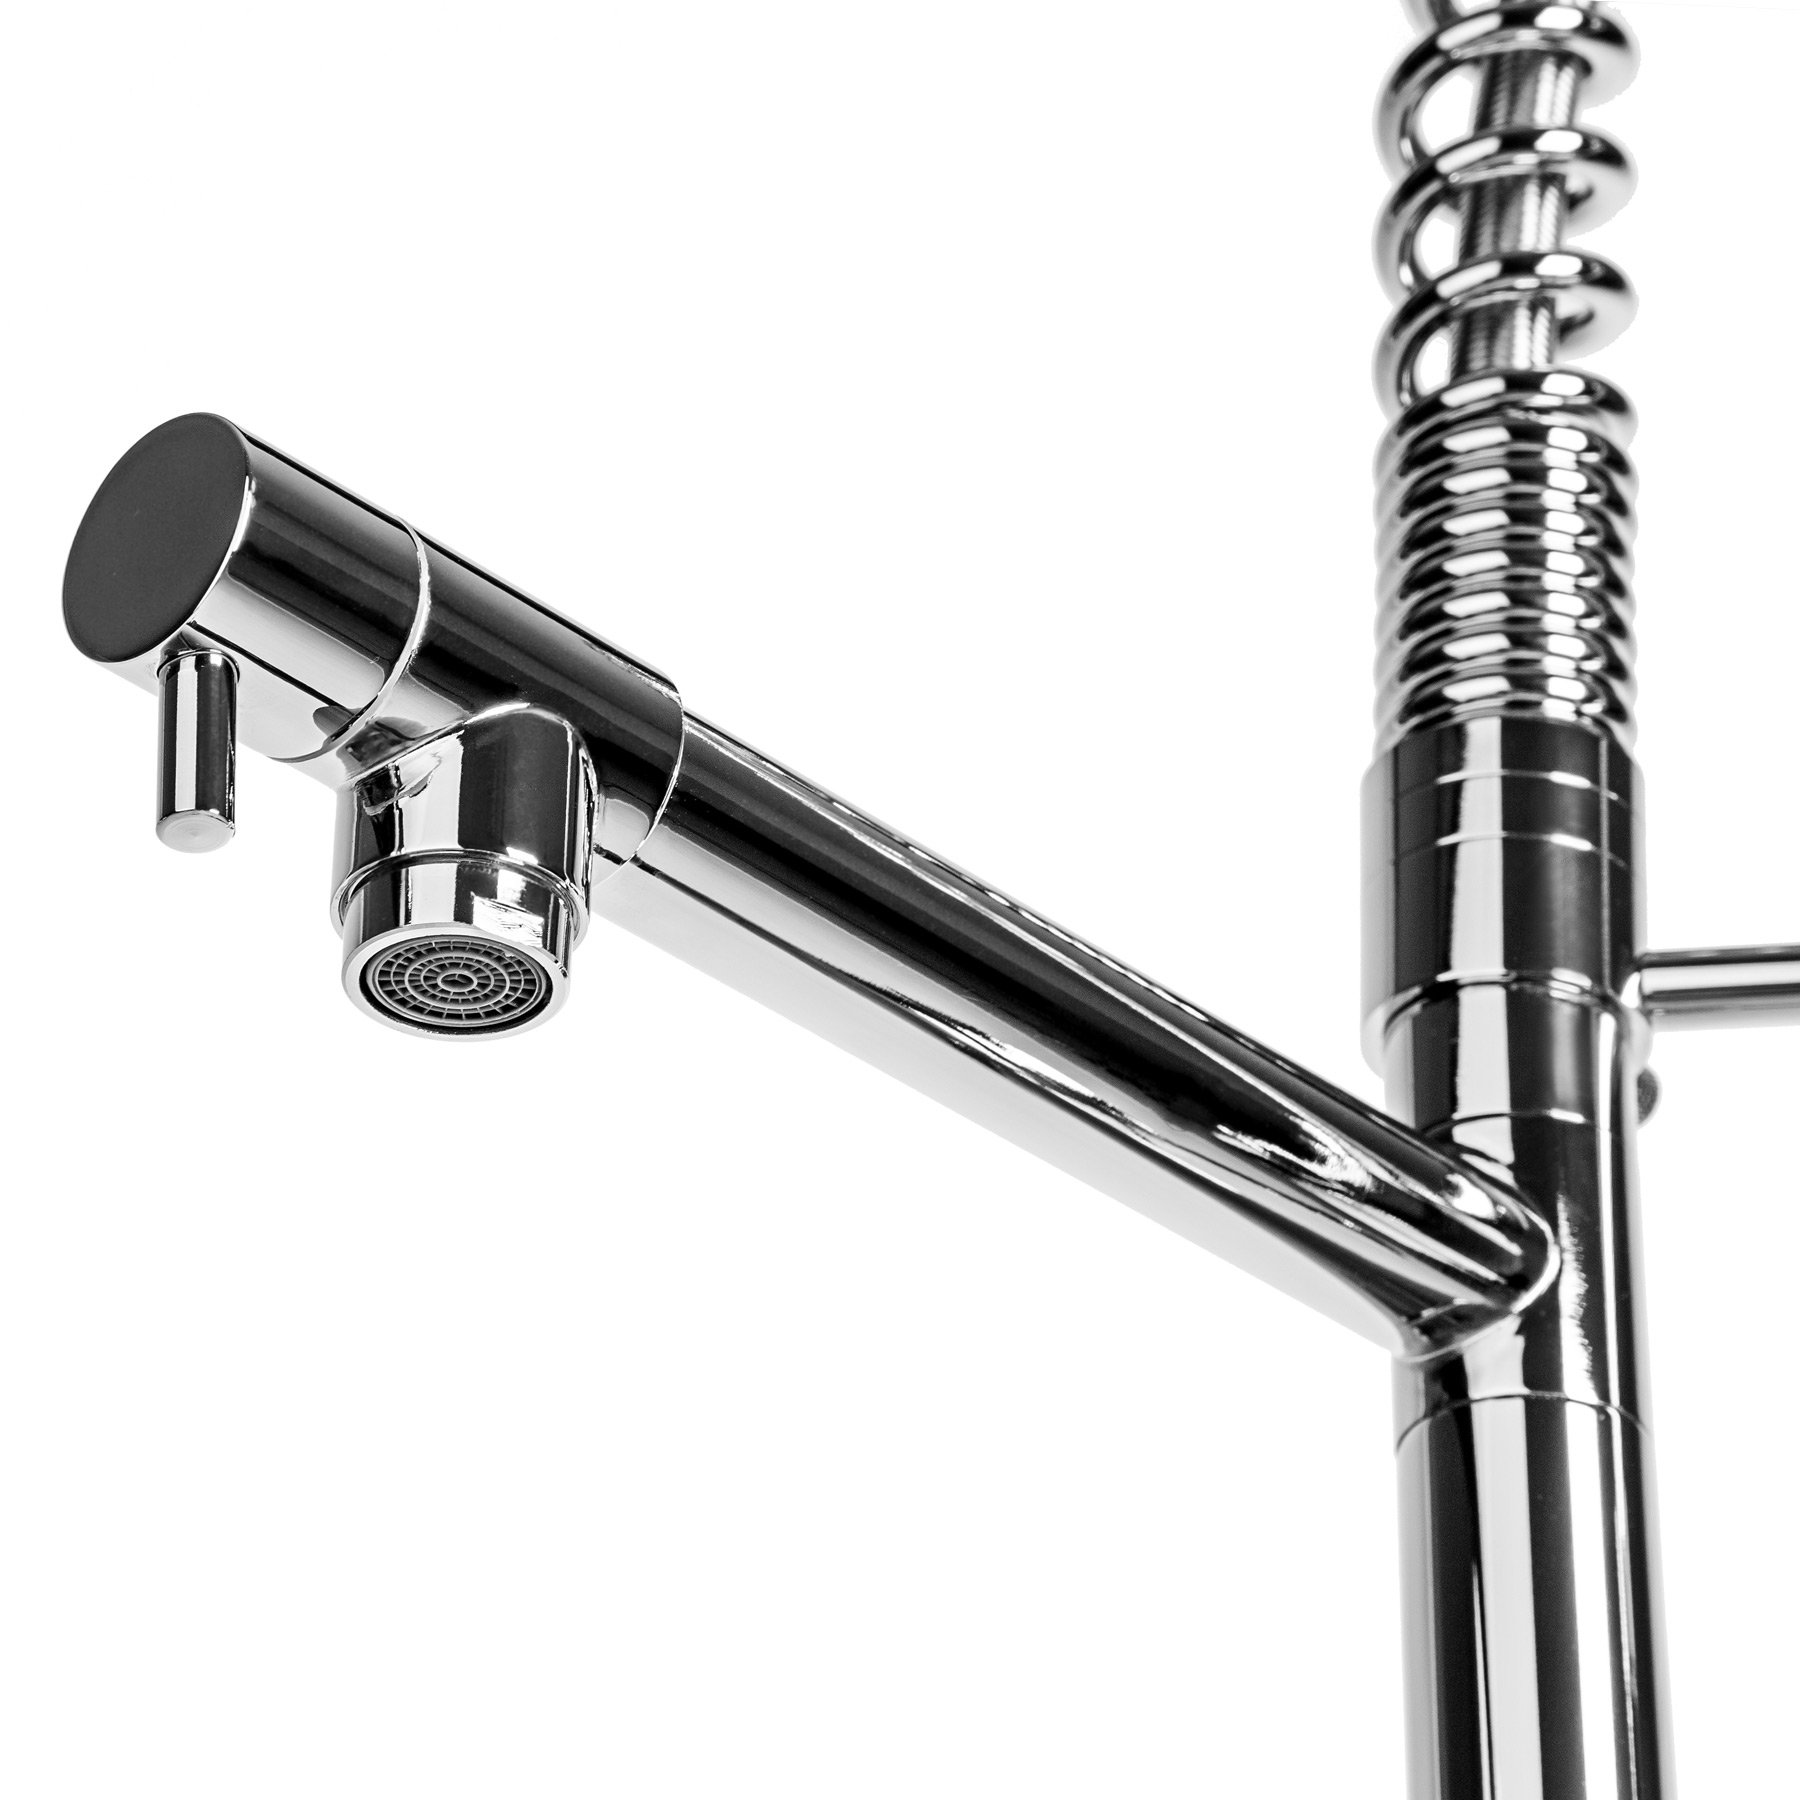
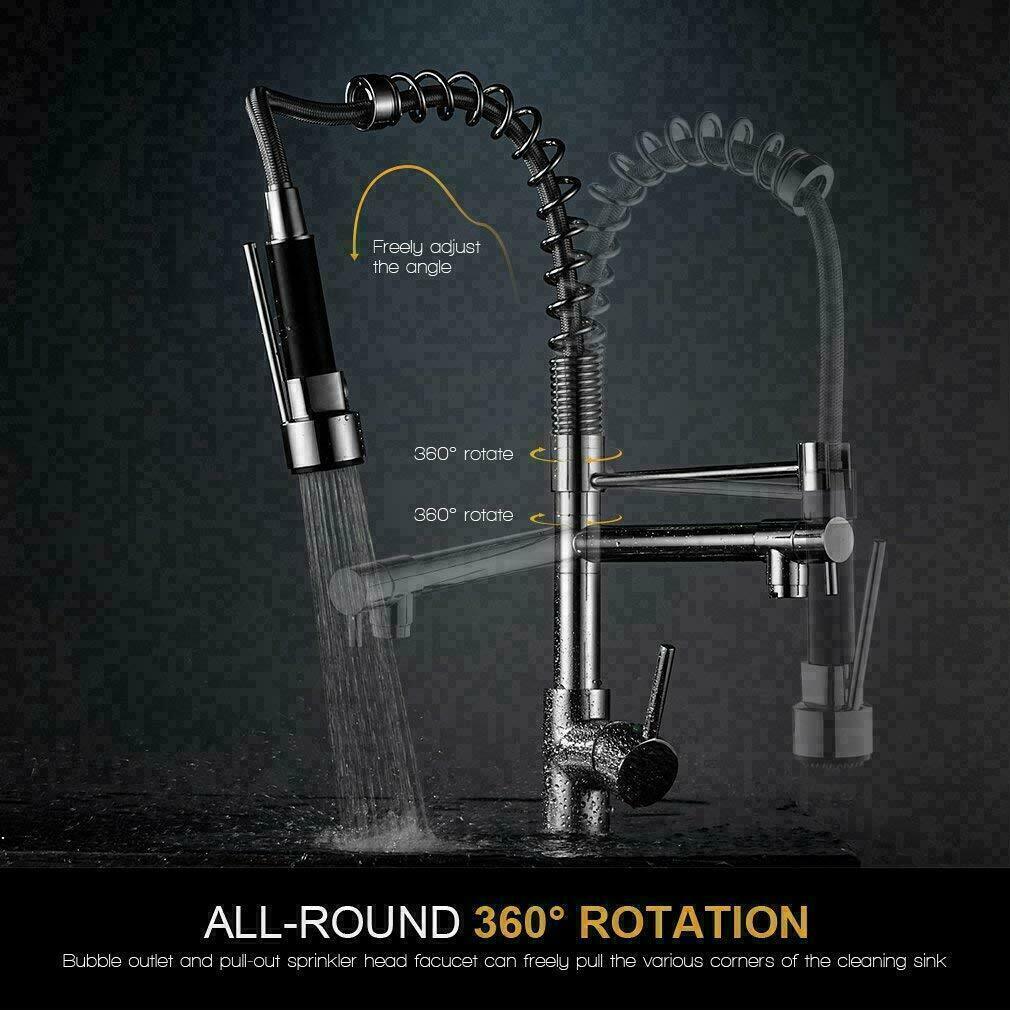
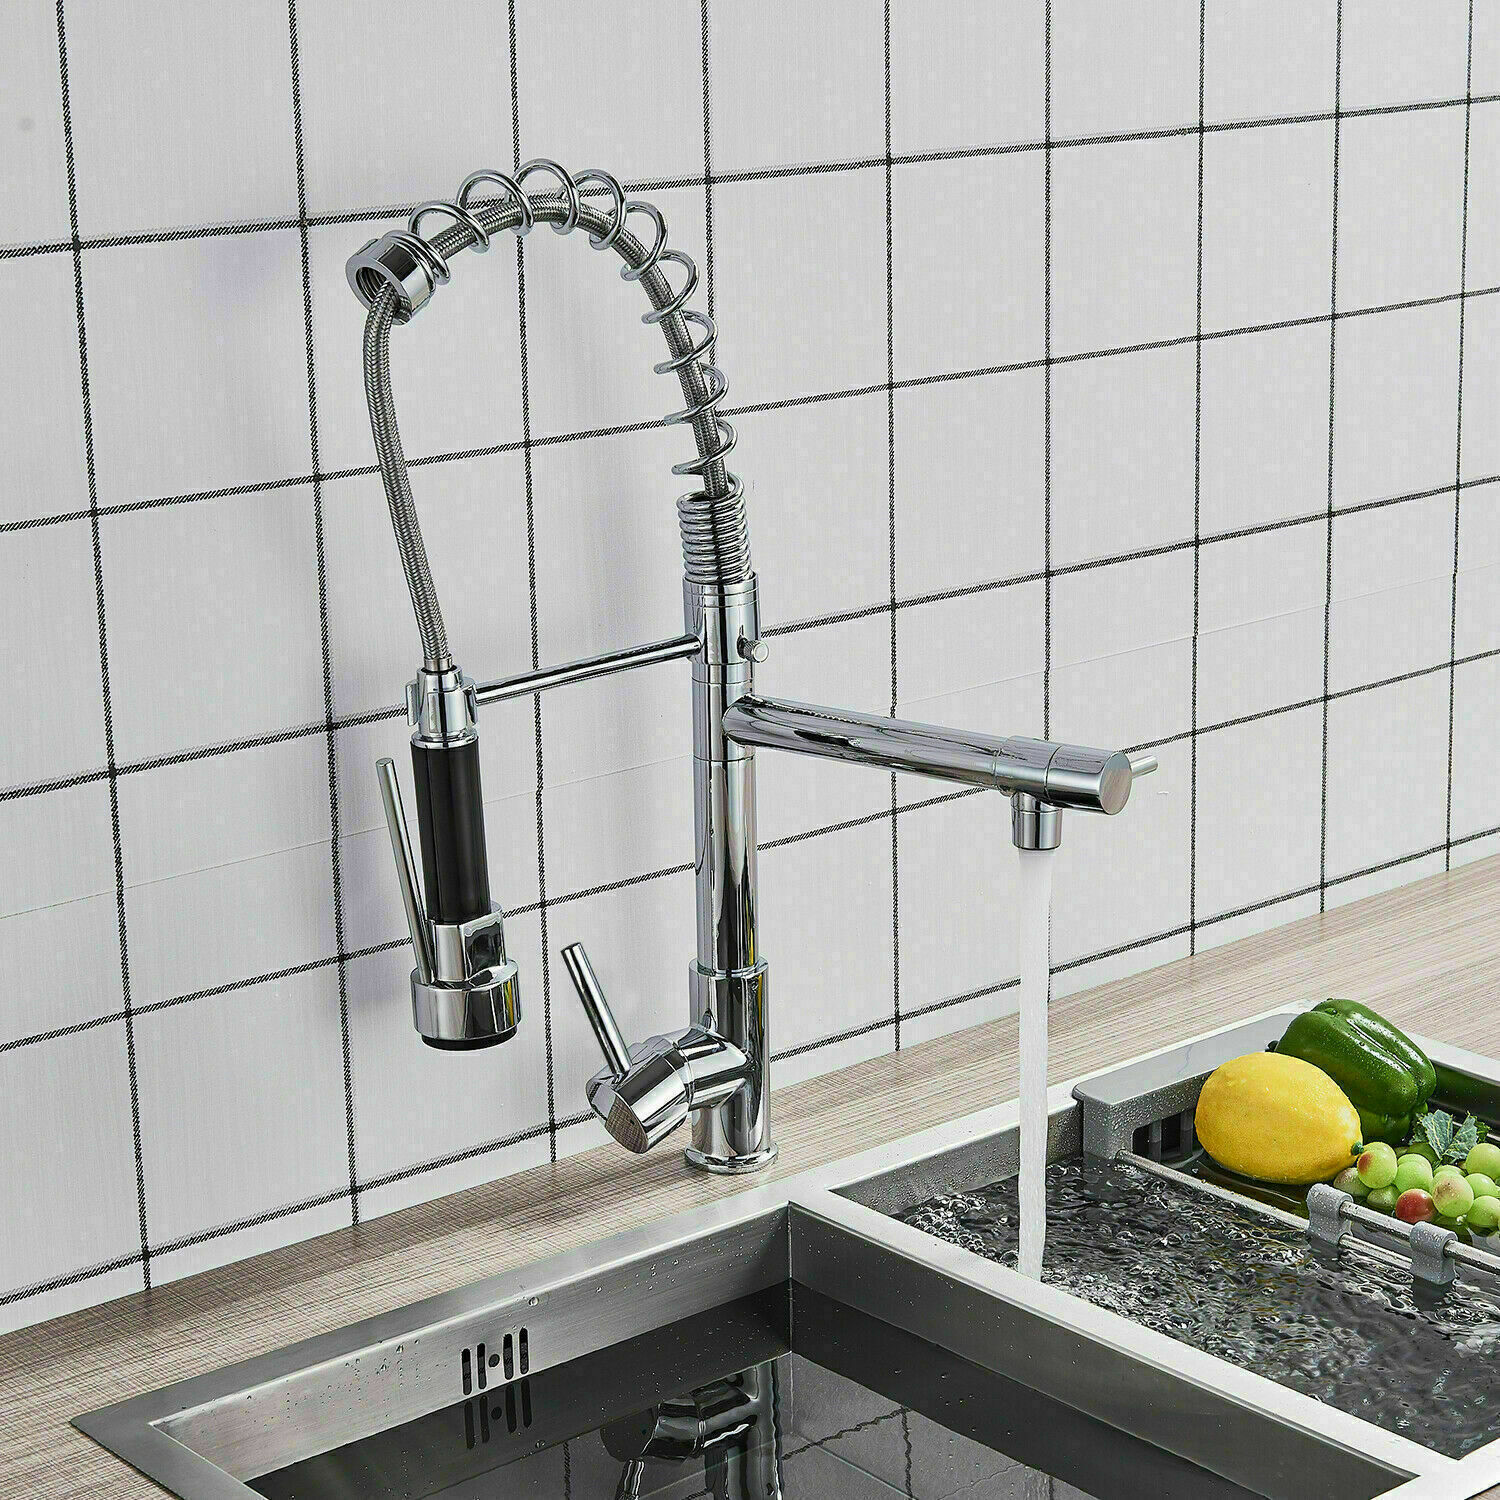
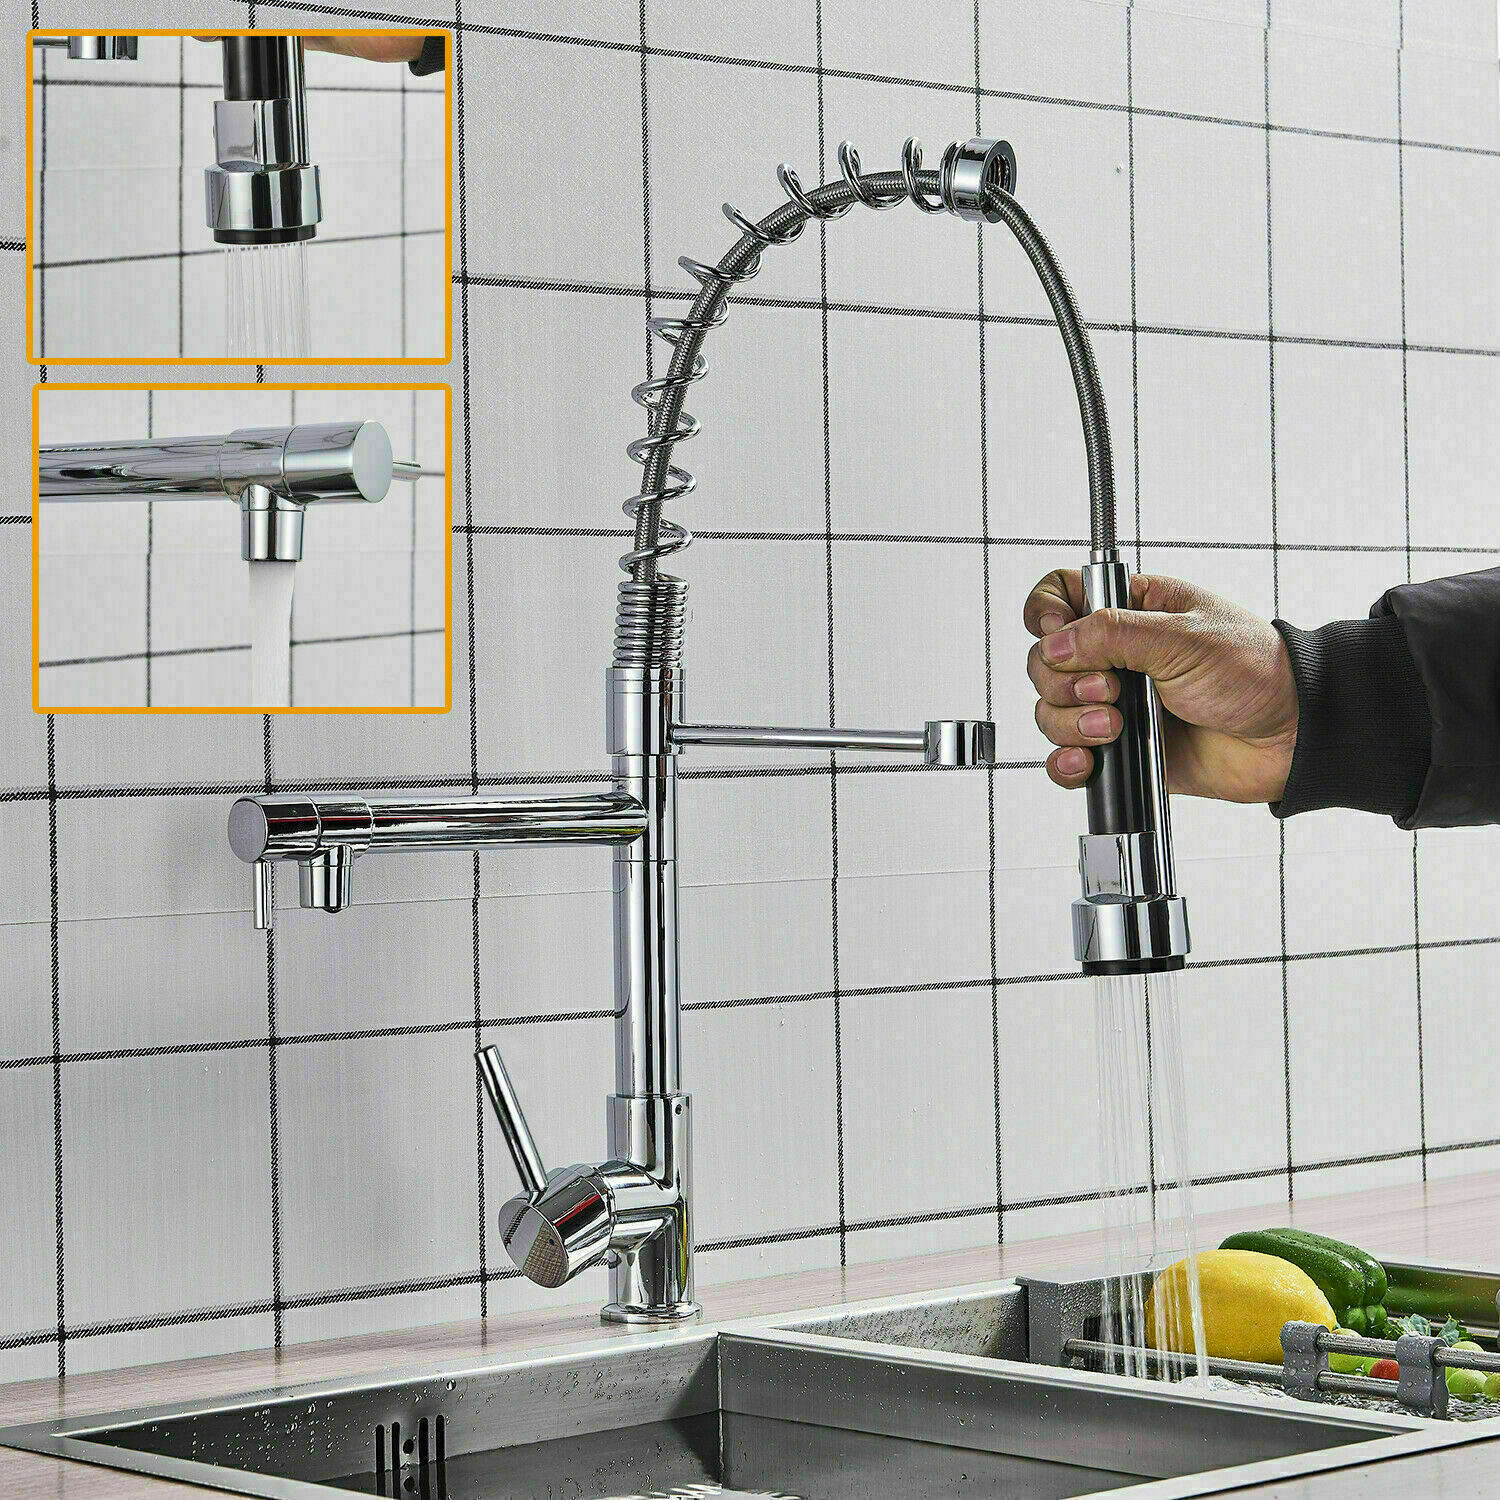
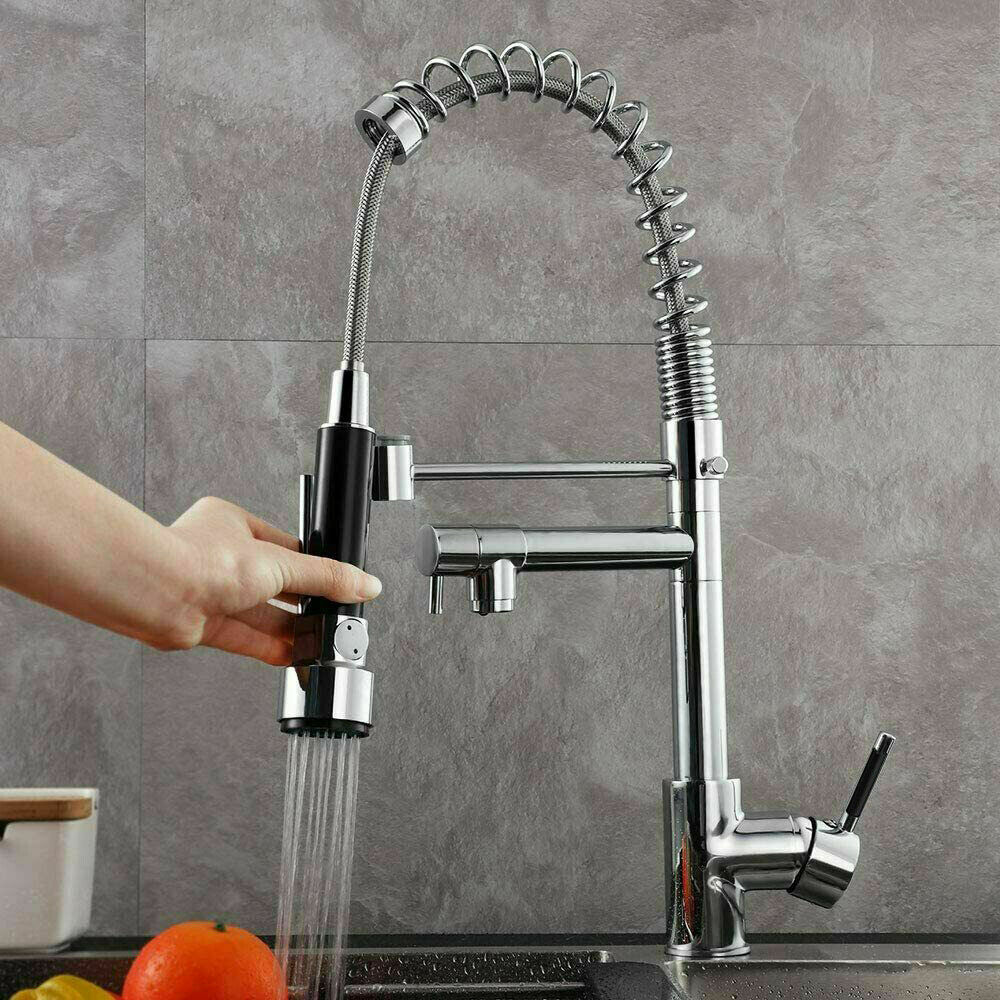
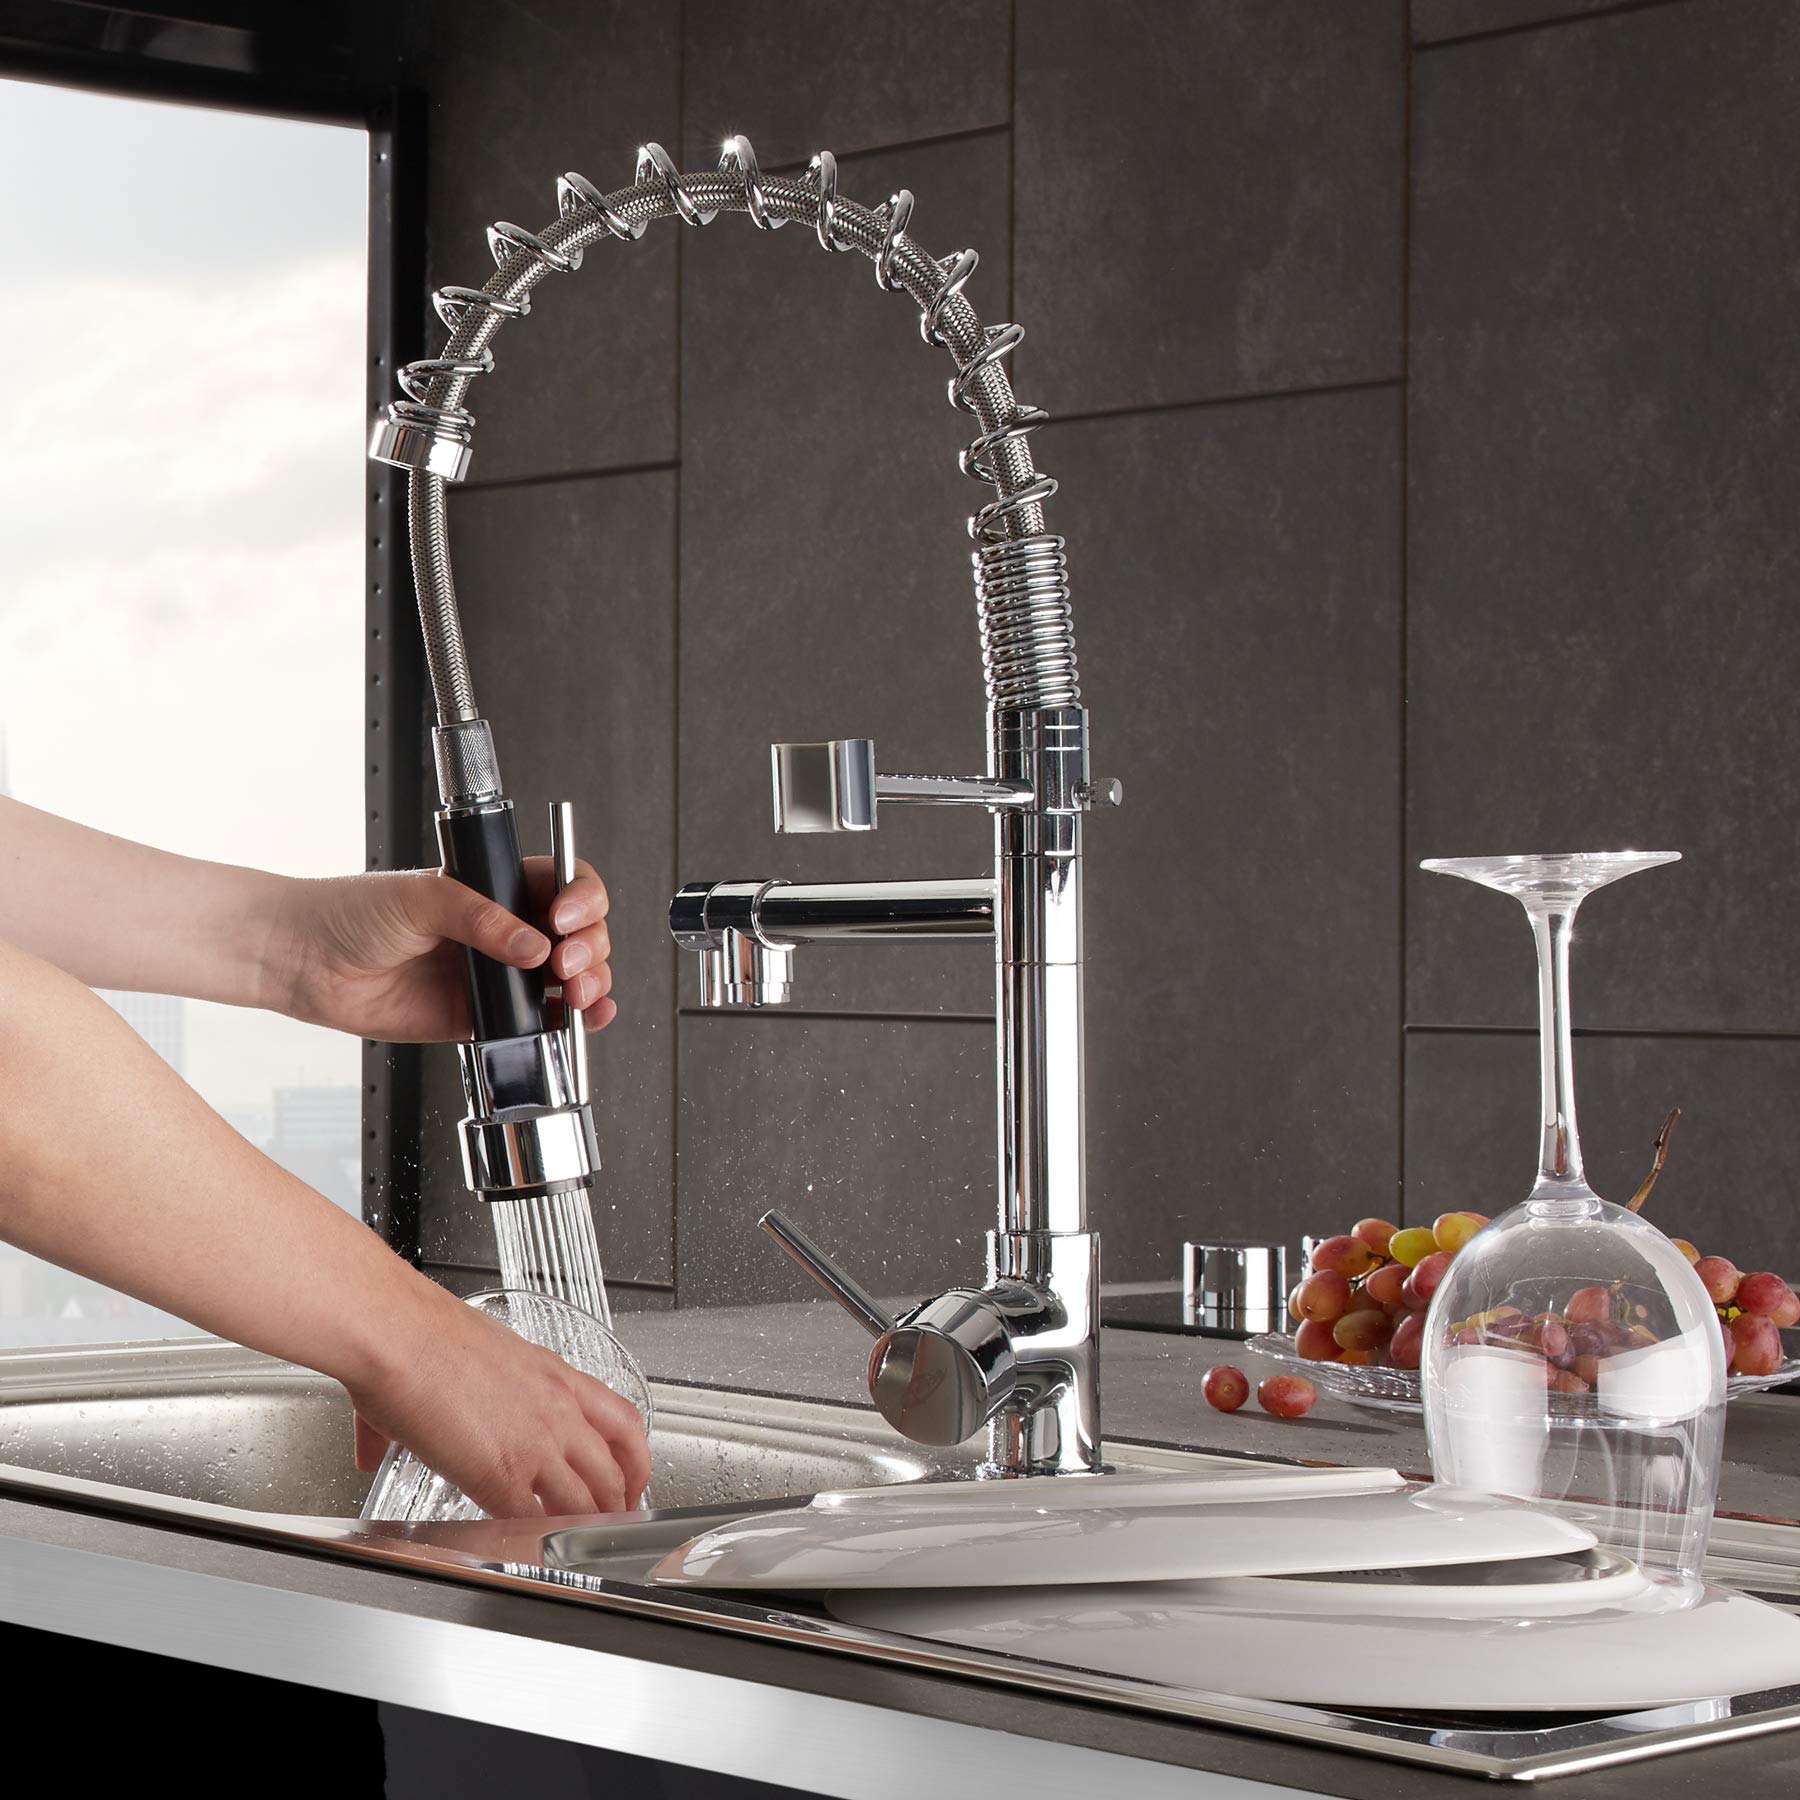
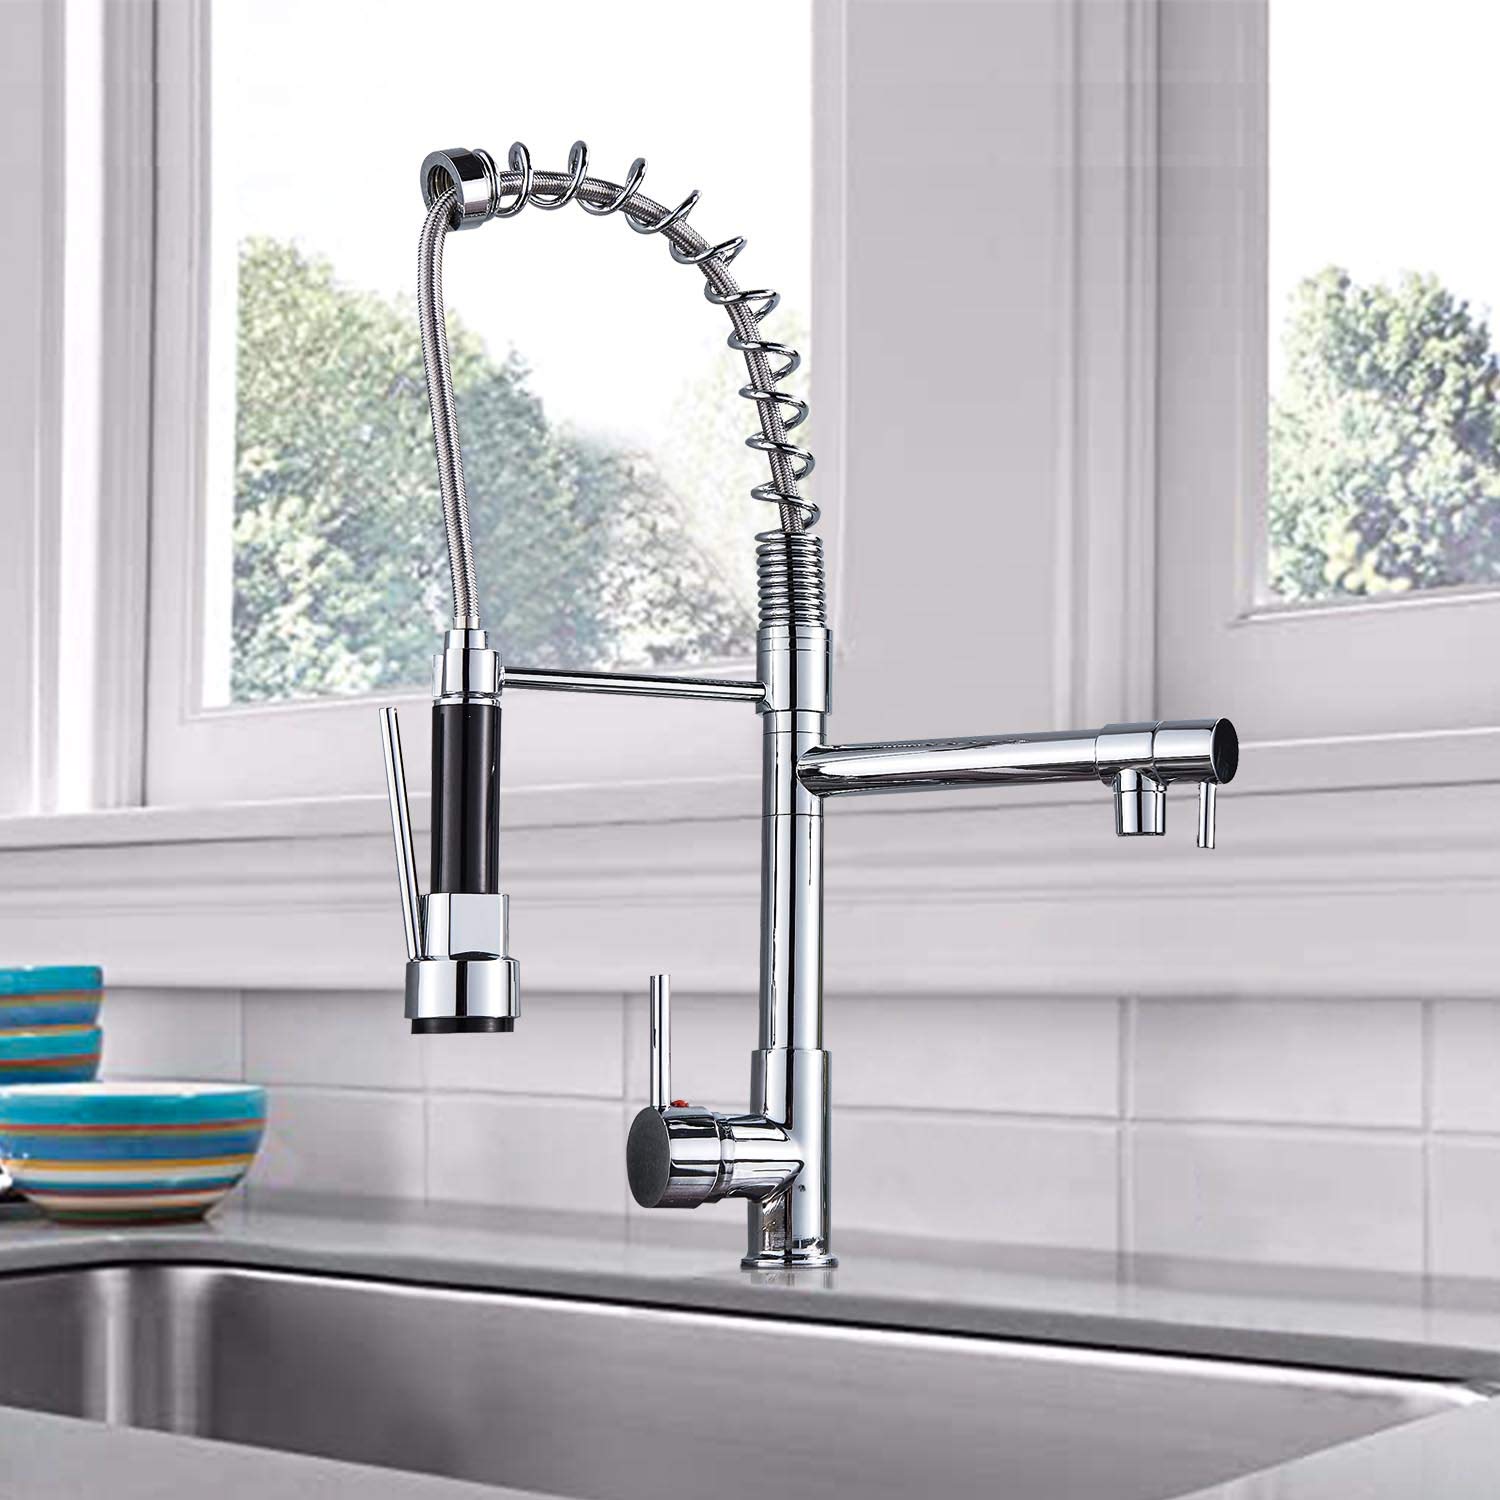
- Feature: Pull-down style, Swivel Spout
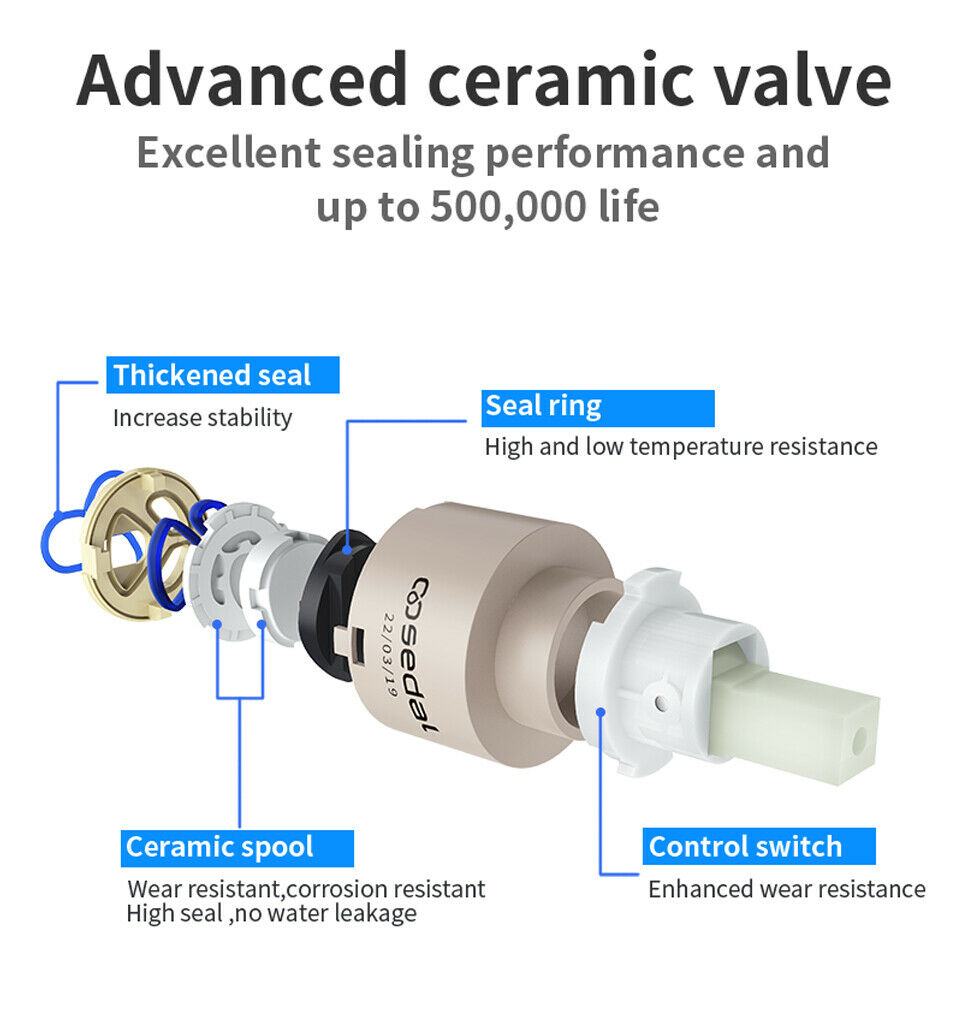
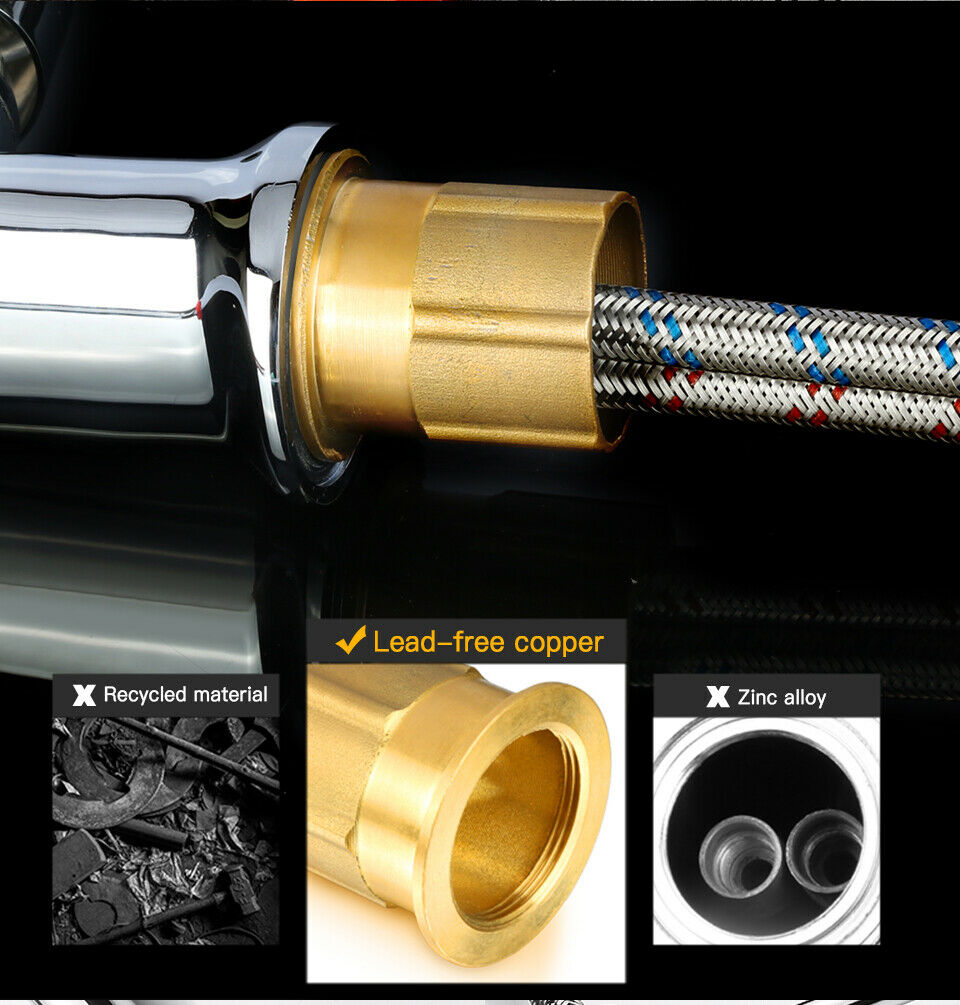
- Material: Solid Brass
- Finish: Chrome
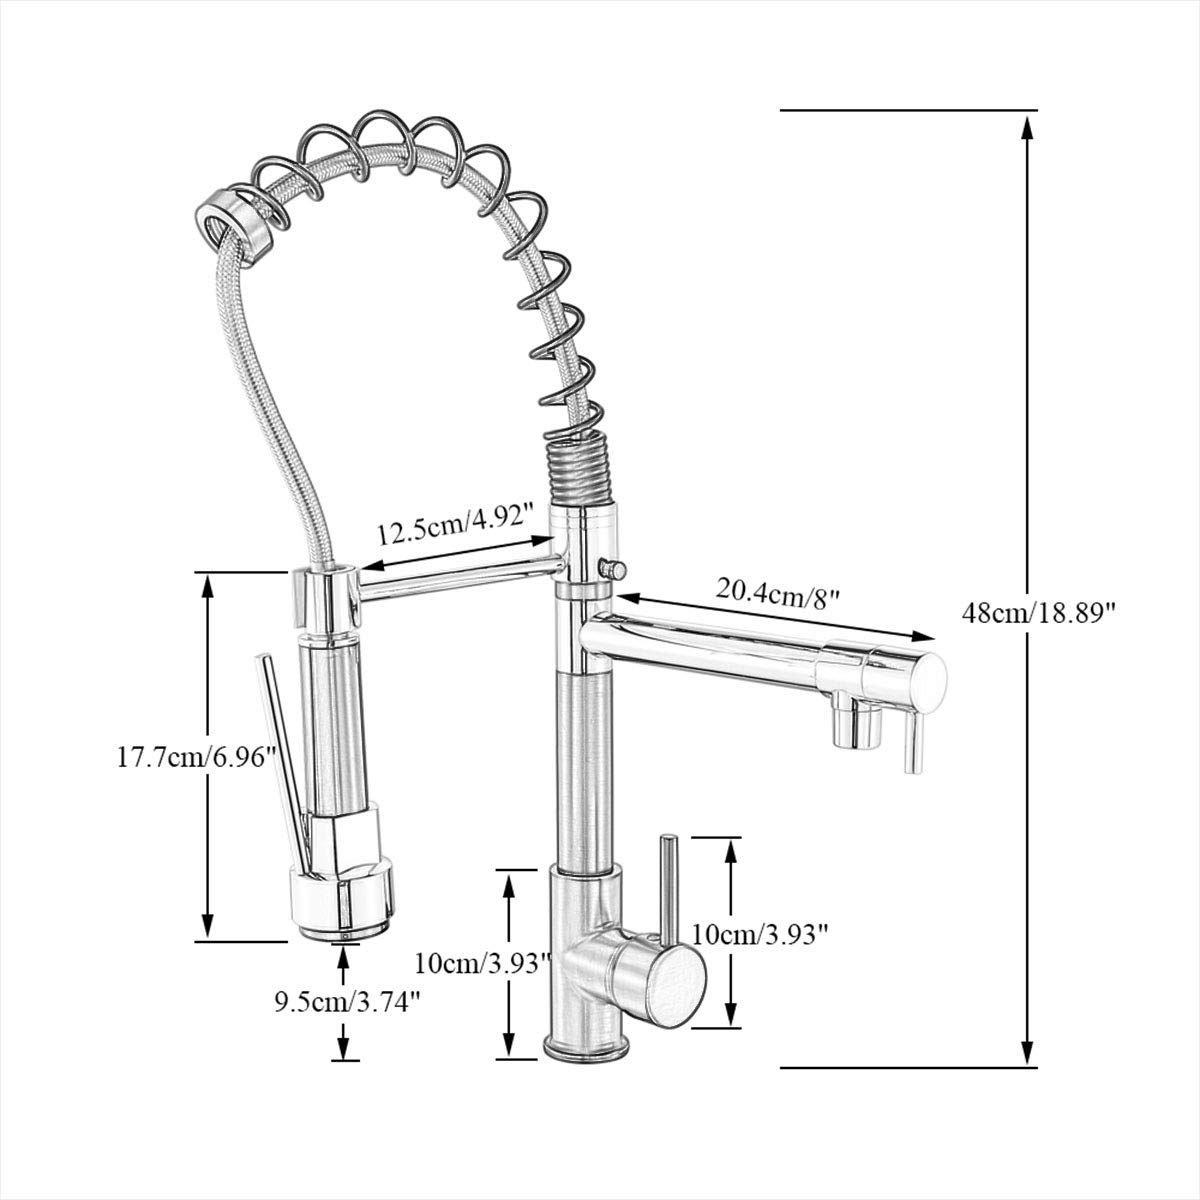
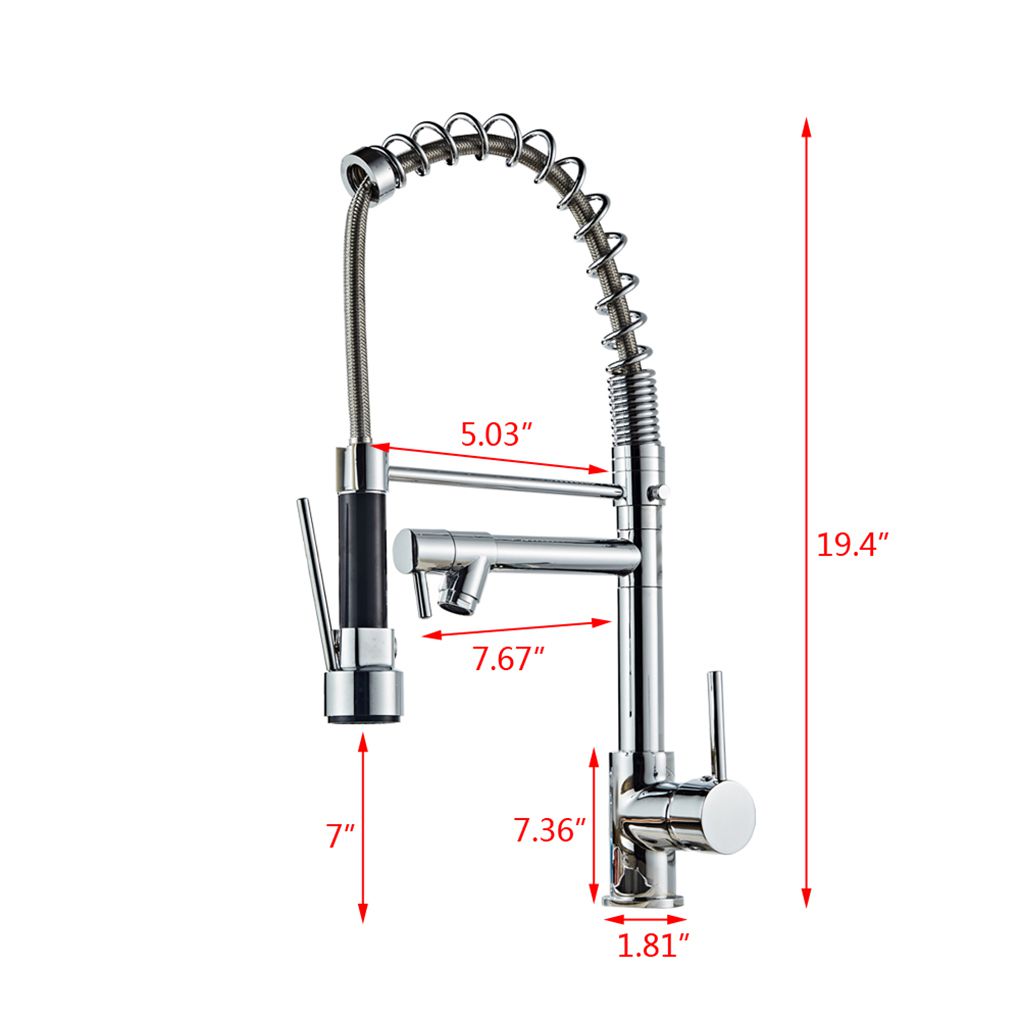
- Faucet Total Height: 45cm (17.7")
- Spout Height: 20cm (7.8")
- Spout Length: 22cm (8.6")
- With two pipes for cold and hot water
- Hose Length: 40 centimeters
- Flow Rate: 1.3 GPM
| | 
|
Important Note:
Before you begin, please read the installation instructions below. Observe all local building and safety codes.
Unpack and inspect the product for any shipping damages. If you find damages, do not install.
Please note all showers must be installed by a professional and certified plumber otherwise warranty may be voided.
|
|
Faucet Installation Instructions
|
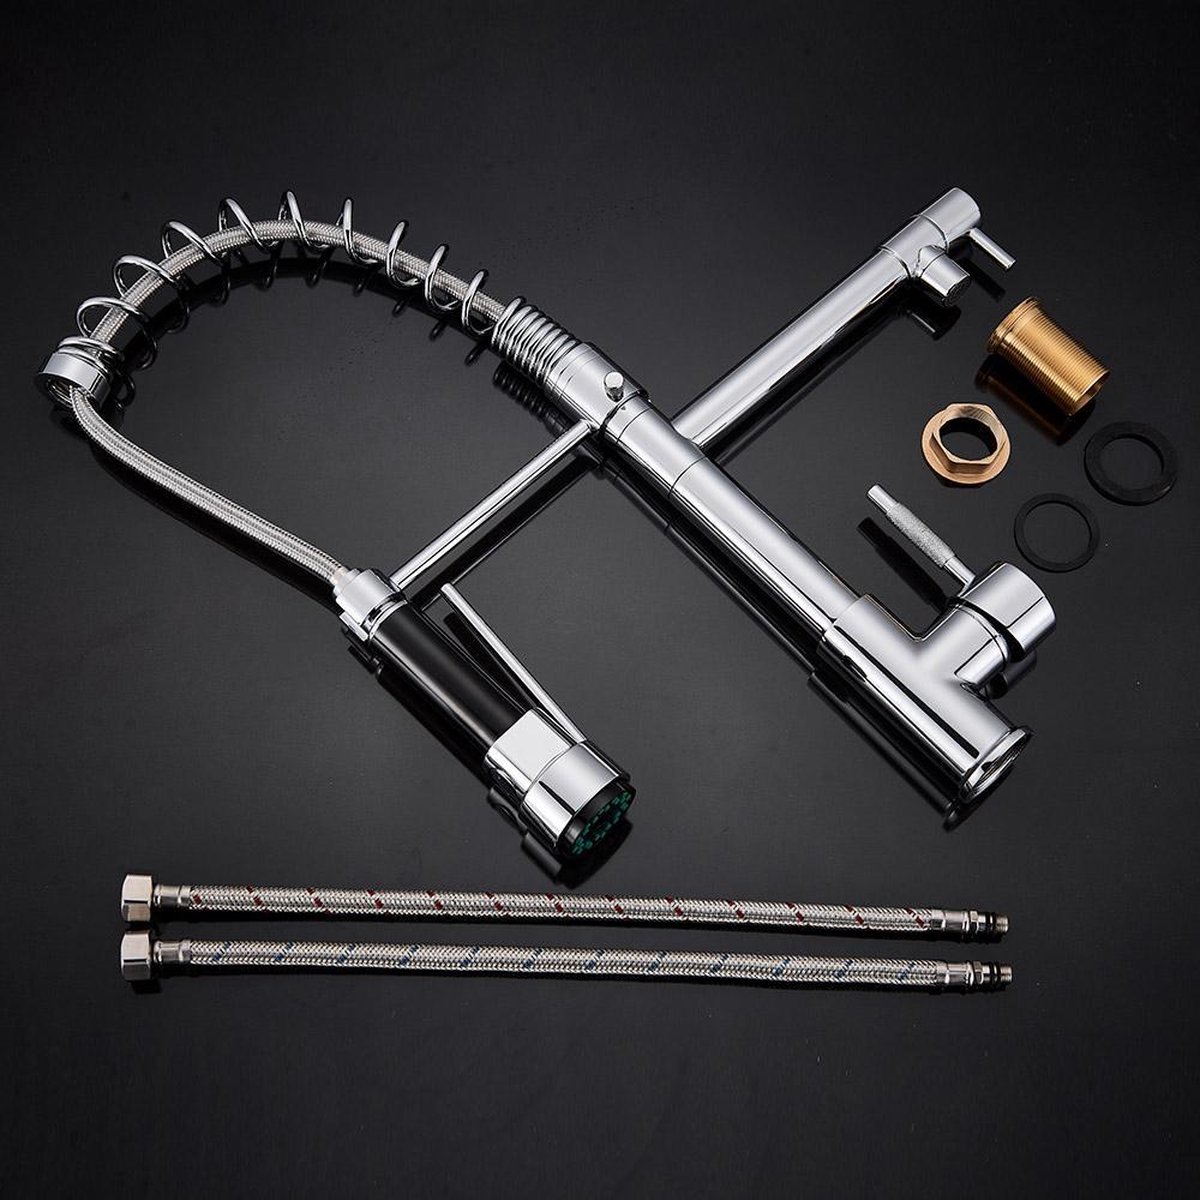
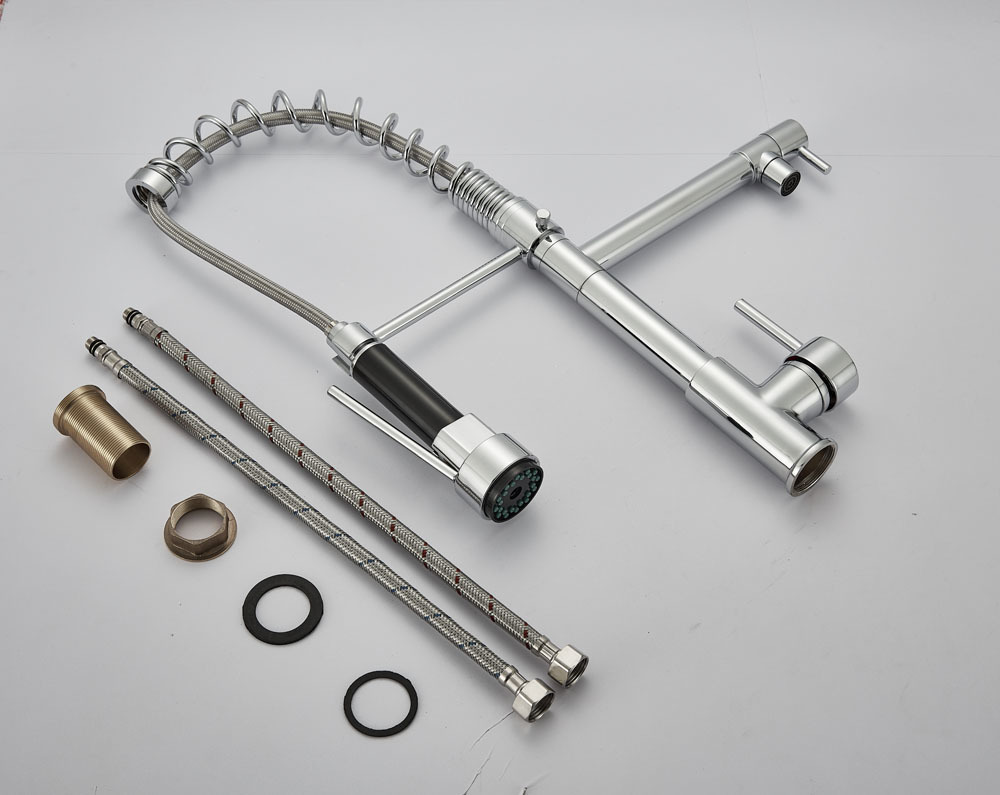
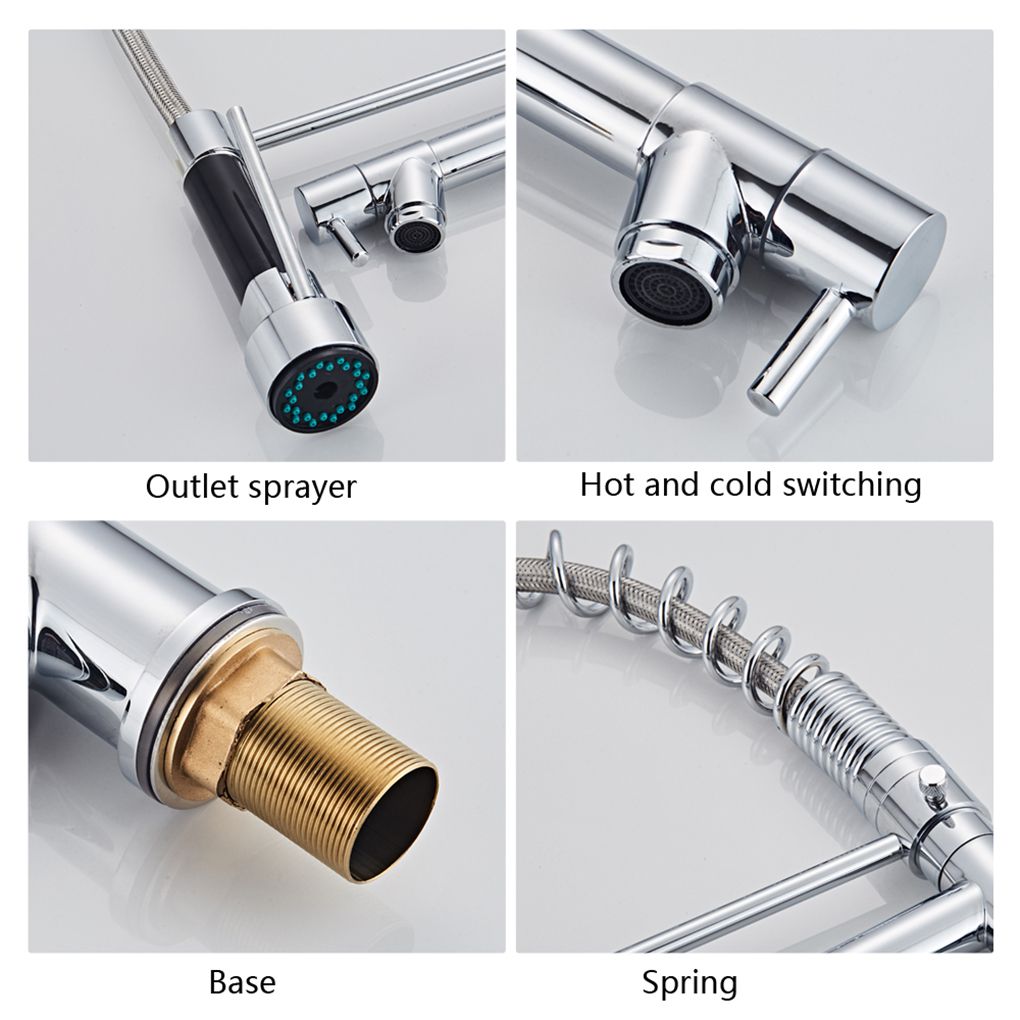
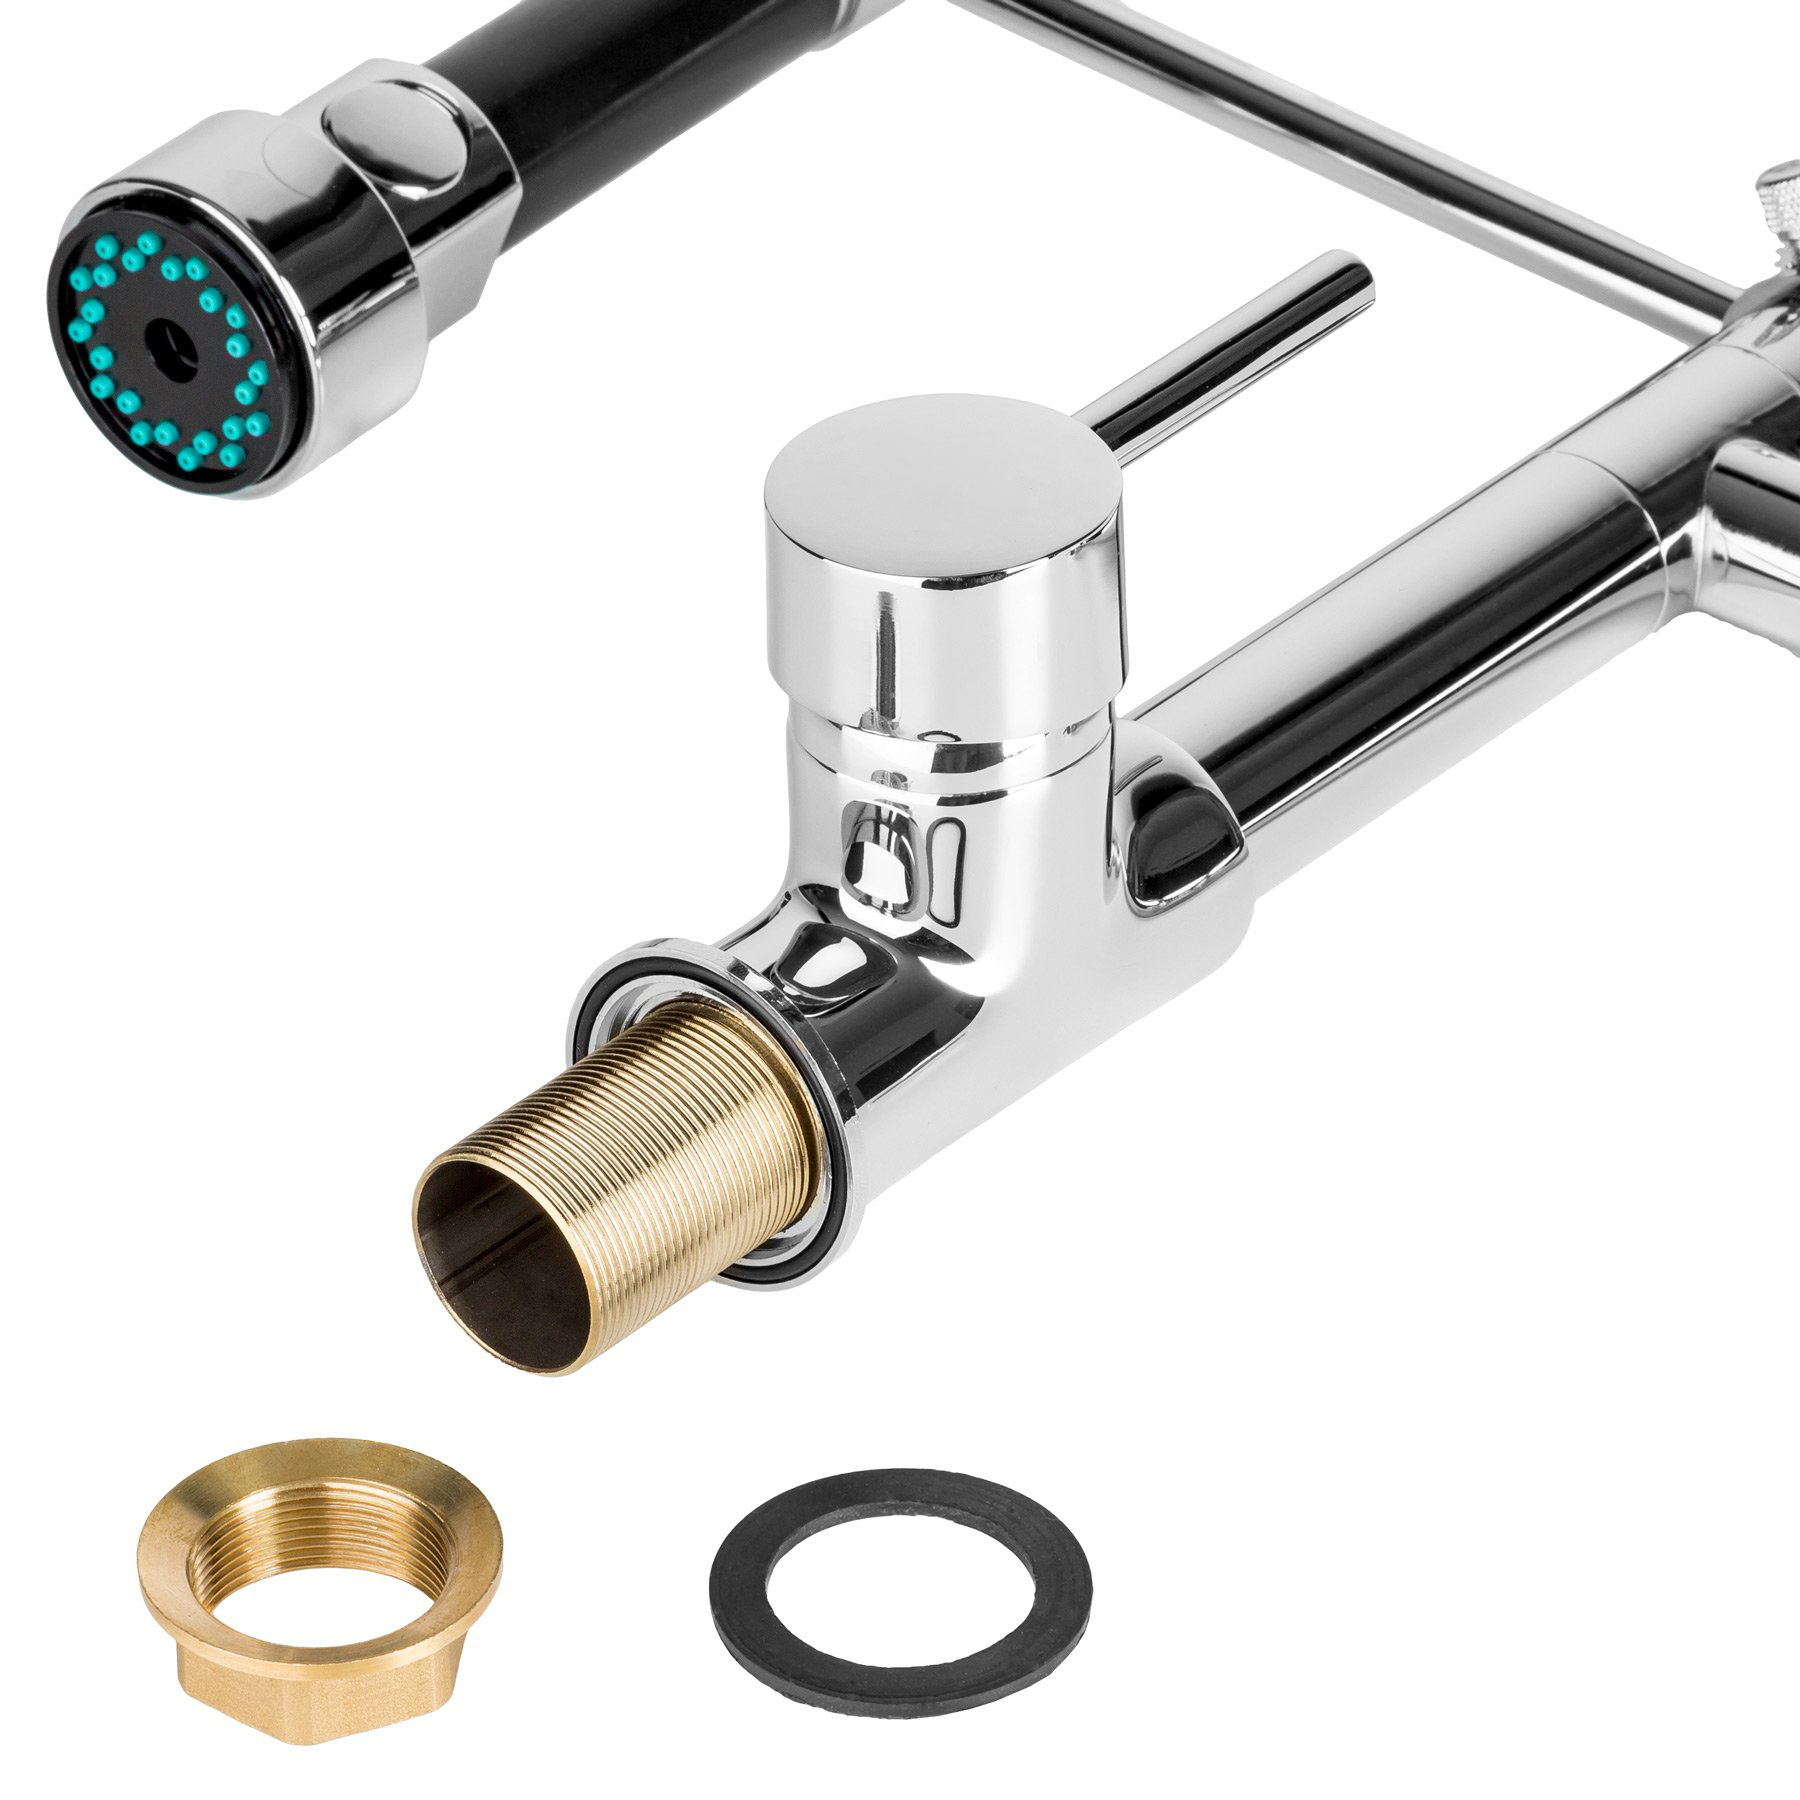
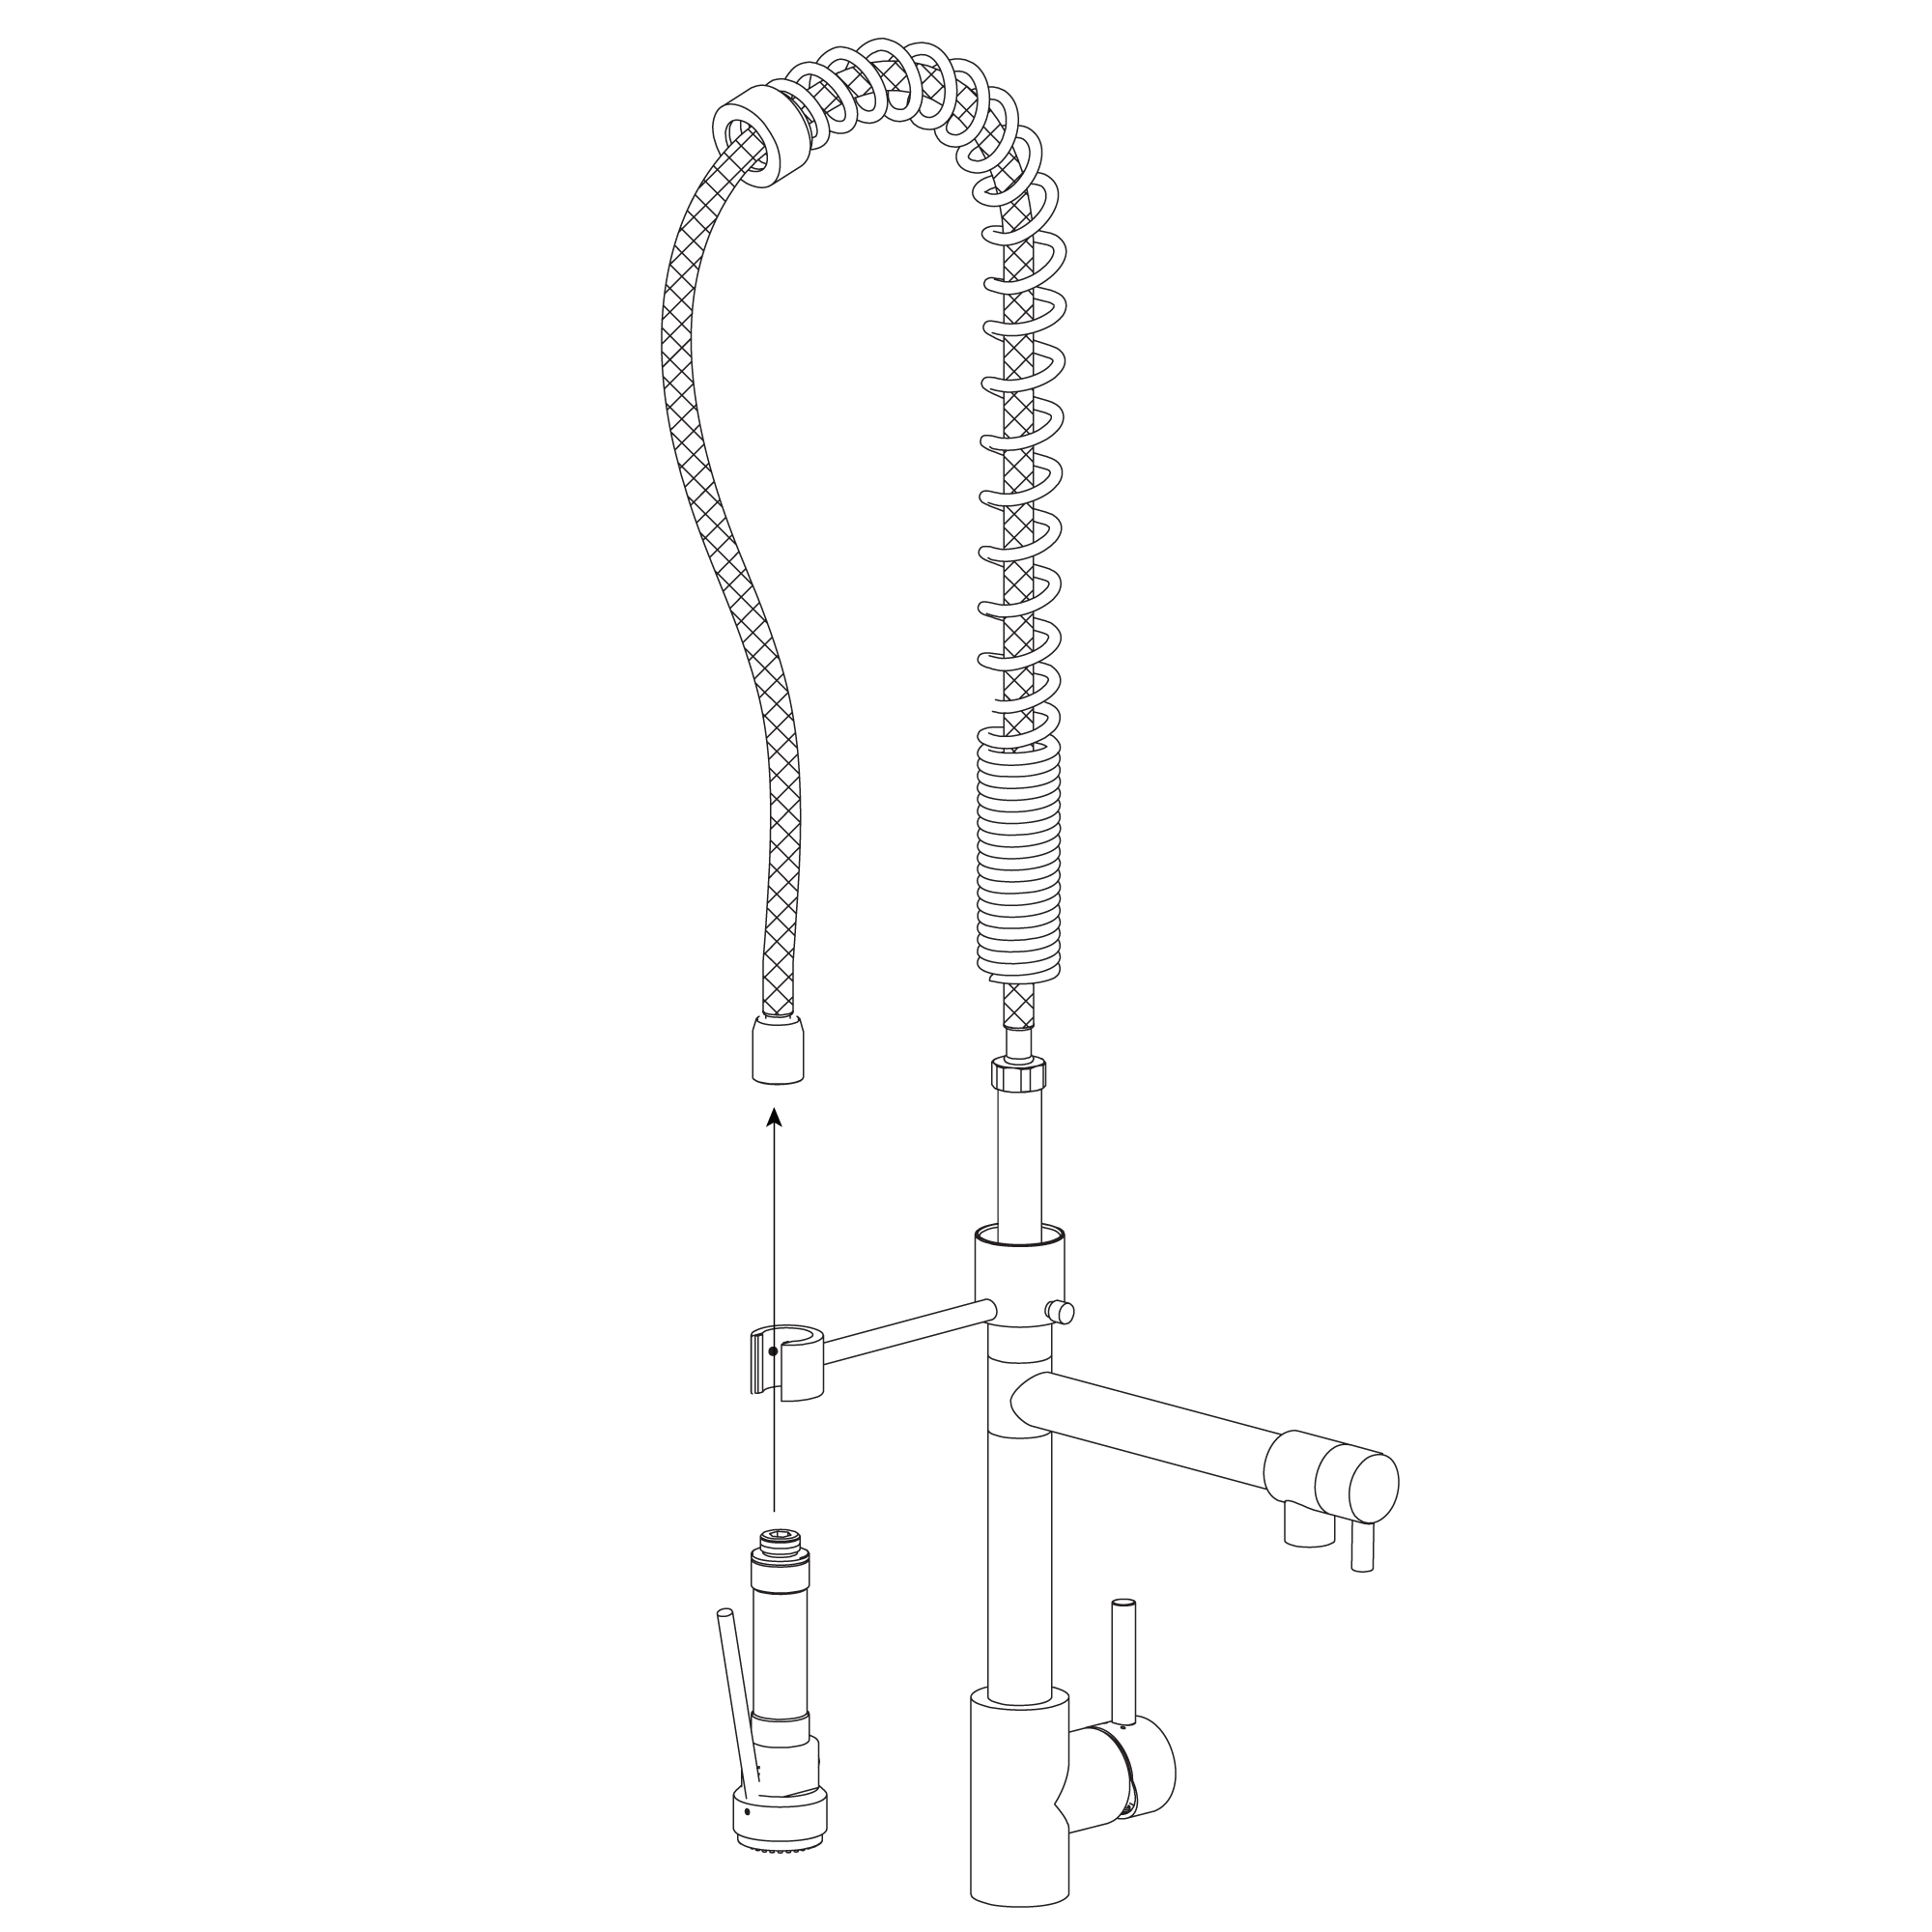
Step 1: (Assemble Parts)
|
sink faucet
|
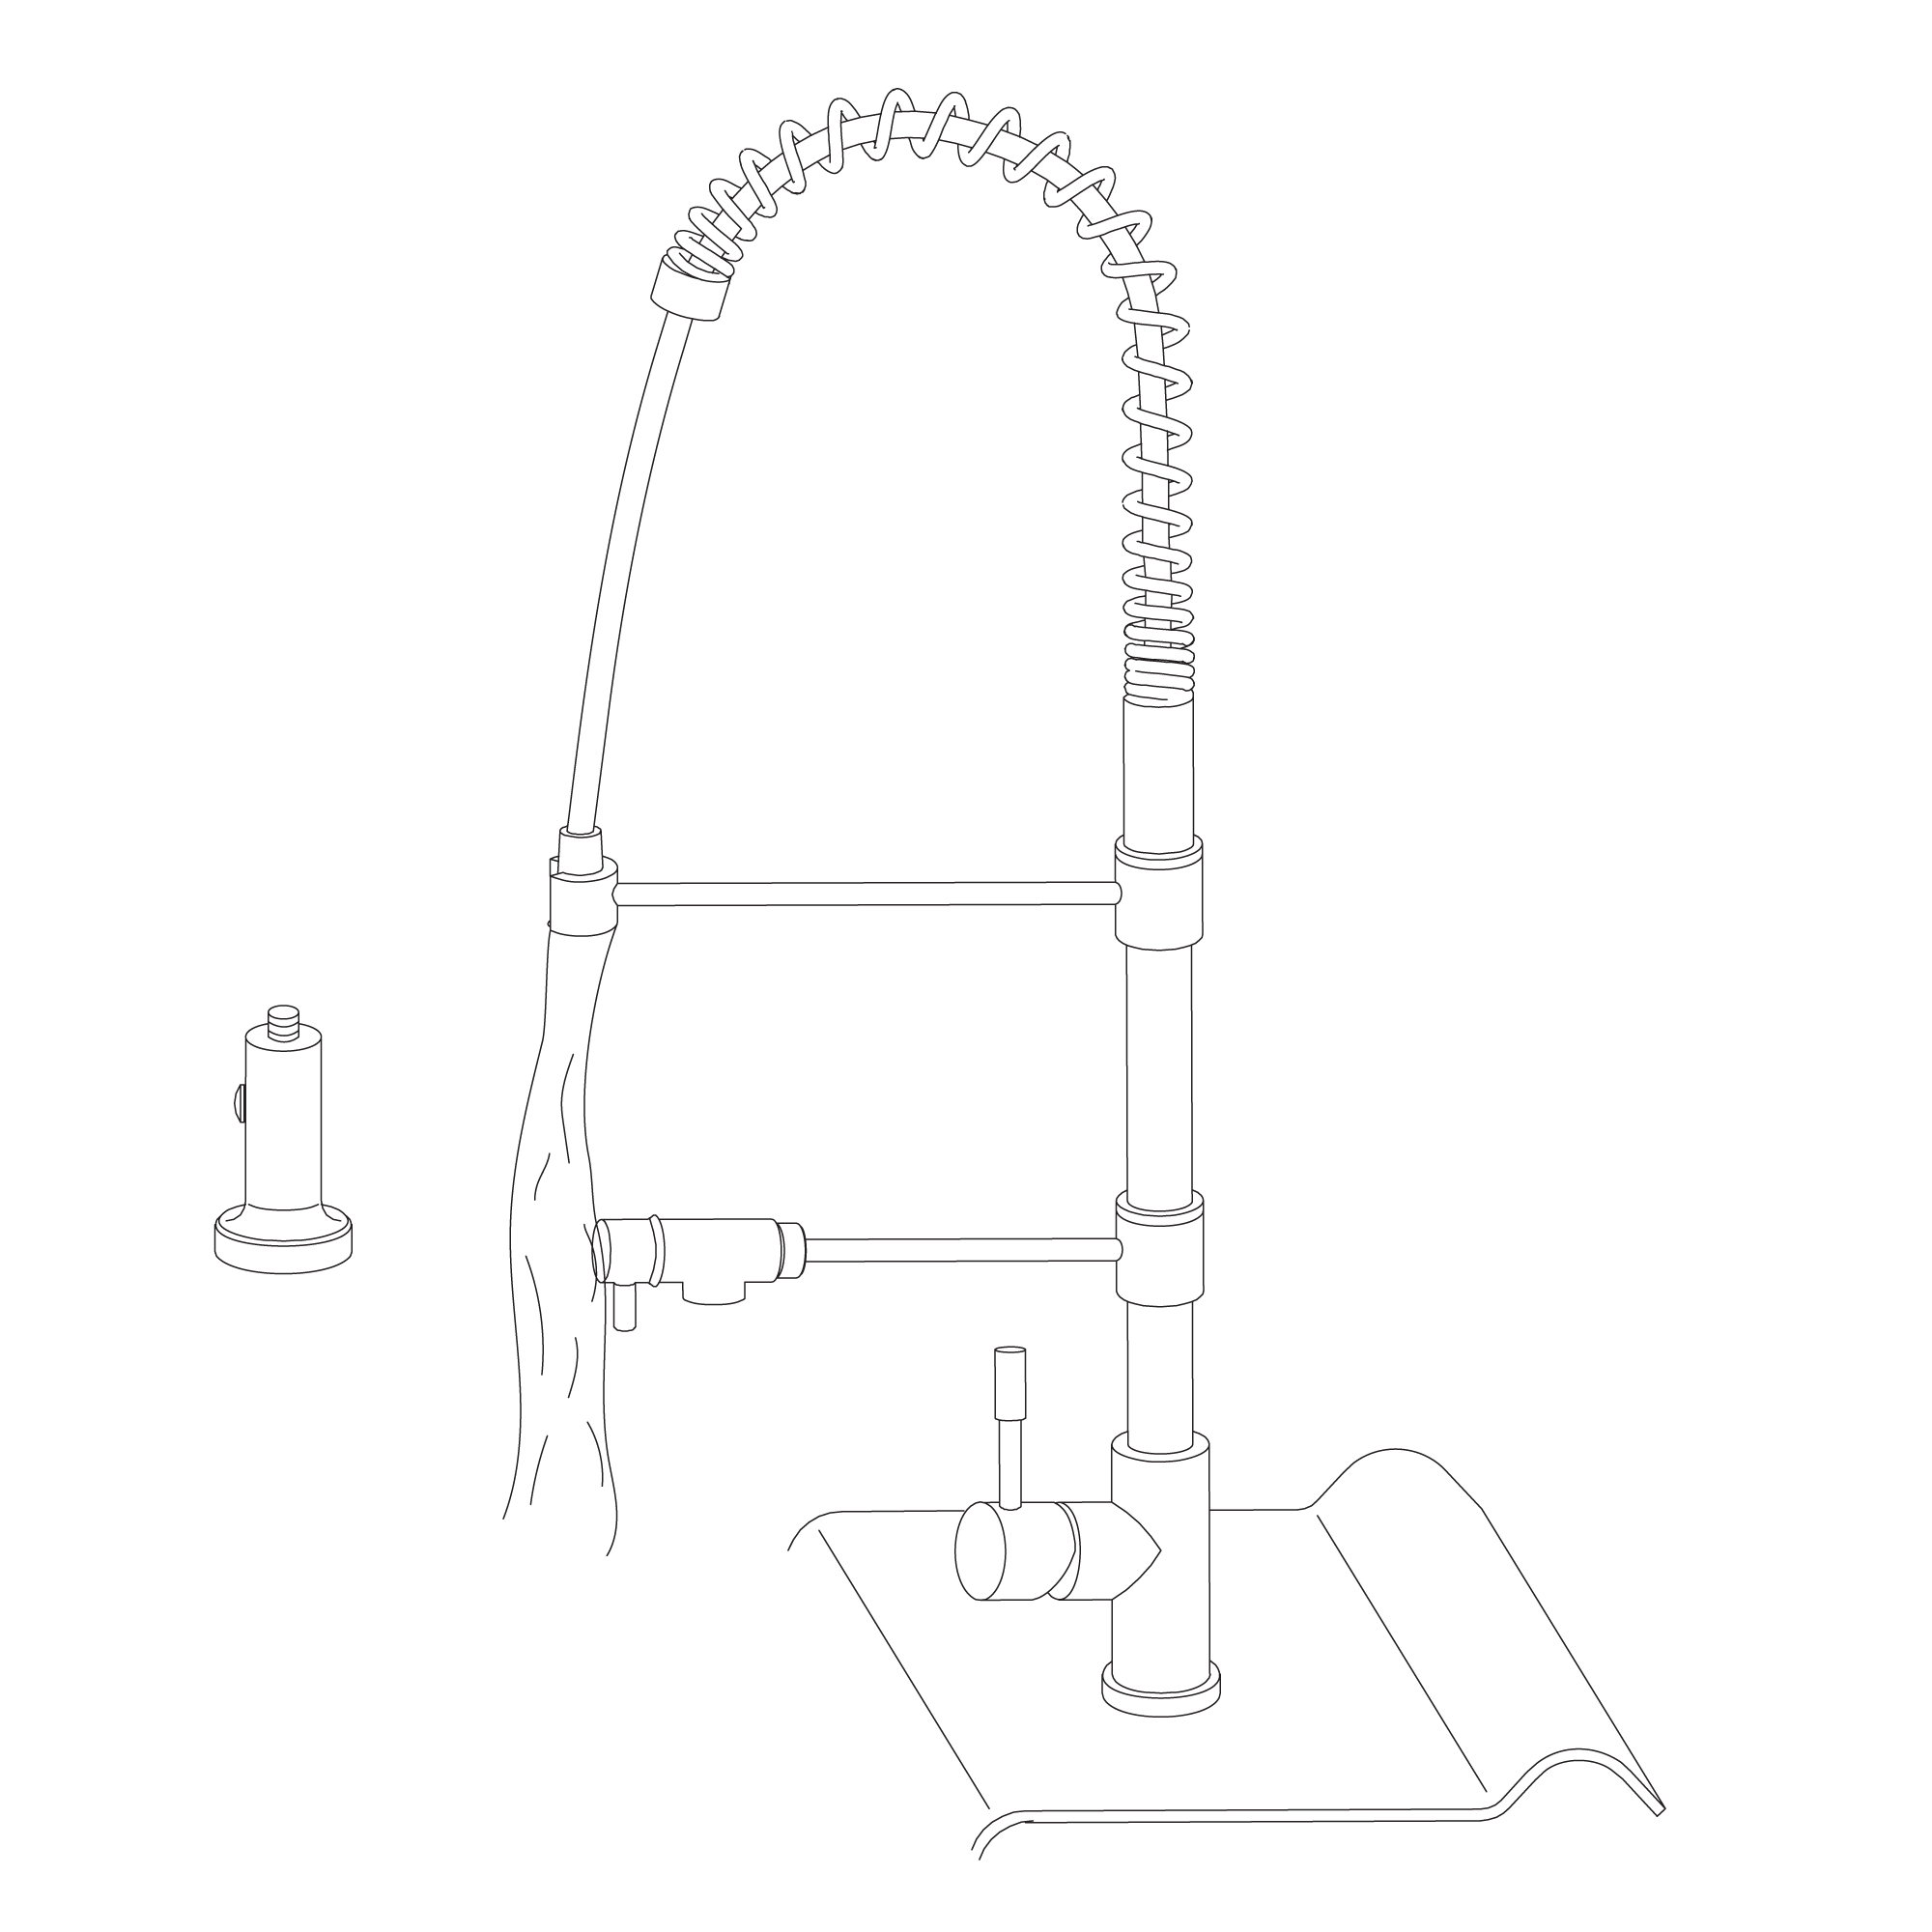
Step 2: (Mount Faucet)
|
faucet
|

|
|

|
|
|
|
|
|
|
|
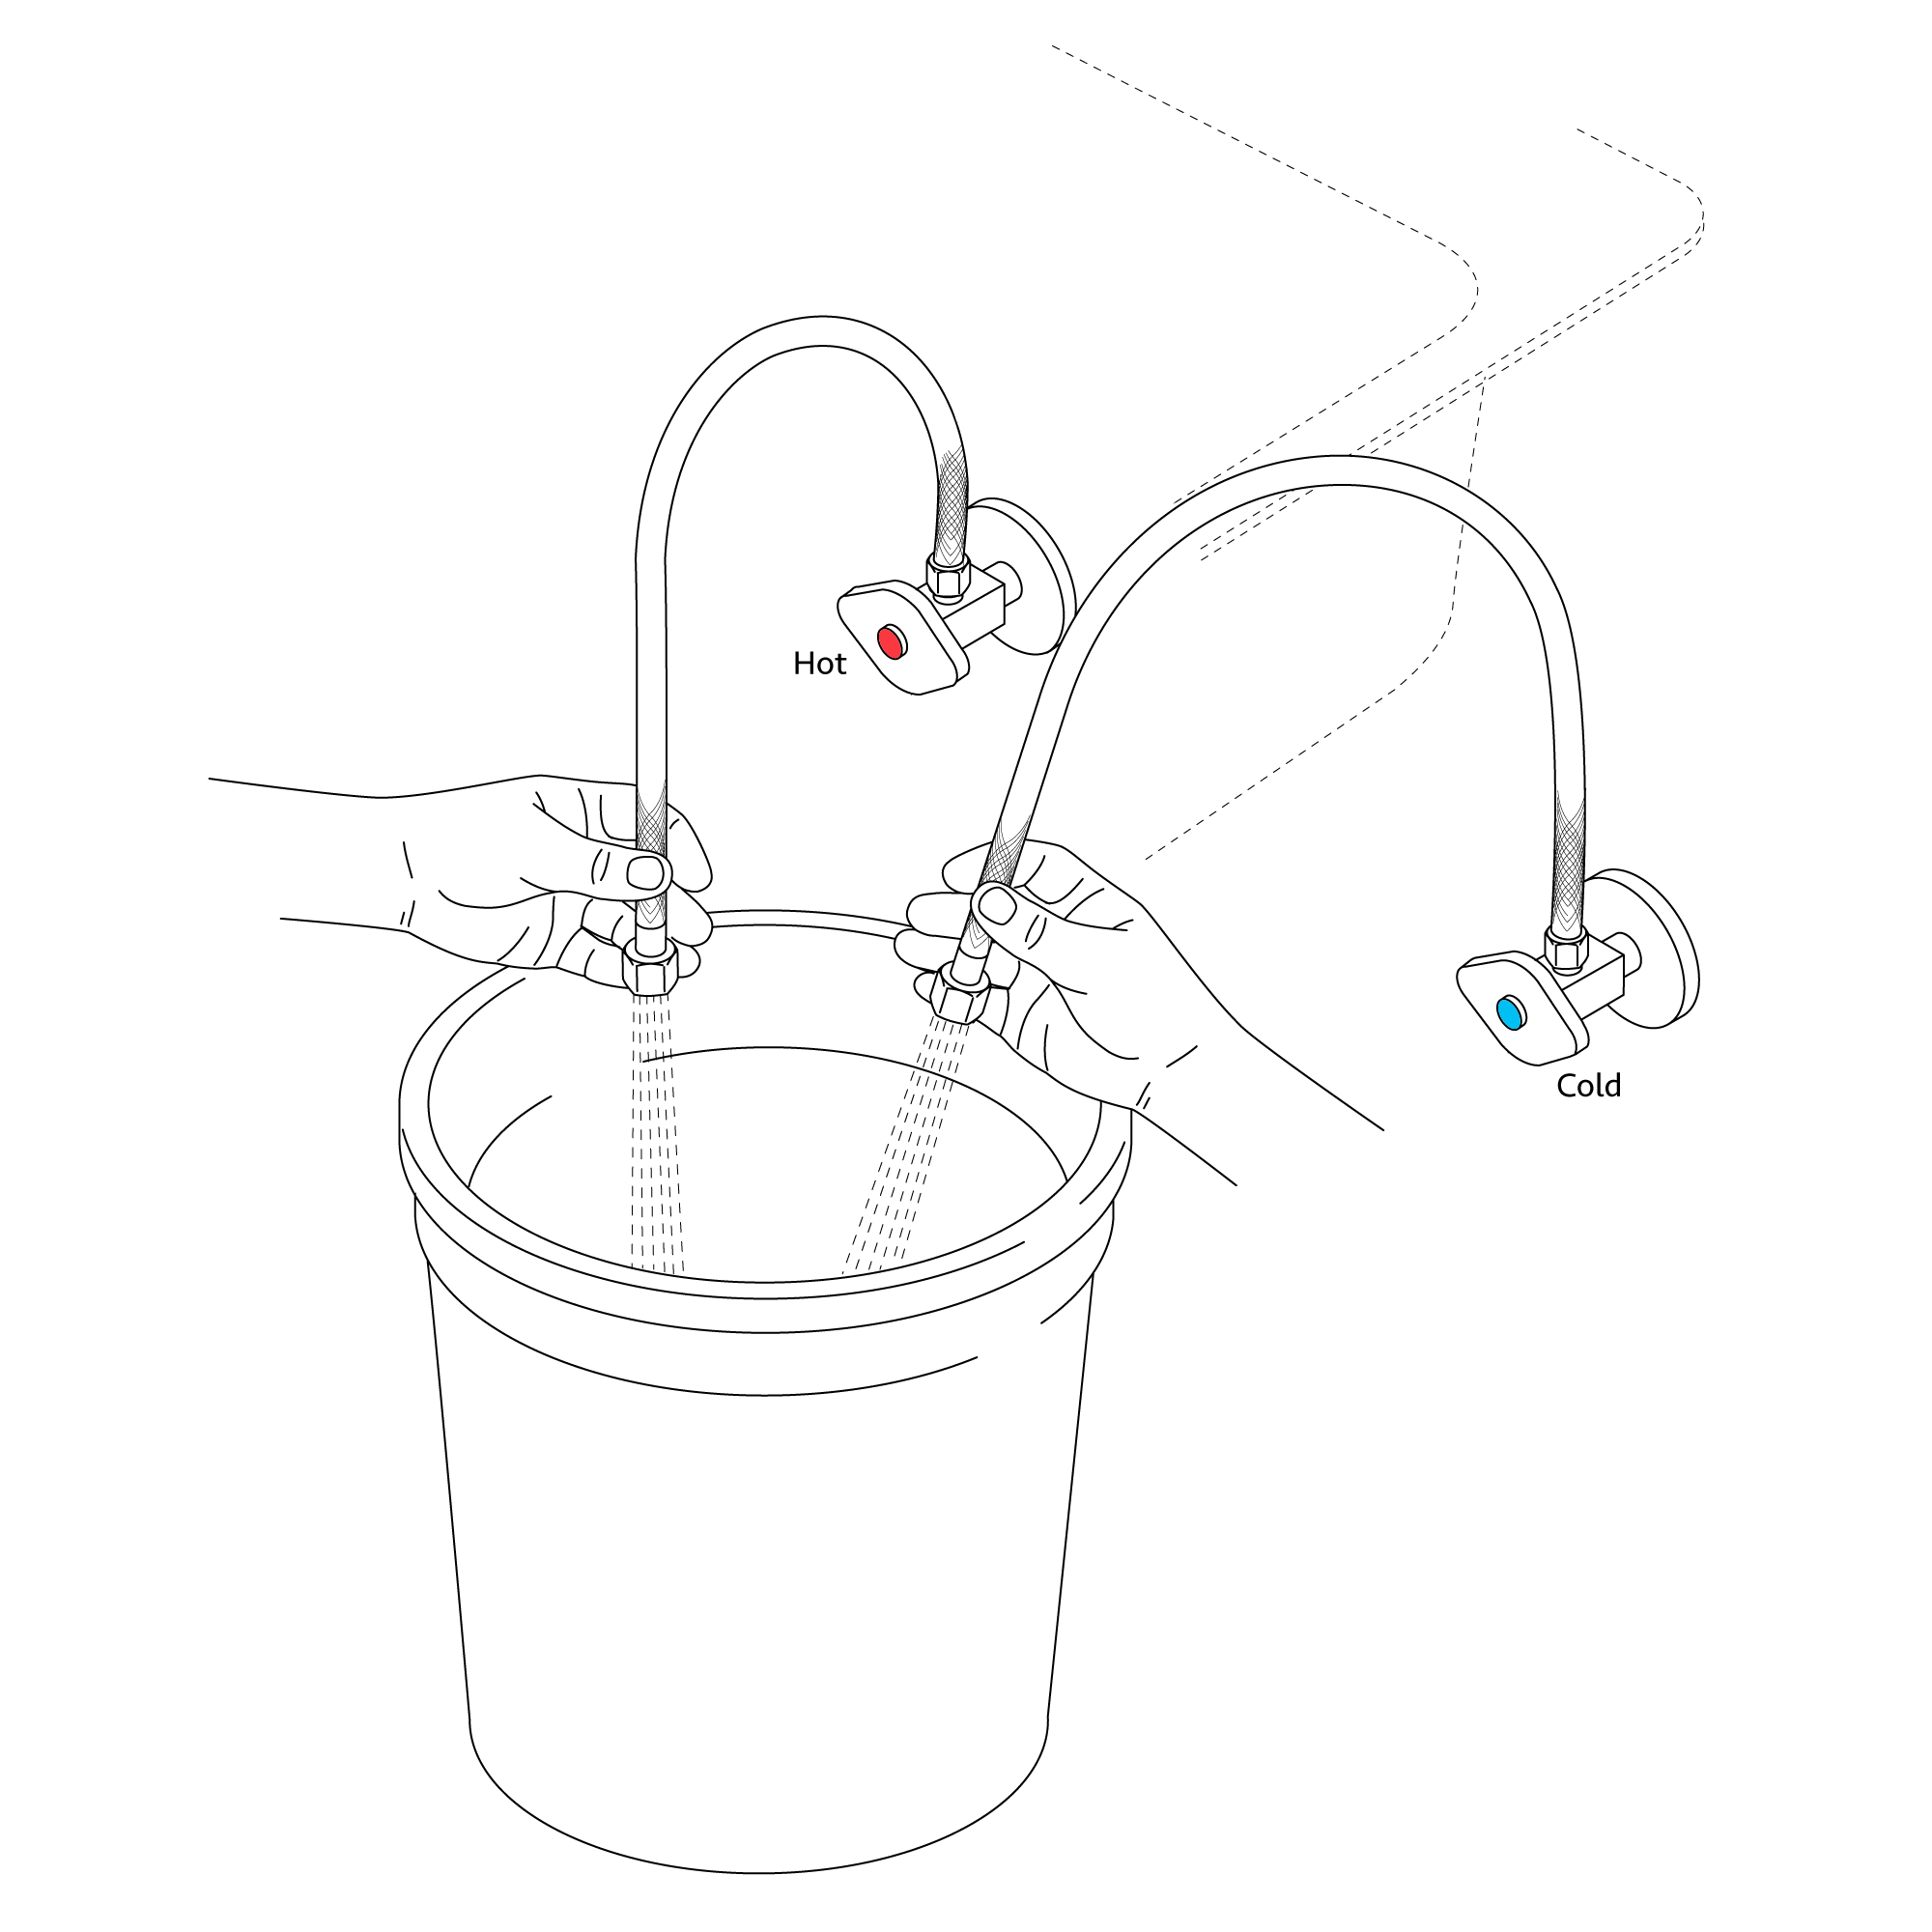
Step 3: (Flush Debris)
|
|
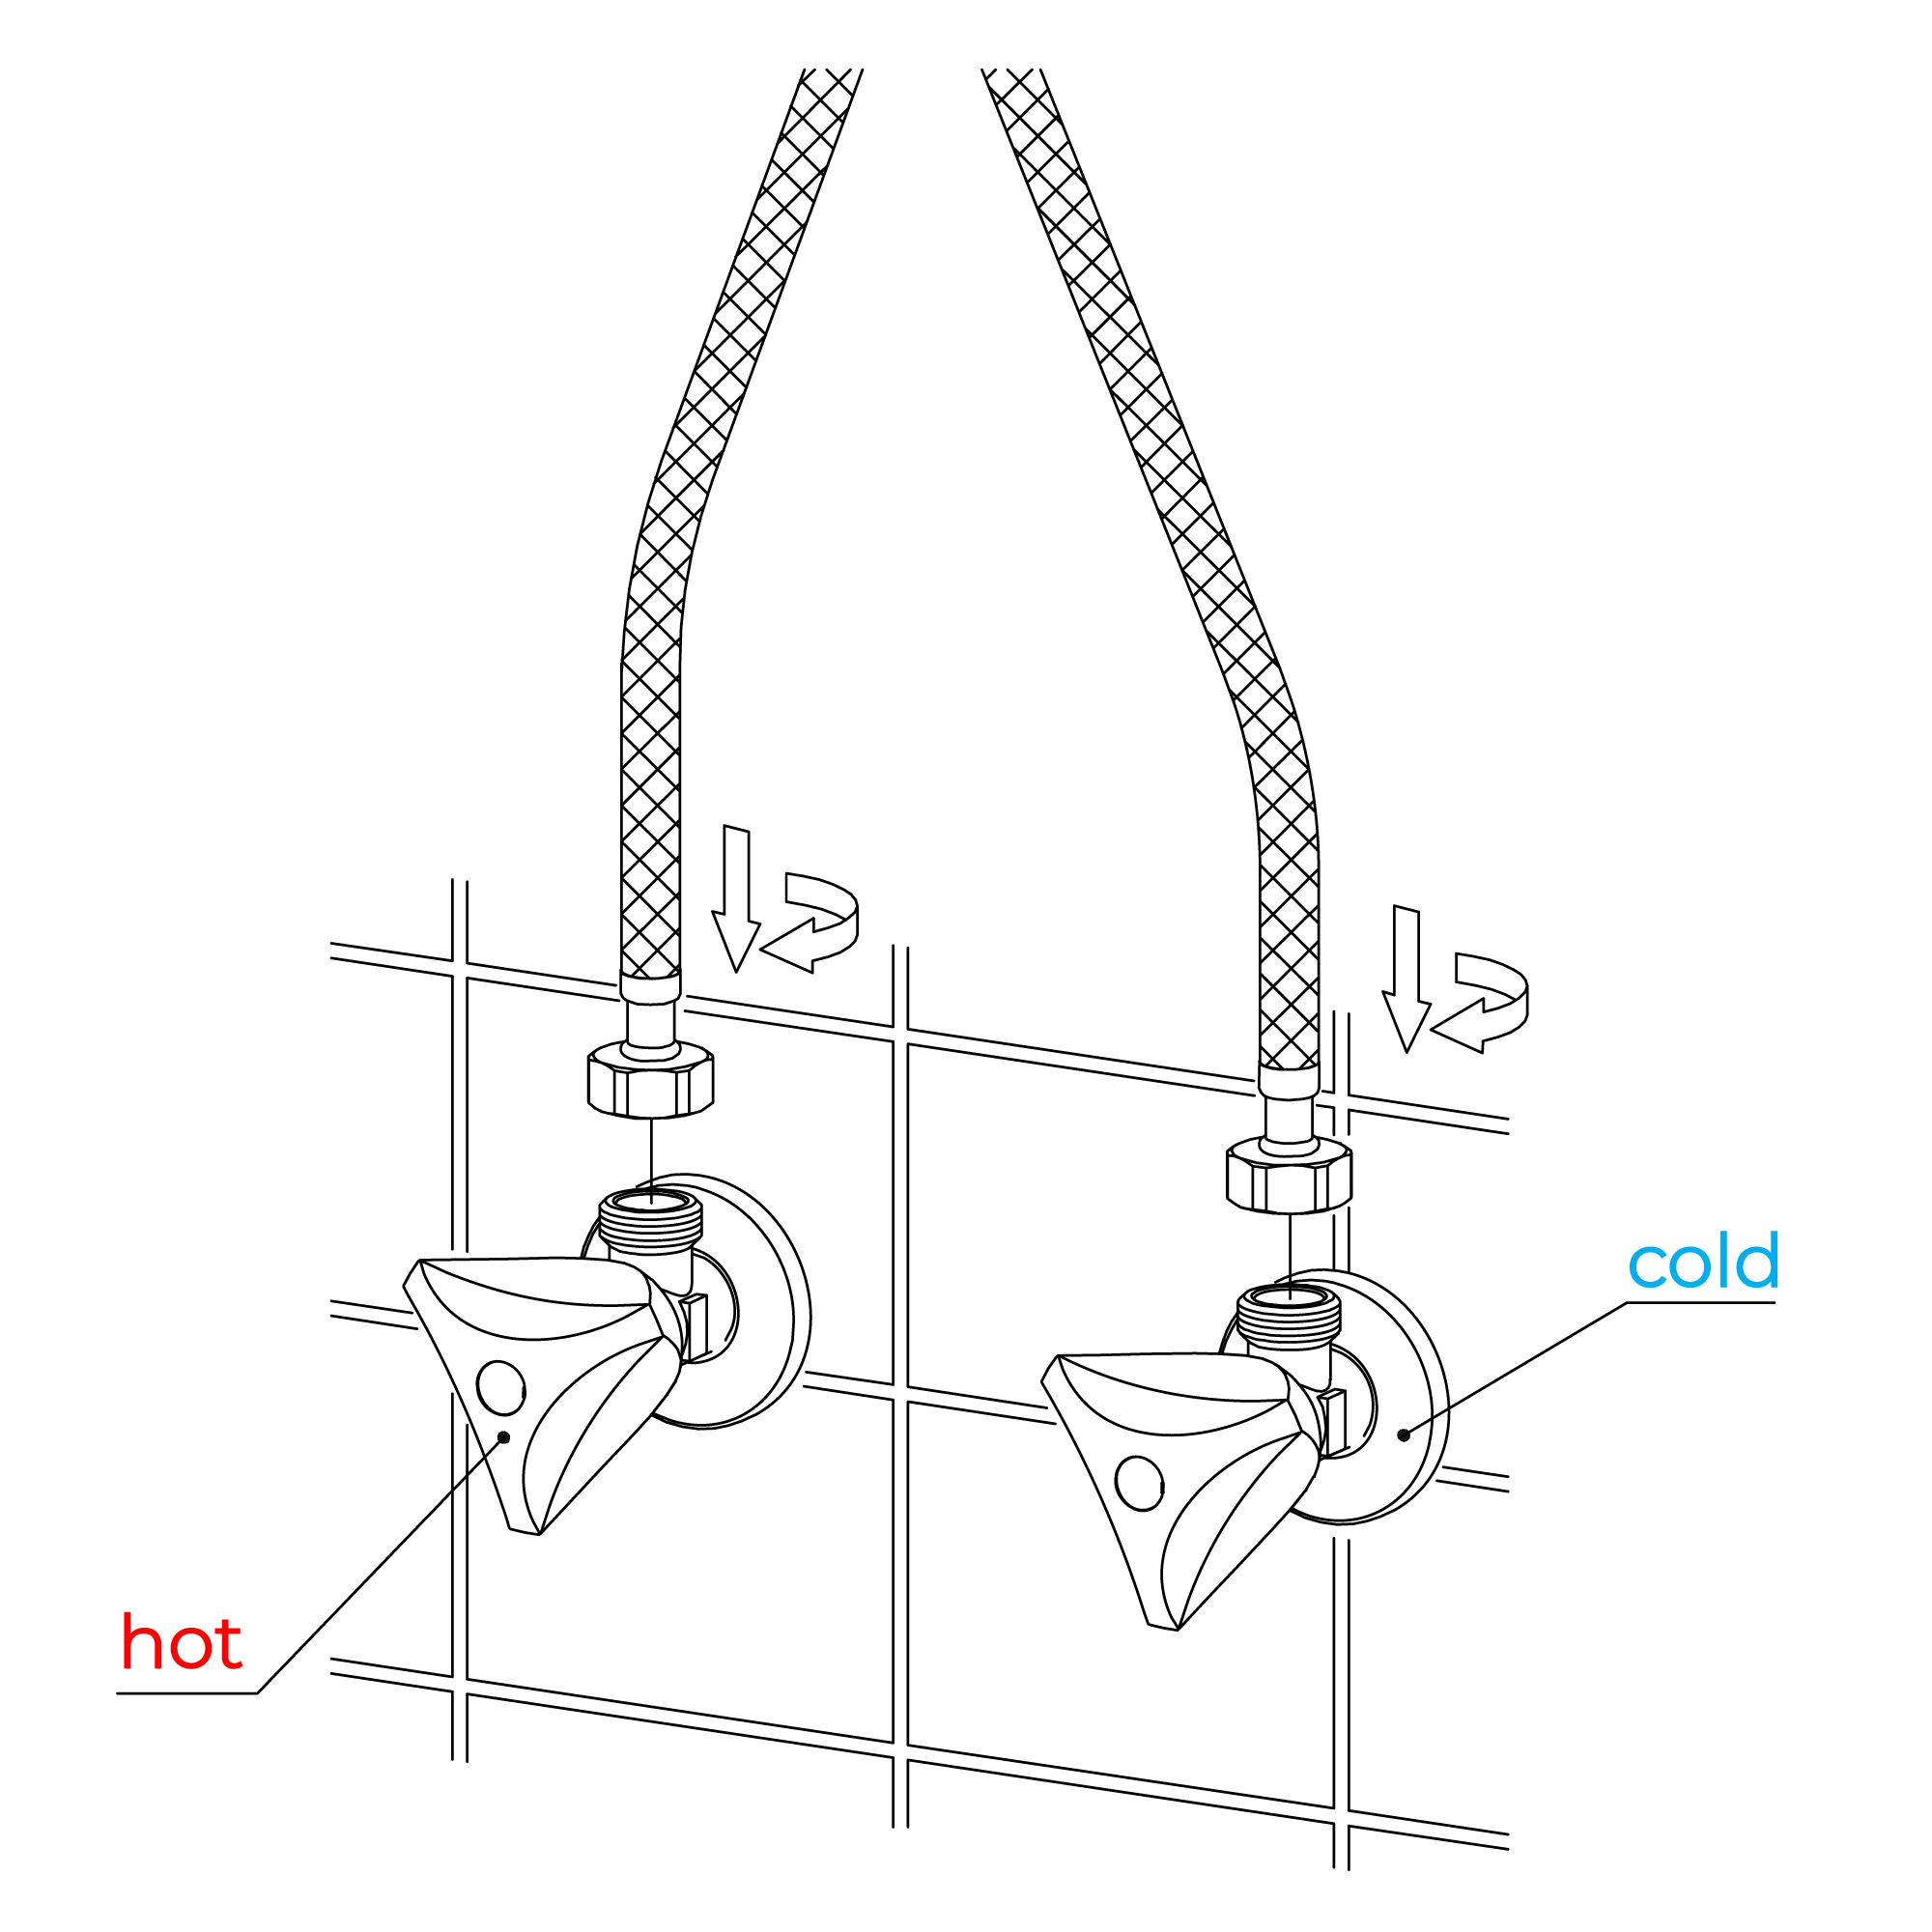
Step 4: (Connect Water pipelines)
|
|
|
|
|
|
|
|
|
|

|
|
|
|
|
|
1. Ensure that the water supply below your sink is completely shut off by turning the shutoff valves all the way to the right.
Tip: Place a small bucket below your workspace to catch any water that may drip during the installation process.
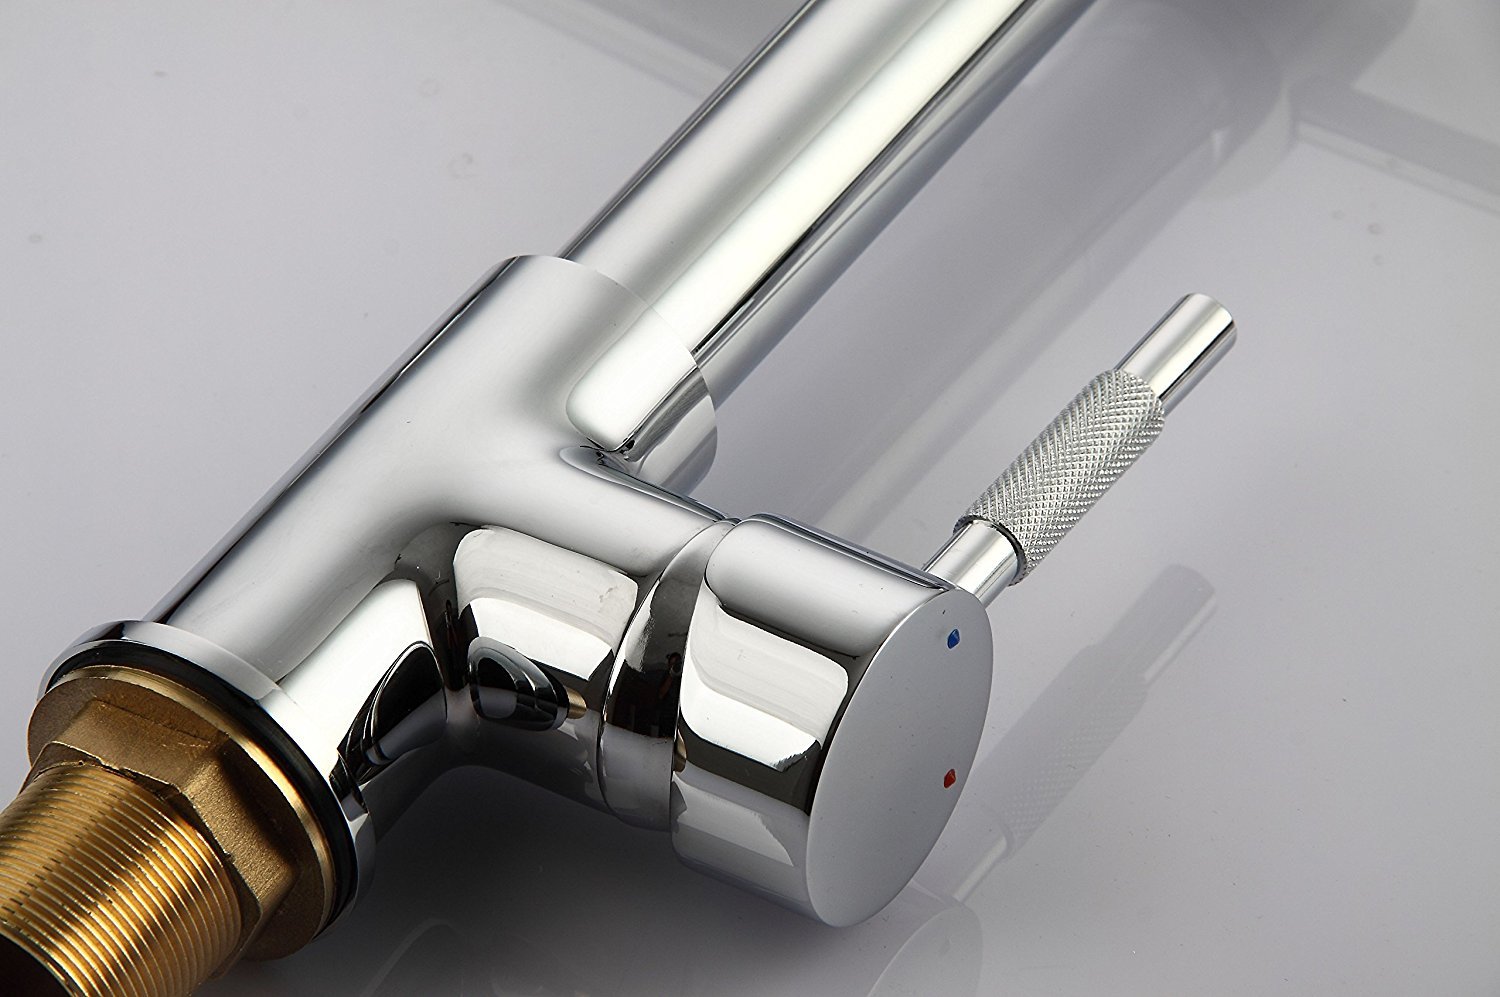
2. If not already attached, attach the provided braided water lines to the faucet body. Use the red and blue marks on the faucet as indicators, and match the hoses accordingly. Apply a small amount of thread sealant to the threading on the hoses before attaching. If lines are already attached, ensure that they are fully tightened.
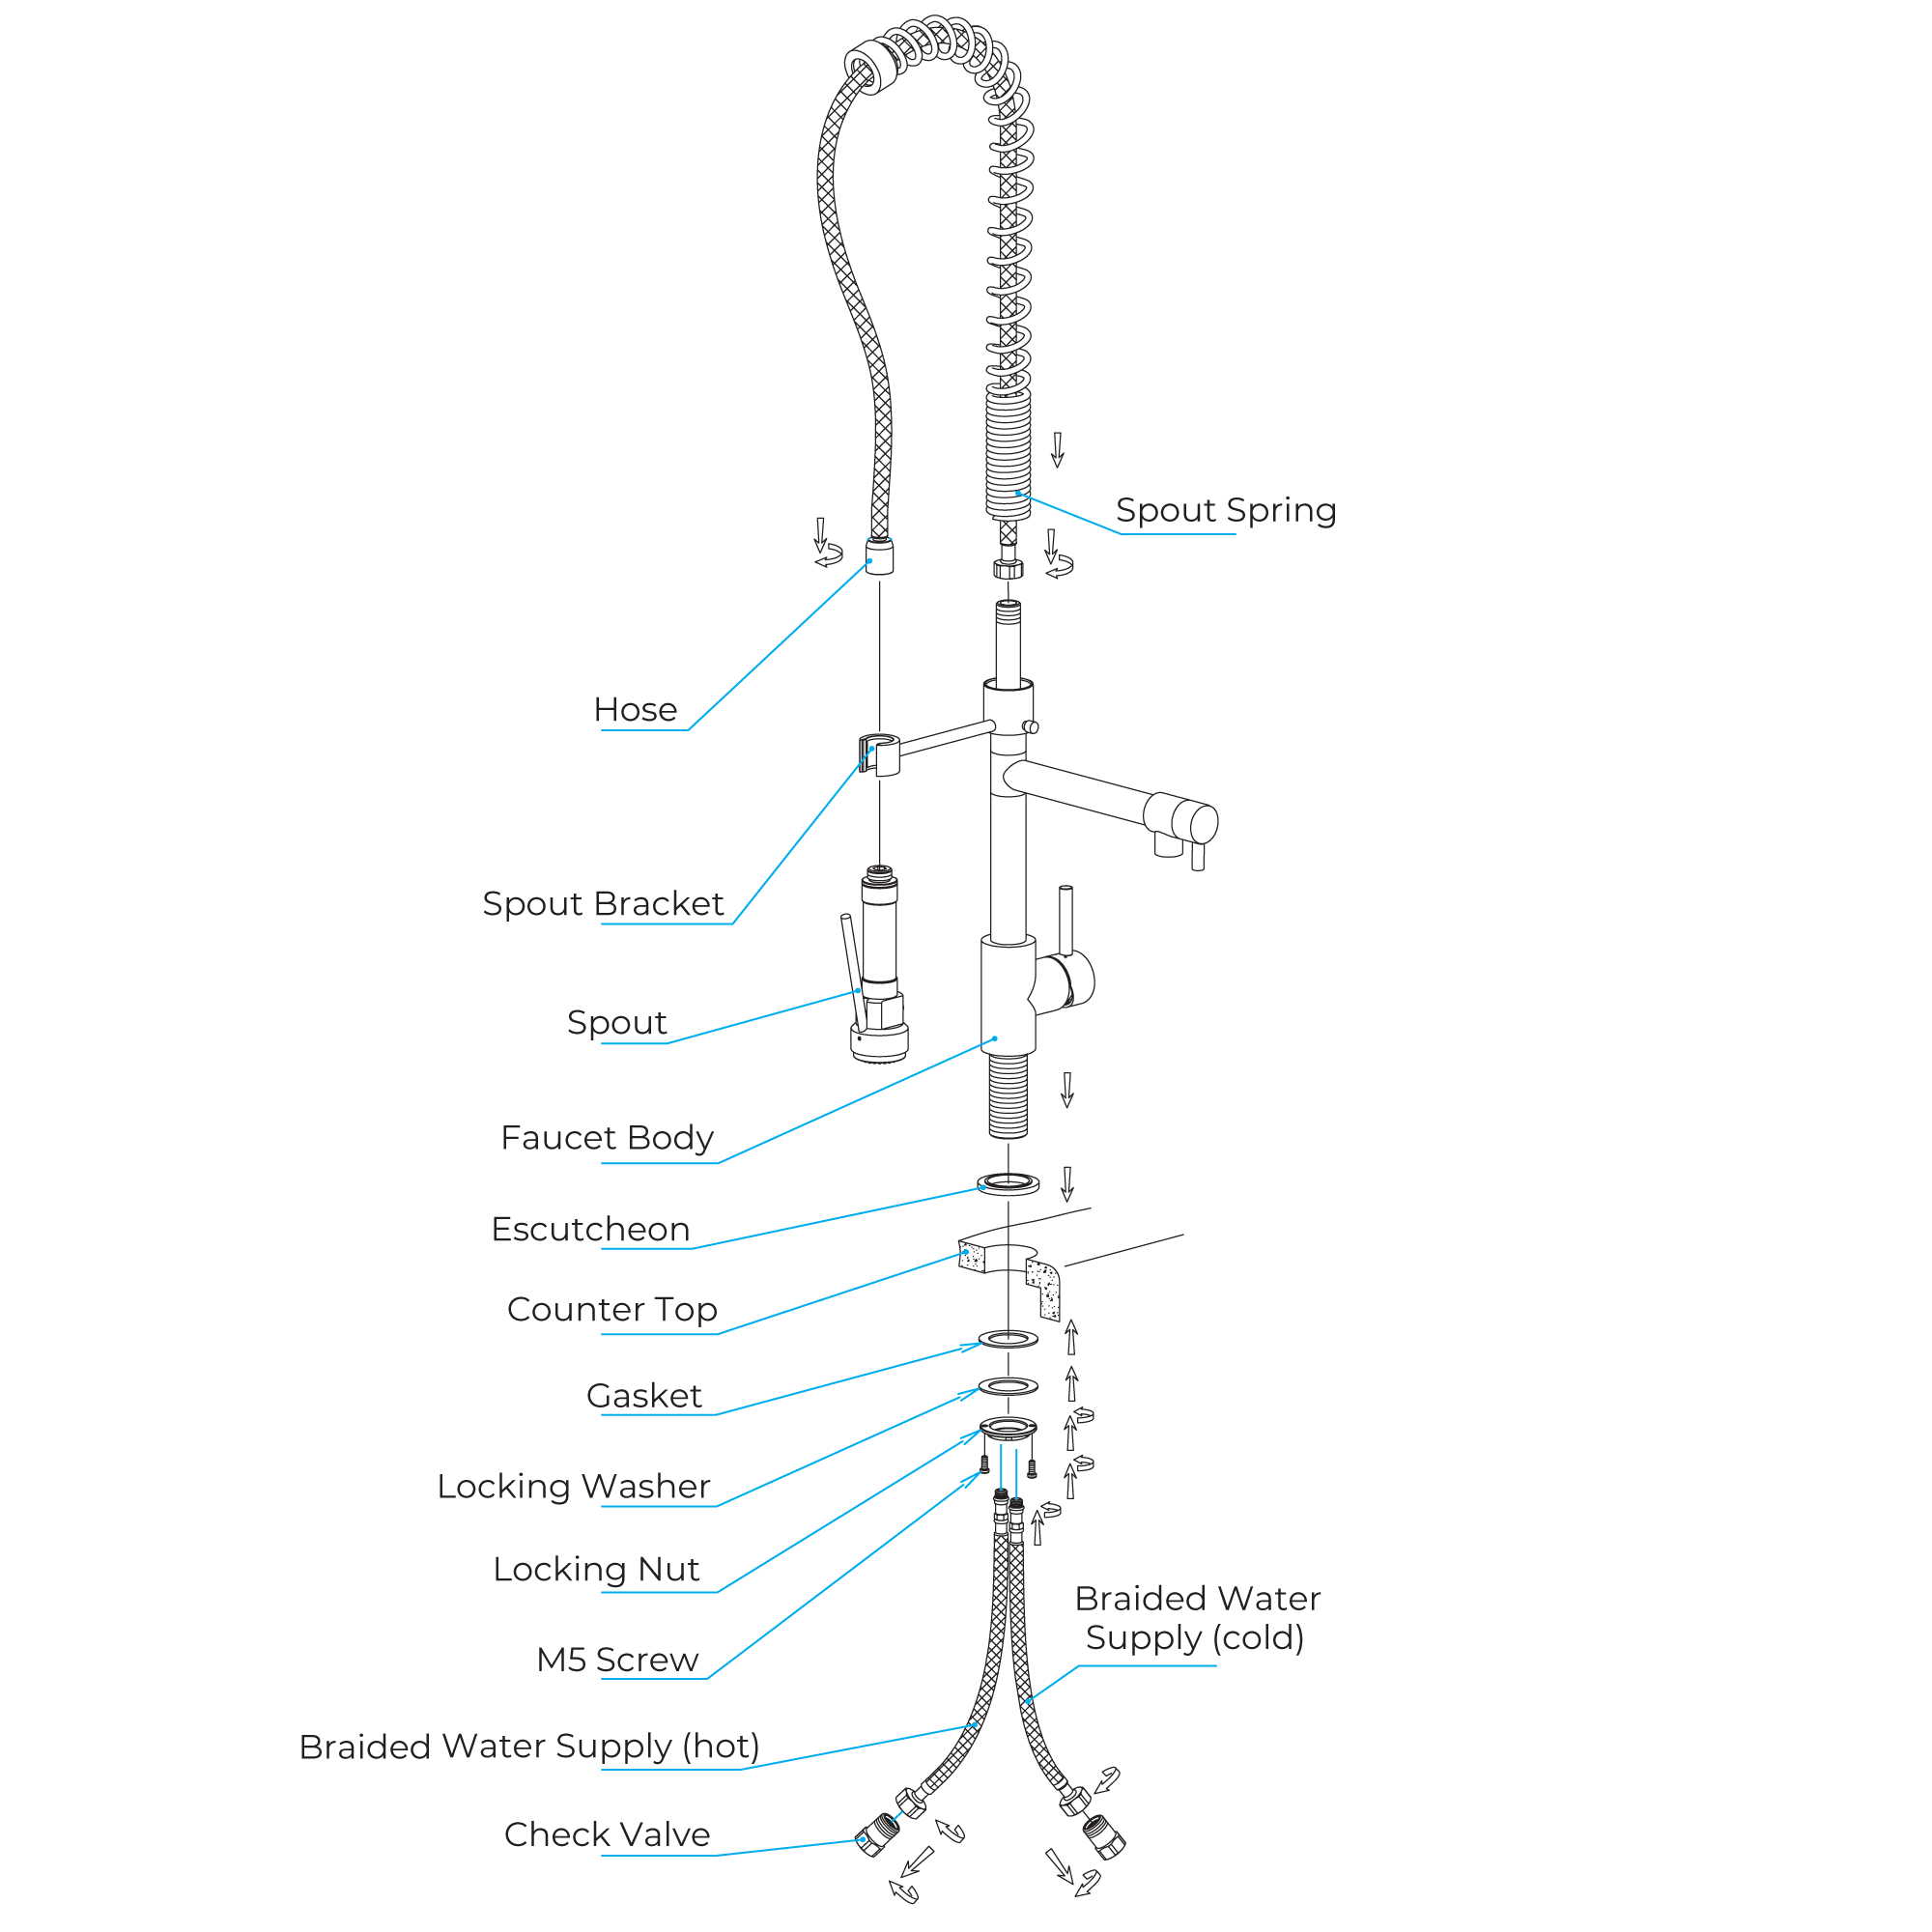
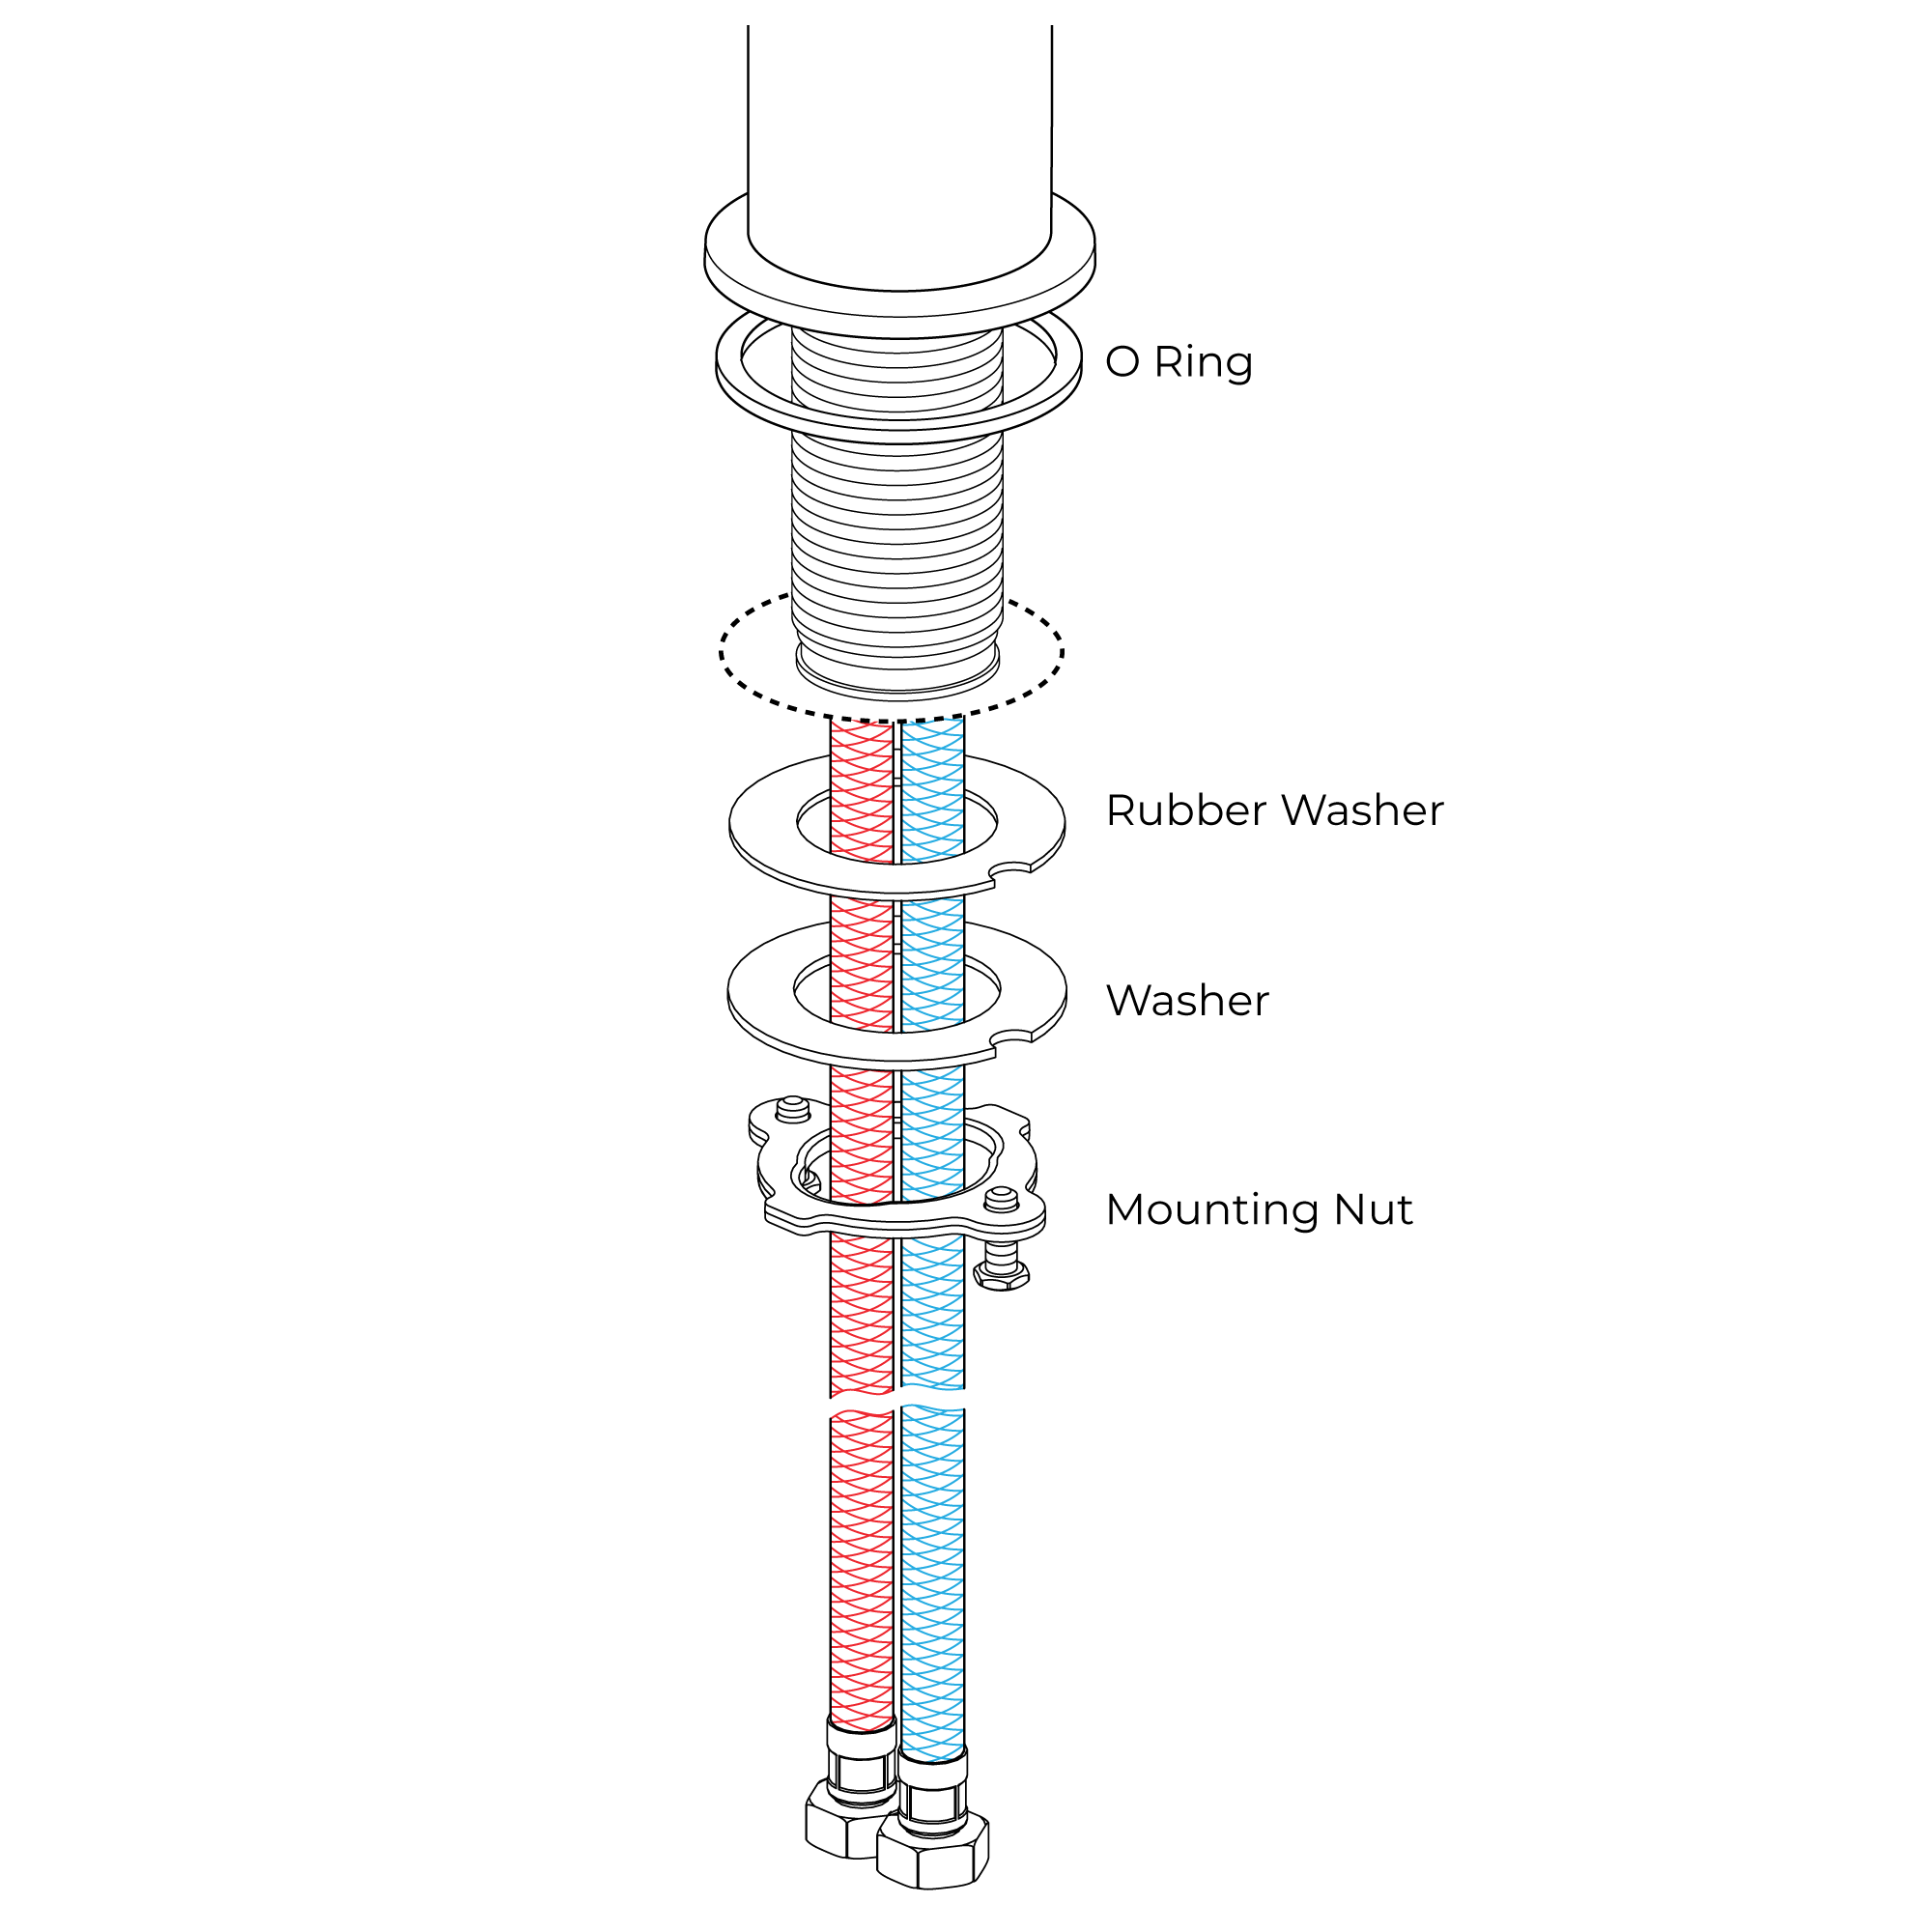
3. Remove the lock nut, metal washer, and rubber gasket from the faucet body. Insert the faucet body through the mounting hole in your countertop.
4. From beneath the sink, slide the rubber gasket back onto the faucet body, followed by the metal washer. Thread the lock nut back onto the faucet body using a basin wrench. Finish tightening by turning the two screws attached to the lock nut to the right.
5. Remove the check valves from the end of each braided hose on the faucet body. Apply plumbers tape or thread sealant to the threading on each check valve and attach it to your main water supply lines. Ensure that you are connecting the hot and cold lines appropriately.
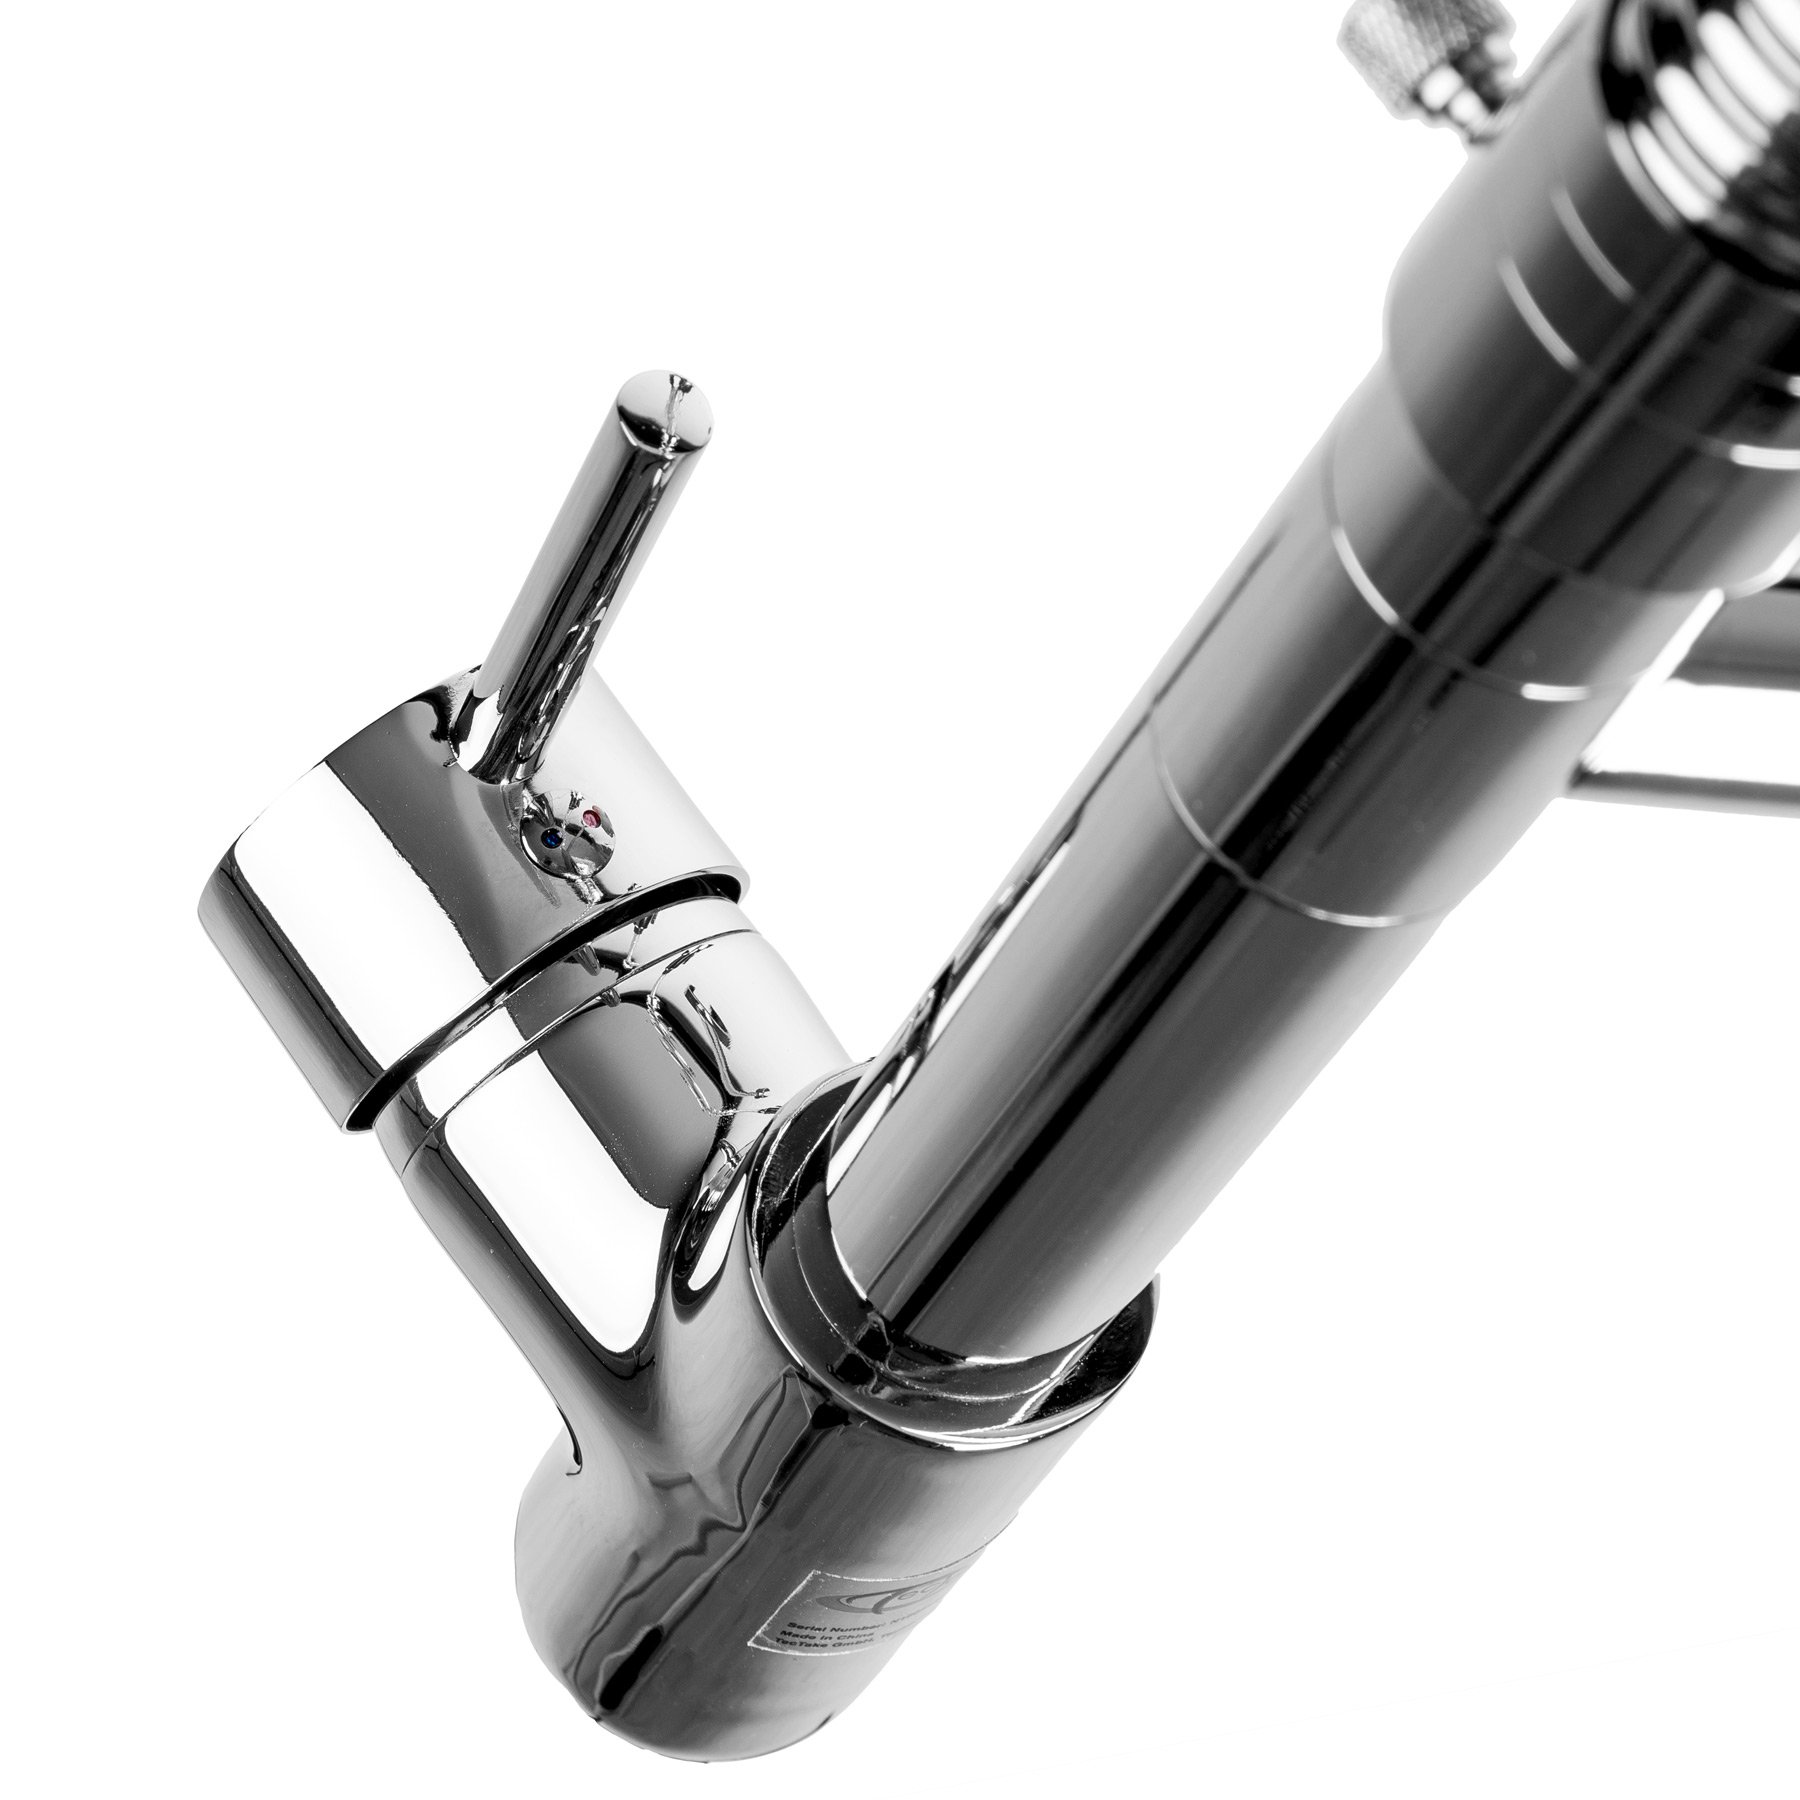
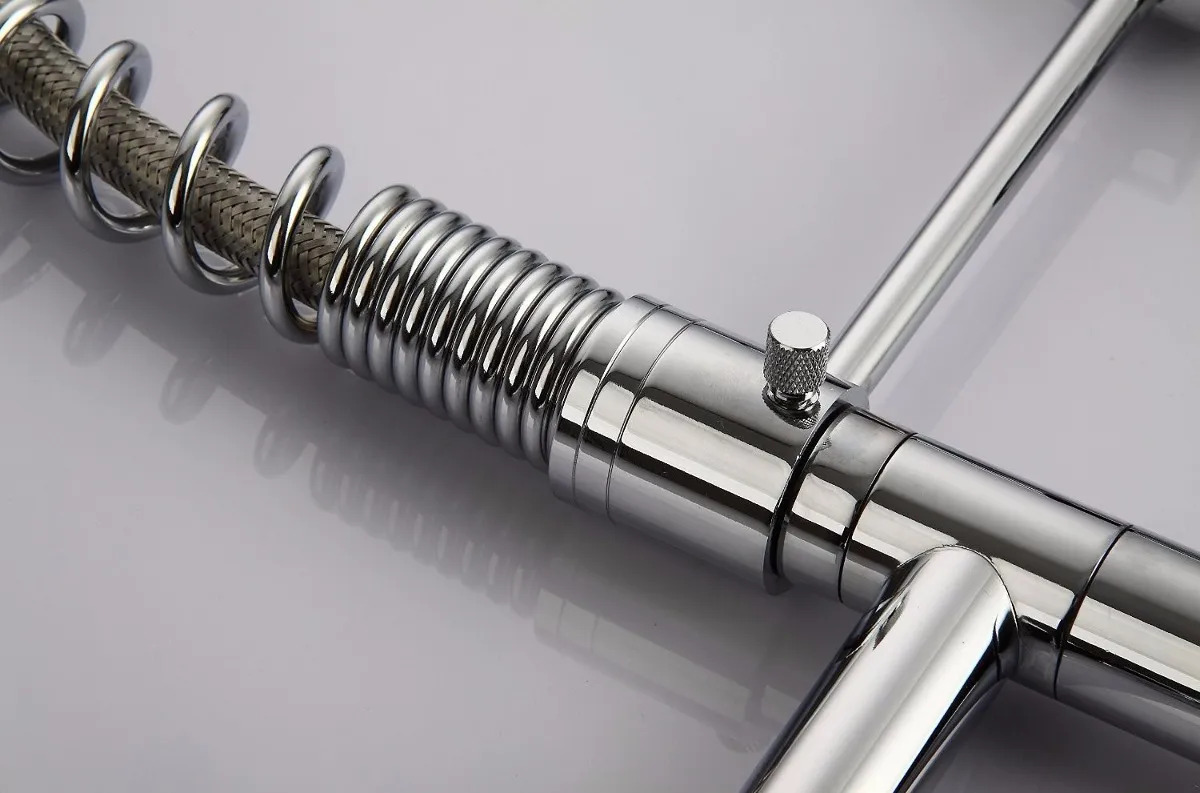
6. From above the sink, ensure that the set screw on the back of the faucet body is tight before moving on. Use the provided hex wrench to tighten.
Tip: The set screw is located just above the faucet handle, on the back of the valve.
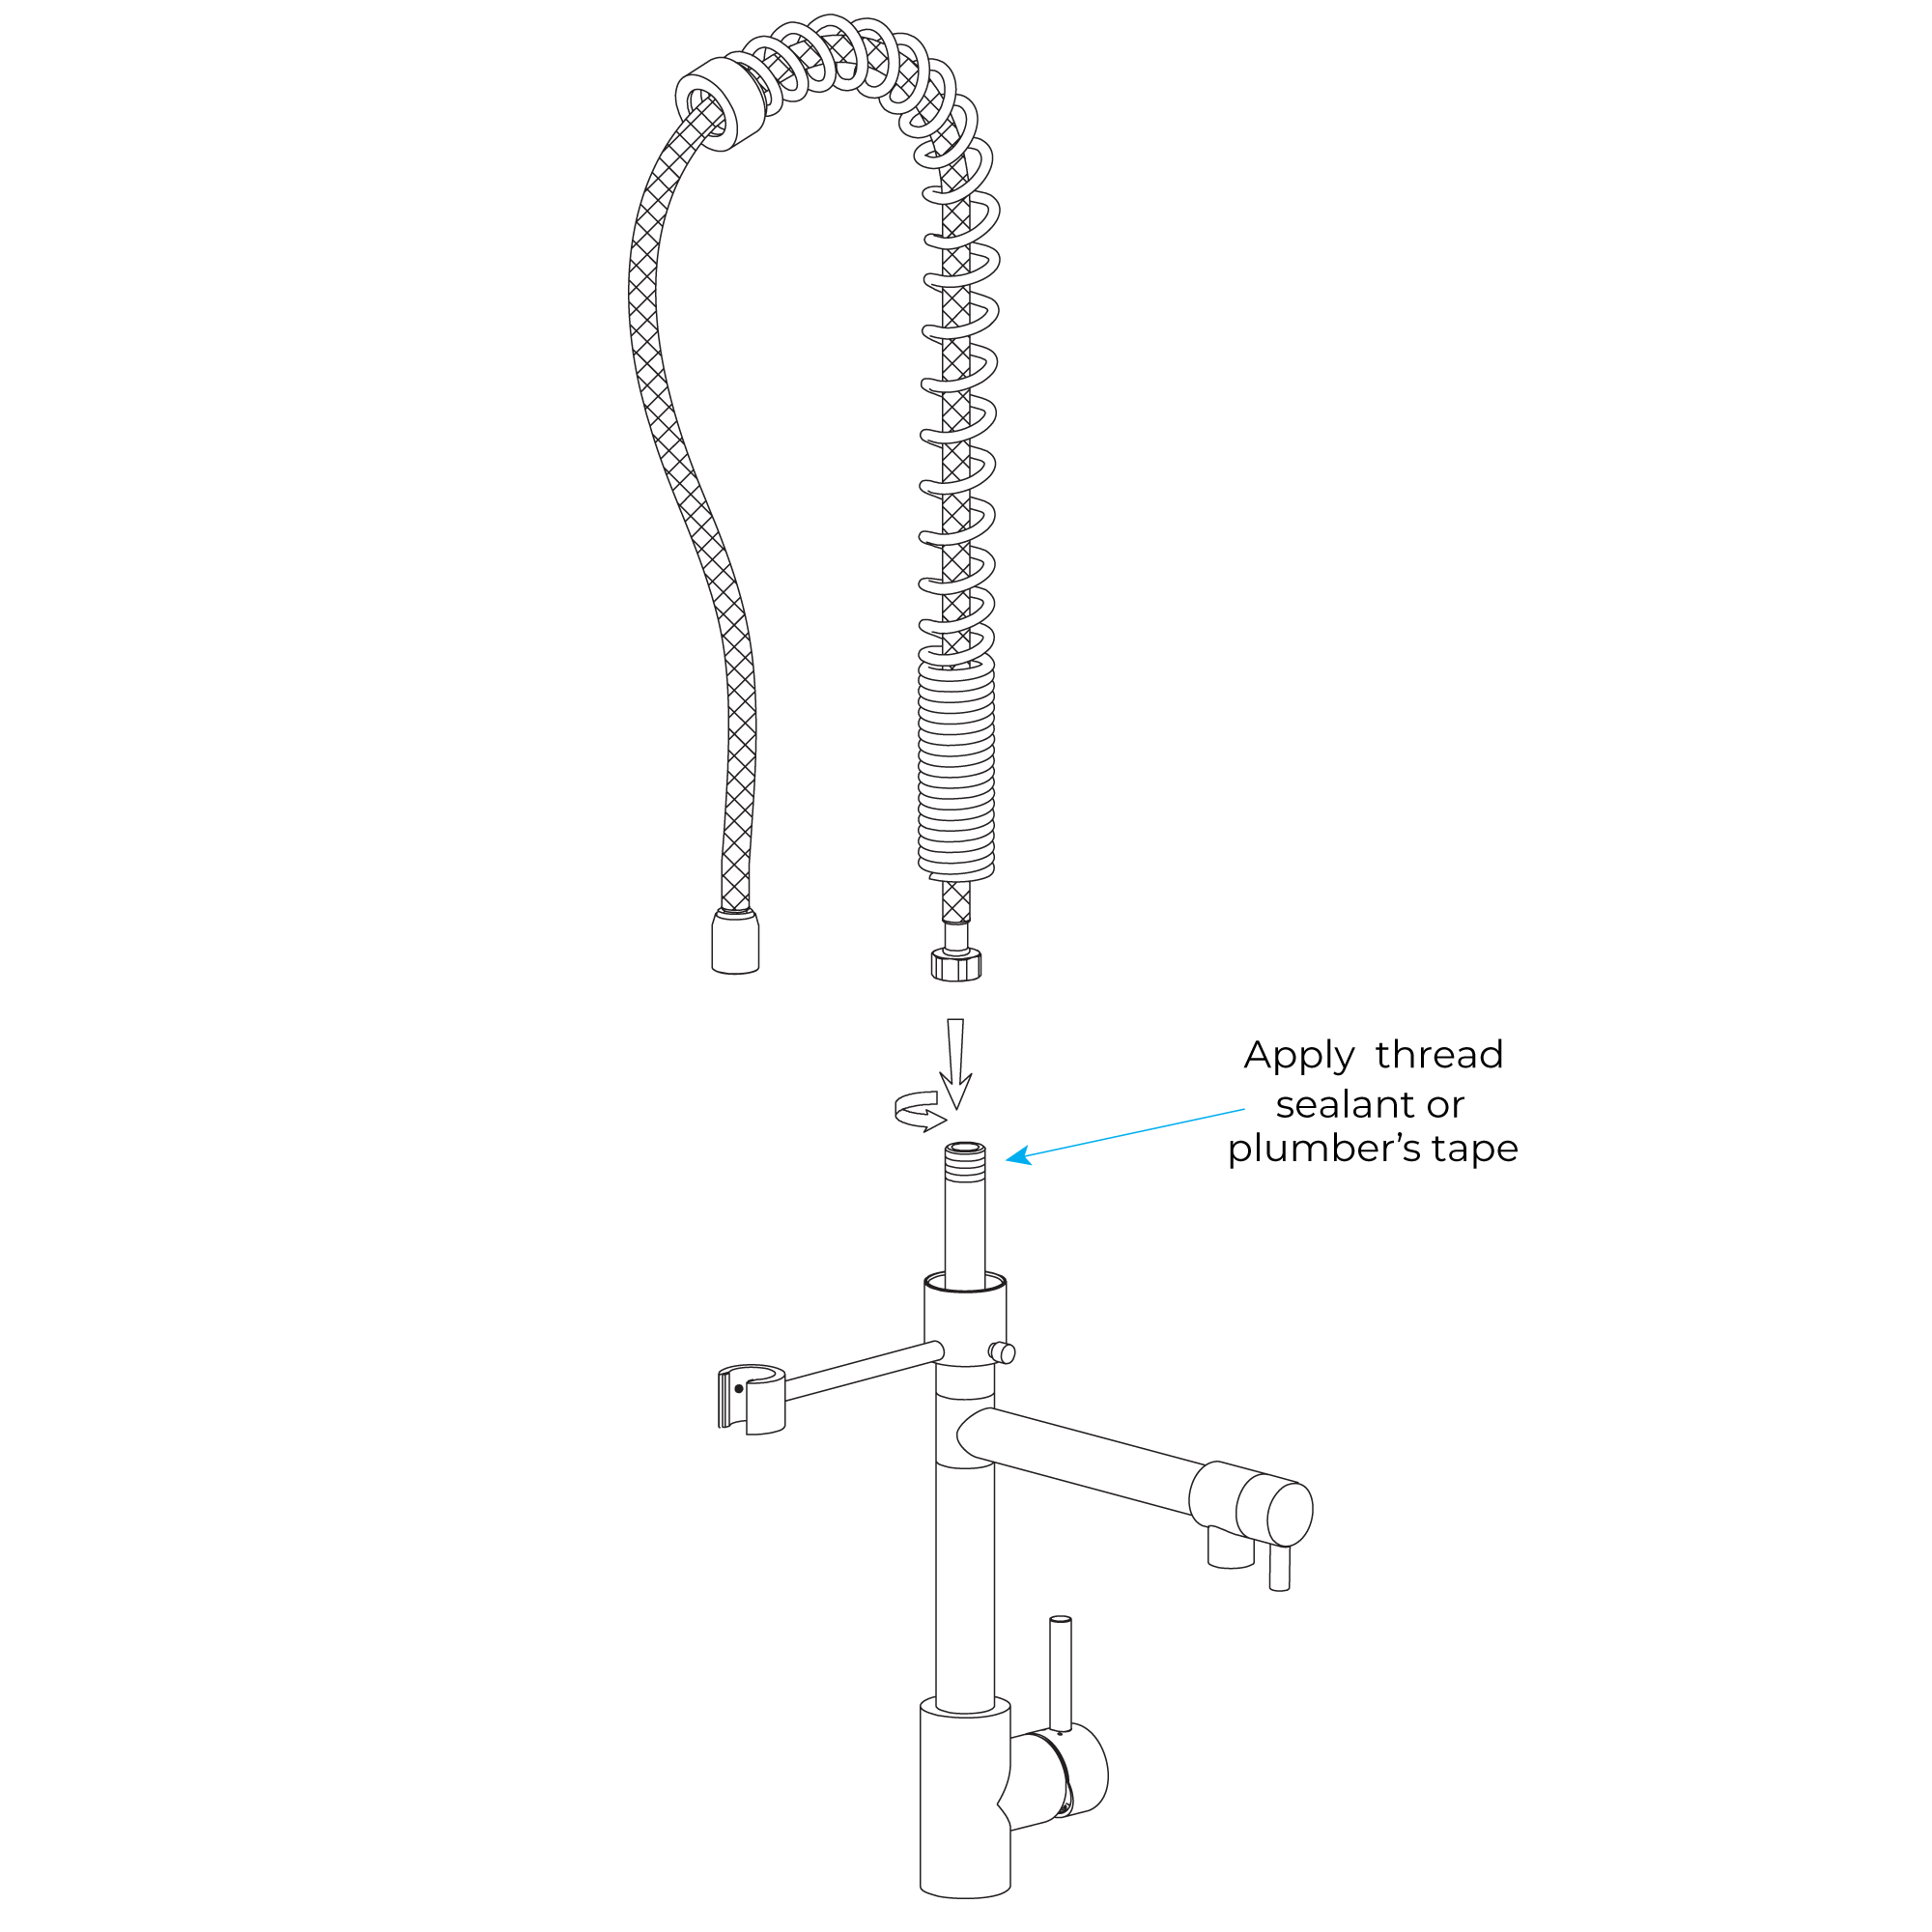
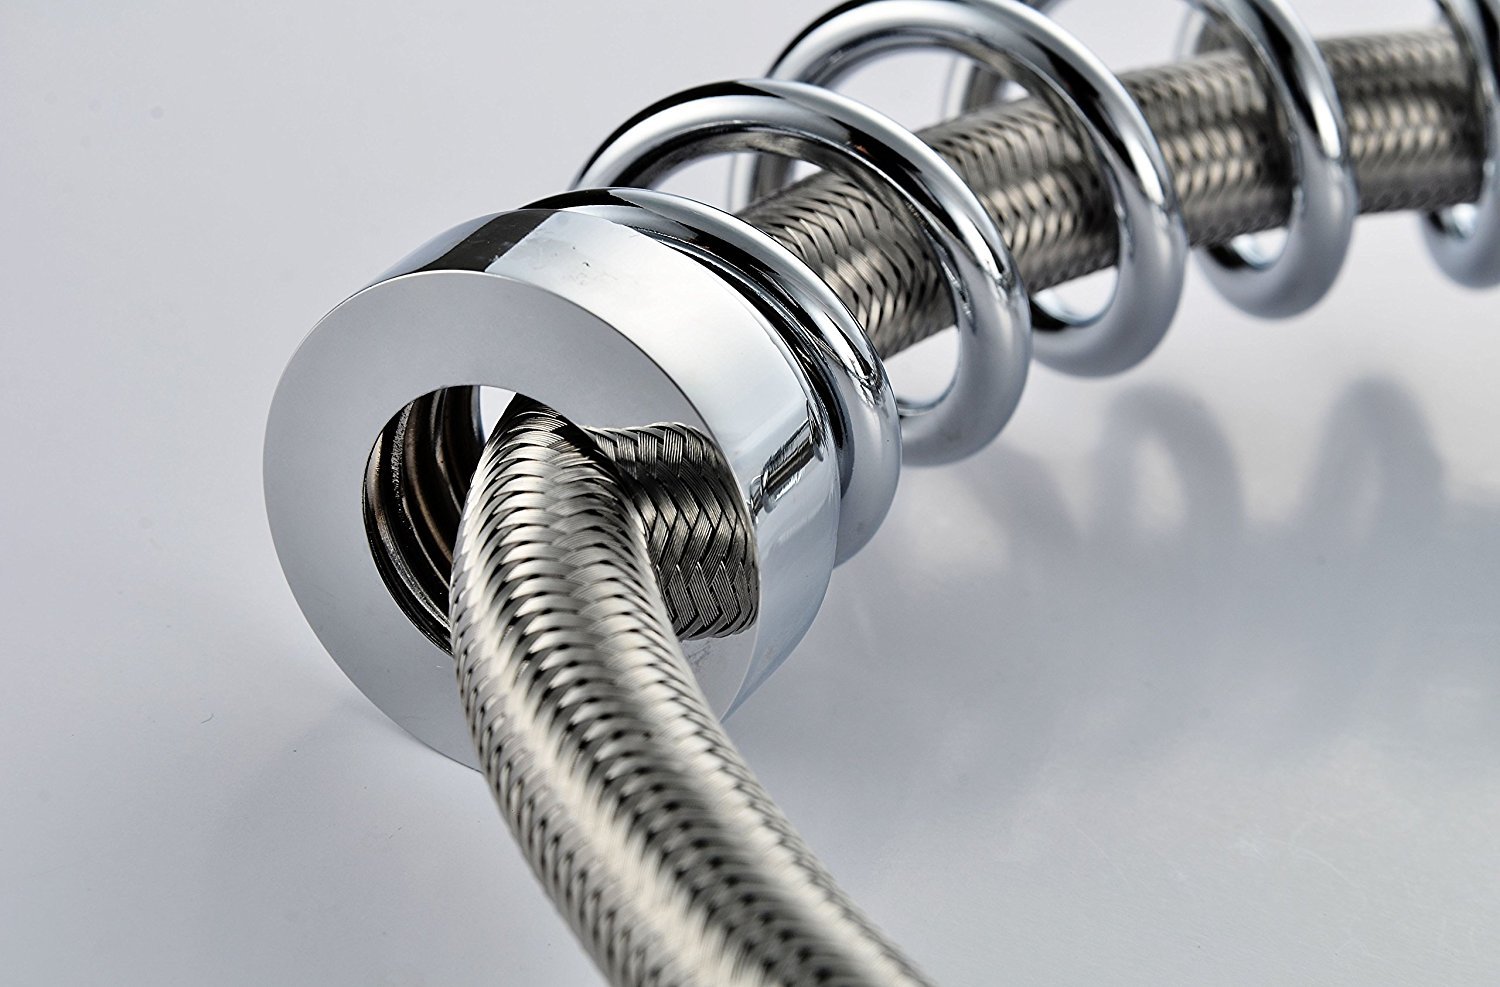
7. Attach the hose and spout spring to the faucet body. Apply a small amount of thread sealant, or plumbers tape, to the threading on the faucet body before attaching.
8. Attach the sprayer to the faucet by threading it onto the end of the flexible hose. Mount the sprayer into its cradle once attached.
9. Once the installation is complete, turn the main water supply back on from underneath your sink. Check for any leaks underneath.
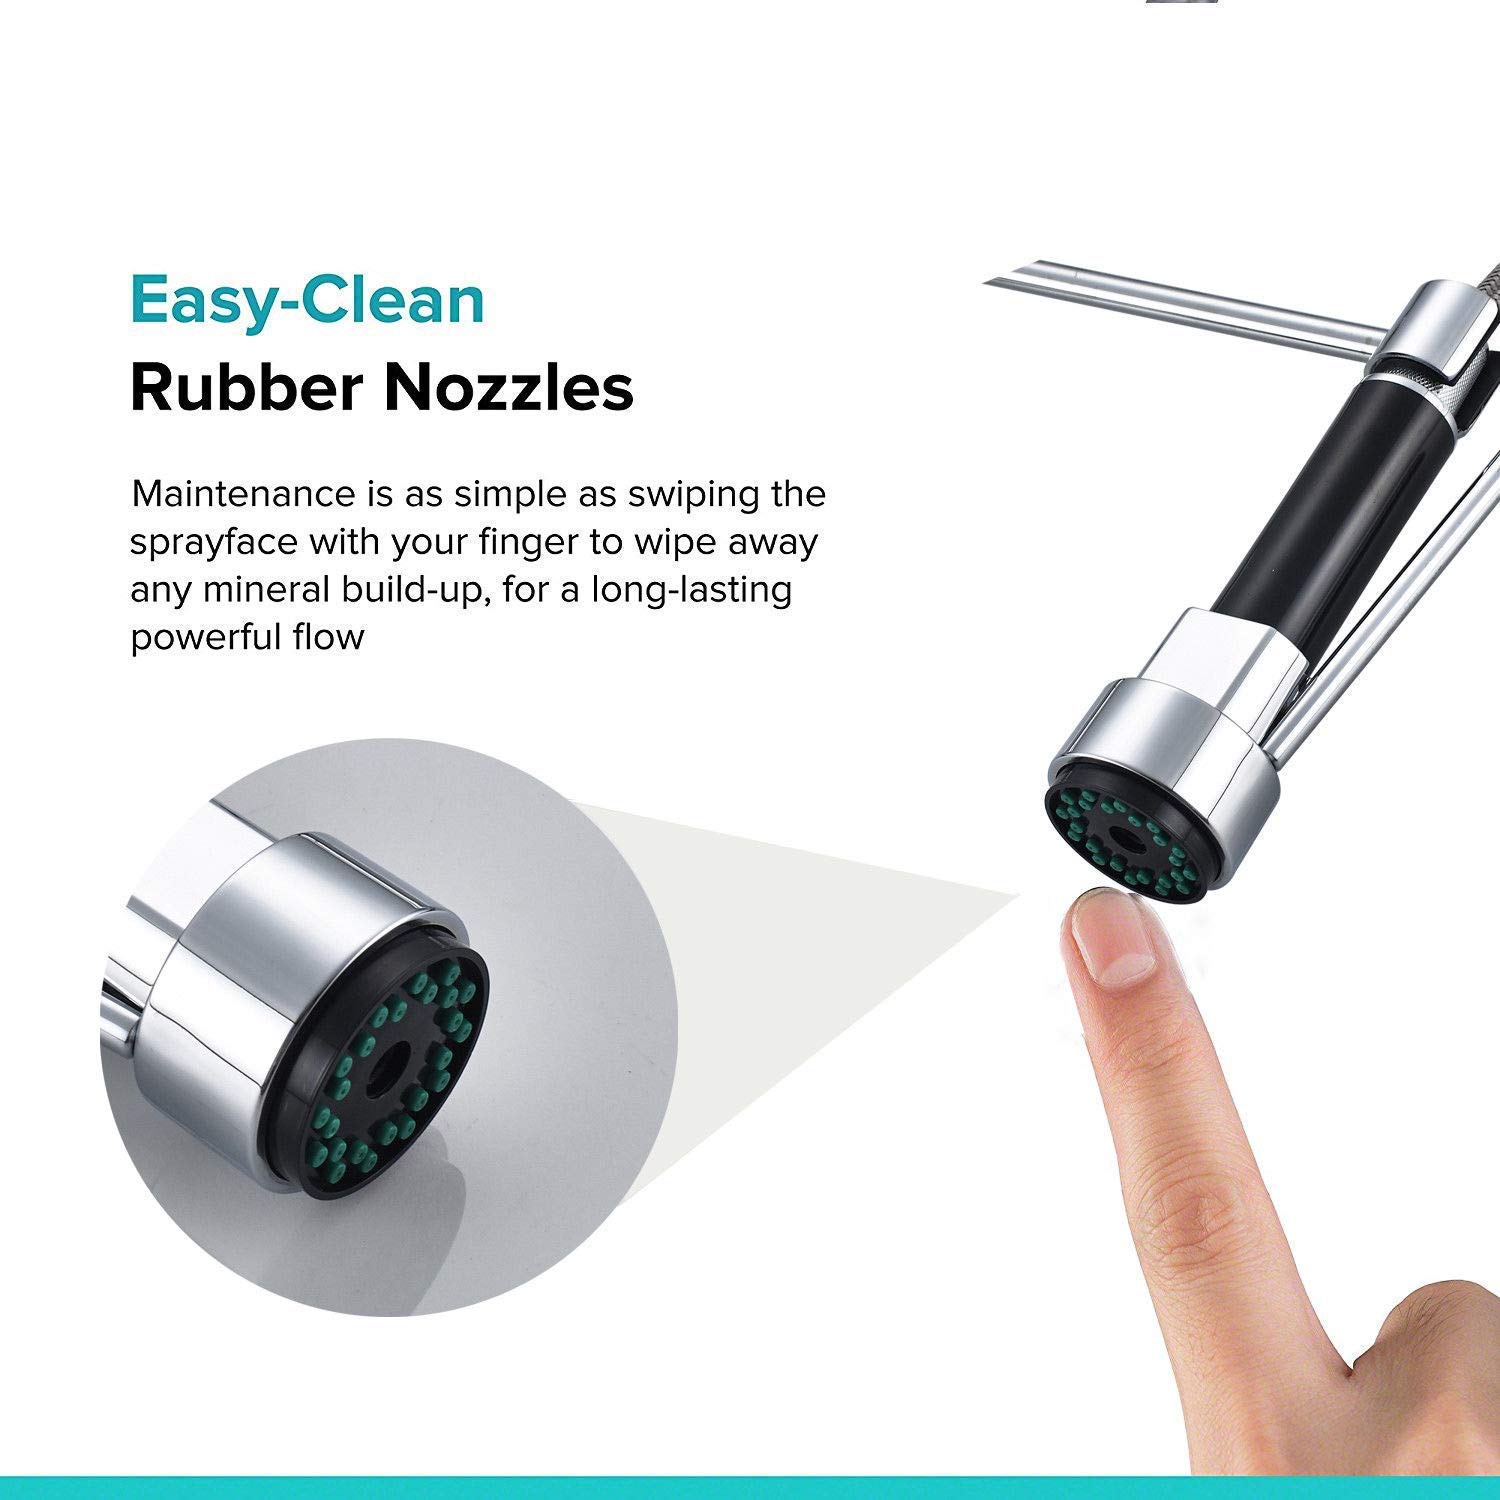
10. Remove the aerator from the main faucet spout using the provided removal tool. Turn the faucet on and ensure that there are no leaks. Check to ensure that both hot and cold water is running properly. Allow for the water to flow for approximately 60 seconds to remove any dust or sediment within the water lines. Reattach the aerator and turn on the sprayer. Allow the sprayer to run for another 60 seconds, and check for any leaks.
Important: Turn on hot and cold water supplies and flush water lines into a container for one minute.
This flushes away any debris that could cause damage to internal parts.
|
|
|
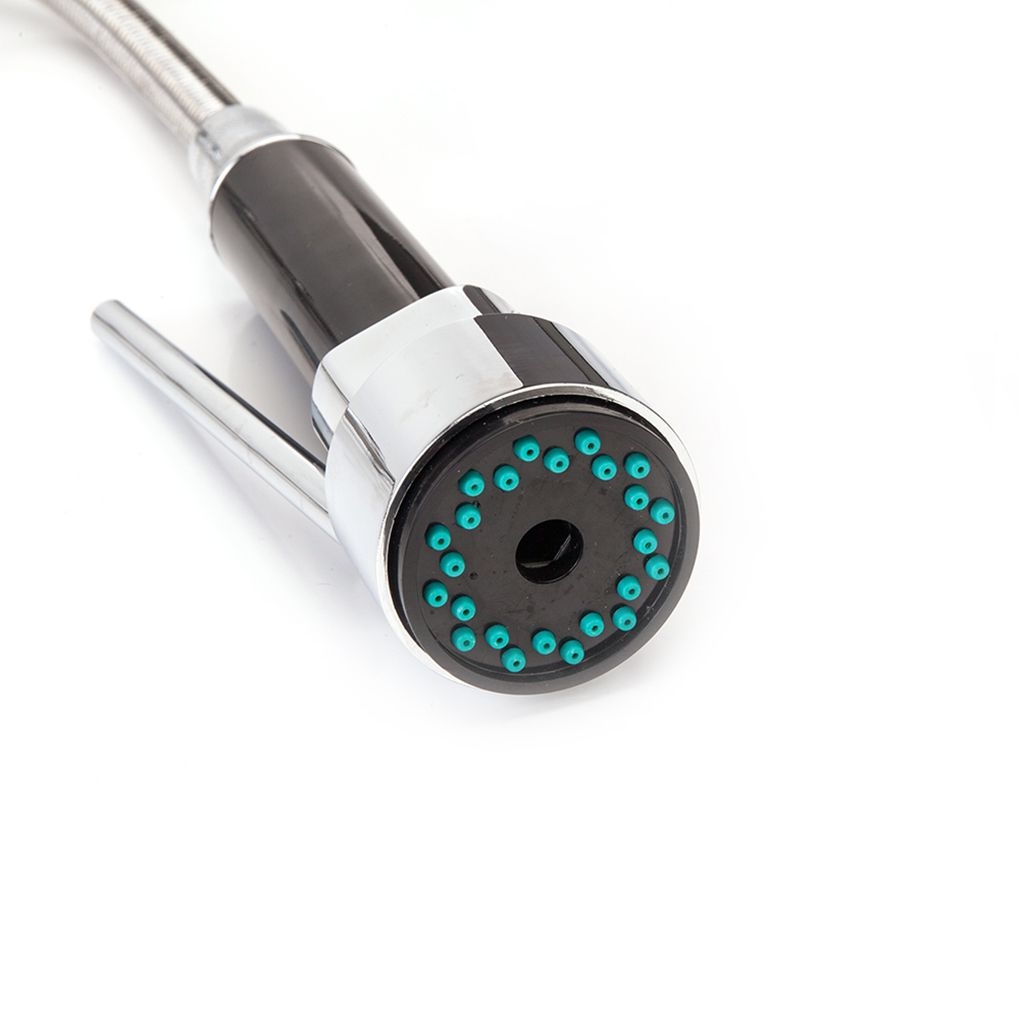
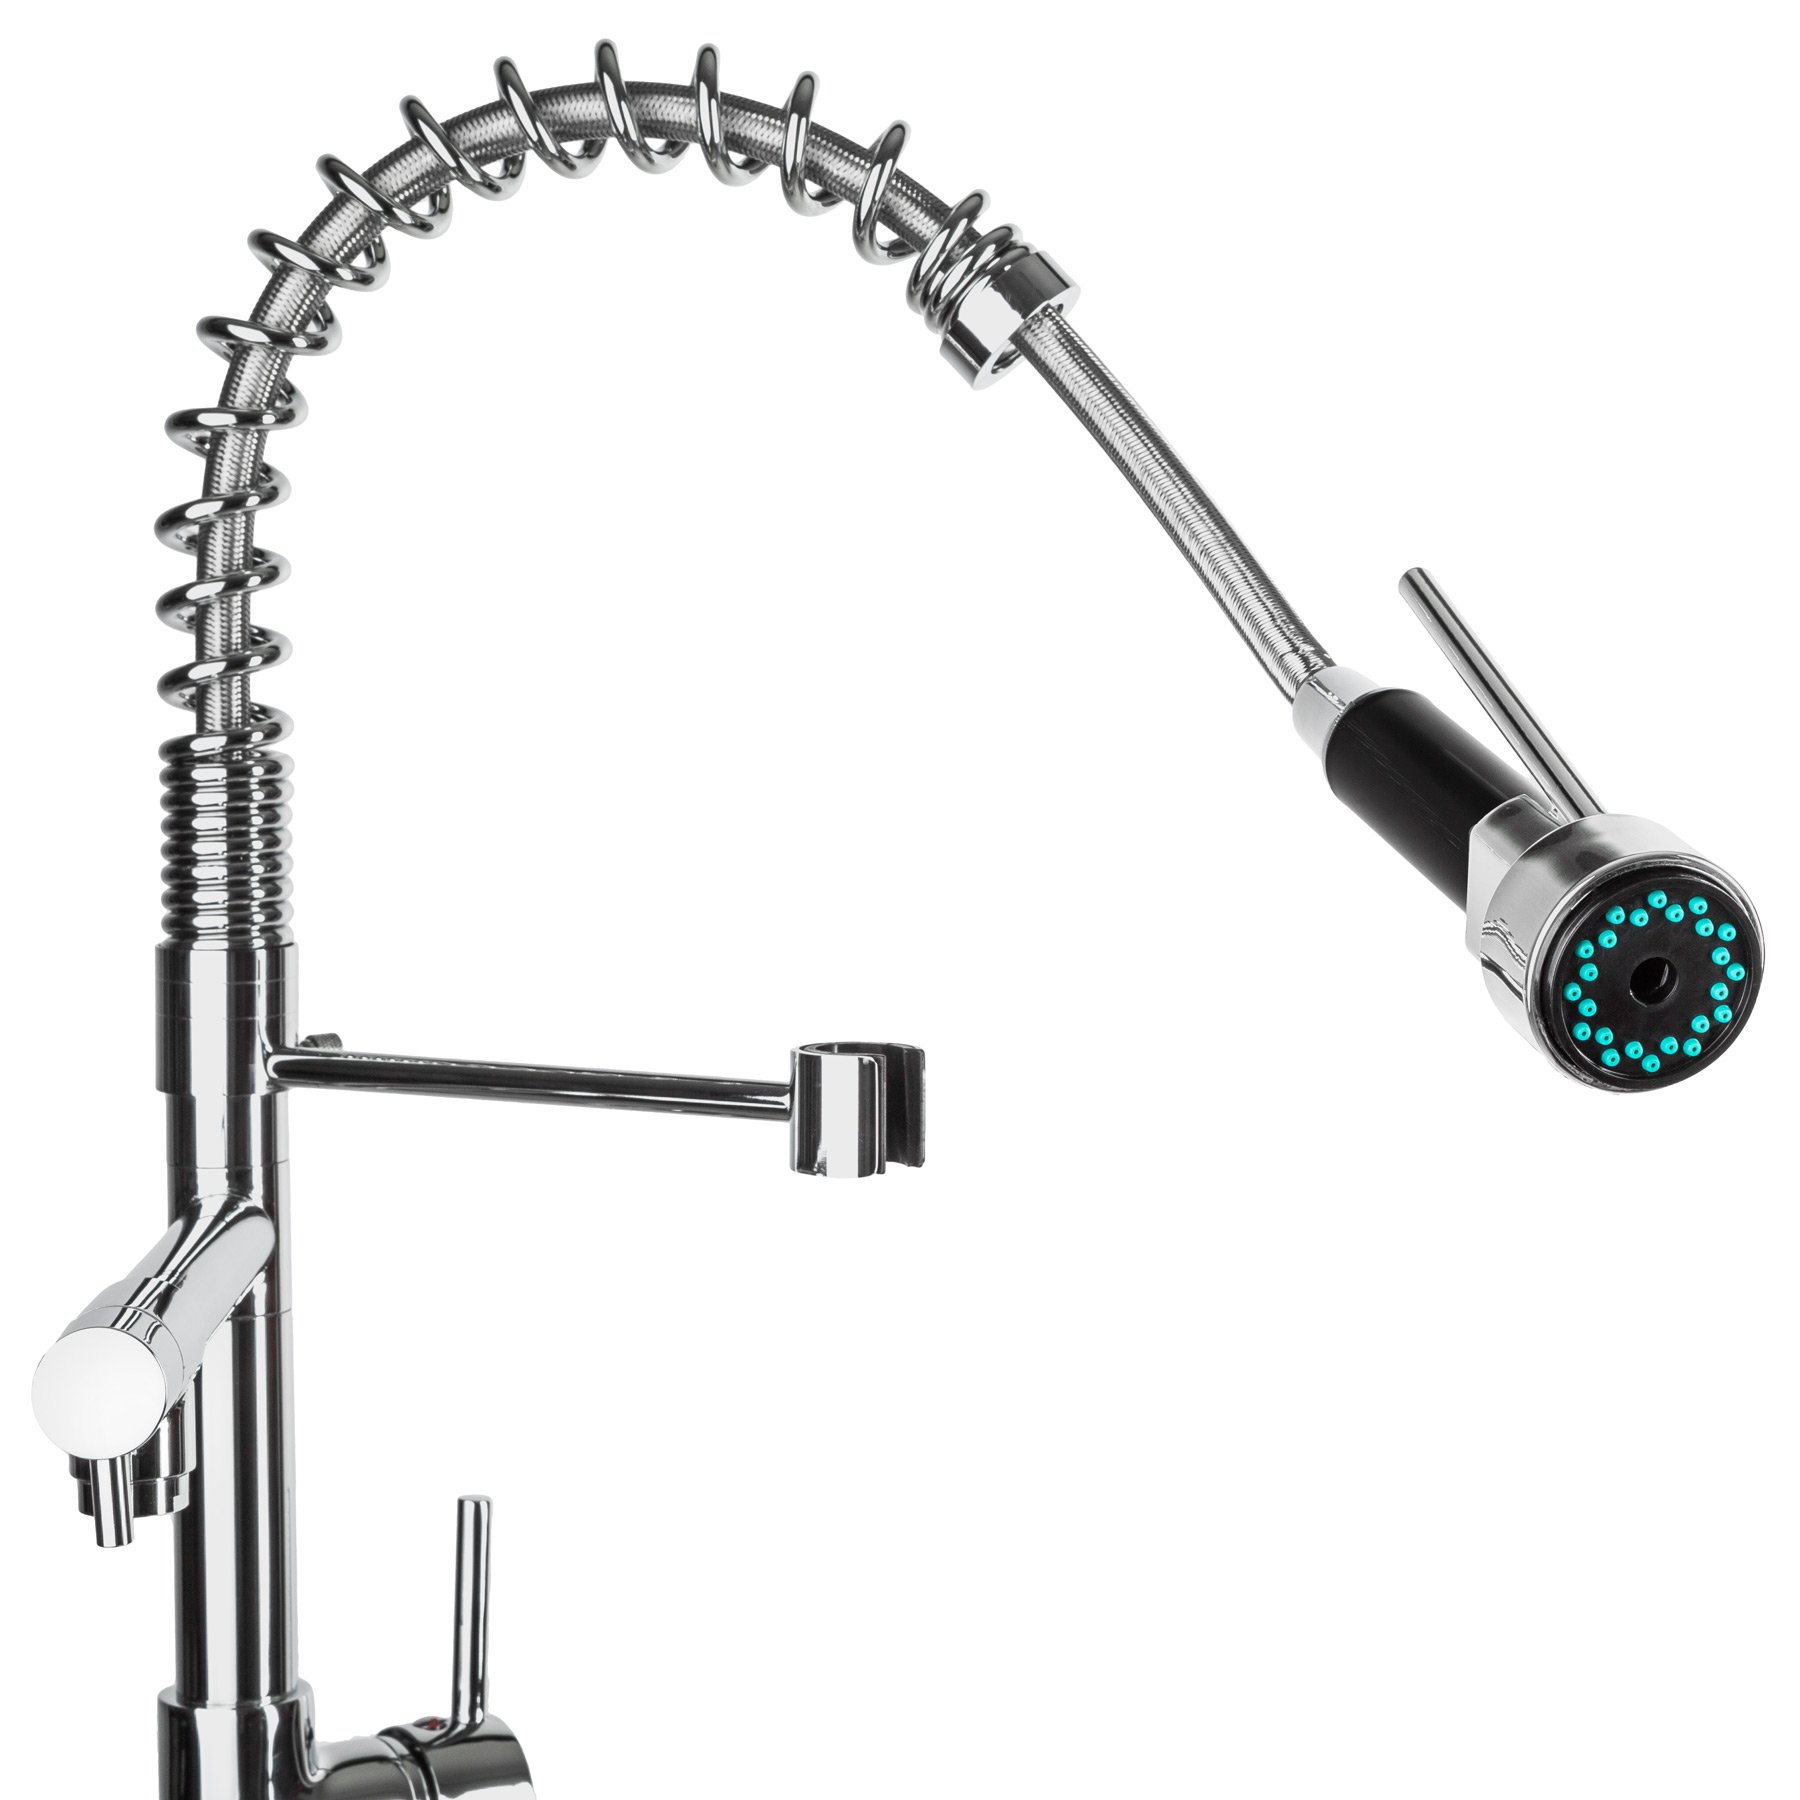
LED
1. Unique designed with patent.
2. Advanced technology makes the light more brighter and more durable.
3. LED device works by the flowing water only, it doesn't need any electronic connection.
4. The product built-in device for mini generating electricity, illuminated by water without battery, the light will go out when the water is turned off
The illuminated color will change according to the water temperature.
1) When water flows down, the LED will light instantly and automatically.
2) When water temperature is ≤ 25° C, Blue color will show automatically.
3) When water temperature is between 26º C - 39º C, Green color will show automatically.
4) When water temperature is above 40º C, Red color will show automatically.
|
|
|
|
|
|
|
|
|
|