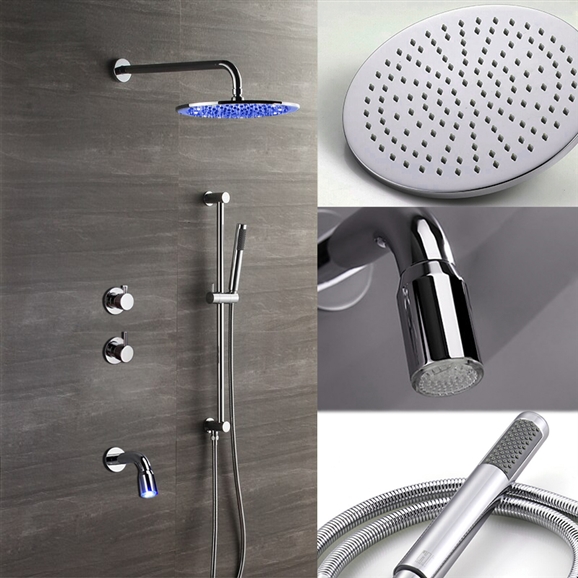
Special Design High Quality LED Shower Set, Brass FinishLights are powered by the water pressure - no electrical wiring needed changes color as temperature change.
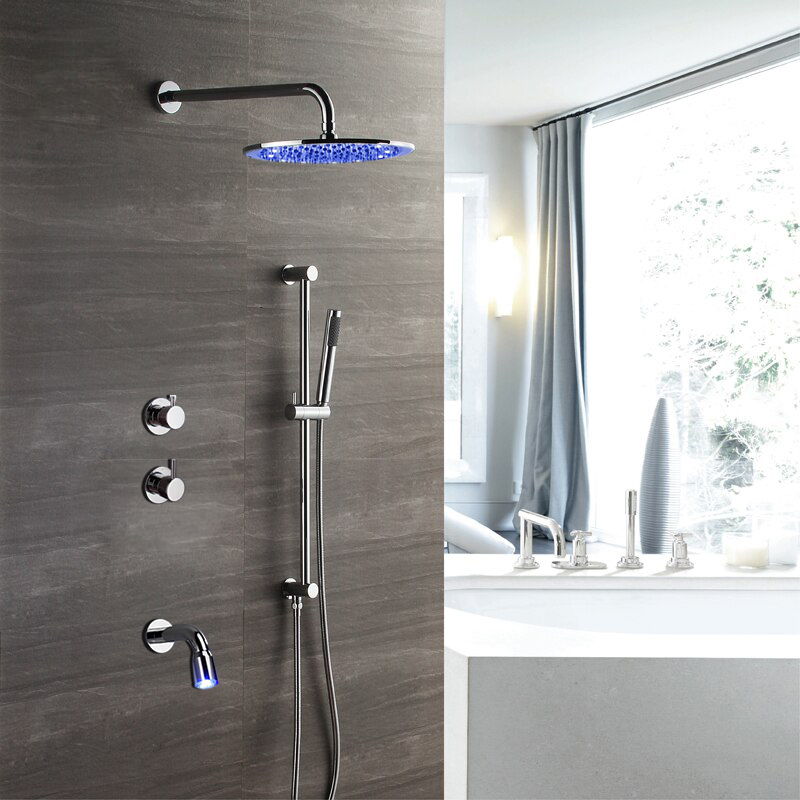 LED Shower HeadLED Handheld Shower & Shower Faucet- Saturating Spray
- Massage Spray
- Bubbling Spray
- Saturating Spray & Massage Spray
- Saturating Spray & Bubbling Spray
- Self-powered by water. No battery nor electricity needed.
- Stainless steel shower hose double hooked Ø0.55"
- Anti-twist brass conical nut & brass hex nut
LED Light 1 Year Warranty / The Rest Lifetime Warranty- The built-in device generating electricity without any battery and no need for any other power.
- Just connect to the water, LED will emit the light.
- When water flows down, the LED will light instantly and automatically as per water temperature.
All Fontana Led Showers change color by detecting water temperature- When water temperature is ≤89 °F (≤32 °C), Green color will show automatically;
- When water temperature is between 97 to 107 °F (36-42 °C), Blue color will show automatically;
- When water temperature is between 109 to 122 °F ( 43-50 °C), Red color will show automatically;
- When water temperature is above 122 °F > (50 °C), Red color will flash immediately.
- The flow rate is 2.5 GPM
Material:- Shower Head: Brass
- Hand Shower: ABS
- Shower Faucet: Brass
Led Color:Blue, Green, Red, Red Flash (According to the water temperature changing BathSelect® Manufacturer Warranty Information
Installation Instructions for LED Shower Set
- Before you begin, please read the installation instructions below. Observe all local building and safety codes.
- Unpack and inspect the product for any shipping damages. If you find damages, do not install.
- Please note all showers must be installed by a professional and certified plumber otherwise warranty might be voided
|
|
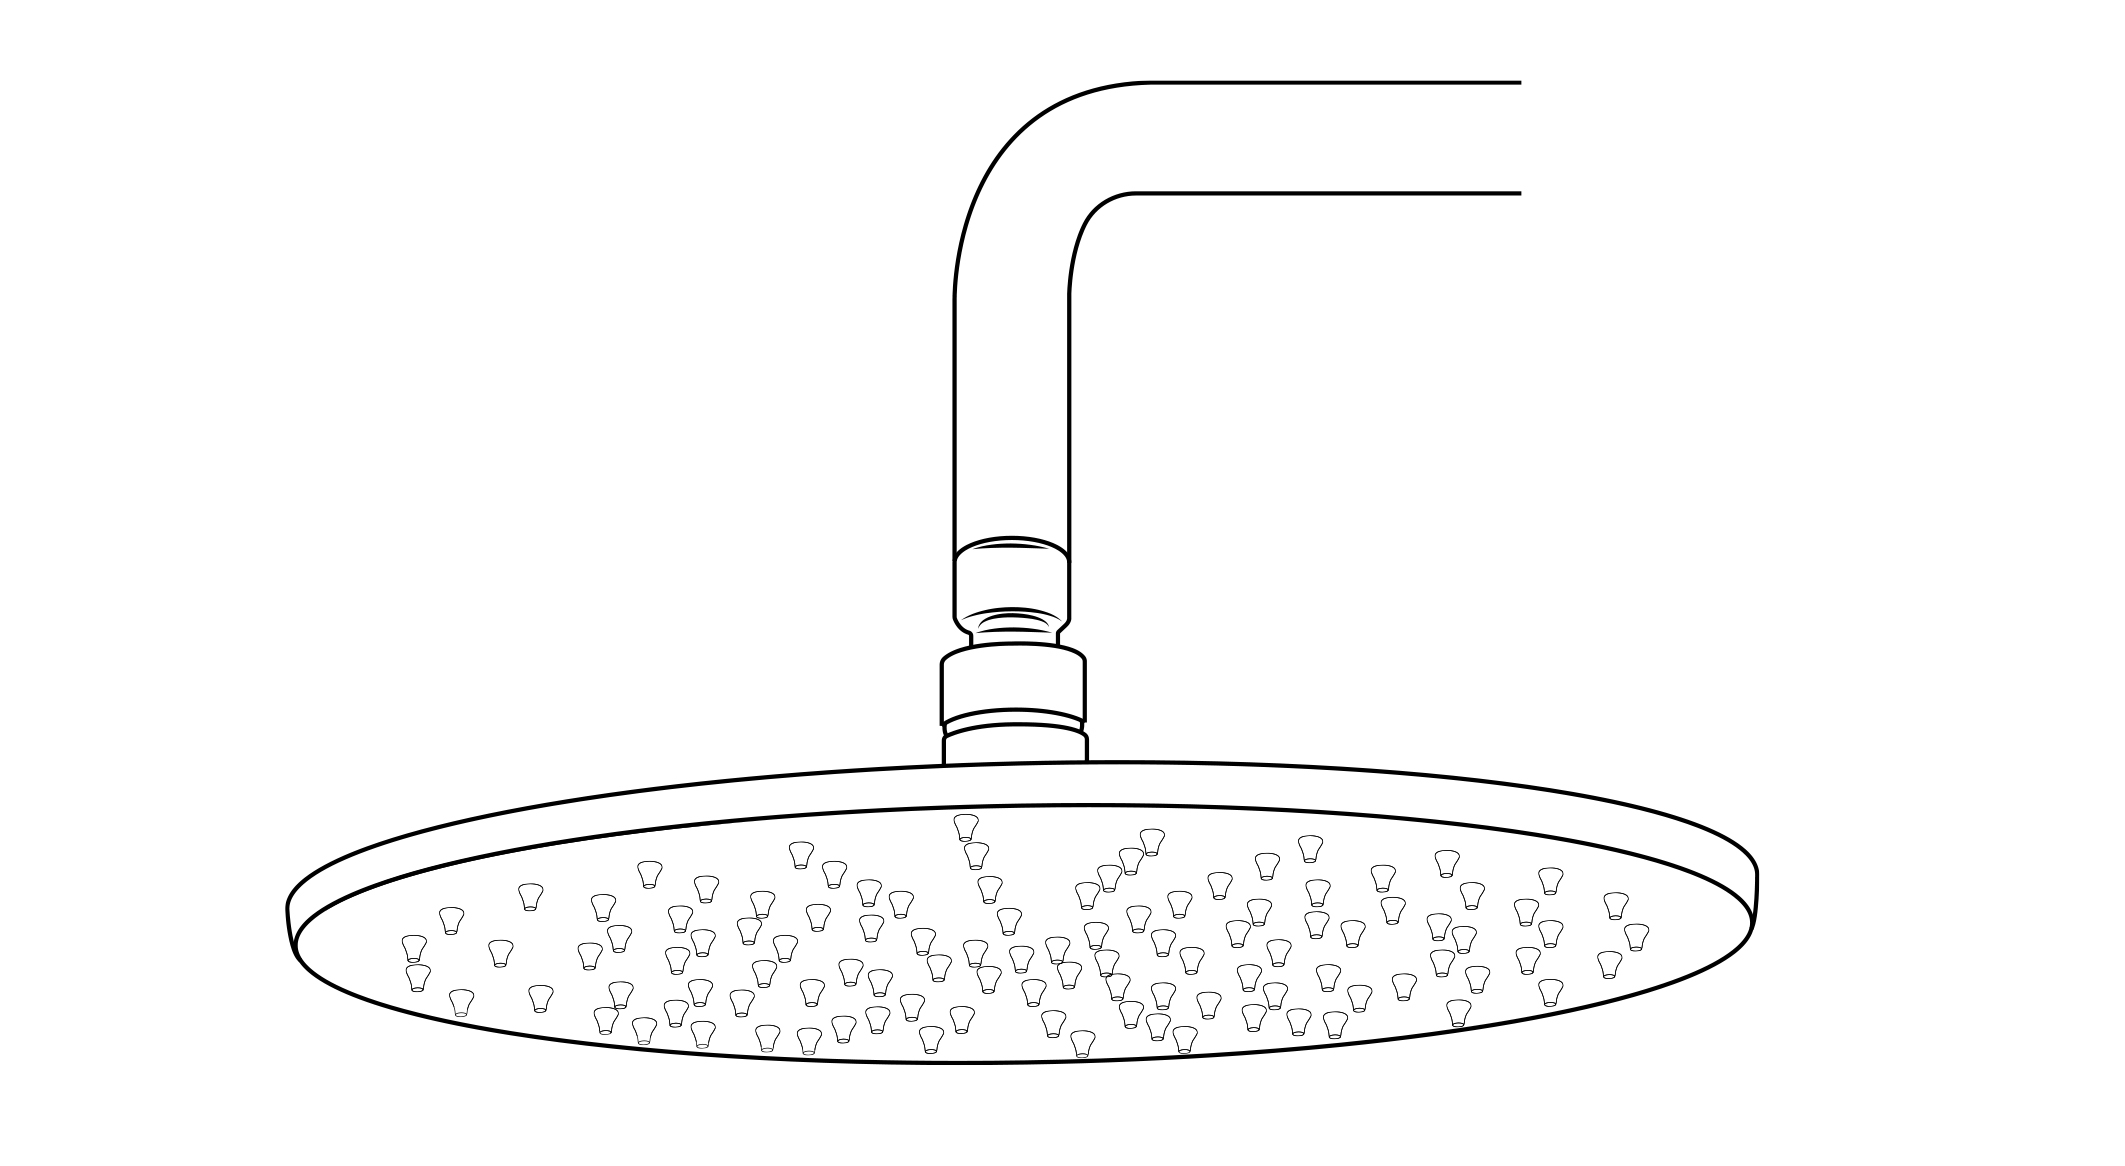
Shower Head Installation Instructions
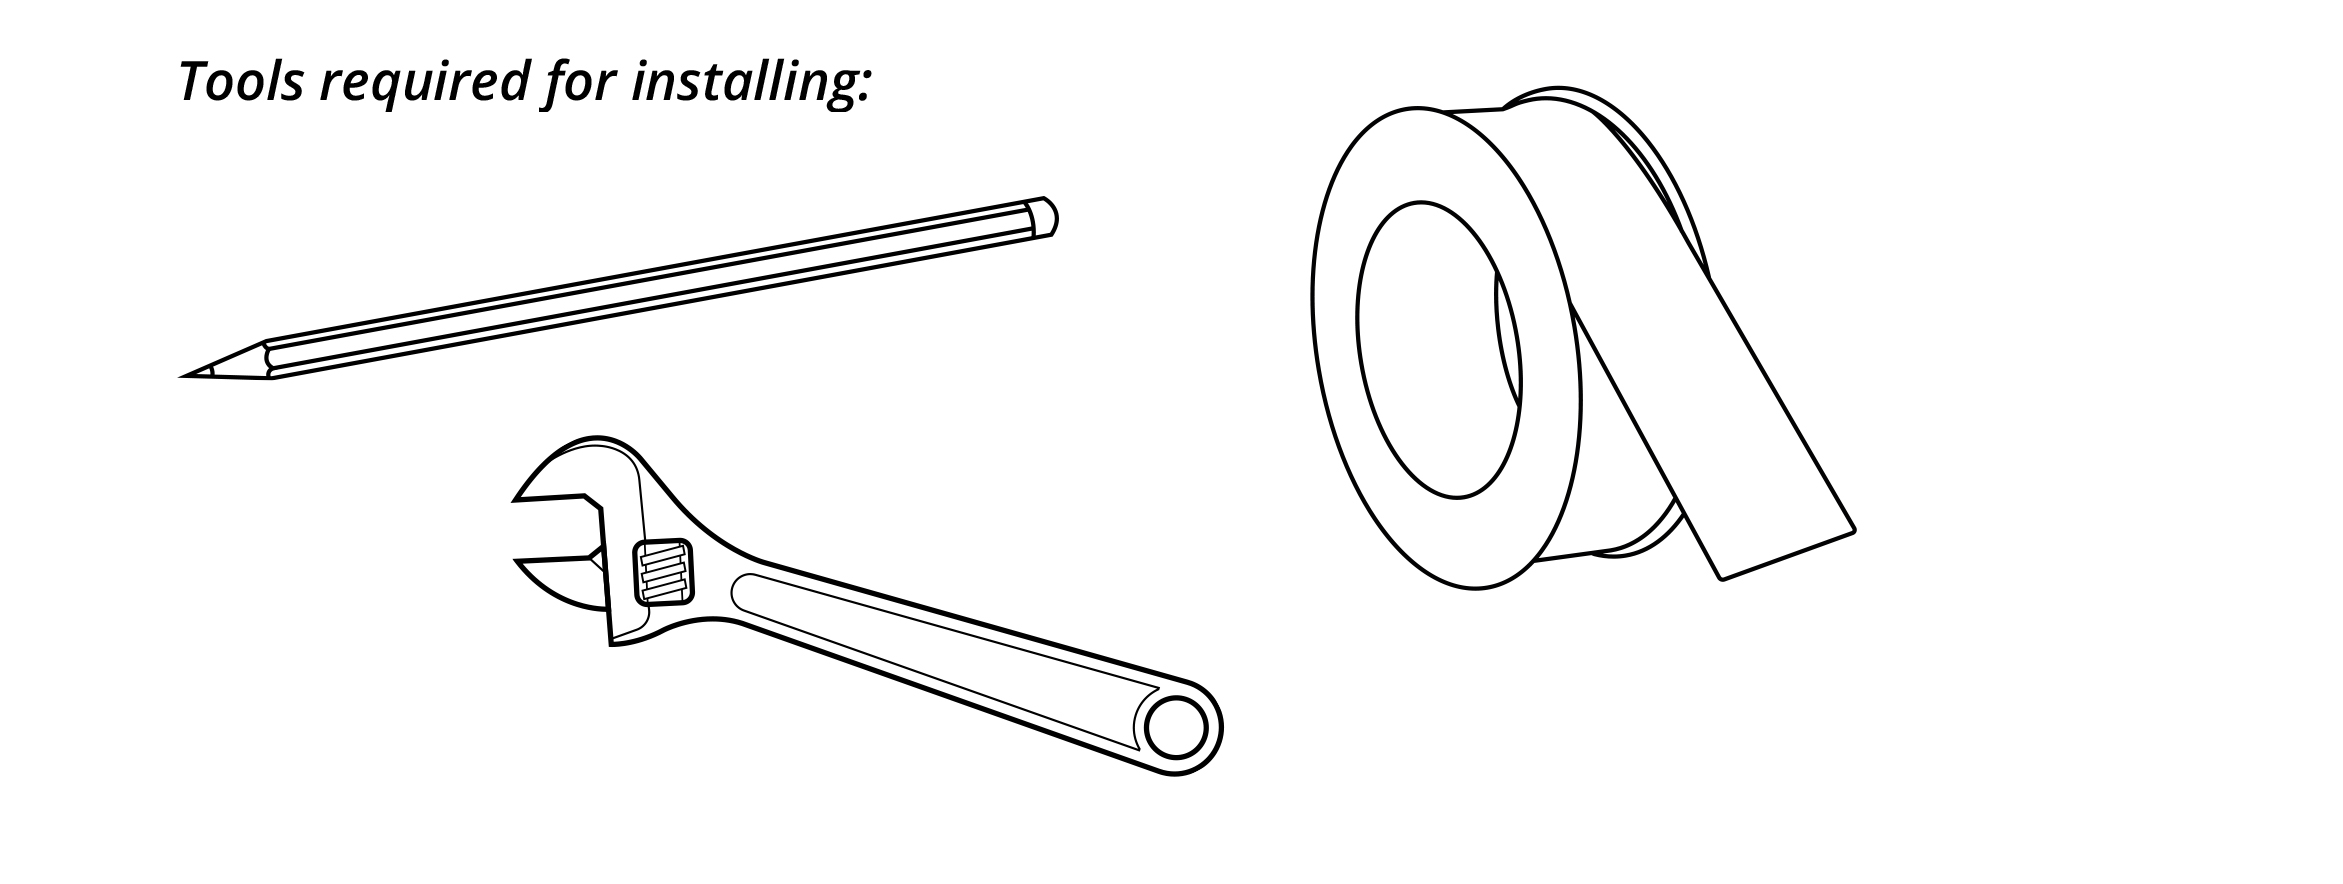
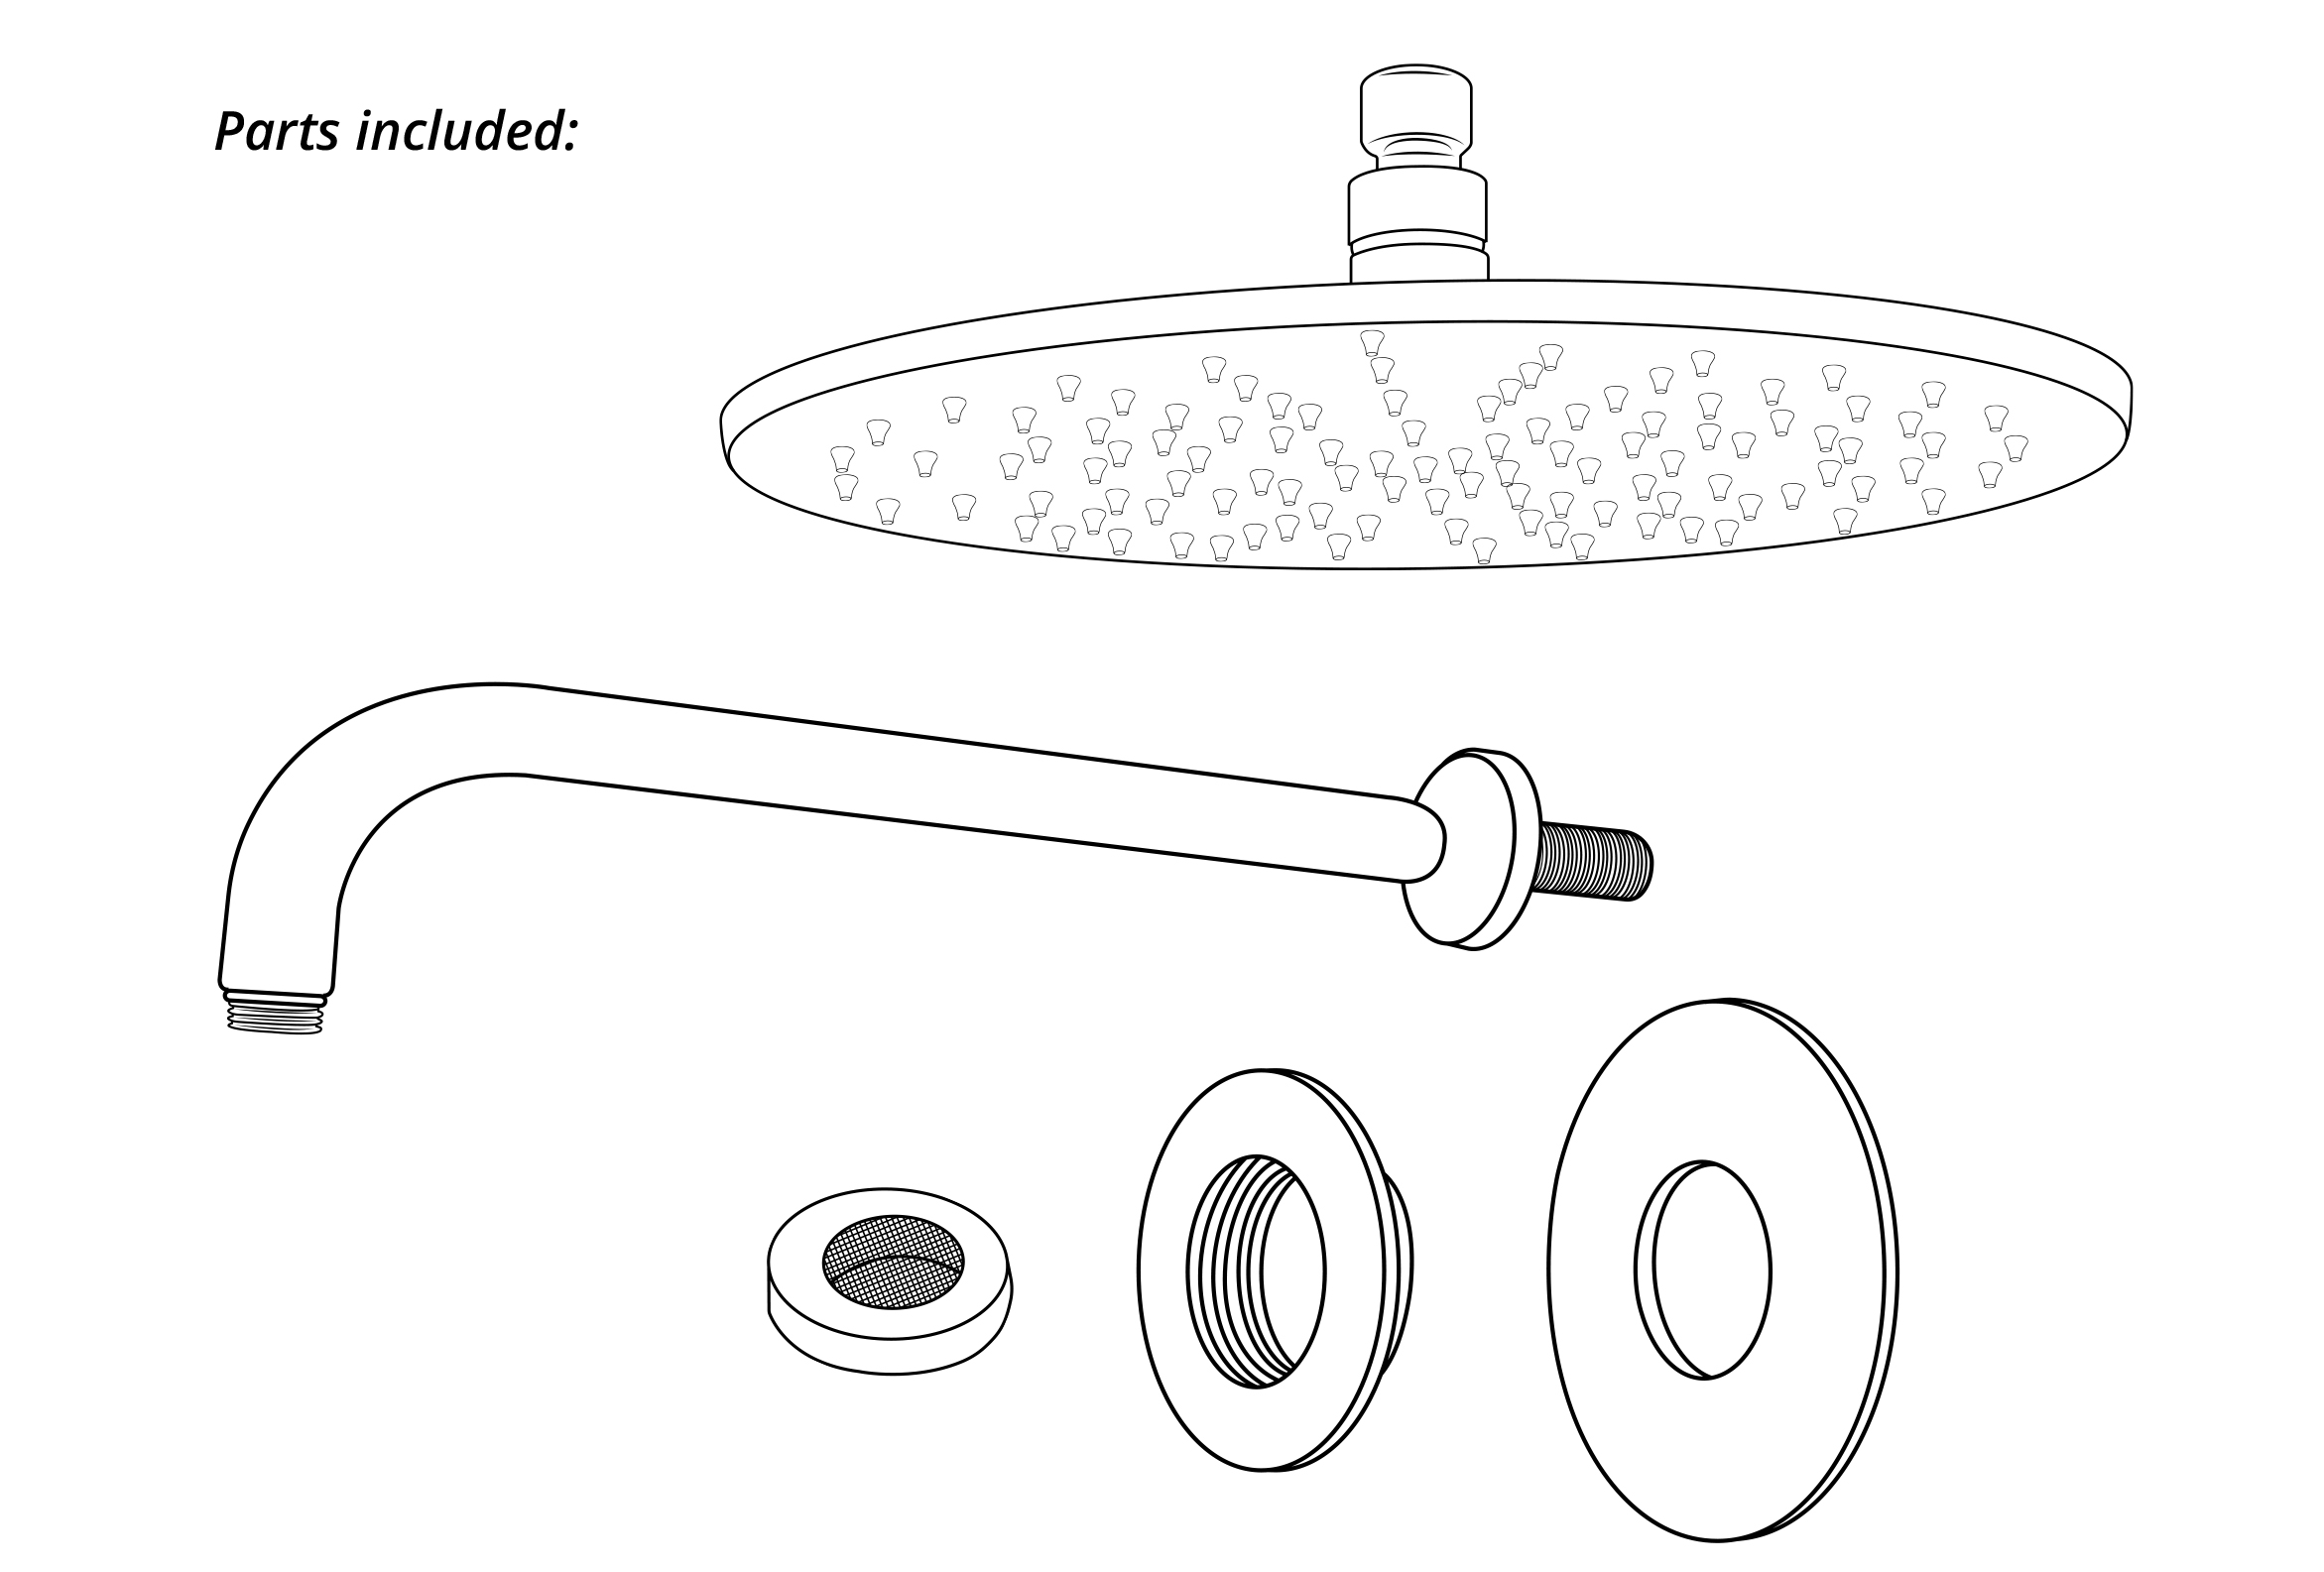
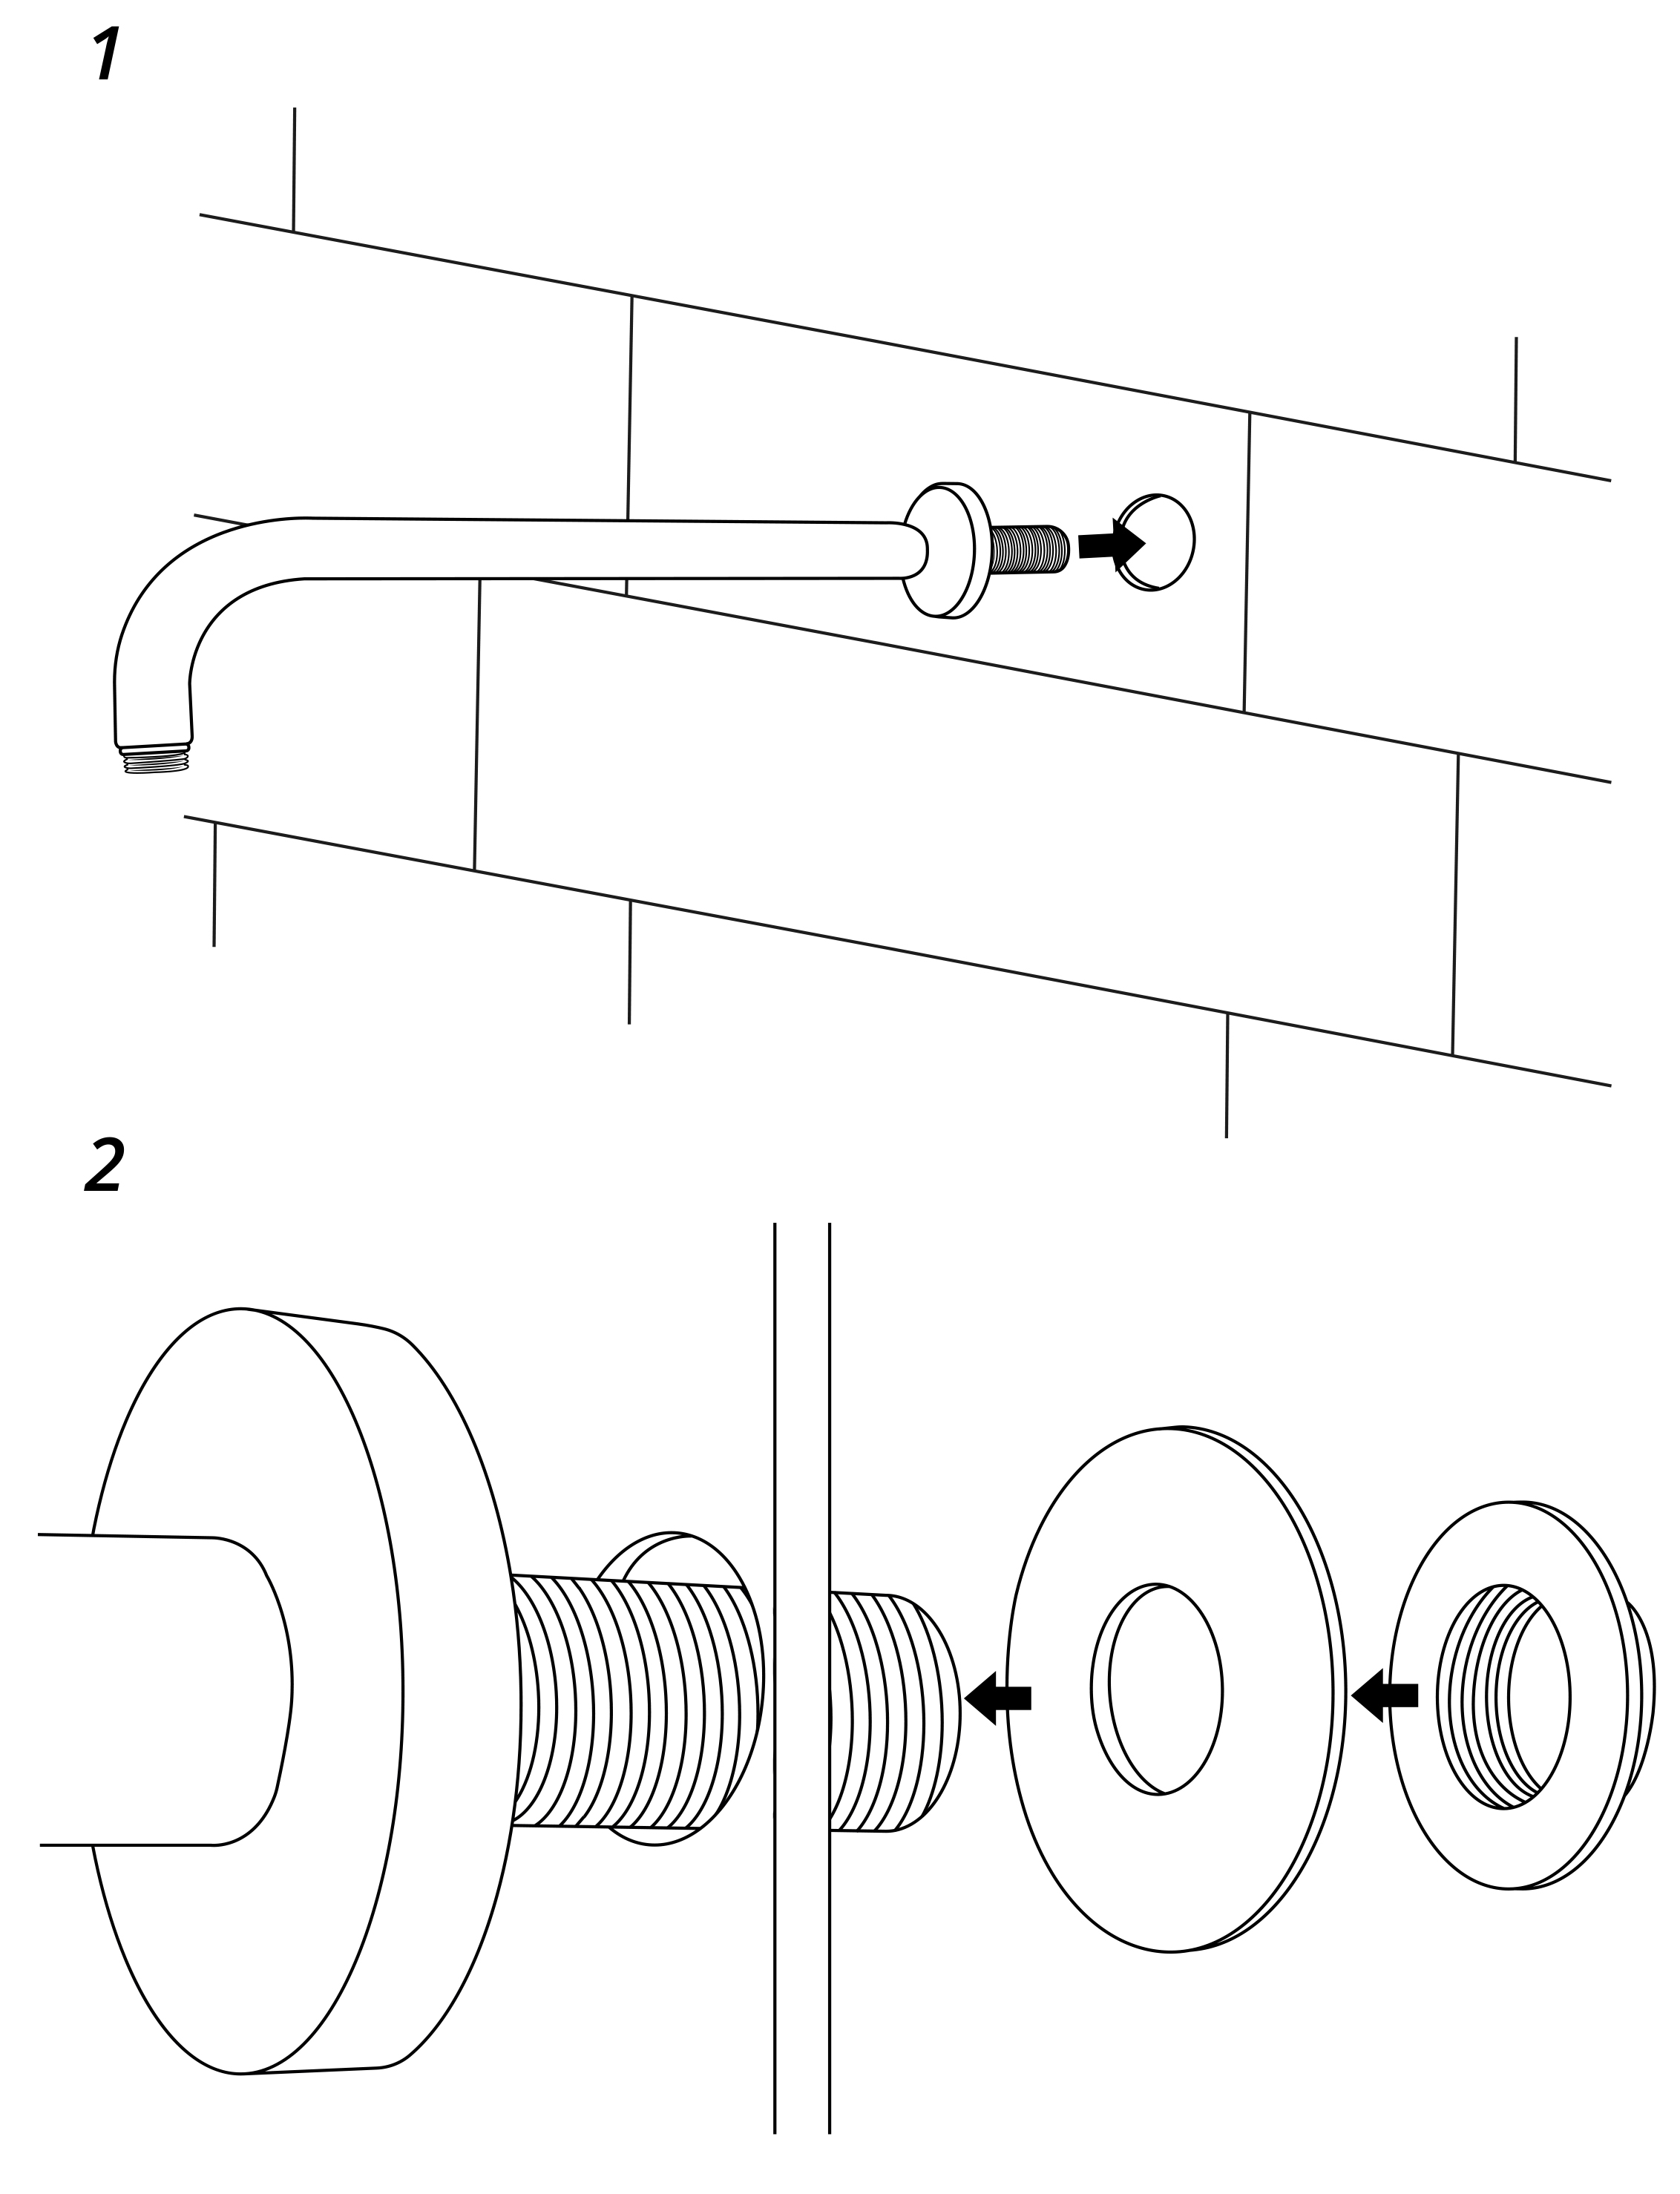
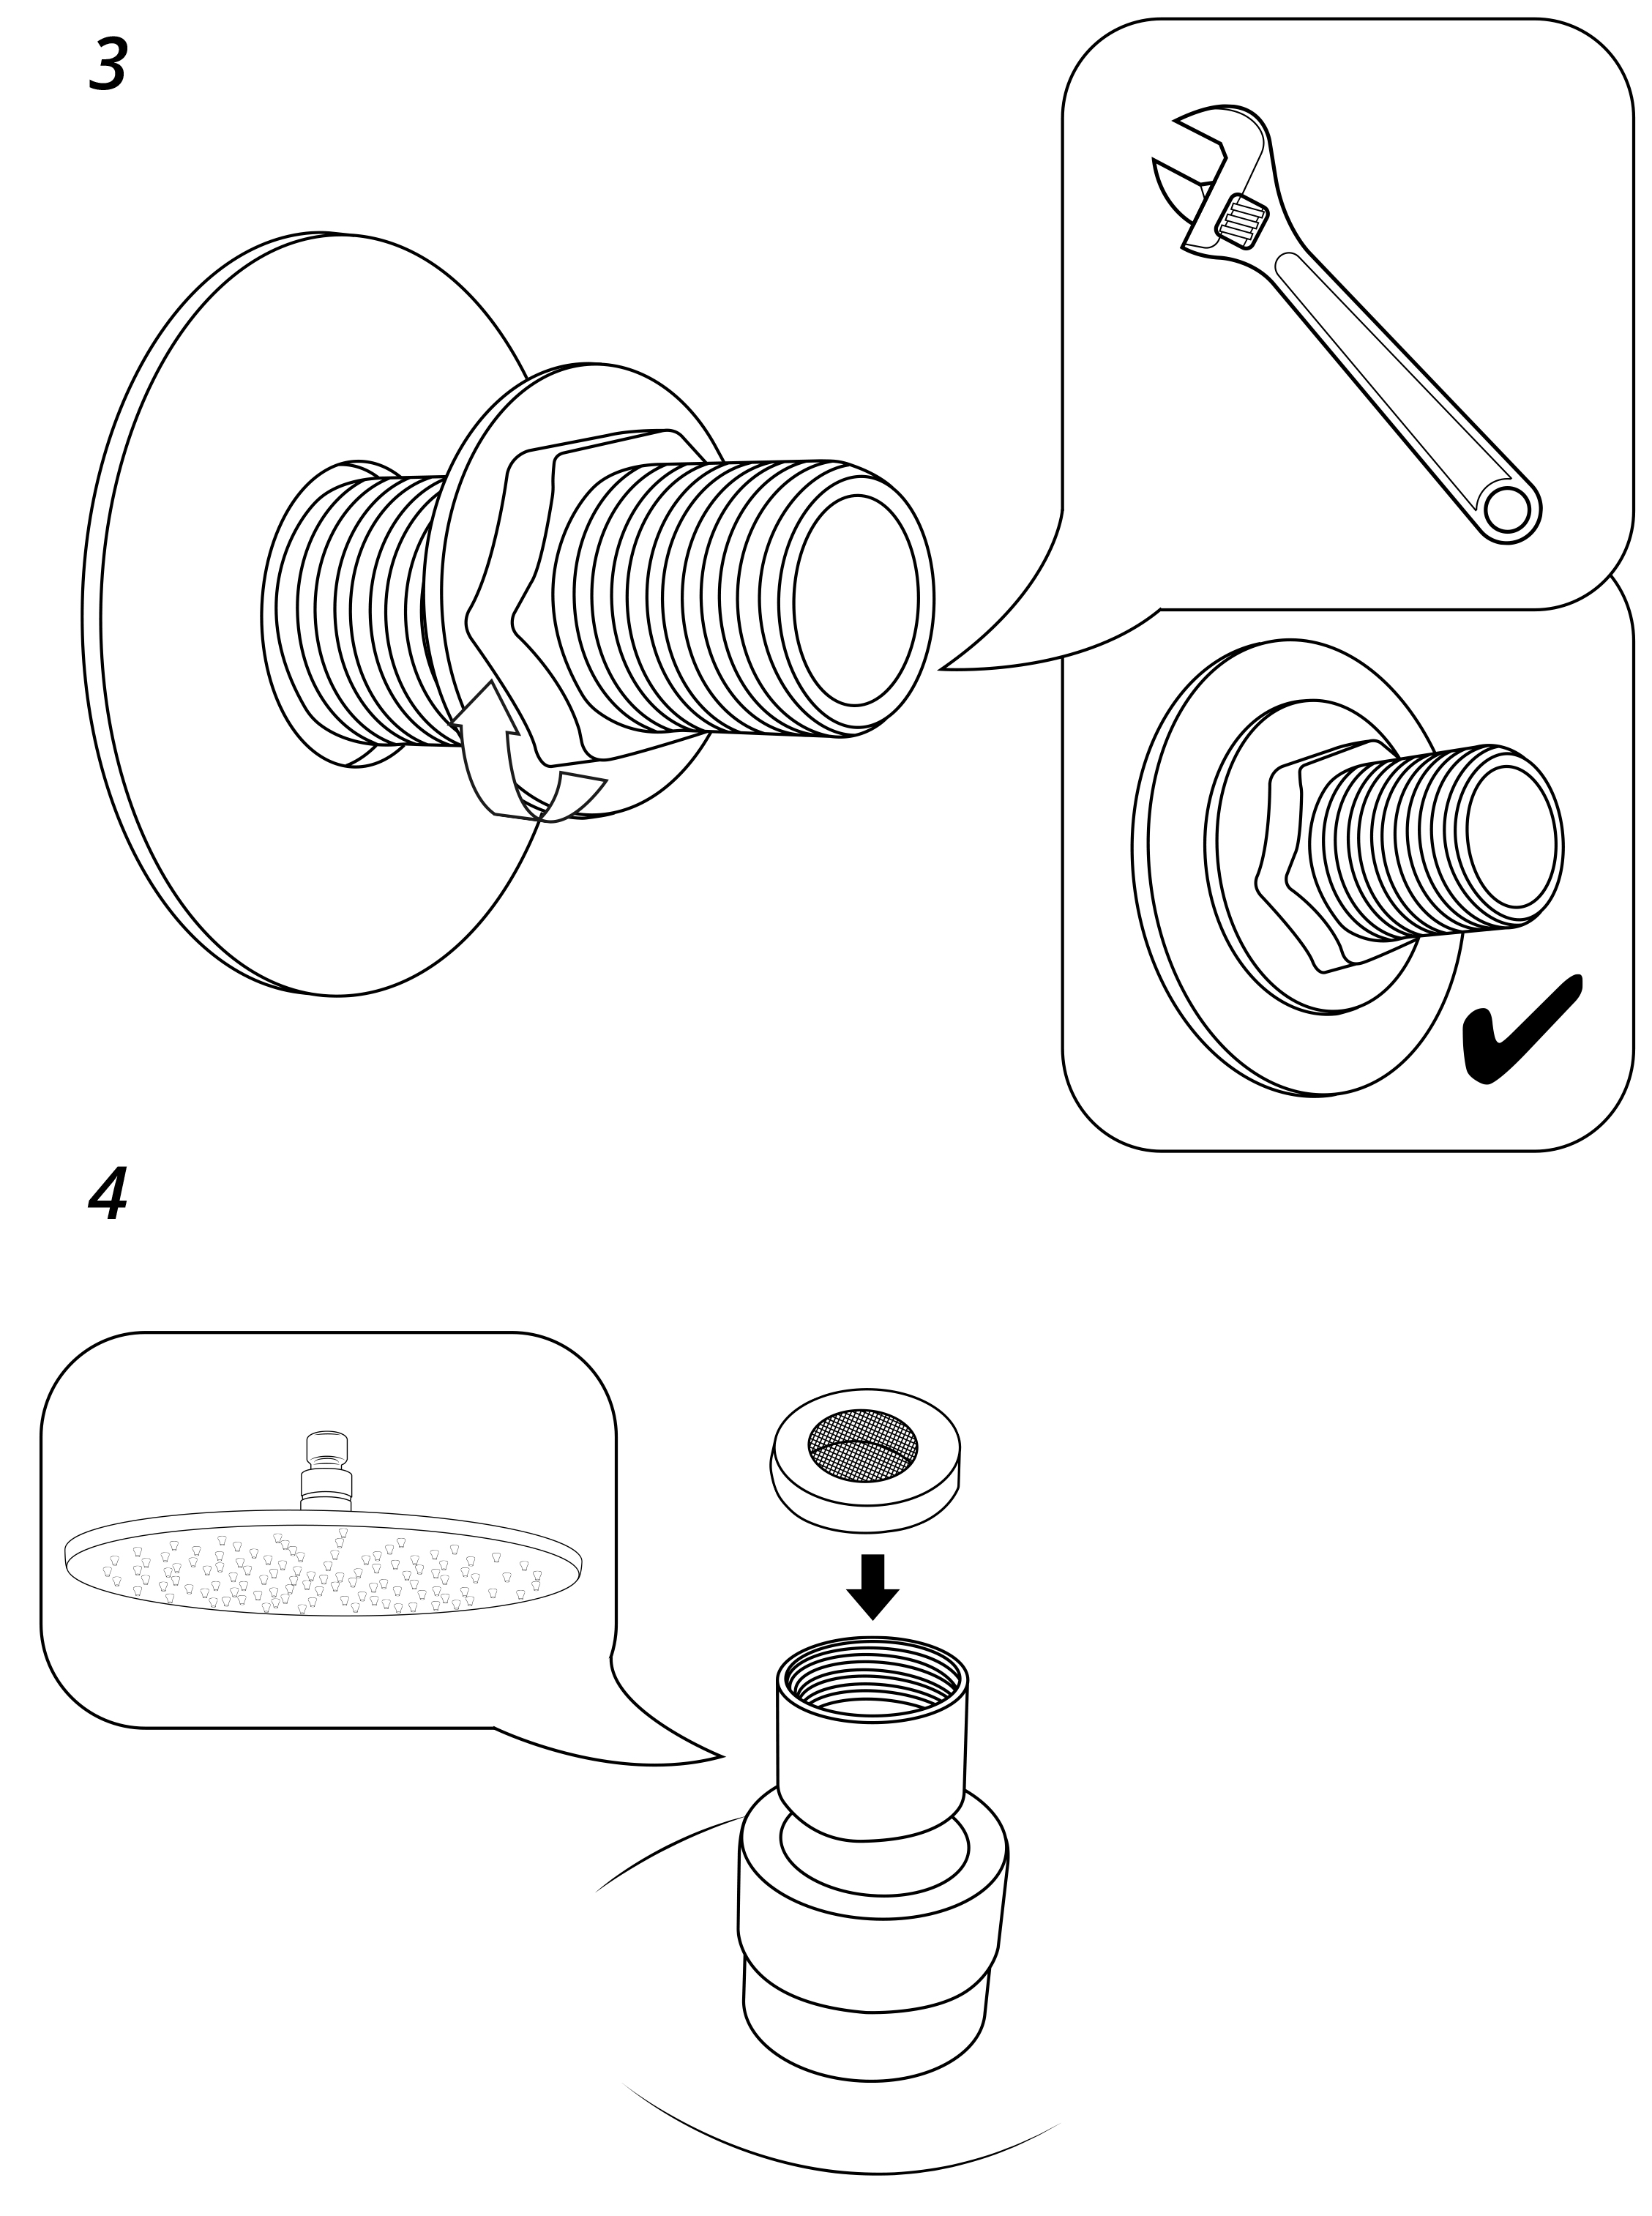
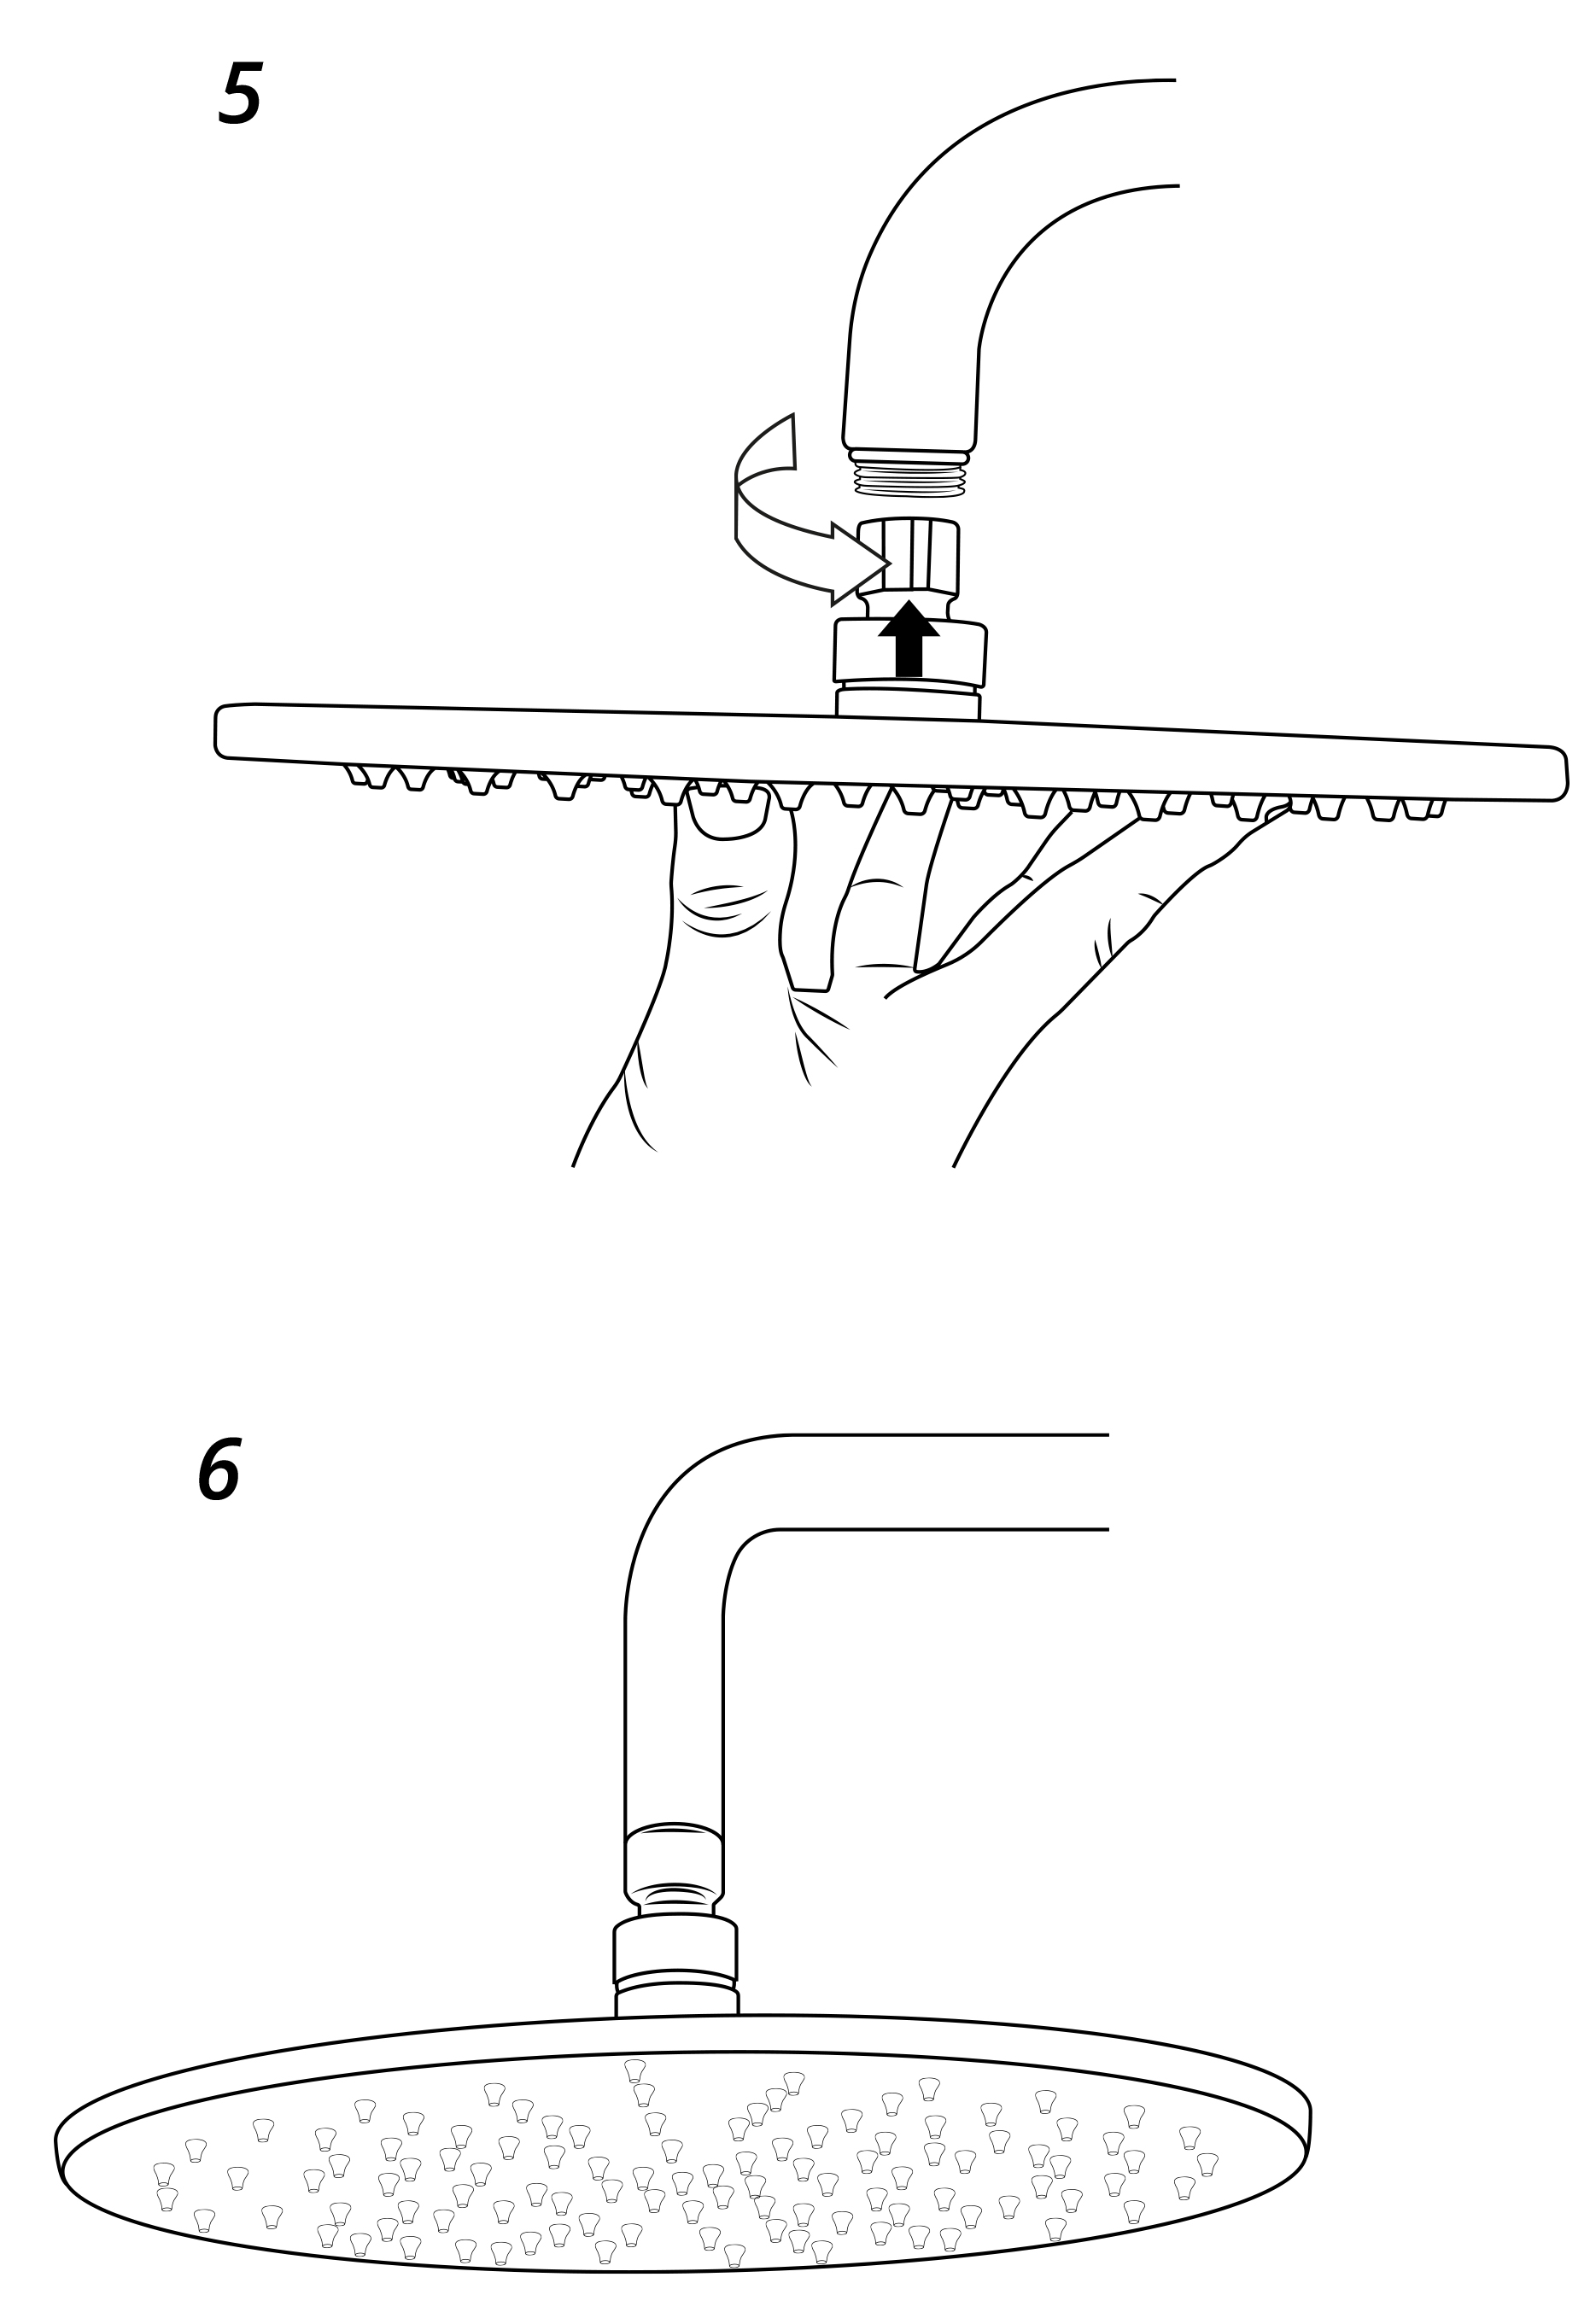
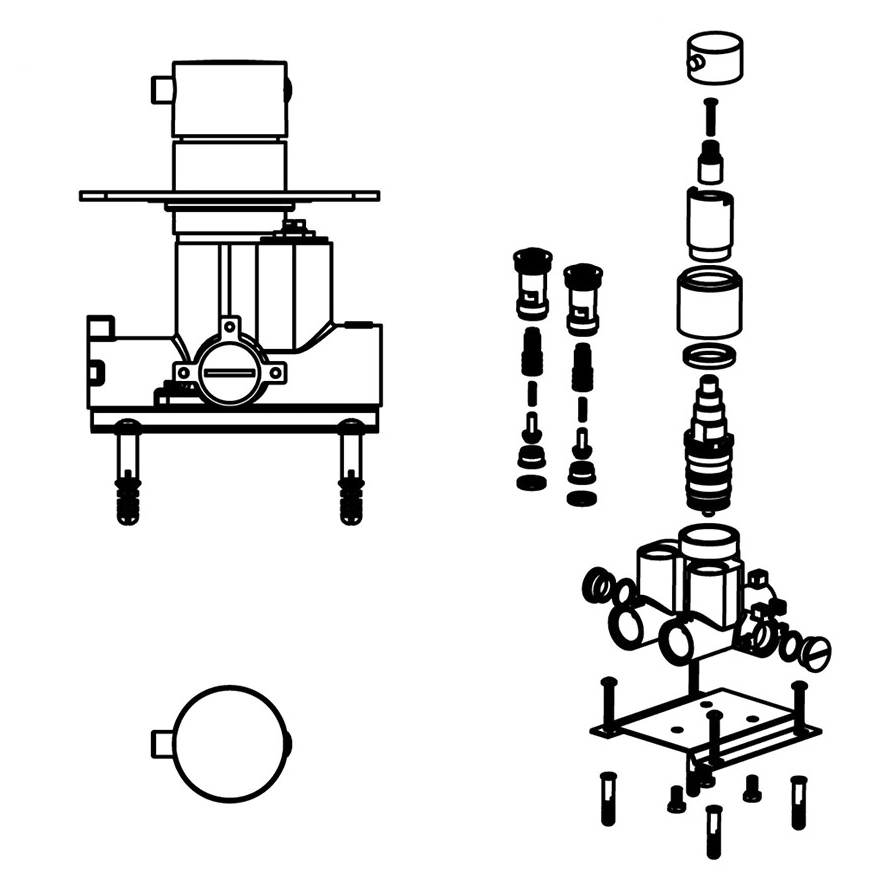
Shower Mixer Installation
Hand-Held Shower Installation
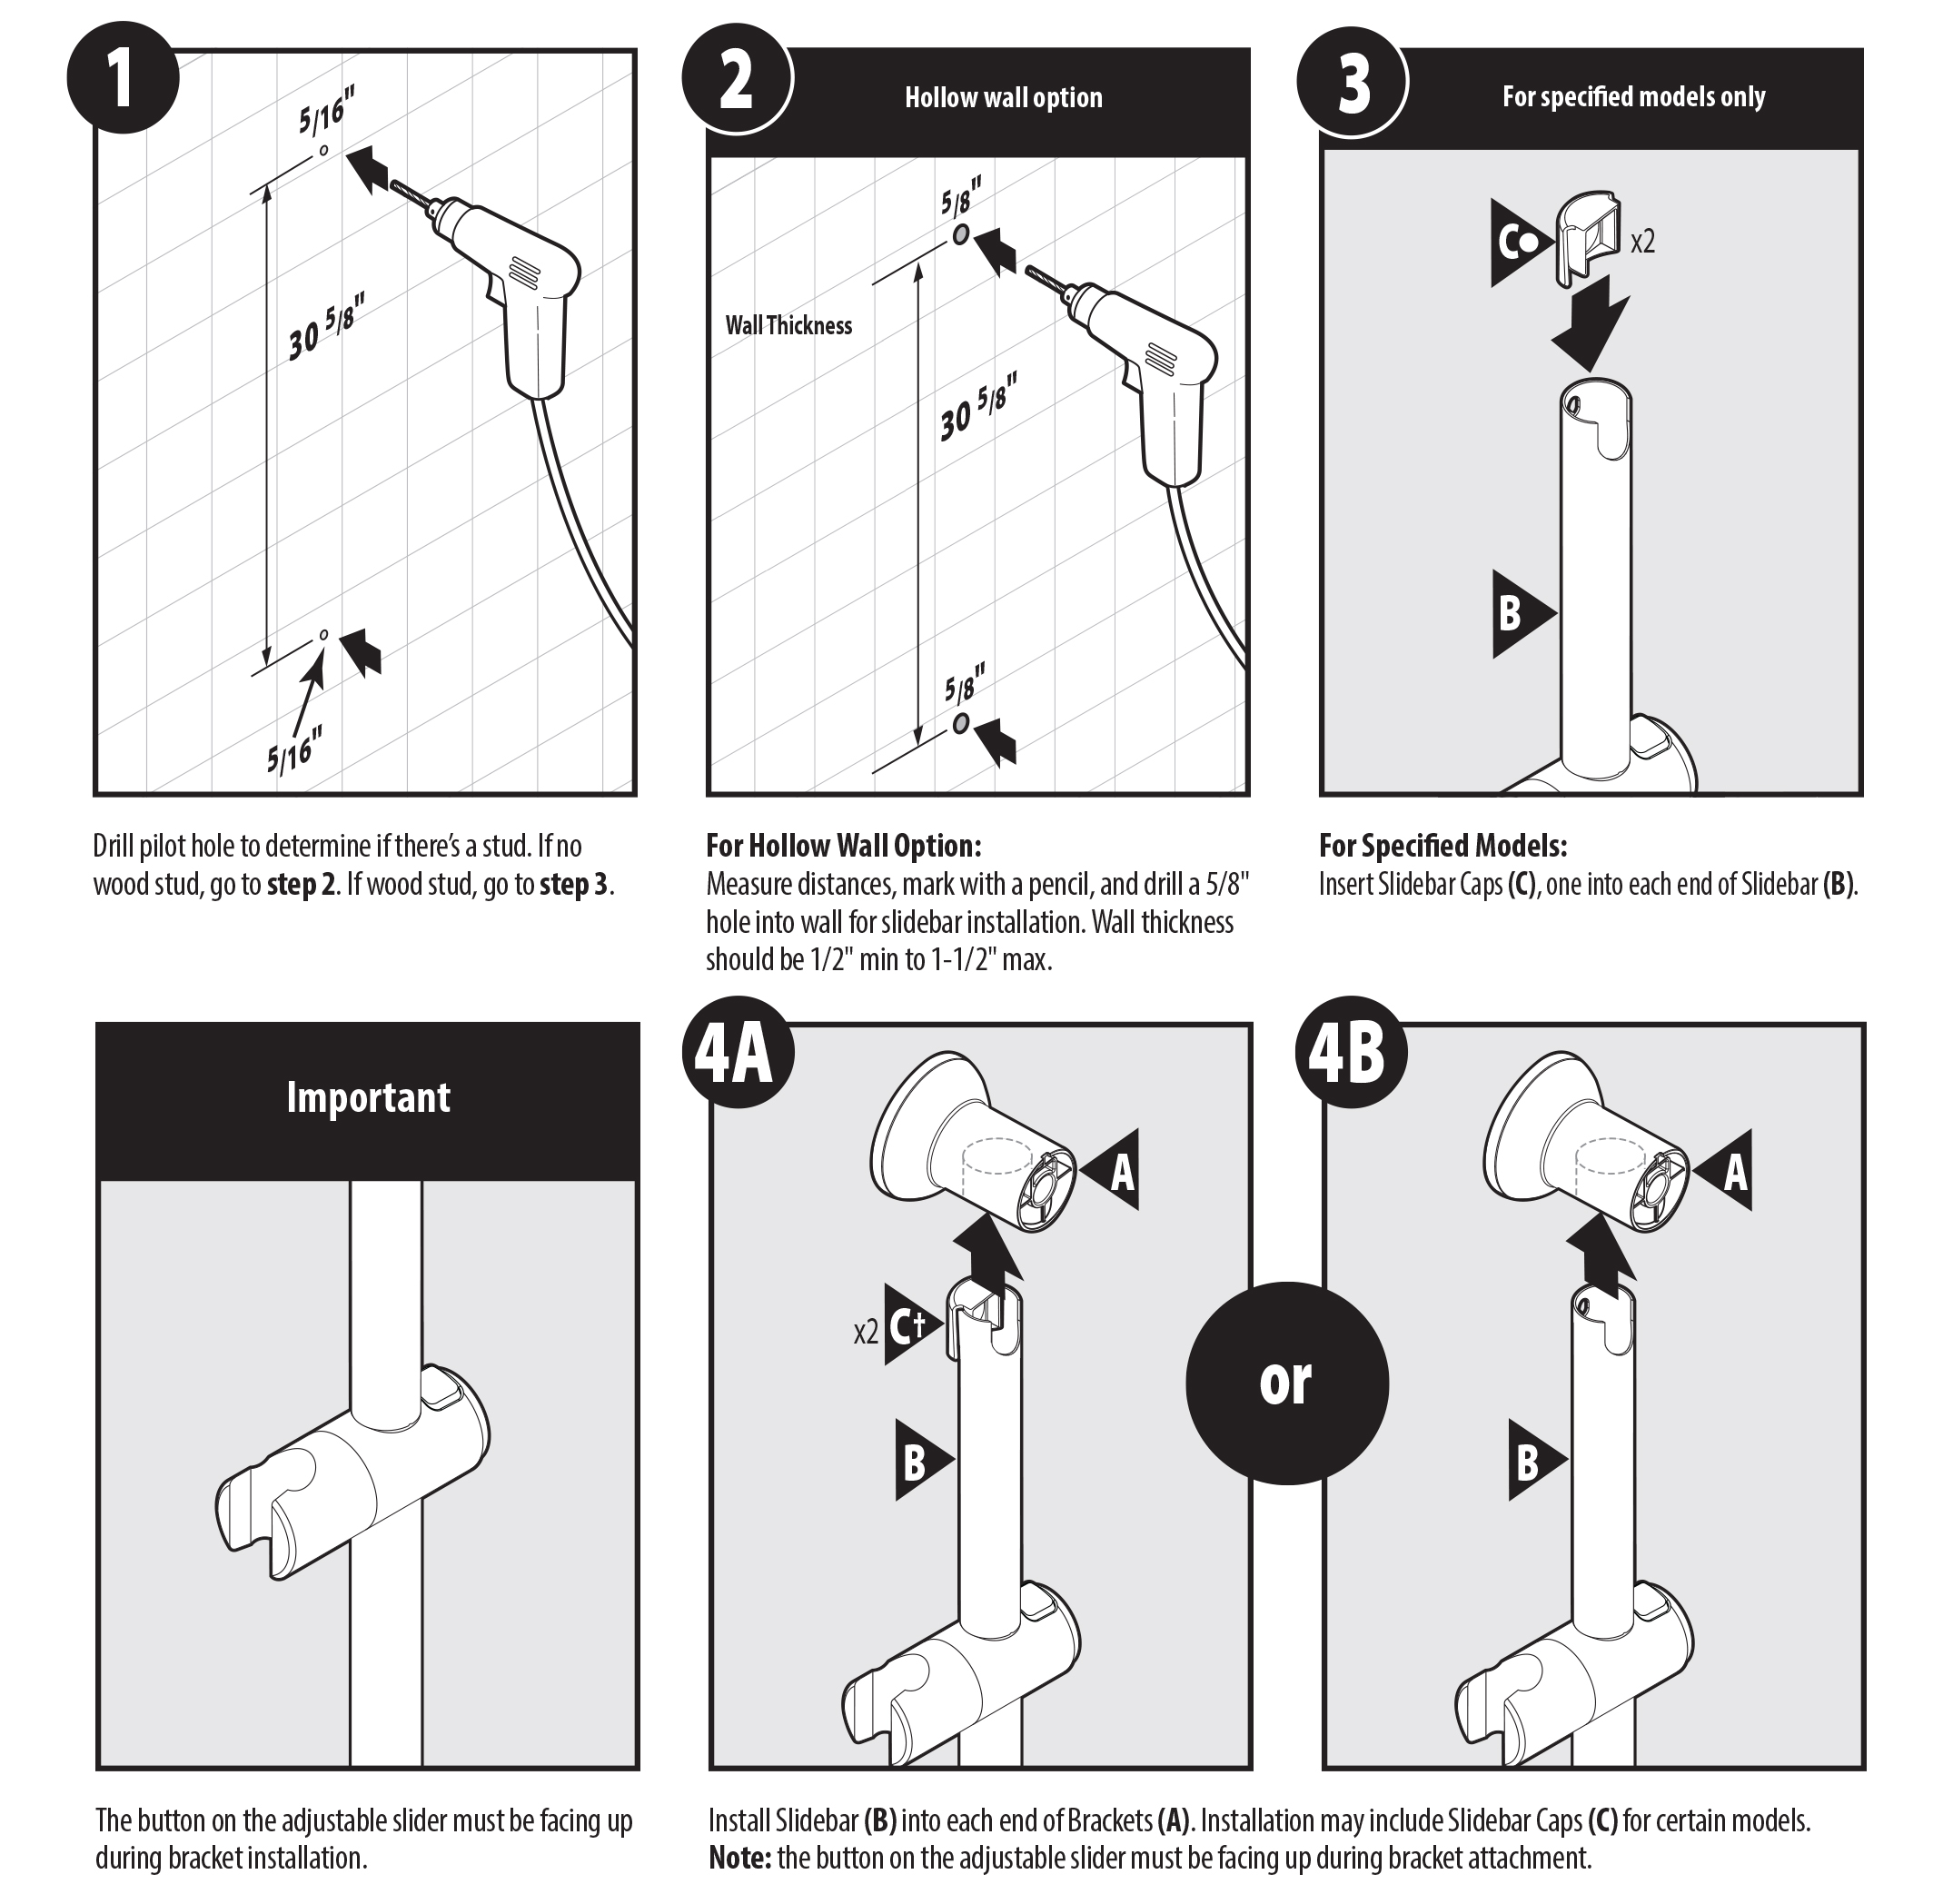 Step 1 - Drill pilot hole to determine if there's a stud. If no wood stud, go to step 2. If wood stud, go to step 3. Step 1 - Drill pilot hole to determine if there's a stud. If no wood stud, go to step 2. If wood stud, go to step 3.
Step 2 - For Hollow Wall Option: Measure distances, mark with a pencil, and drill a 5/8" hole into wall for sidebar installation. Wall thickness should be 1/2" min to 1-1/2" max.
Step 3 - For Specified Models: Insert Sidebar Caps (C), one into each end of Sidebar (B).
Important - The button on the adjustable slider must be facing up during bracket installation.
Step 4 - Install Sidebar (B) into each end of Brackets (A). Installation may include Sidebar Caps (C) for certain models.
Note: the button on the adjustable slider must be facing up during bracket attachment.
Step 5 - For Hollow Wall Install Option: Thread Bracket Screw (E) into Bracket (A) and into Bracket Toggle (D). Pinch ends of Toggle to fit into wall opening. Toggle should then expand.
Step 5B - For Wood Screw Install Option: Insert Wood Screw (G) through Bracket (A) into wood stud.
Step 6A - For Hollow Wall Option: Hold Bracket (A) towards you and tighten Bracket Screws (E) using a flat screwdriver. Go to Step 7.
Step 6B - For Wood Screw Install Option: Finish securing Wood Screws (G) until Bracket (A) is secured to wall. Go to Step 7.
Step 7 - Attach Bracket Caps (F) to Brackets (A), one for each end.
Step 8 -
1. Attach Hand Shower (J) to Hose (I).
2. Secure with an adjustable wrench.
Step 9 -
1. Attach Screen Washer (H) and other end of Hose (I) to Drop ell* (not included).
2. Tighten Hose to Drop ell with an adjustable wrench.
Installation complete.
.
|