Installation Instructions for Stainless Steel Multi Color Water Powered Led Shower
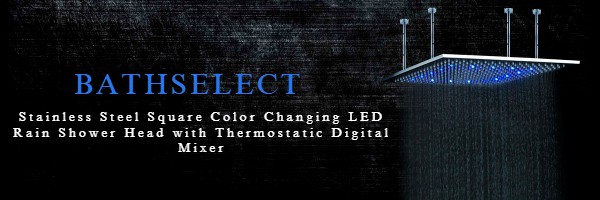
20 Inch Stainless Steel Square Color Changing LED Rain Shower Head with Thermostatic Digital Mixer
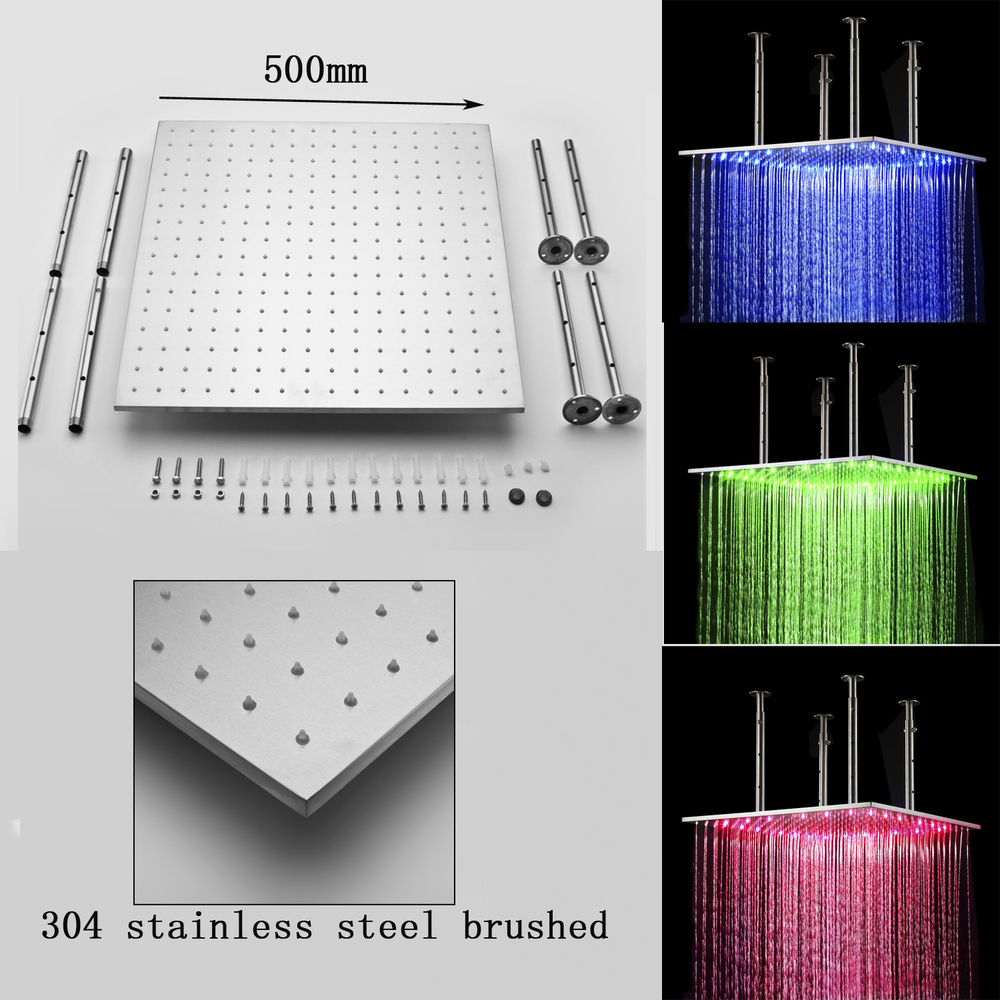
With this ceiling mount Led rain shower head, you can turn on the fun in your shower just by turning on the water, the LED lights will automatically light up and set the mood. They will even change colors automatically based on the water temperature. All this with no batteries, everything is self-powered by a built-in dynamo that takes advantage of the water pressure to create the energy to light the bulbs. When water temperature is ≤89 °F (≤32 °C), Green color will show automatically; When water temperature is between 97 to 107 °F (36-42 °C), Blue color will show automatically; When water temperature is between 109 to 122 °F (43-50 °C), Red color will show automatically; When water temperature is above 122 °F (>50 °C), Red color will flash immediately. This high tech rain shower head digital temperature control valve shower set, you can experience the true feeling of rain relieving fatigue and stress. It is your best choice, a choice to enjoy life.
20" Stainless Steel Multi Color Water Powered Led Shower with Digital Control Features:
|
Brand Name: BathSelect
Model Number: BBD006-1D
Material: Stainless Steel
Finish: Brushed Chrome
Style: Contemporary Rain Showerhead
Showerhead Height (thickness): 0.33"
Showerhead Width: 20"
Showerhead Length: 20"
LED Power Source: Water Flow
LED Color: Blue, Green, Red
Mixer valve: Digital Control Valve
Shower Arm: 4 arms included
|
|
BathSelect® Manufacturer Warranty Information
Before you begin, please read the installation instructions below. Observe all local building and safety codes.
- Unpack and inspect the product for any shipping damages. If you find damages, do not install.
- Please note all showers must be installed by a professional and certified plumber otherwise warranty might be voided
|
|
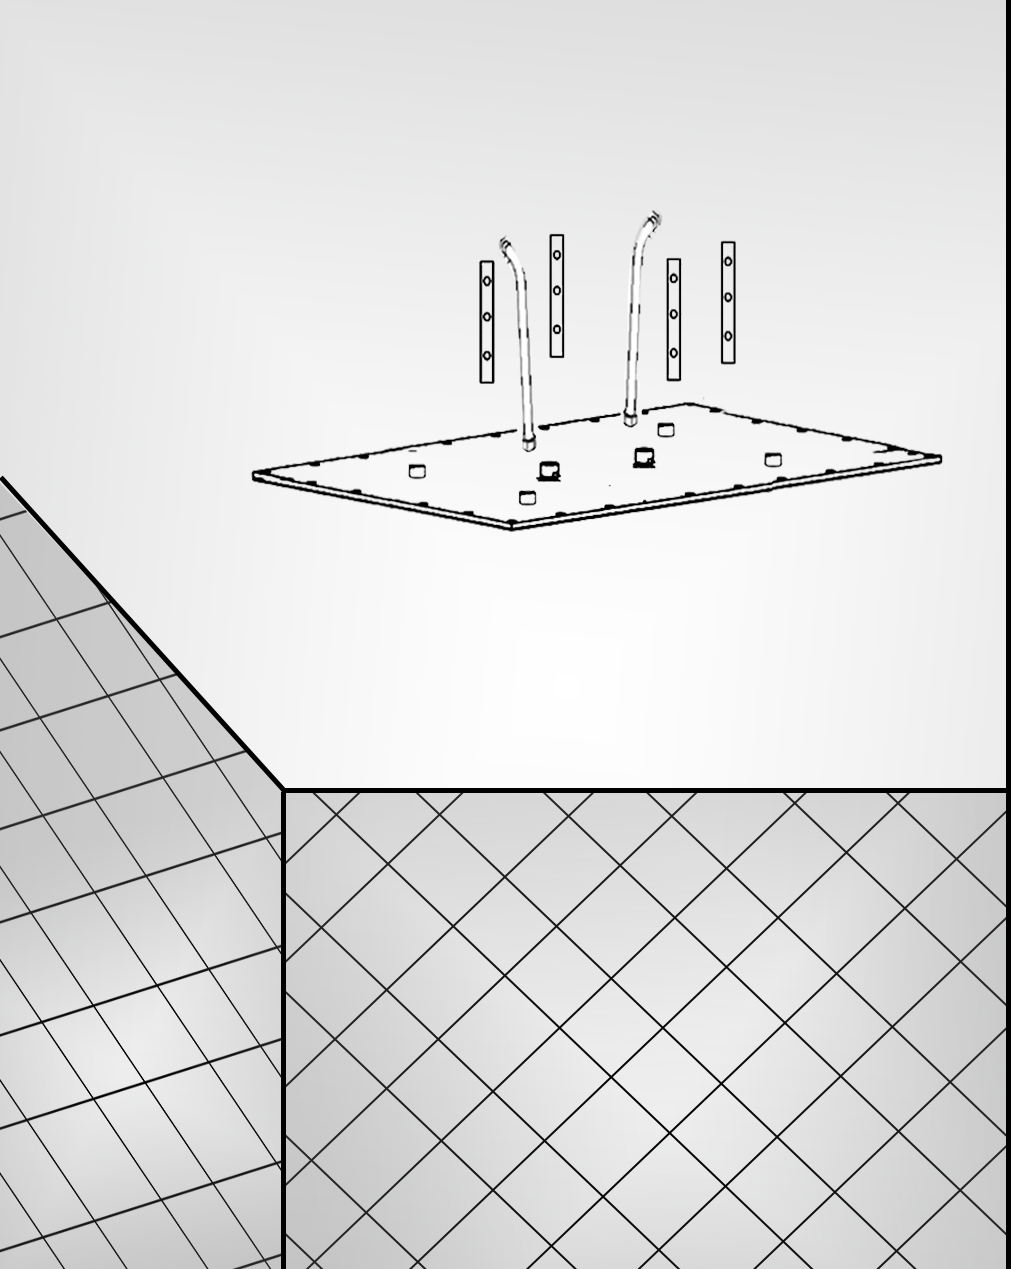
Head Shower Installation
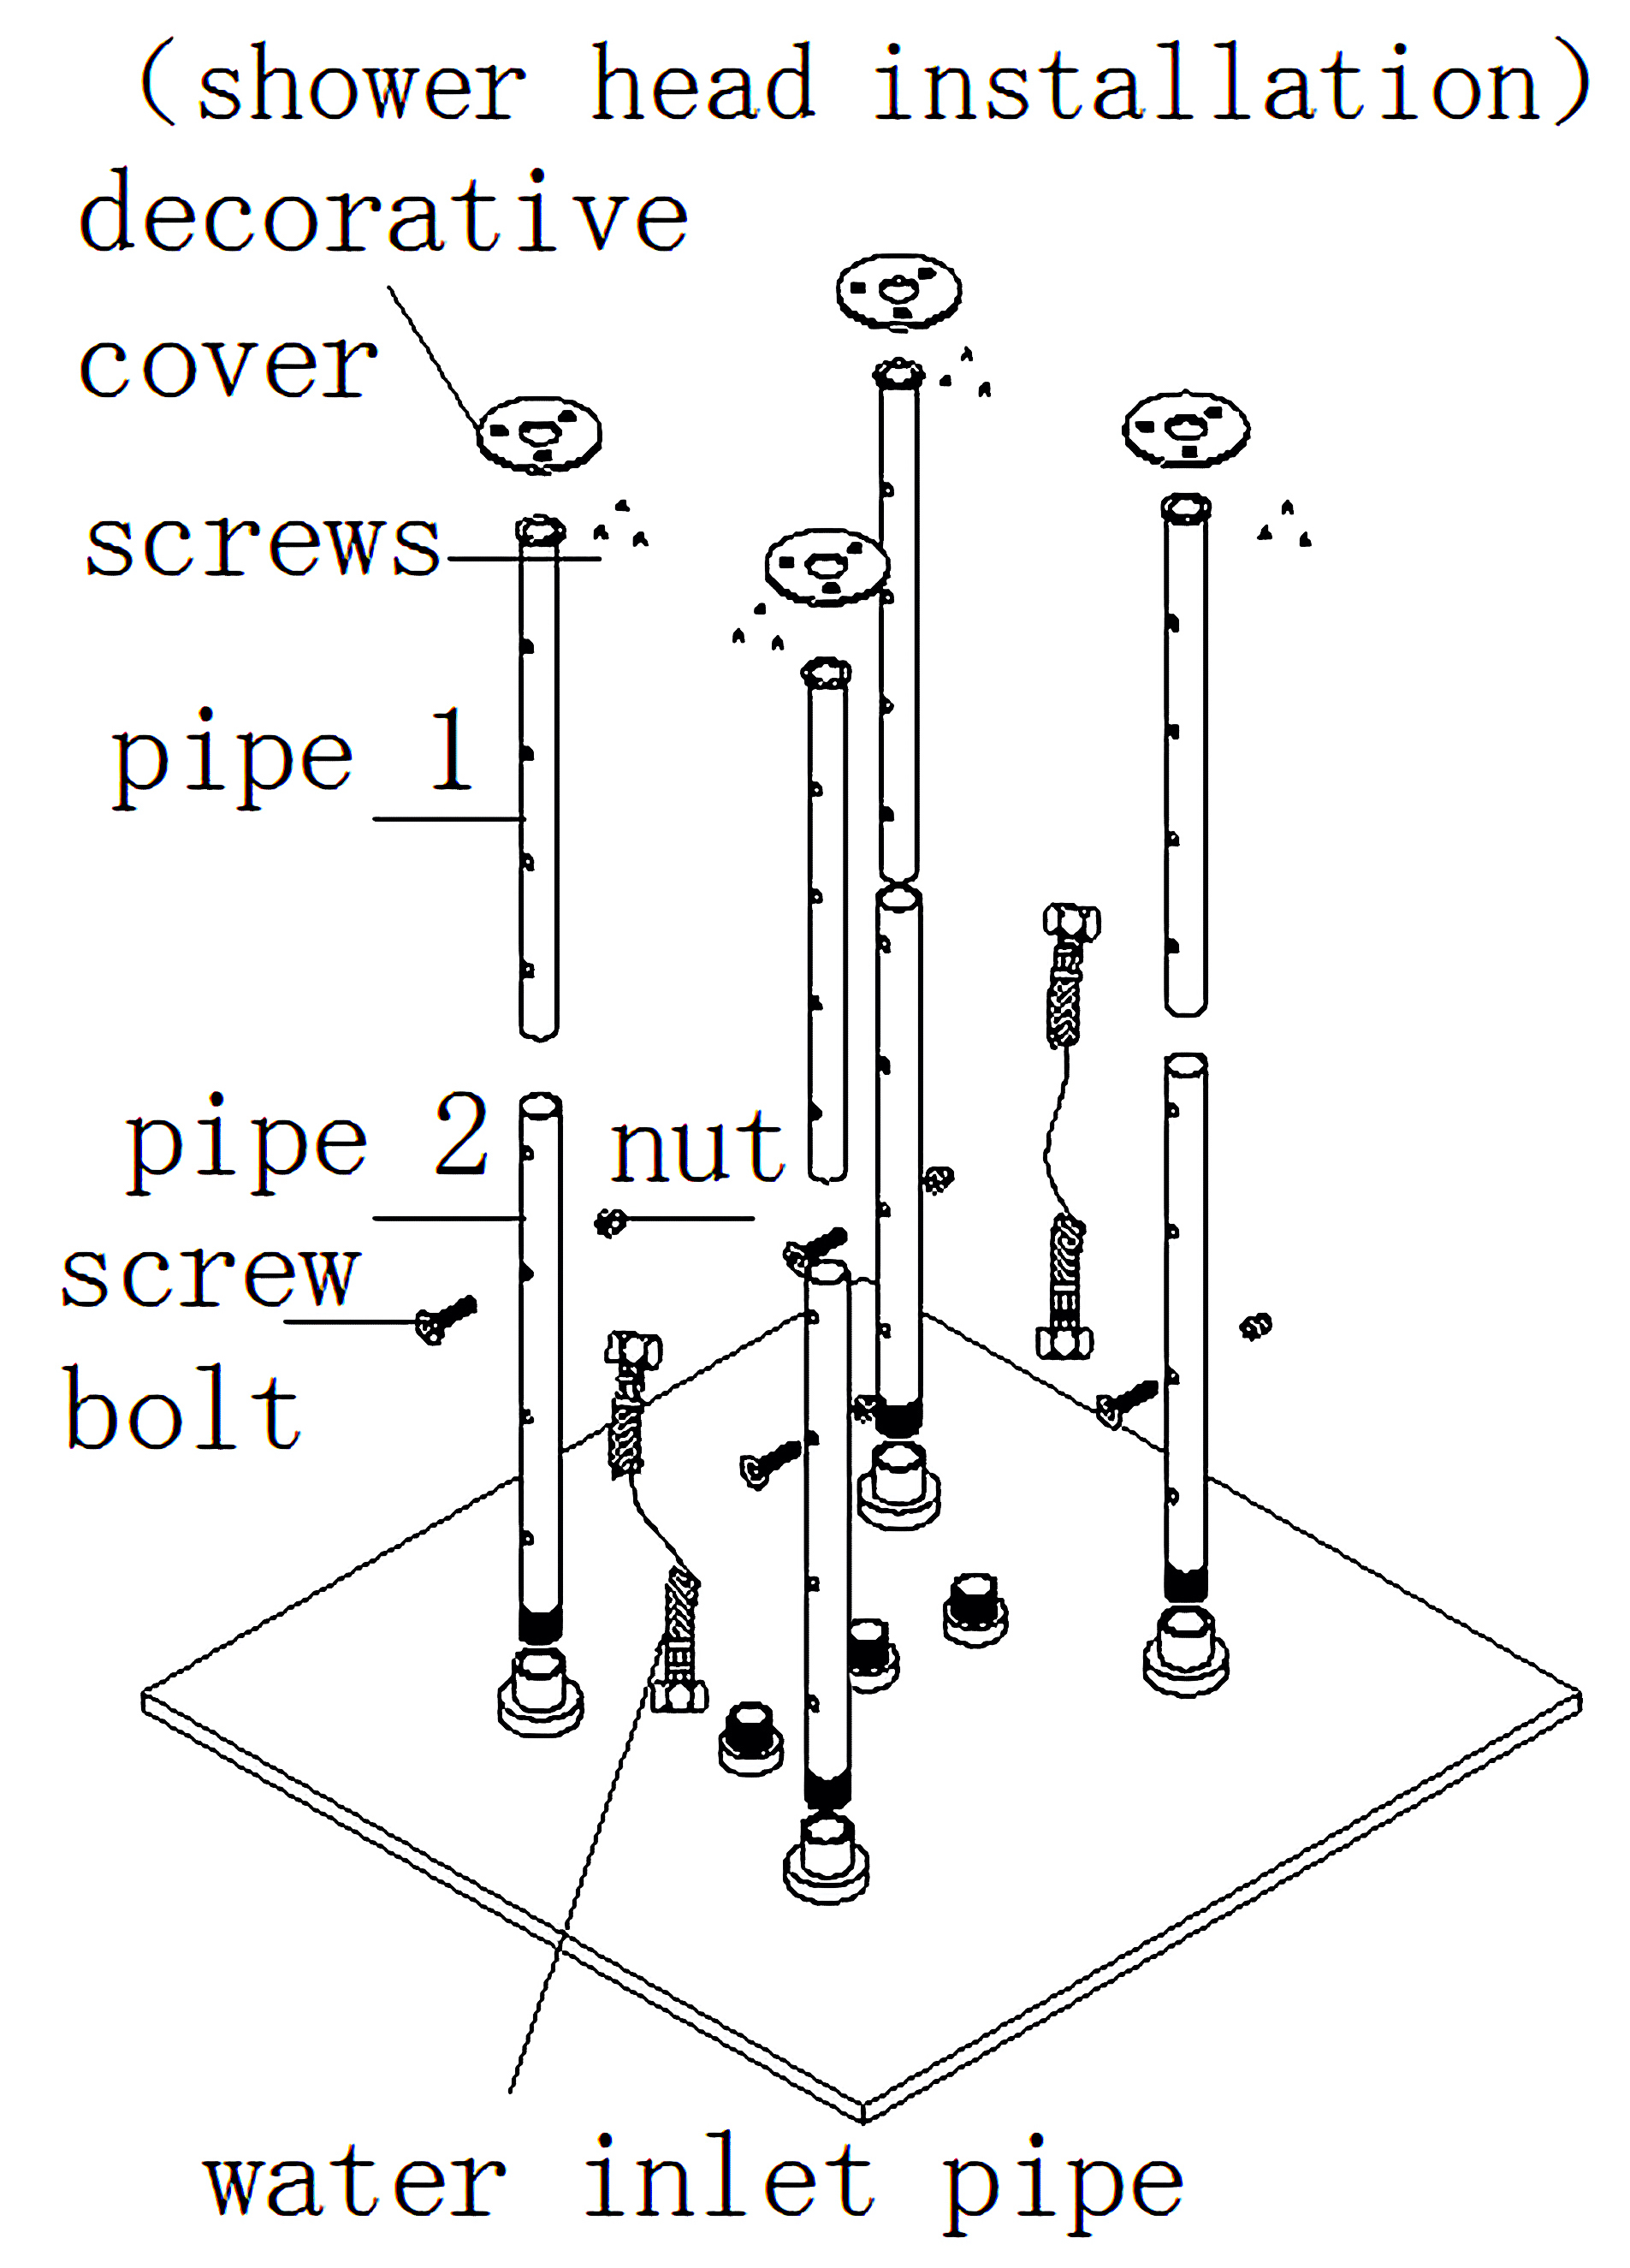
- Decorative cover
- Screws
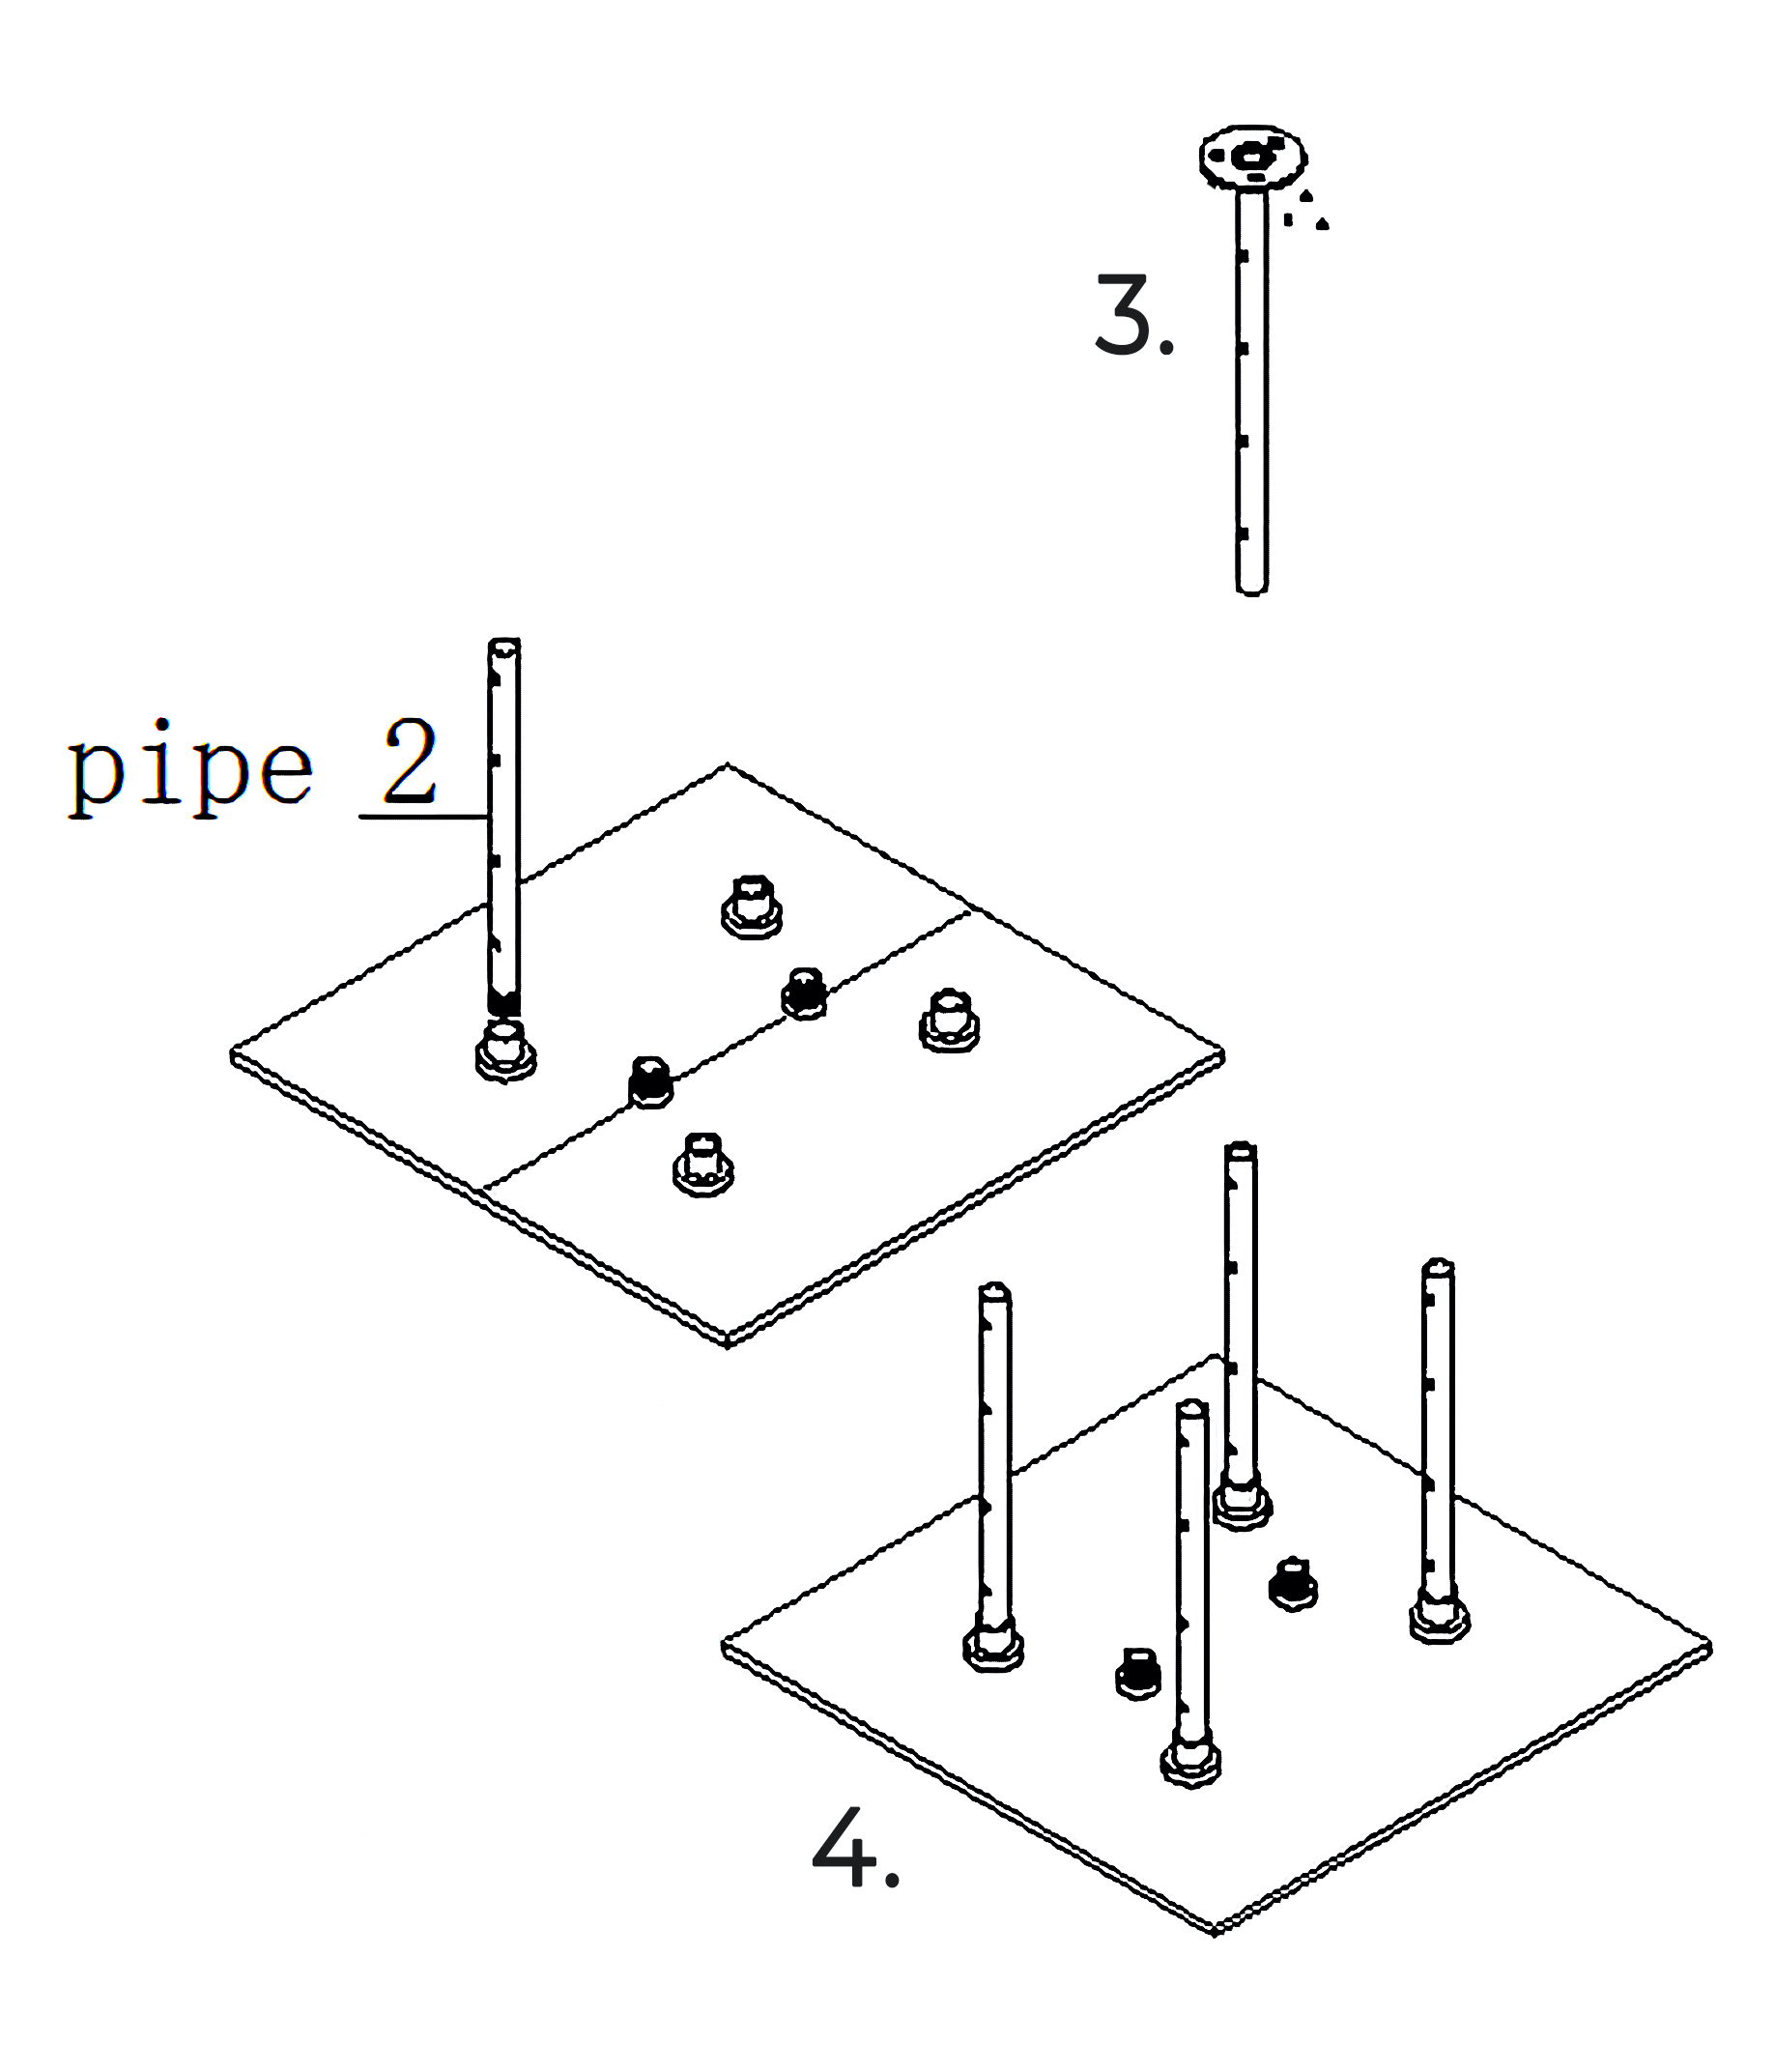
- Pipe 1
- Pipe 2
- Screw
- Bolt
- Nut
- Water Inlet Pipe
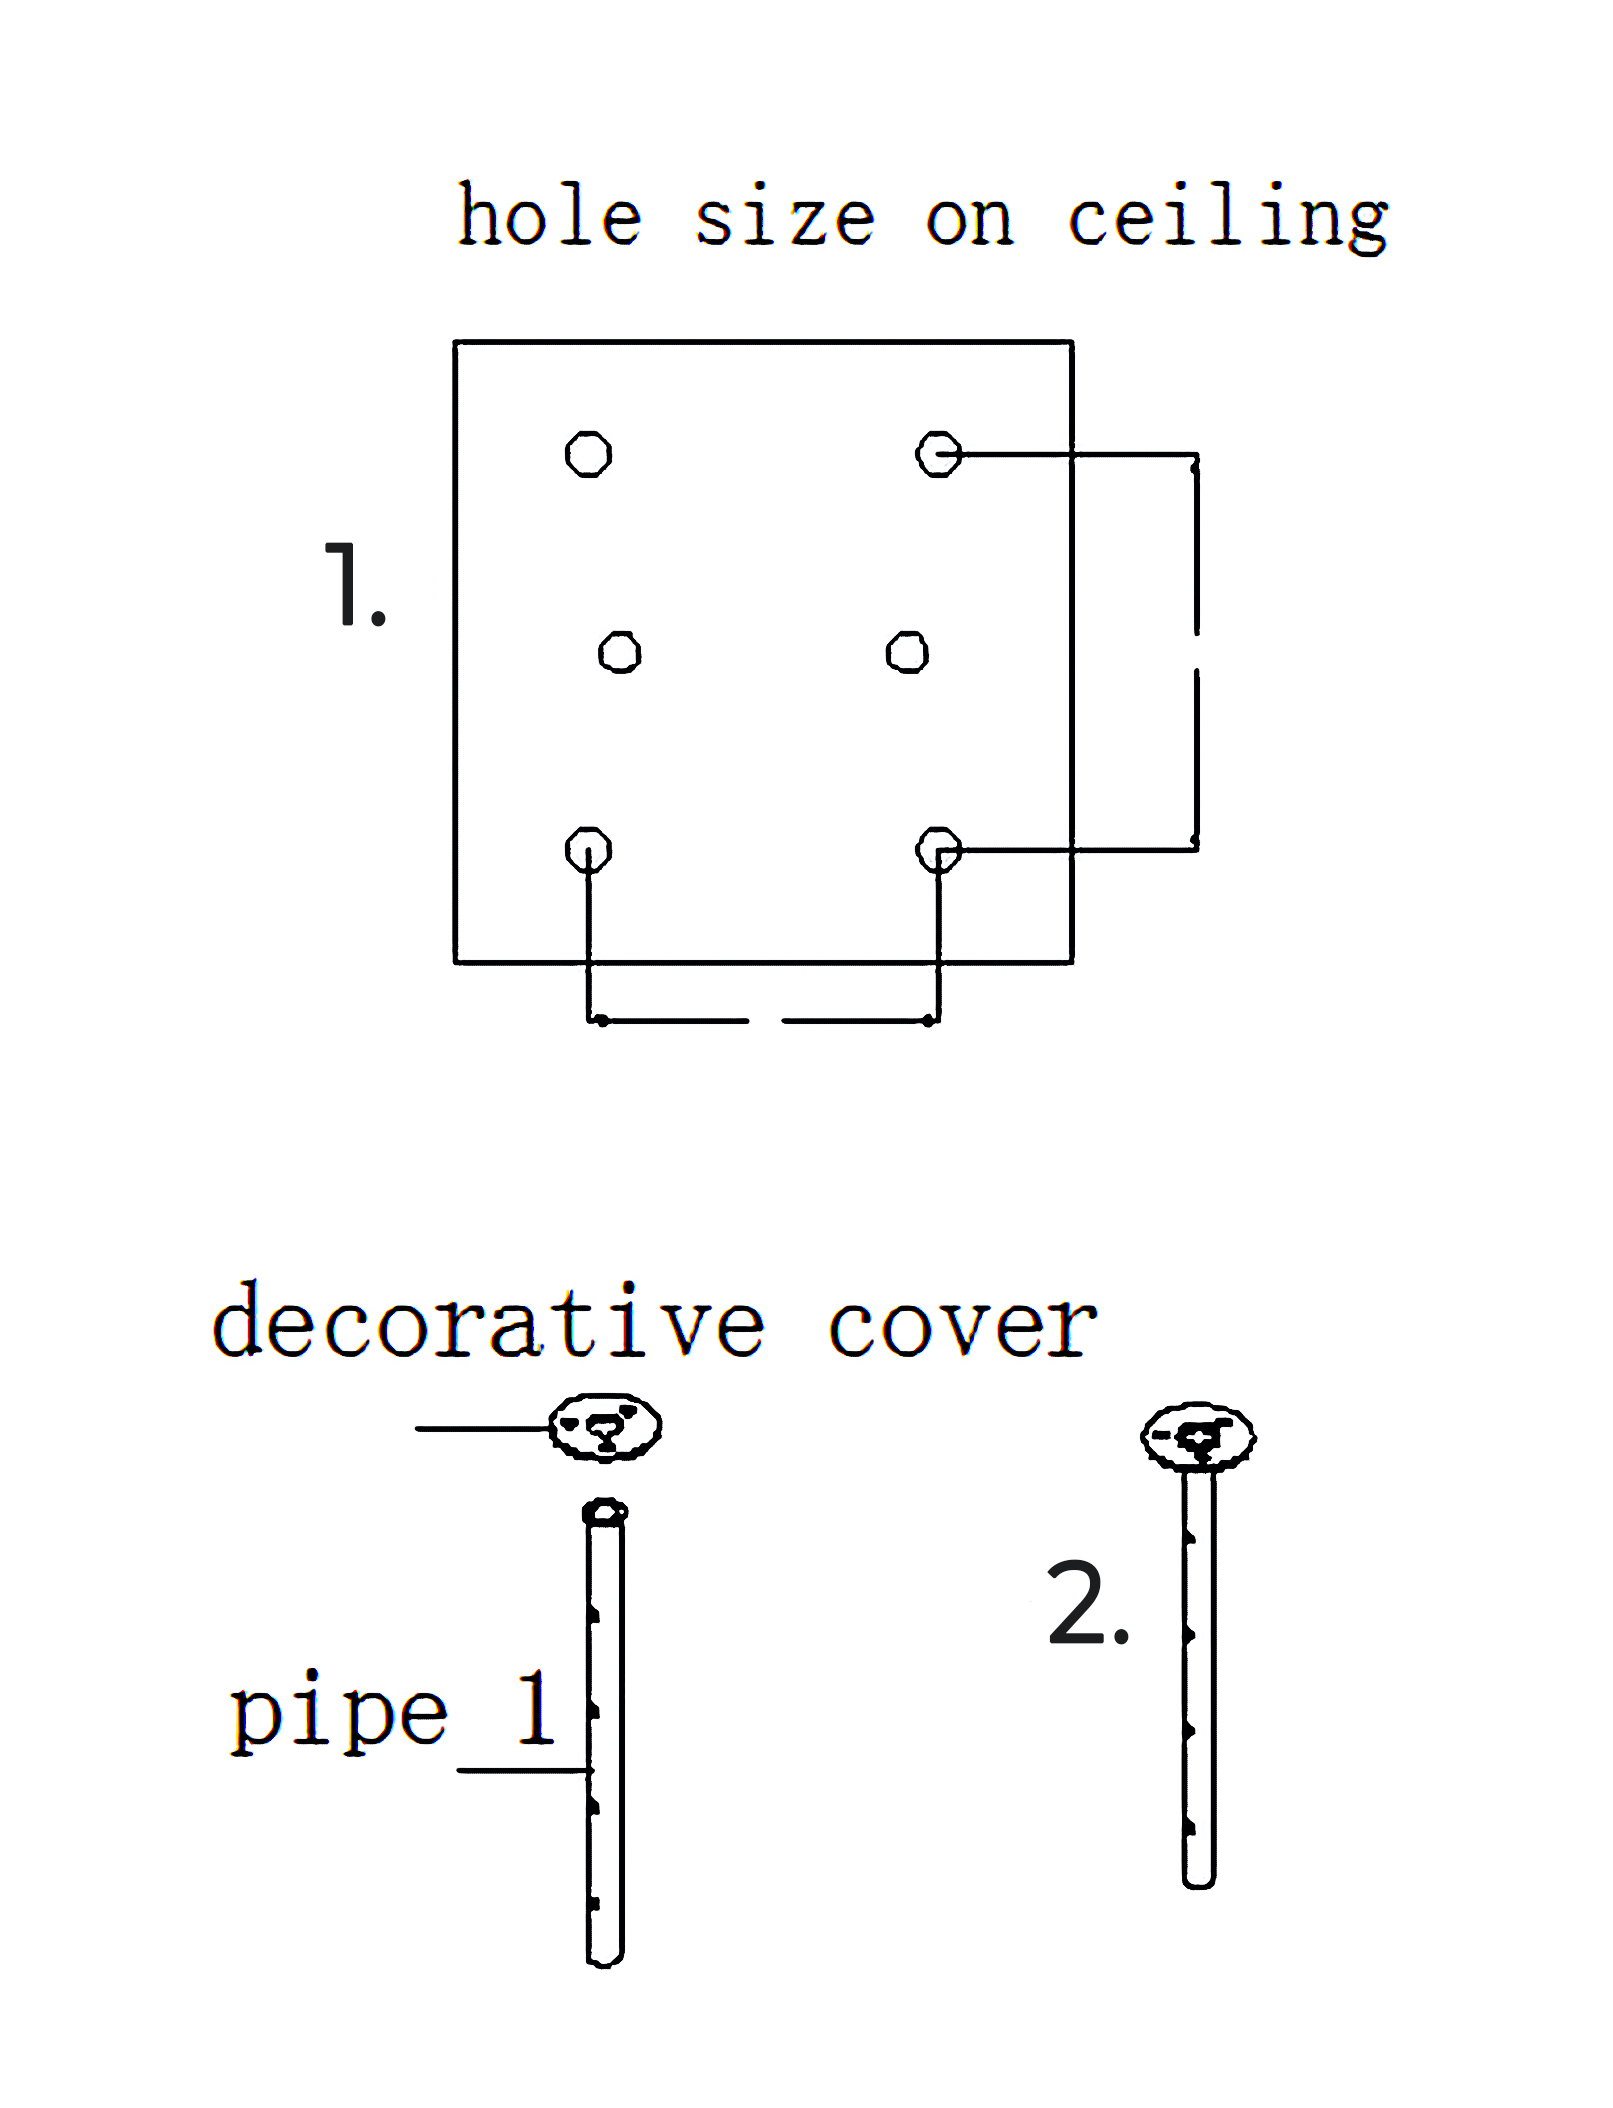
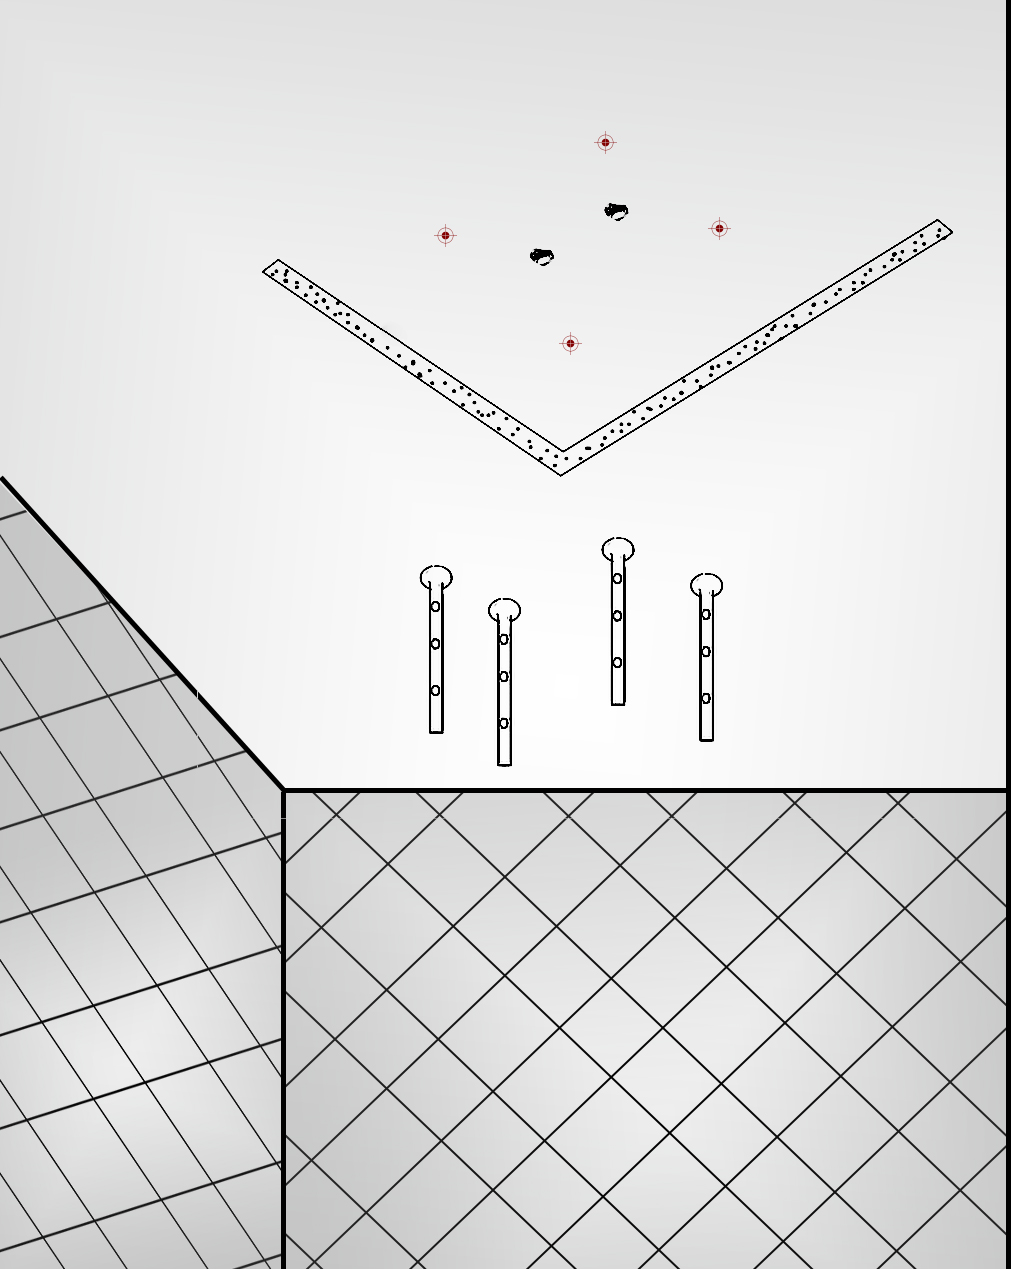
Hole size on ceiling
1. Drawing the line on the ceiling according to the above specification
· Decorative Cover
· pipe 1
2. connect pipe 1 with decorative cover
3.
Drill the holes on the ceiling according to the above hole specification and install 4 pipes.
4. According to the right drawing, install four-pipe 2 into pipe 1. Put the screw bolts through the hole on the side to lock pipe 2 with pipe 1.
|
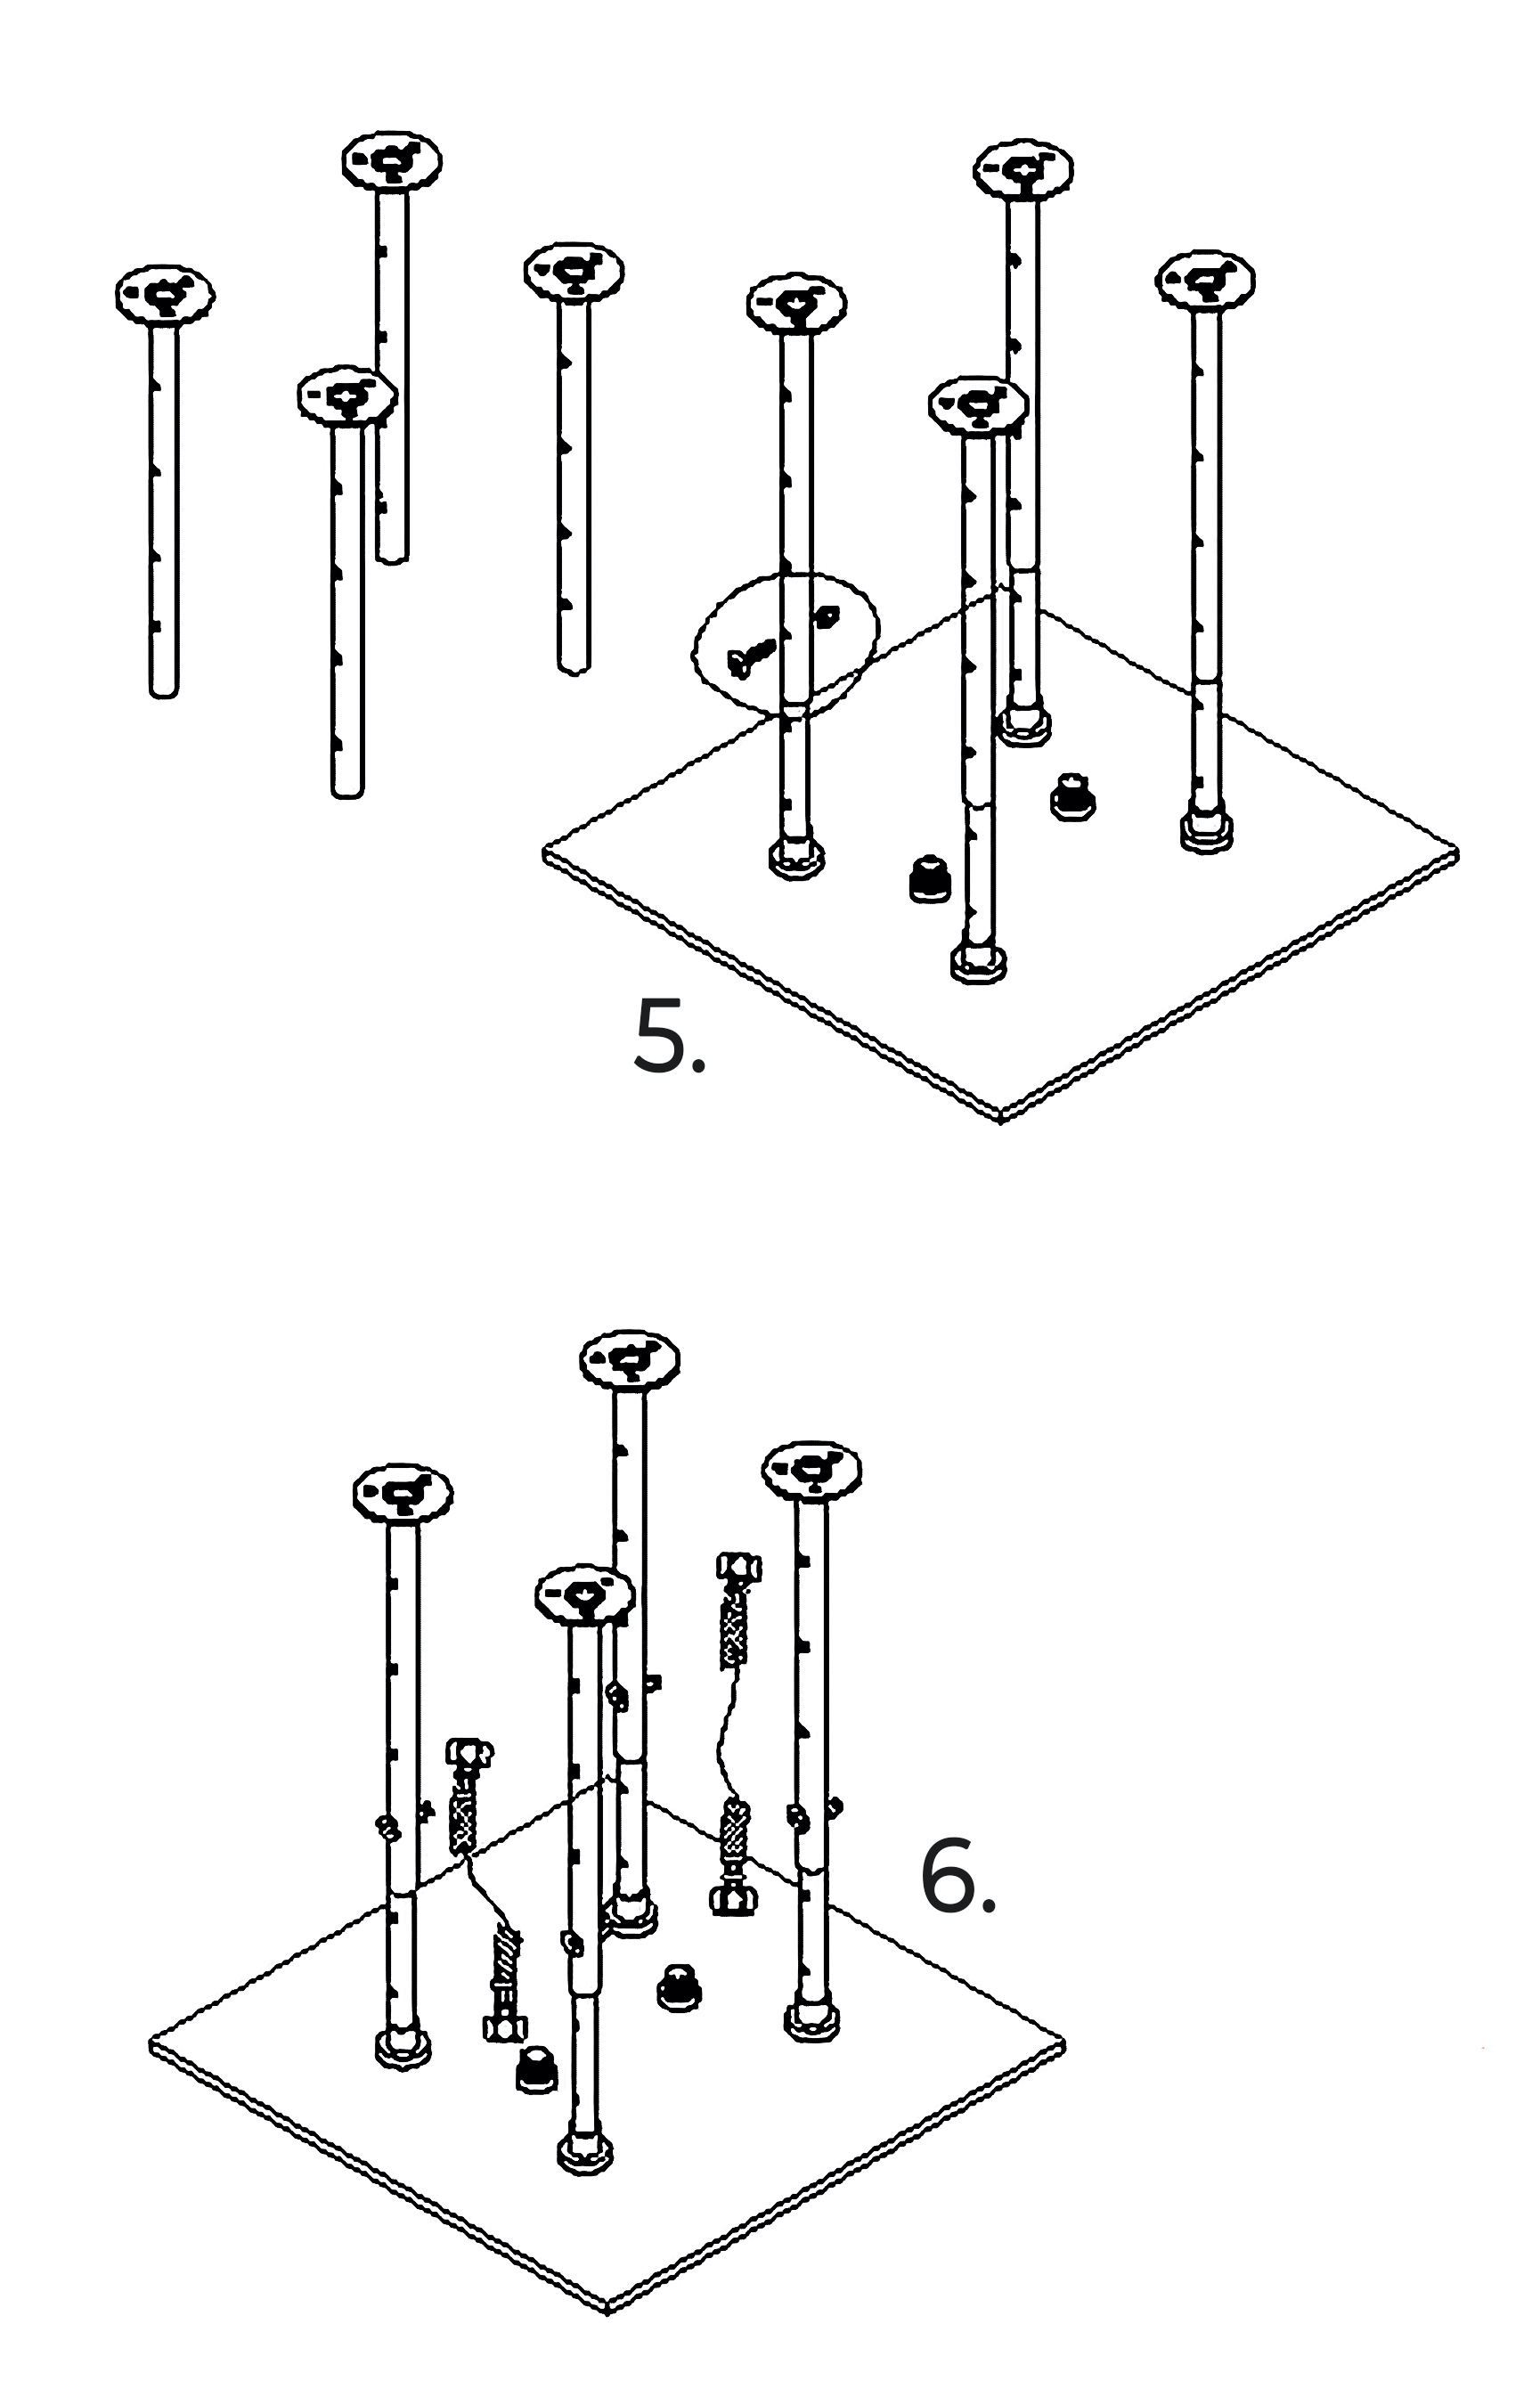
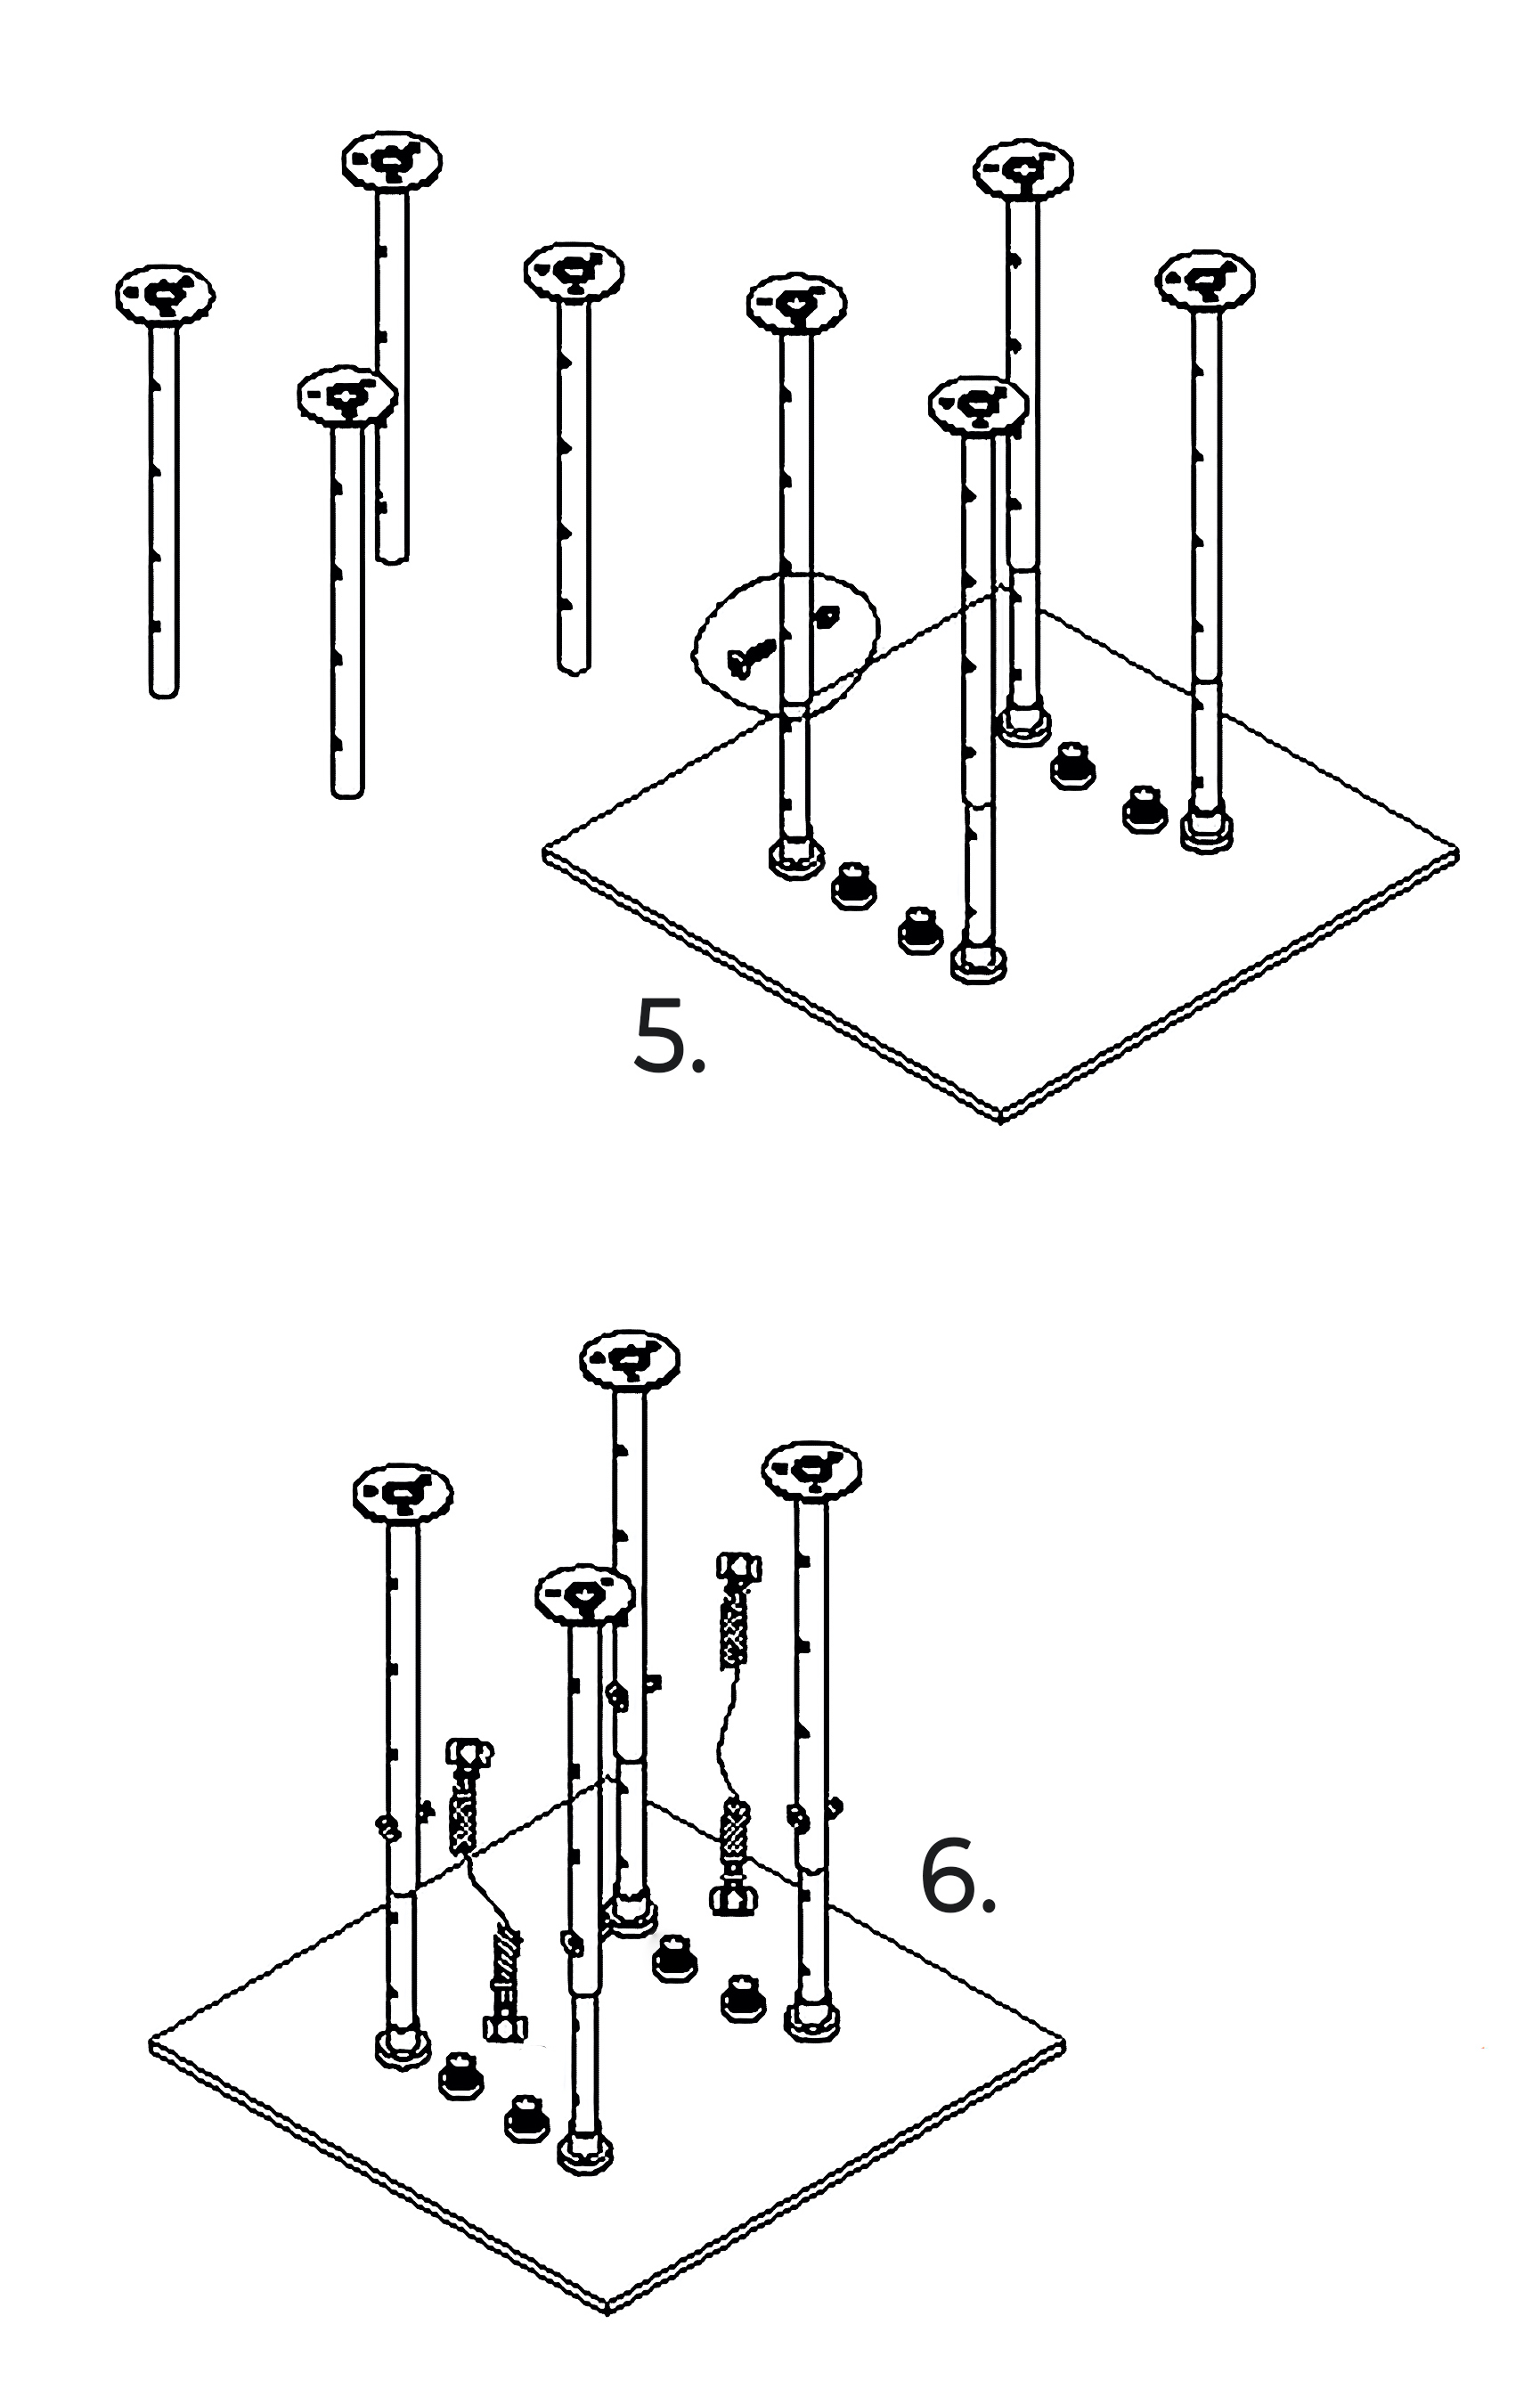
5. As the right drawing is shown, install four-pipe 2 on the head shower.
6. After fixing the showerhead on the ceiling, connect the shower hose with 2 water inlet on the showerhead back cover. The other end connects with the water outlet pipe in the wall.
Remarks: Ceiling mounted shower head come with fixing bar installation
1. Draw size on ceiling
2. Install fixing bar on ceiling
3. Install fixing bar on shower head
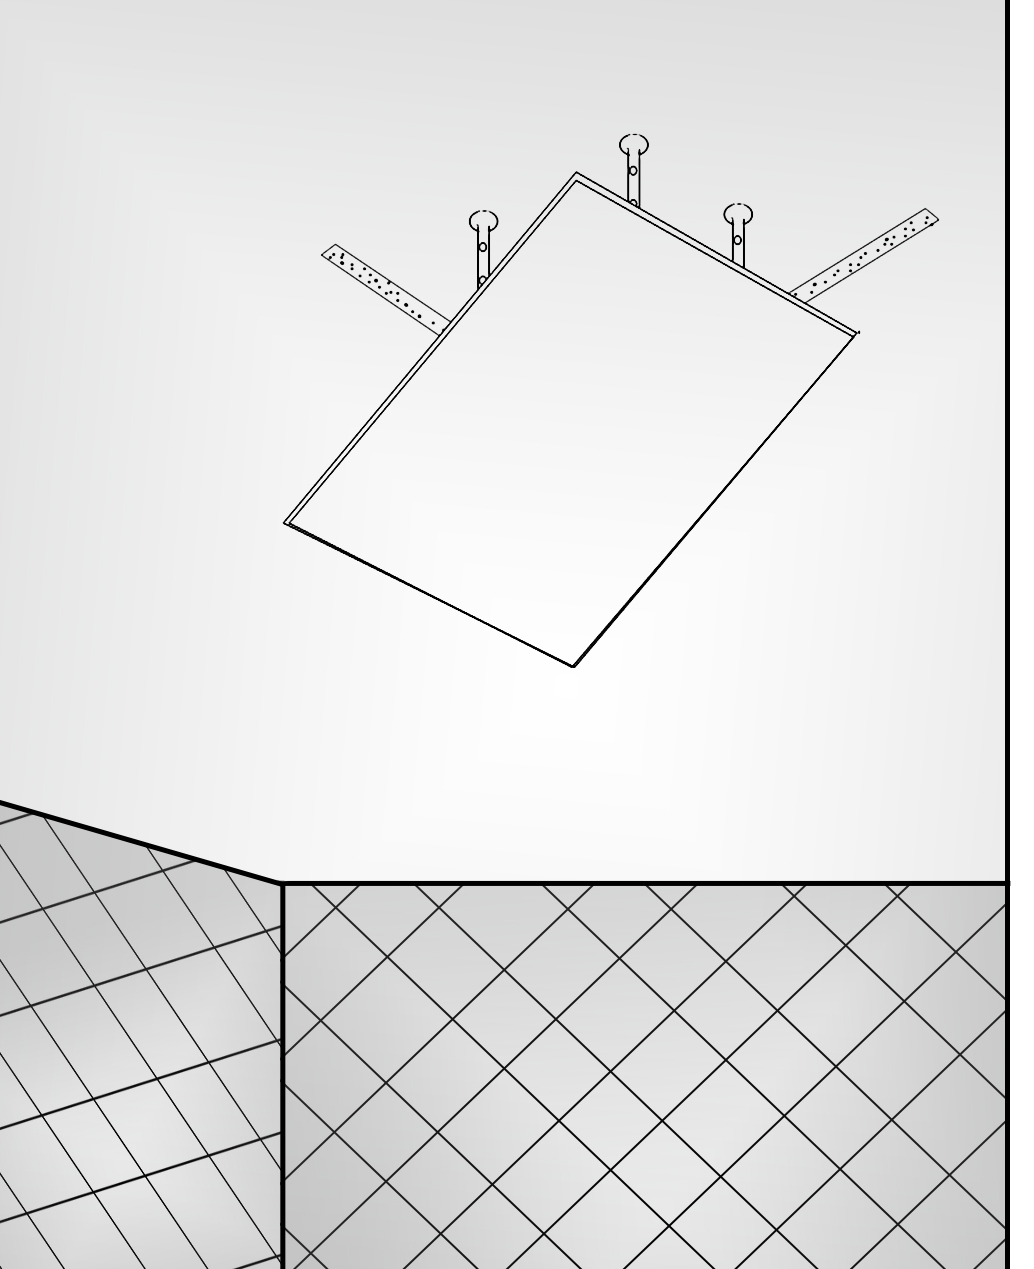
4. Put shower head bar on ceiling fixing bar.
The showerhead installation is now complete.
Digital Controller Installation

Operation
· Fly-shuttle switch
· Setting
· Power on/off
· LCD Display
Notice
1. The control panel is sensitive, when you install it, please avoid to let it face directly to the water from hand shower and the head shower because water will get it misoperation or lock the control panel.
2. The touch button is the best sensitive area.
3. The touch panel has water splash protection technology. When the system detects misoperation, no response, and need about 1 second to recover.

Function
1. Water TEMP adjust
2. Hand shower
3. Head Shower
4. Water flow adjust
Operation
1. Power on/off
Power on
After electrify, you can touch to make the system ON. When you hear buzzer sound, the fly-shuttle switch and the LCD panel would be lighting. Water TEMP and water flow will be the same as that you set last time. The cursor will be on the icon you using last time. The default working time is 60 minutes.
Power Off
|


