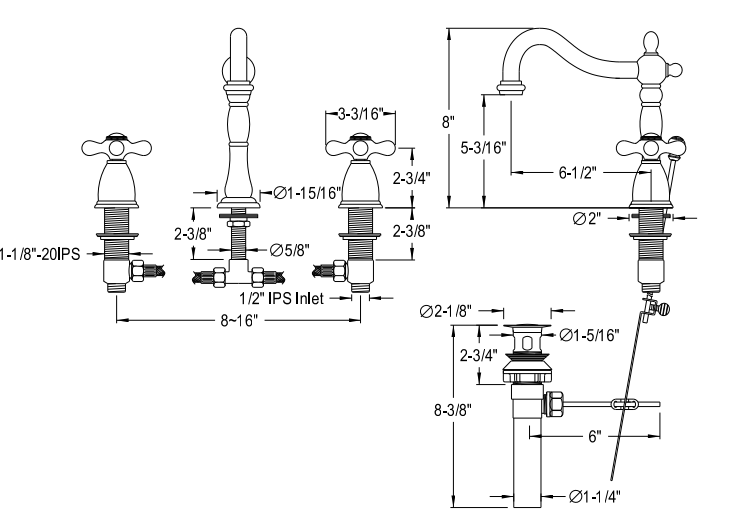
Installation Instructions for Lyon Oil Rubbed Bronze Bathroom Sink Faucet
Lyon Oil Rubbed Bronze Bathroom Sink Faucet
Our Lyon
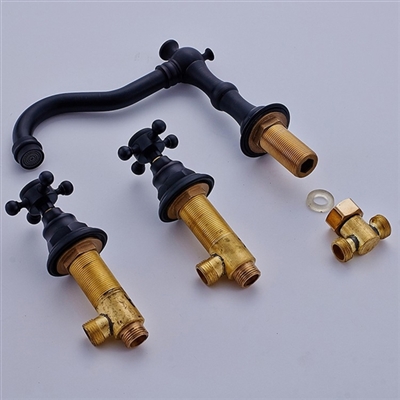
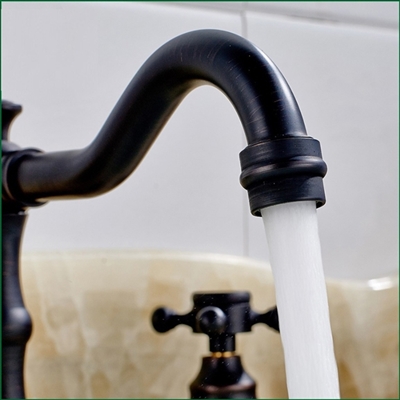
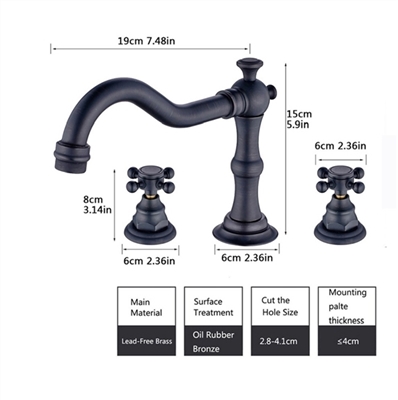
bathroom sink faucet instantly brings memories of the old times. The impeccable dark oil rubbed bronze finish, along with the graciously curved spout shape and the design of the handles are giving a strong antique style impression. Still, this faucet can proudly stand in any contemporary bathroom environment. It is deck mount and it requires three holes for installation as it comes with separate handles for hot and cold water. Only the best quality materials have been used - the valve core material is ceramic, for a long lasting life time. It comes complete with accessories and installation instructions.
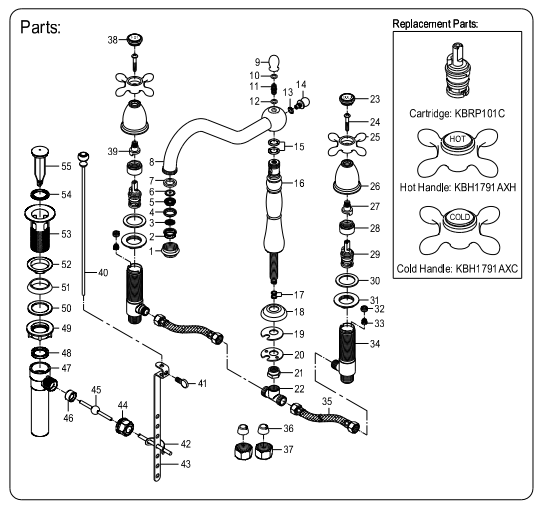
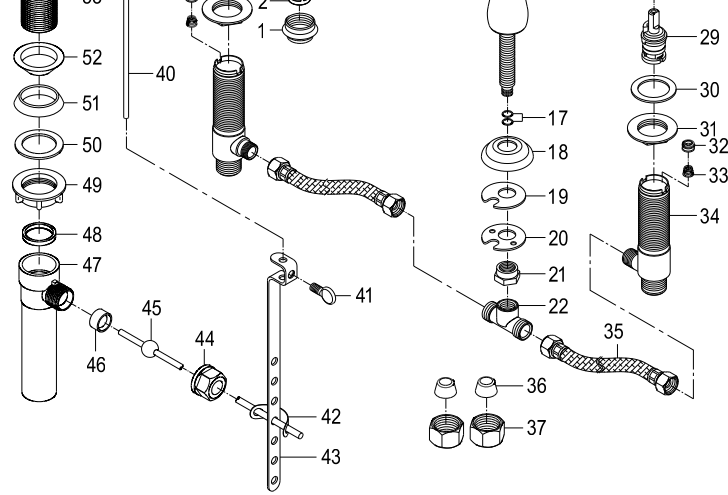
If your faucet comes with the brass T attached to the faucet body, unthread and remove the T and associated hardware.
Thread the silver mounting washer and rubber sealing gasket on the faucet body.
Apply a bead of silicone sealant to the underside of the spout, or faucet base, and thread through the center mounting hole.
Thread the mounting hardware and brass T onto the spout pipe and hand-tighten to secure.
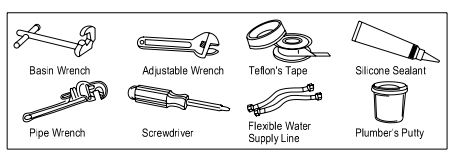
Check to make sure the faucet is properly aligned and adjust as needed. When the faucet is in the proper position, finish tightening mounting hardware with your adjustable wrench. Tip: Make sure that the T outlets are aligned at an angle to allow maximum clearance for water connections.
Wipe away any excess sealant around the faucet base using your damp cloth.
Assemble the handles by screwing the lock nuts down to the end of the handle bodies. If handles are assembled move on to step 8.
Insert the handle bodies up through the mounting holes. Thread the plastic slip washers and rubber sealing gaskets onto the handle bodies to secure.
Hand tightens to attach the hot and cold flexible water feed tubes to the handle bodies and brass T. Give a ¼ turn with pliers or wrench, but dont overtighten. (Hot water is always on the left and cold water is always on the right.) Curve tubes as necessary to ensure there are no kinks or knots.