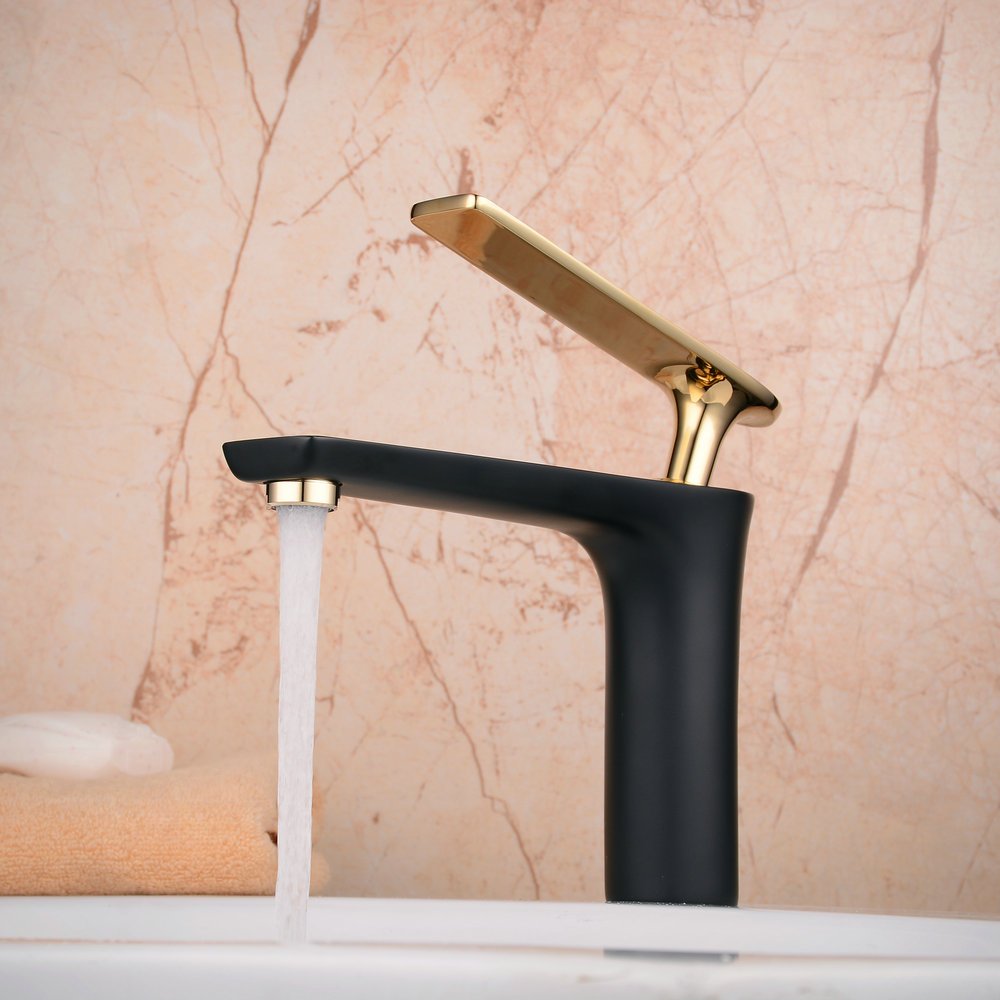
Installation Instructions BathSelect Milan Single Handle Long Reach Spout Black & Gold Bathroom Faucet | BS10148
Single Handle Deck Mounted Bathroom Sink Faucet
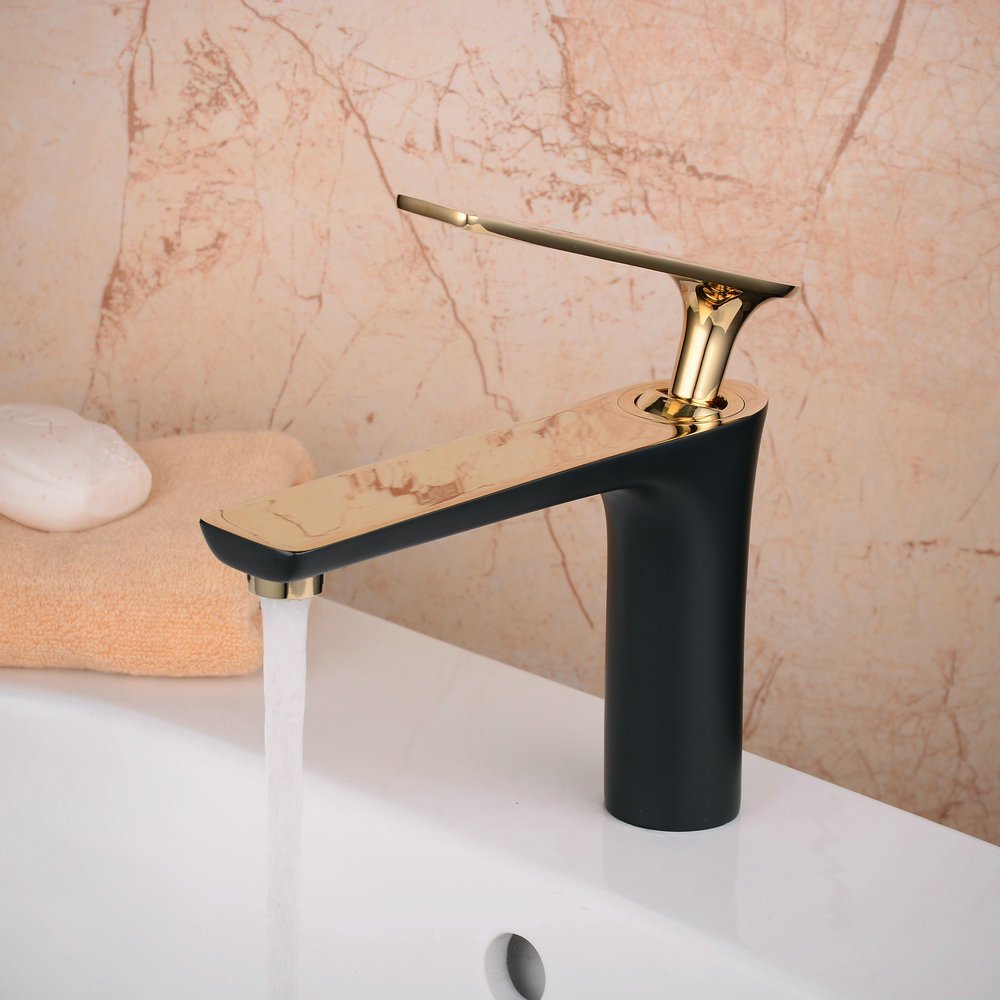
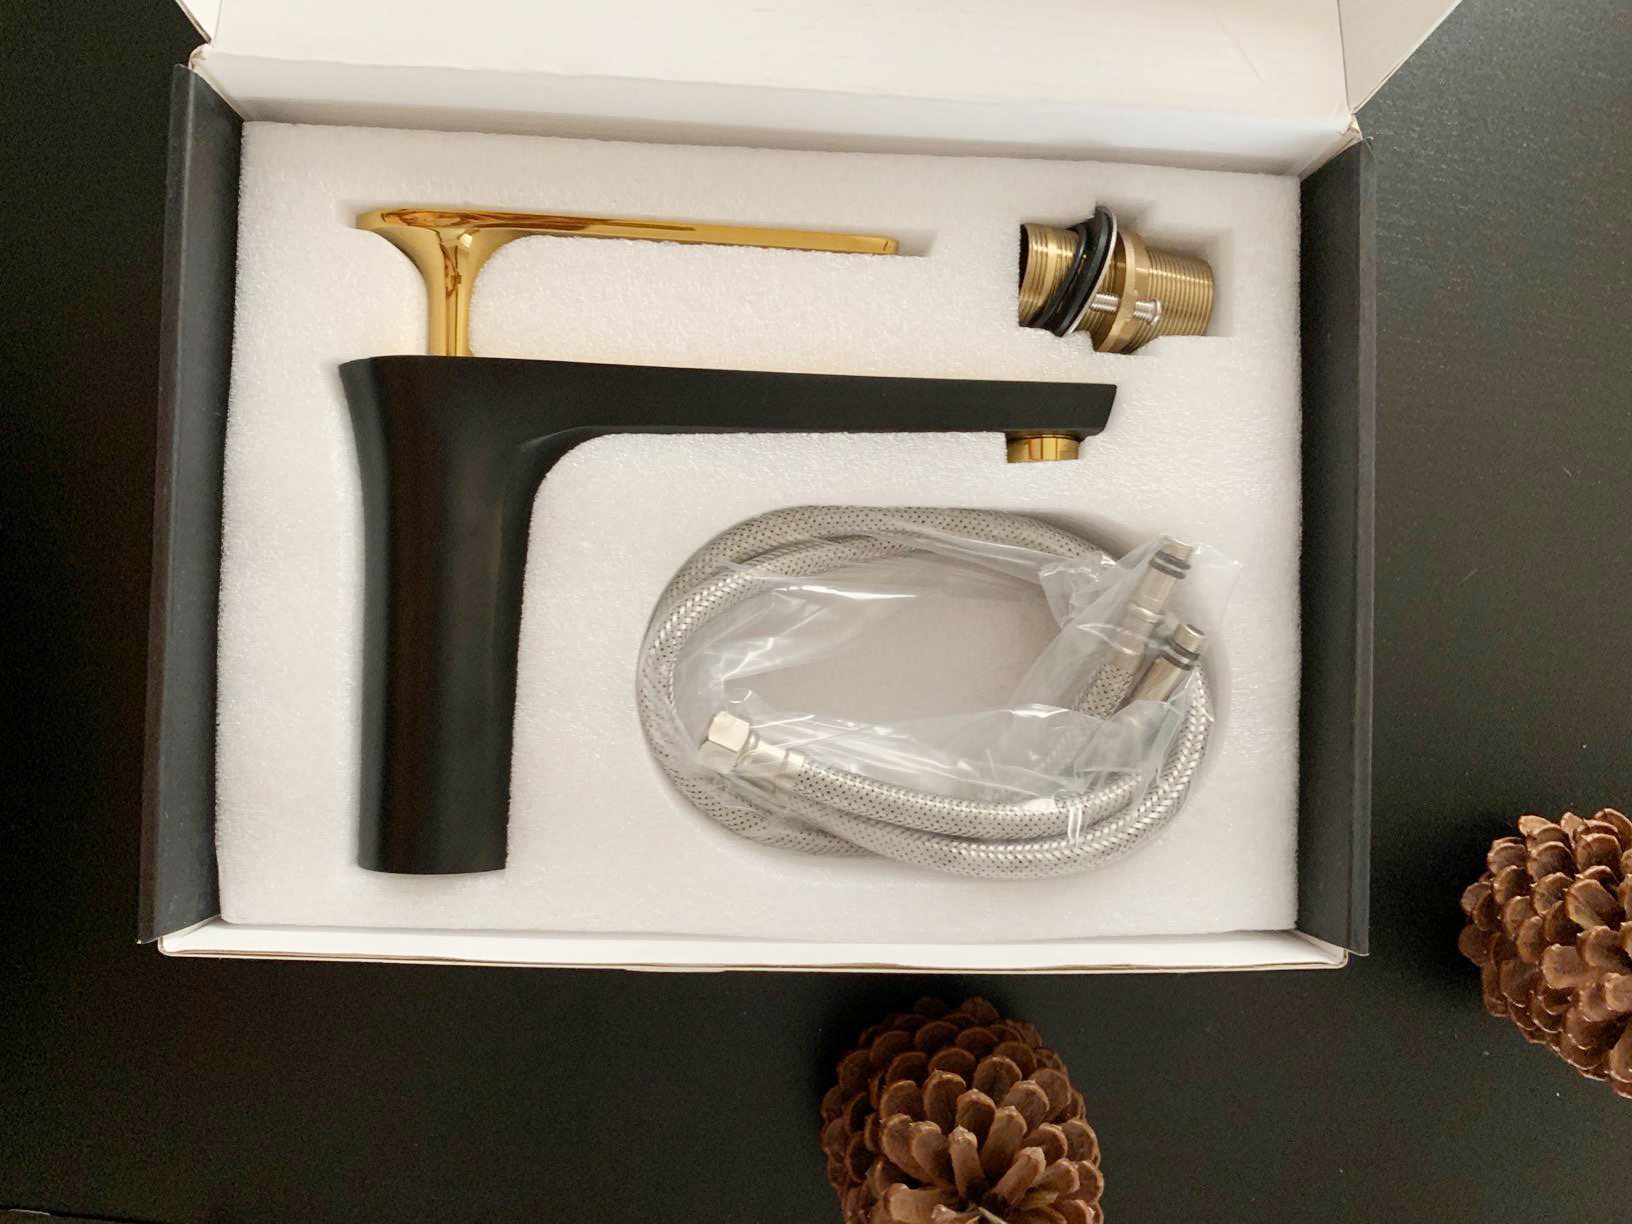
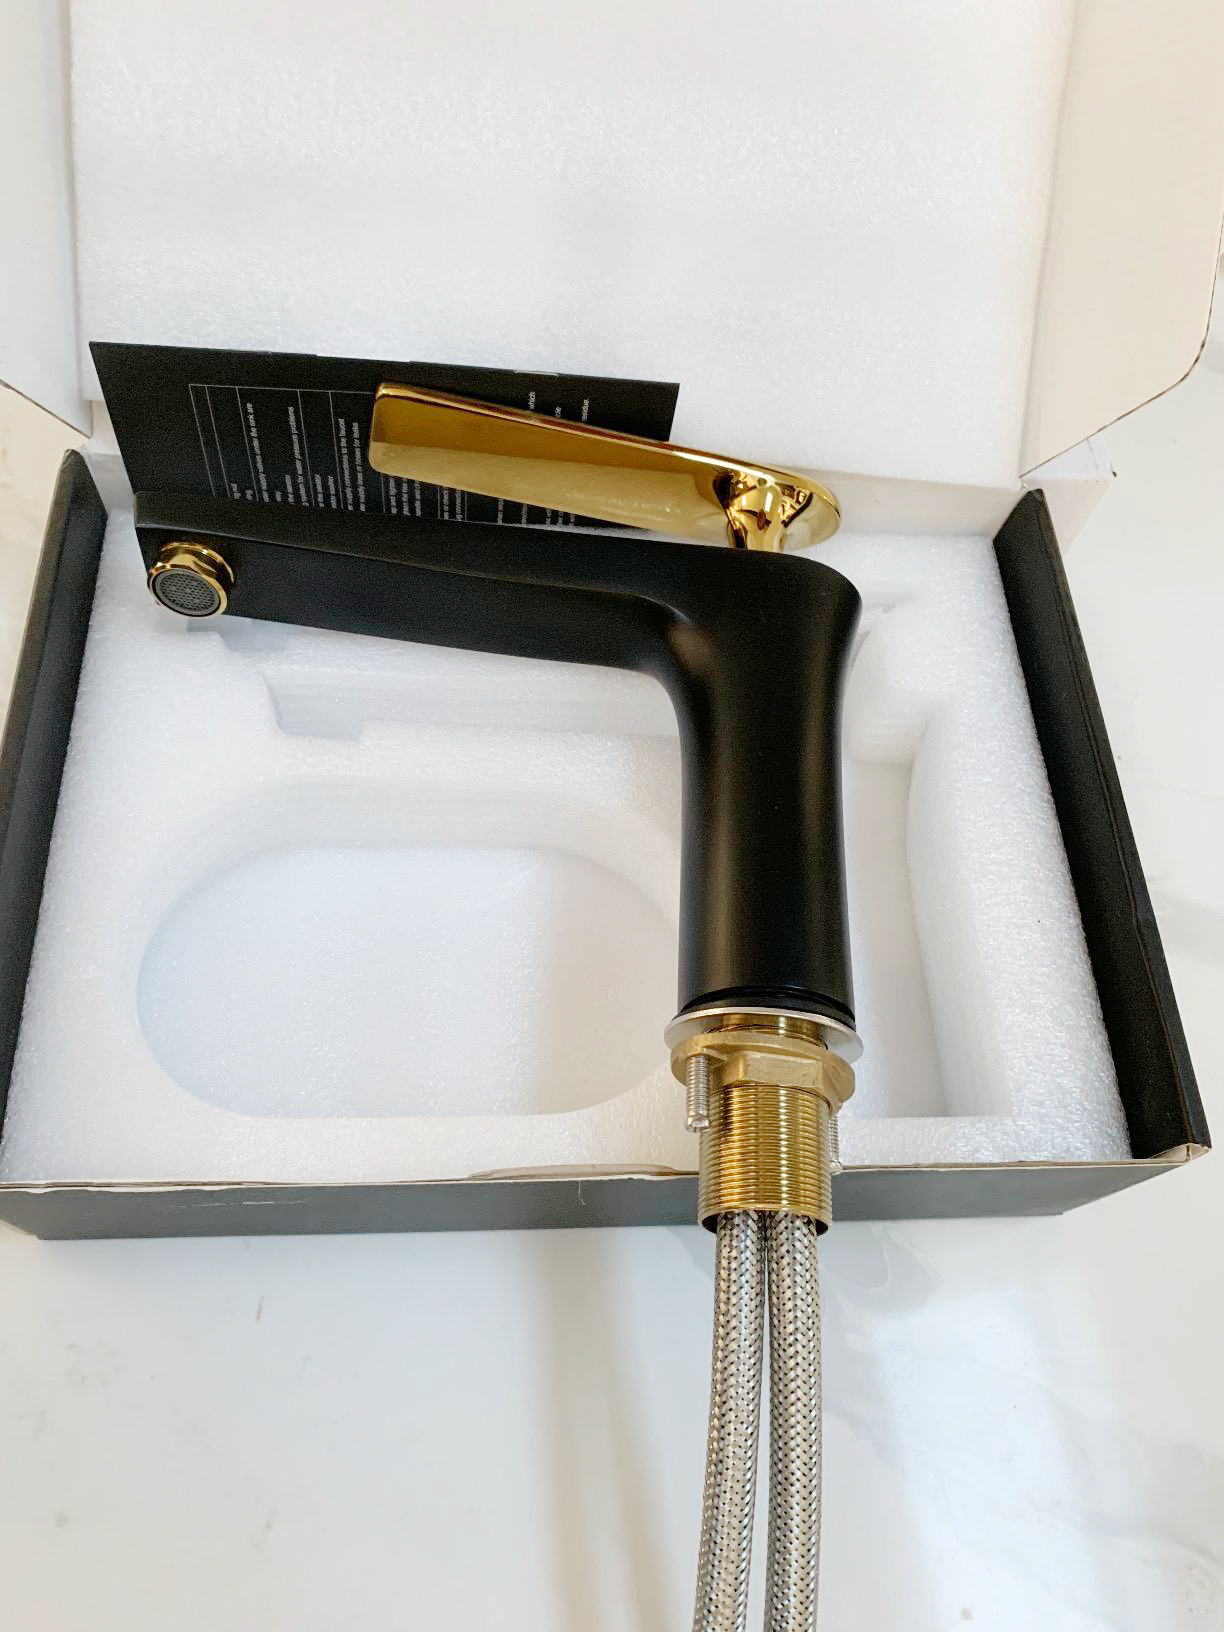
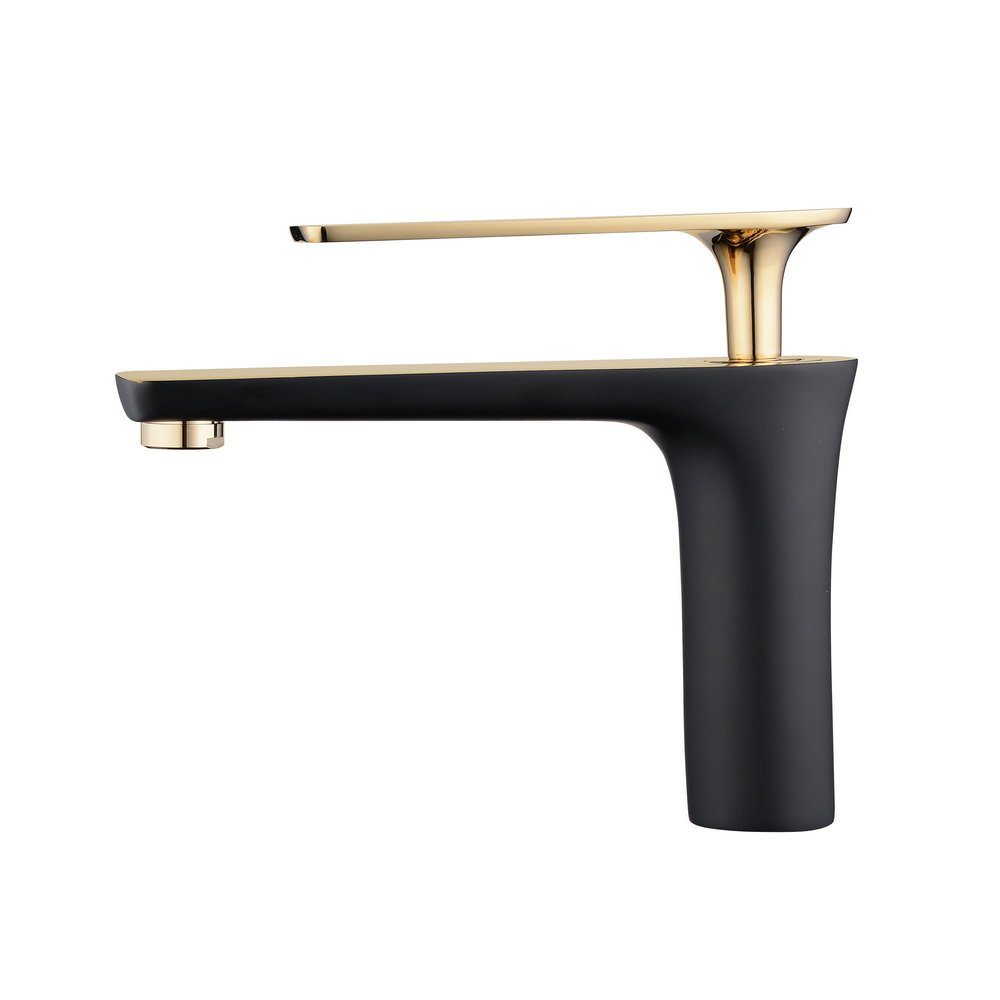
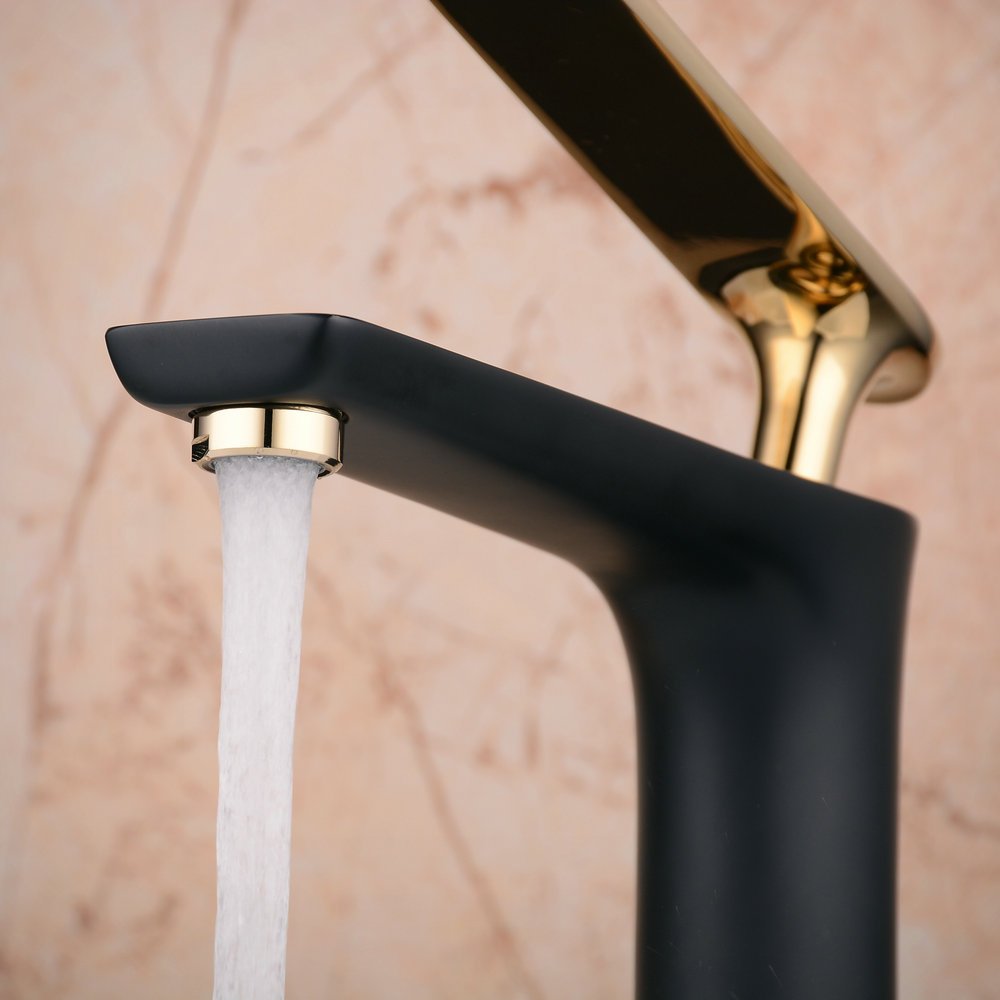
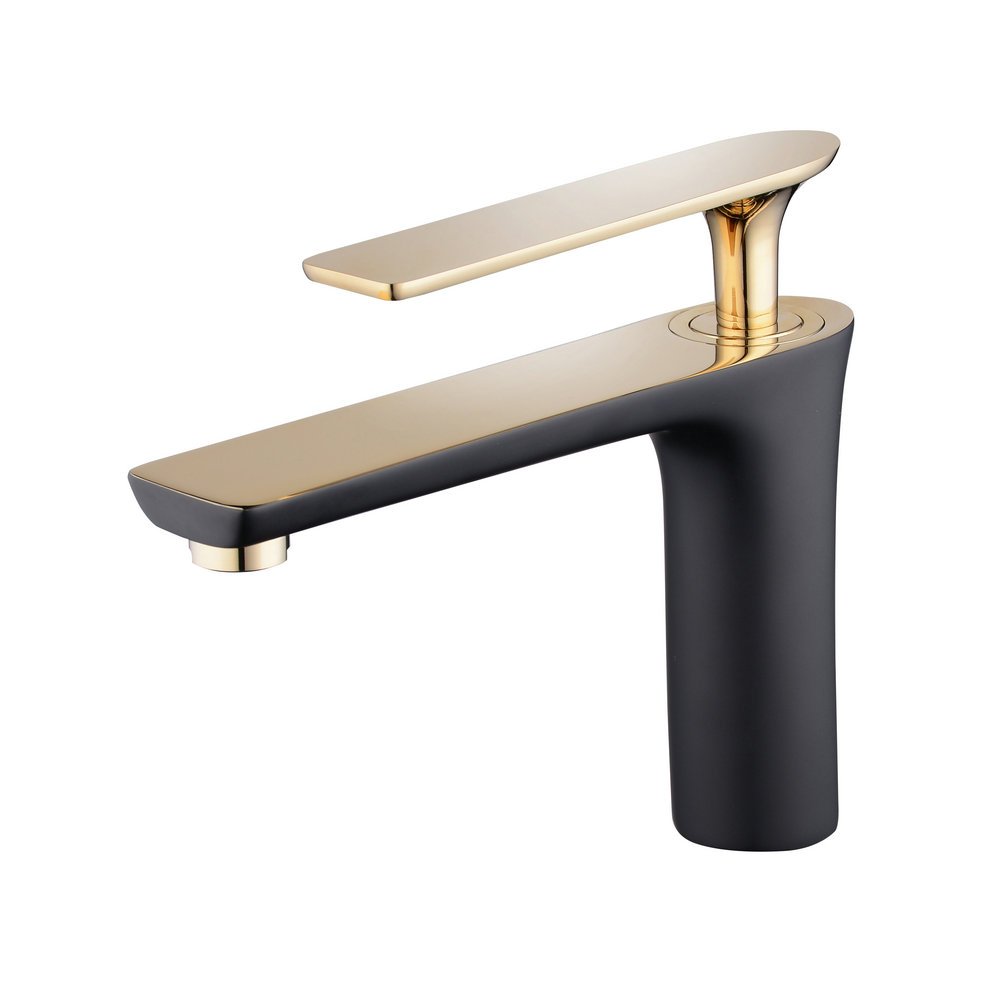
Combining architectural forms with sensual design lines, BathSelect Milan Bathroom Faucet brings a touch of modern elegance to your bathroom. Milan Bathroom Faucet is deck mount with a single handle. This faucet is made of brass material and comes in polished gold and black painted finish. Milan Faucet has an adjustable water feature. It is ideal for your bathroom. Featured with durable ceramic disc cartridge valve ensuring there are no water leaks. Individuals and families can trust that this faucet will remain rust, corrosion, and tarnish resistant throughout years of use due to its solid brass construction.
Features:
faucet
Brand Name: BathSelect
Model number: BS10148
Type: Bathroom Faucets
Installation Method: Deck Mount
Body Material: Brass
Finish: Black Painting/Gold Polished
Number of Handle: Single Handle
Valve Type: Ceramic Disc Cartridge
Installation Hole: One
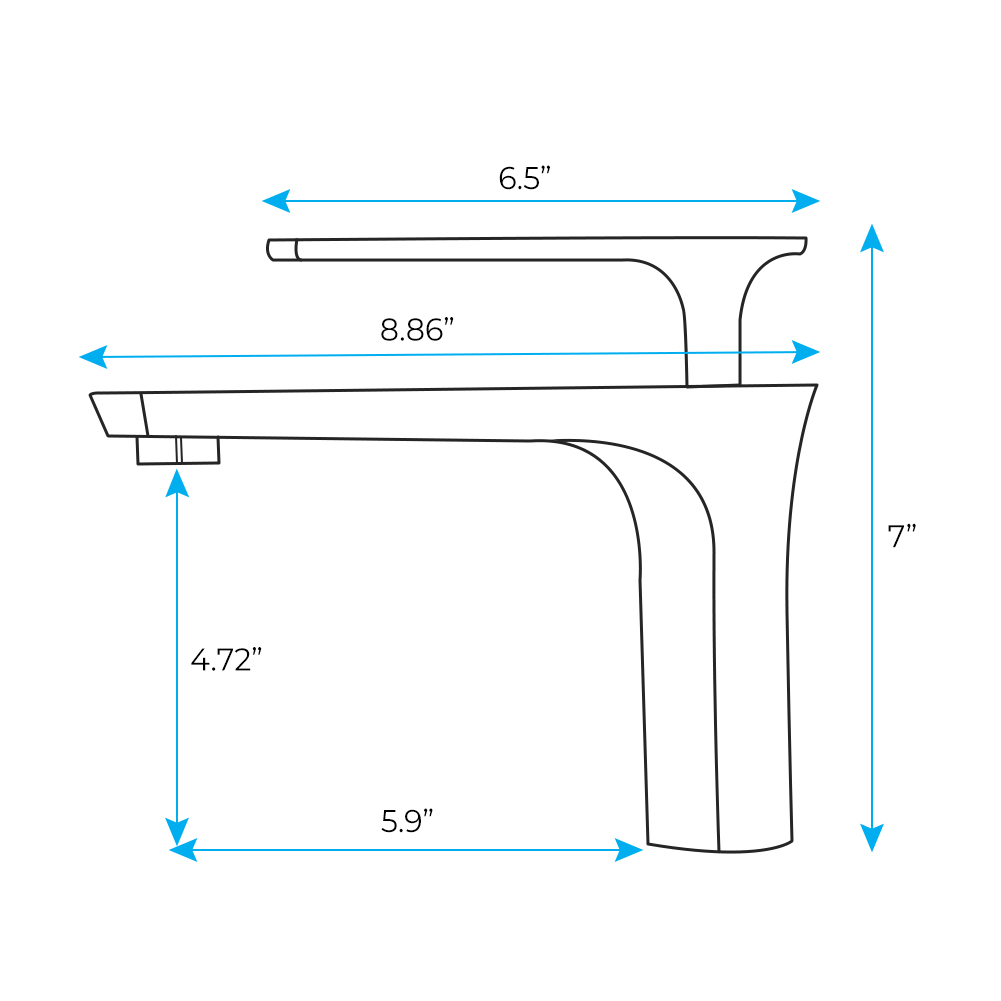
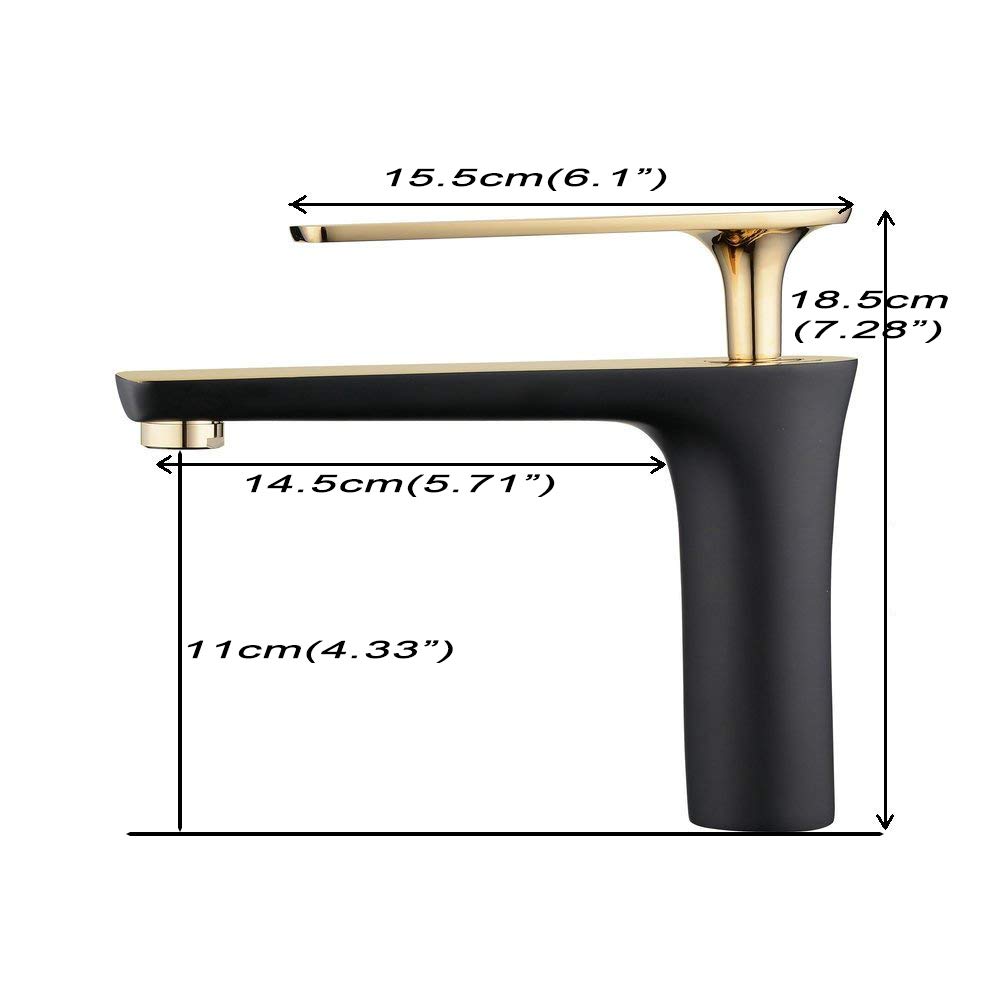
Installation Hole Diameter : 1.4-1.57 inch (35-40mm)
Installation Deck Thickness: 1.18 inch (Less than 30mm)
Finish: Black Painting/Gold Polished
Connection Type : 1/2"
Hot and Cold Switch: Yes
Important Note:
Before you begin, please read the installation instructions below. Observe all local building and safety codes.
Unpack and inspect the product for any shipping damages. If you find damages, do not install.
Please note all showers must be installed by a professional and certified plumber otherwise warranty may be voided.
Faucet Installation Instructions
Step 1:
sink faucet
Step 2:
faucet
Step 3:
Step 4:
Step 5:
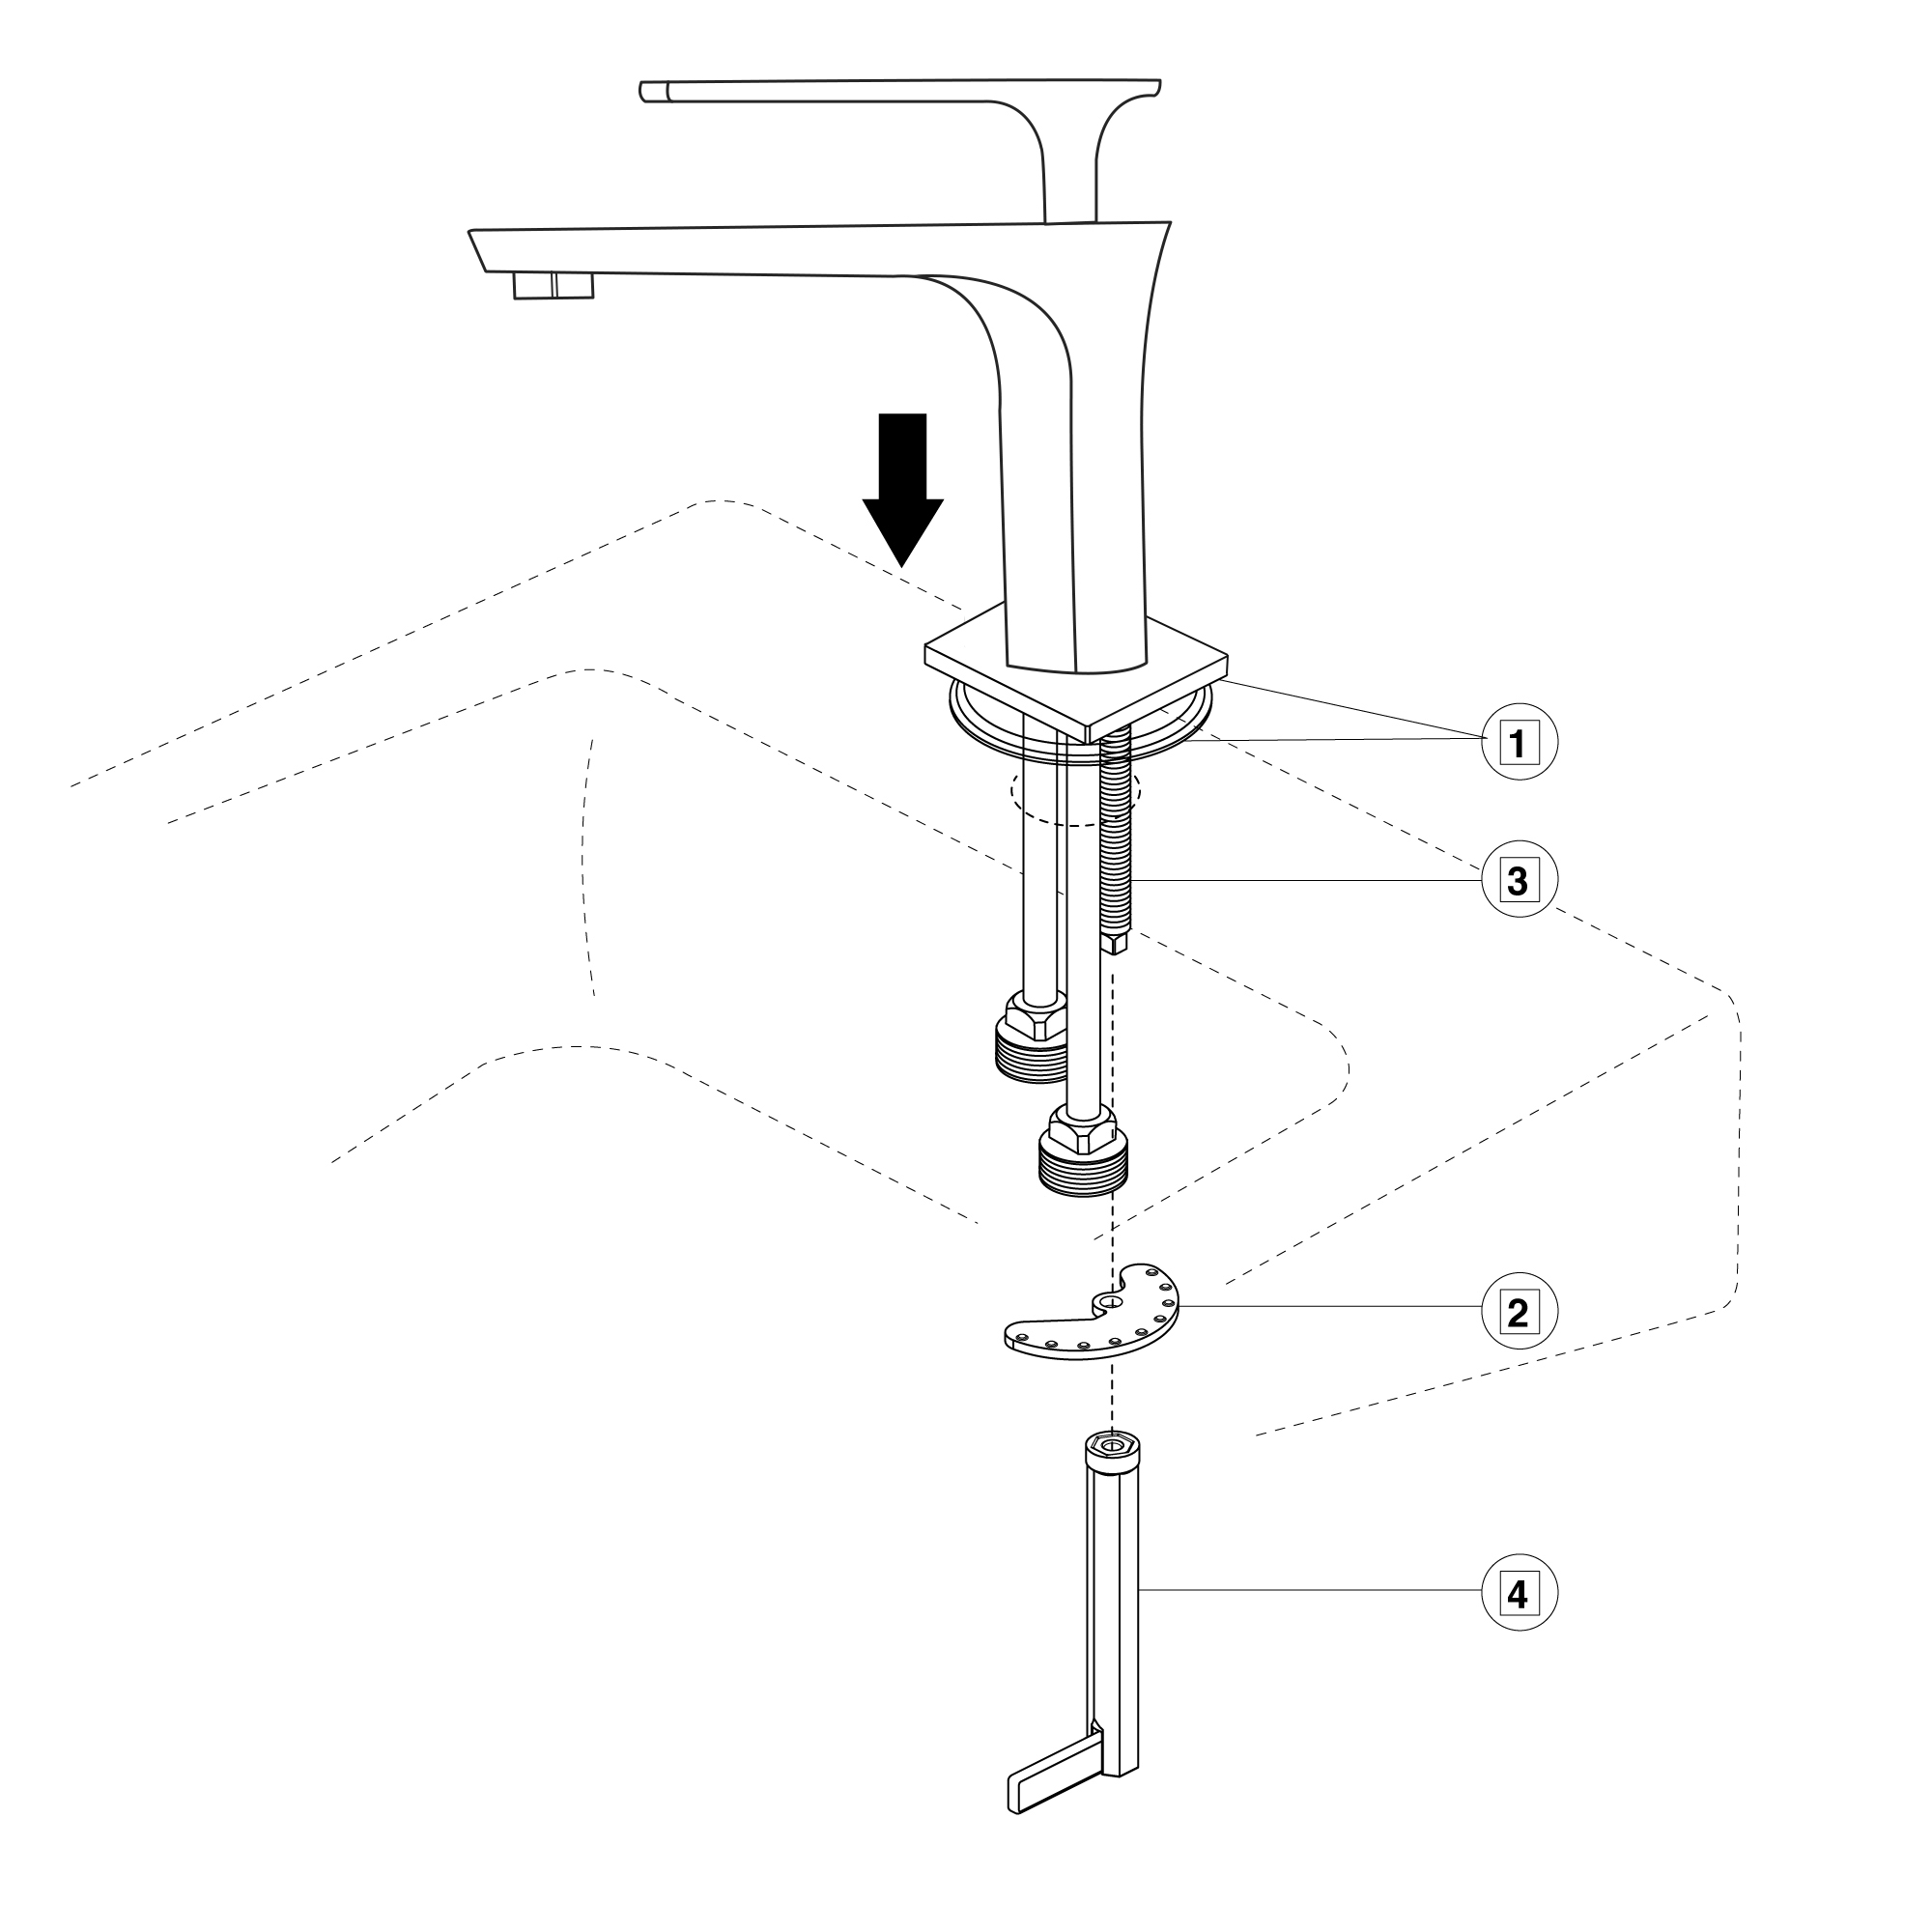
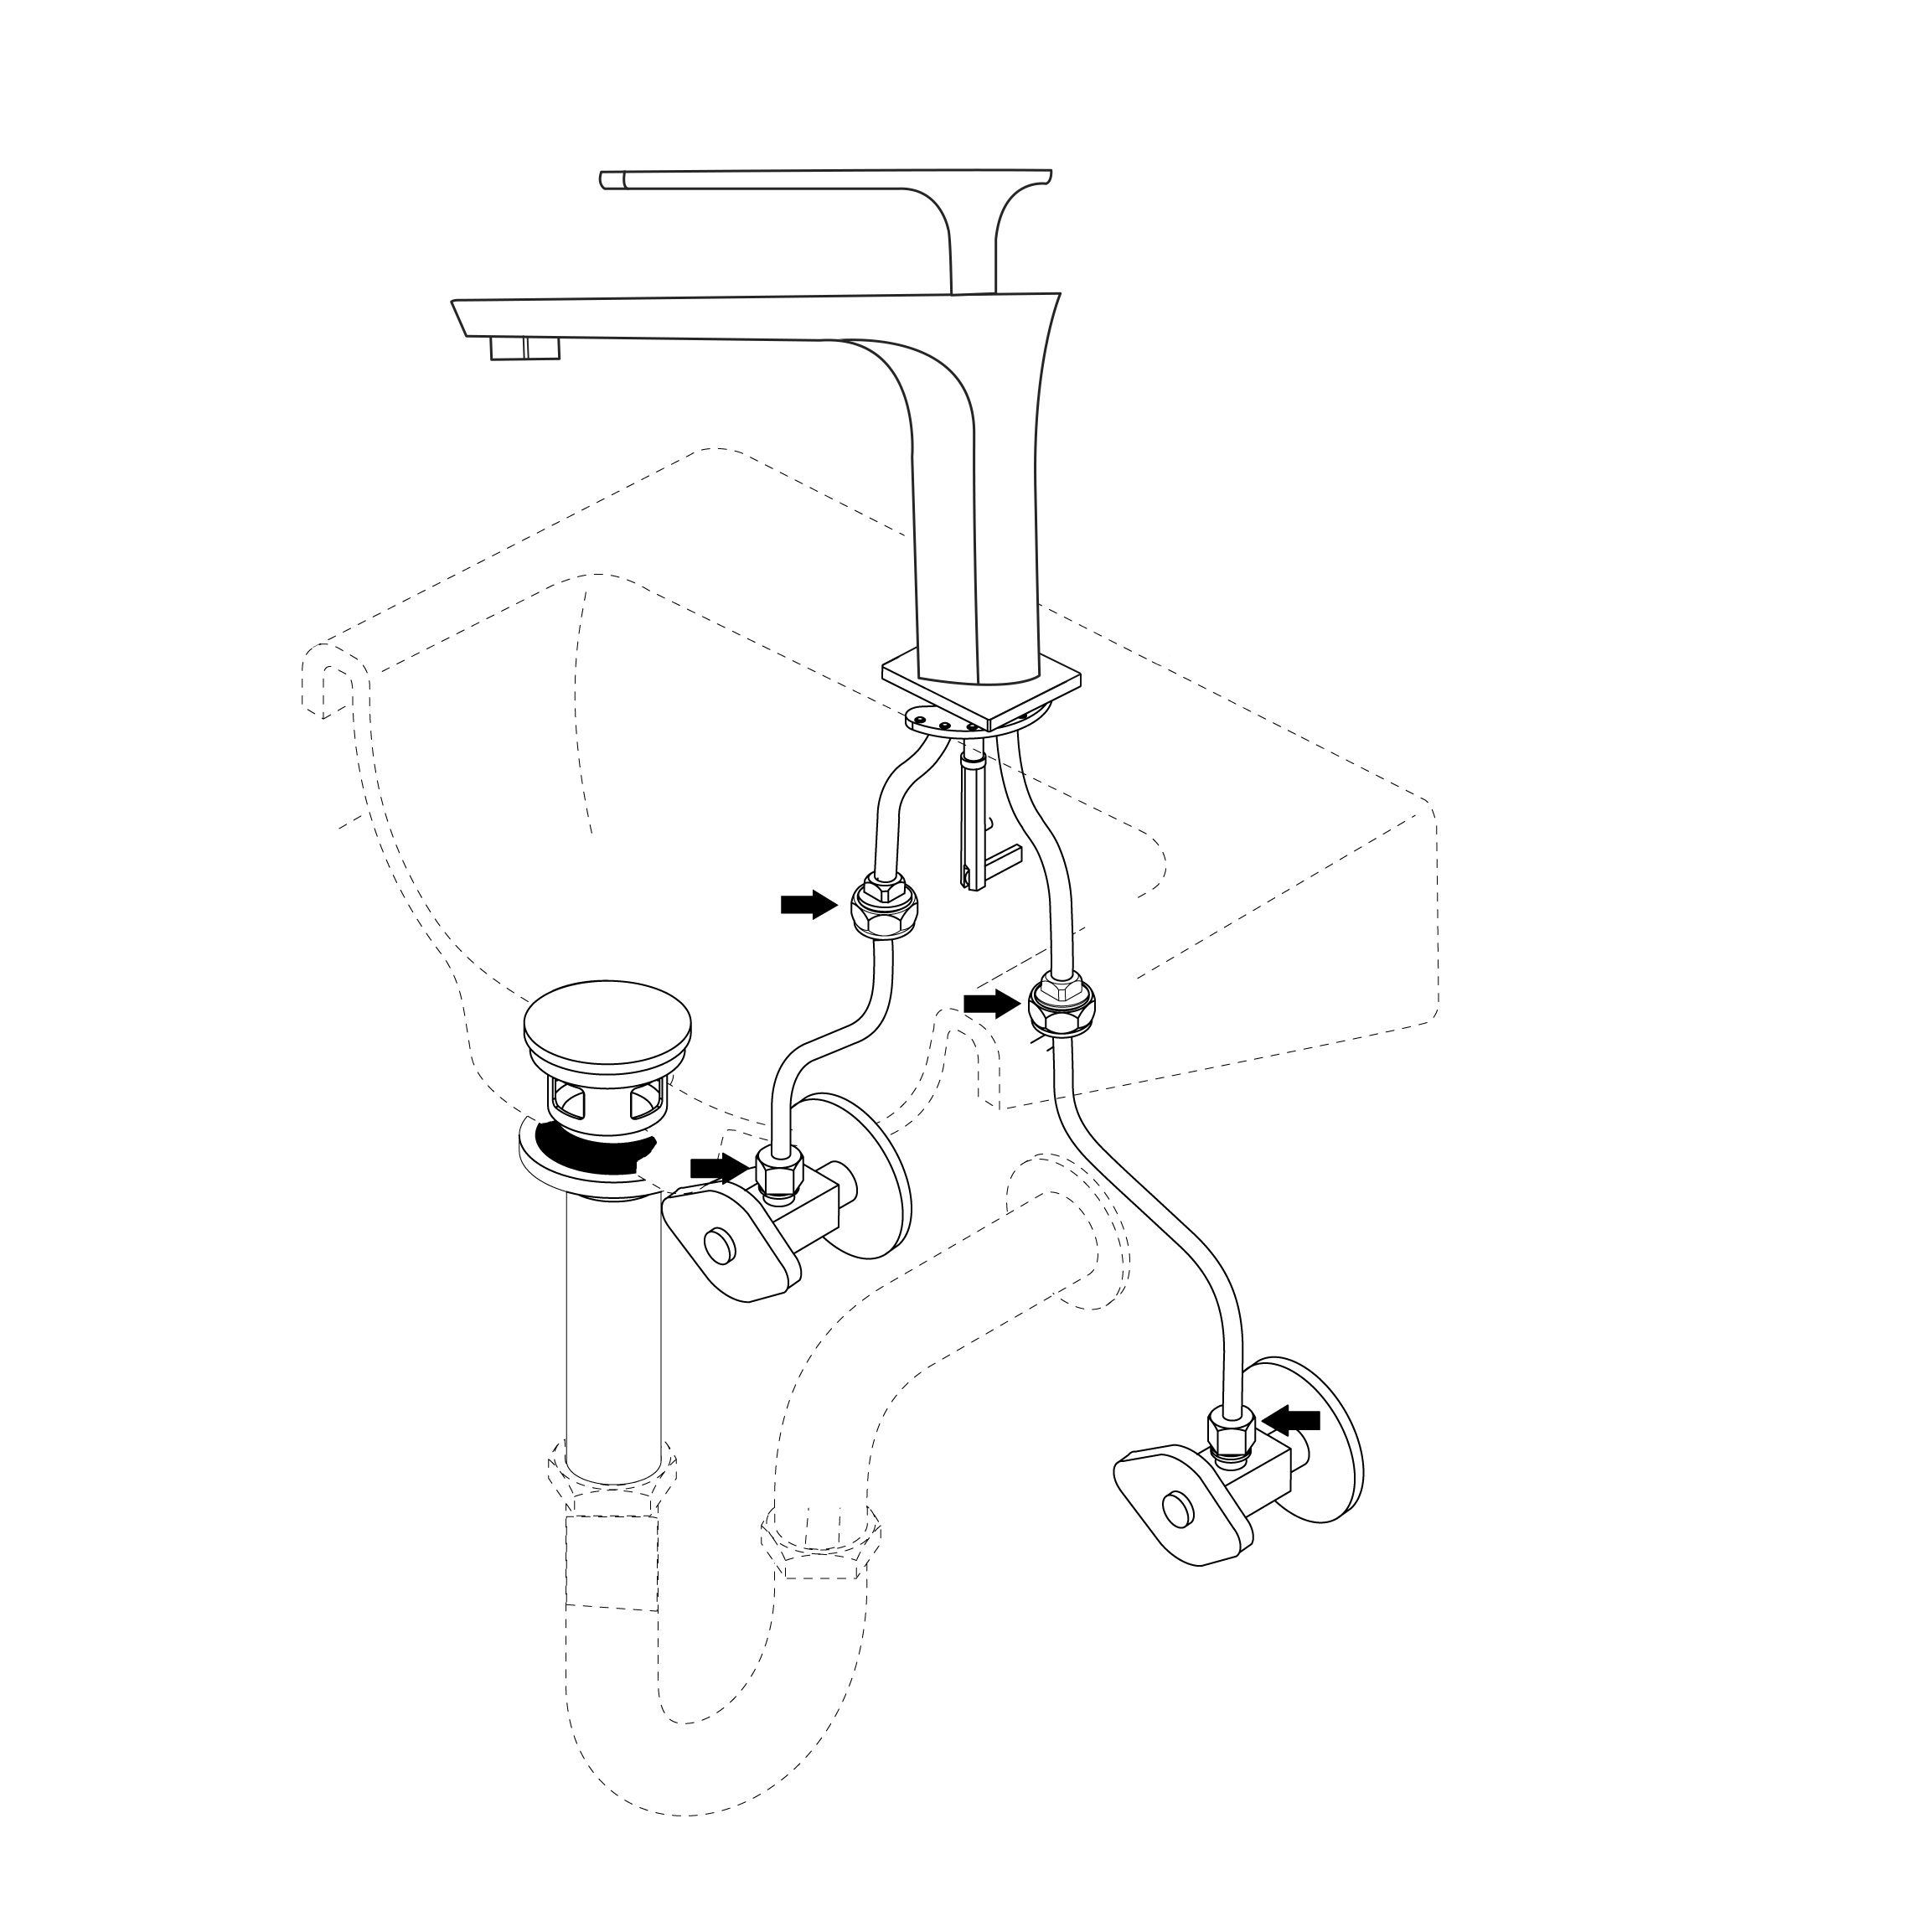
Step 3: Slide flange and round gasket (1) up over tubes and mounting stud. Slide tubes down through the mounting hole and position faucet assembly on the sink. Option: If the surface is uneven, use silicone under the gasket. Place metal bracket (2) over mounting stud (3) under the sink. Secure with mounting nut / wrench (4).
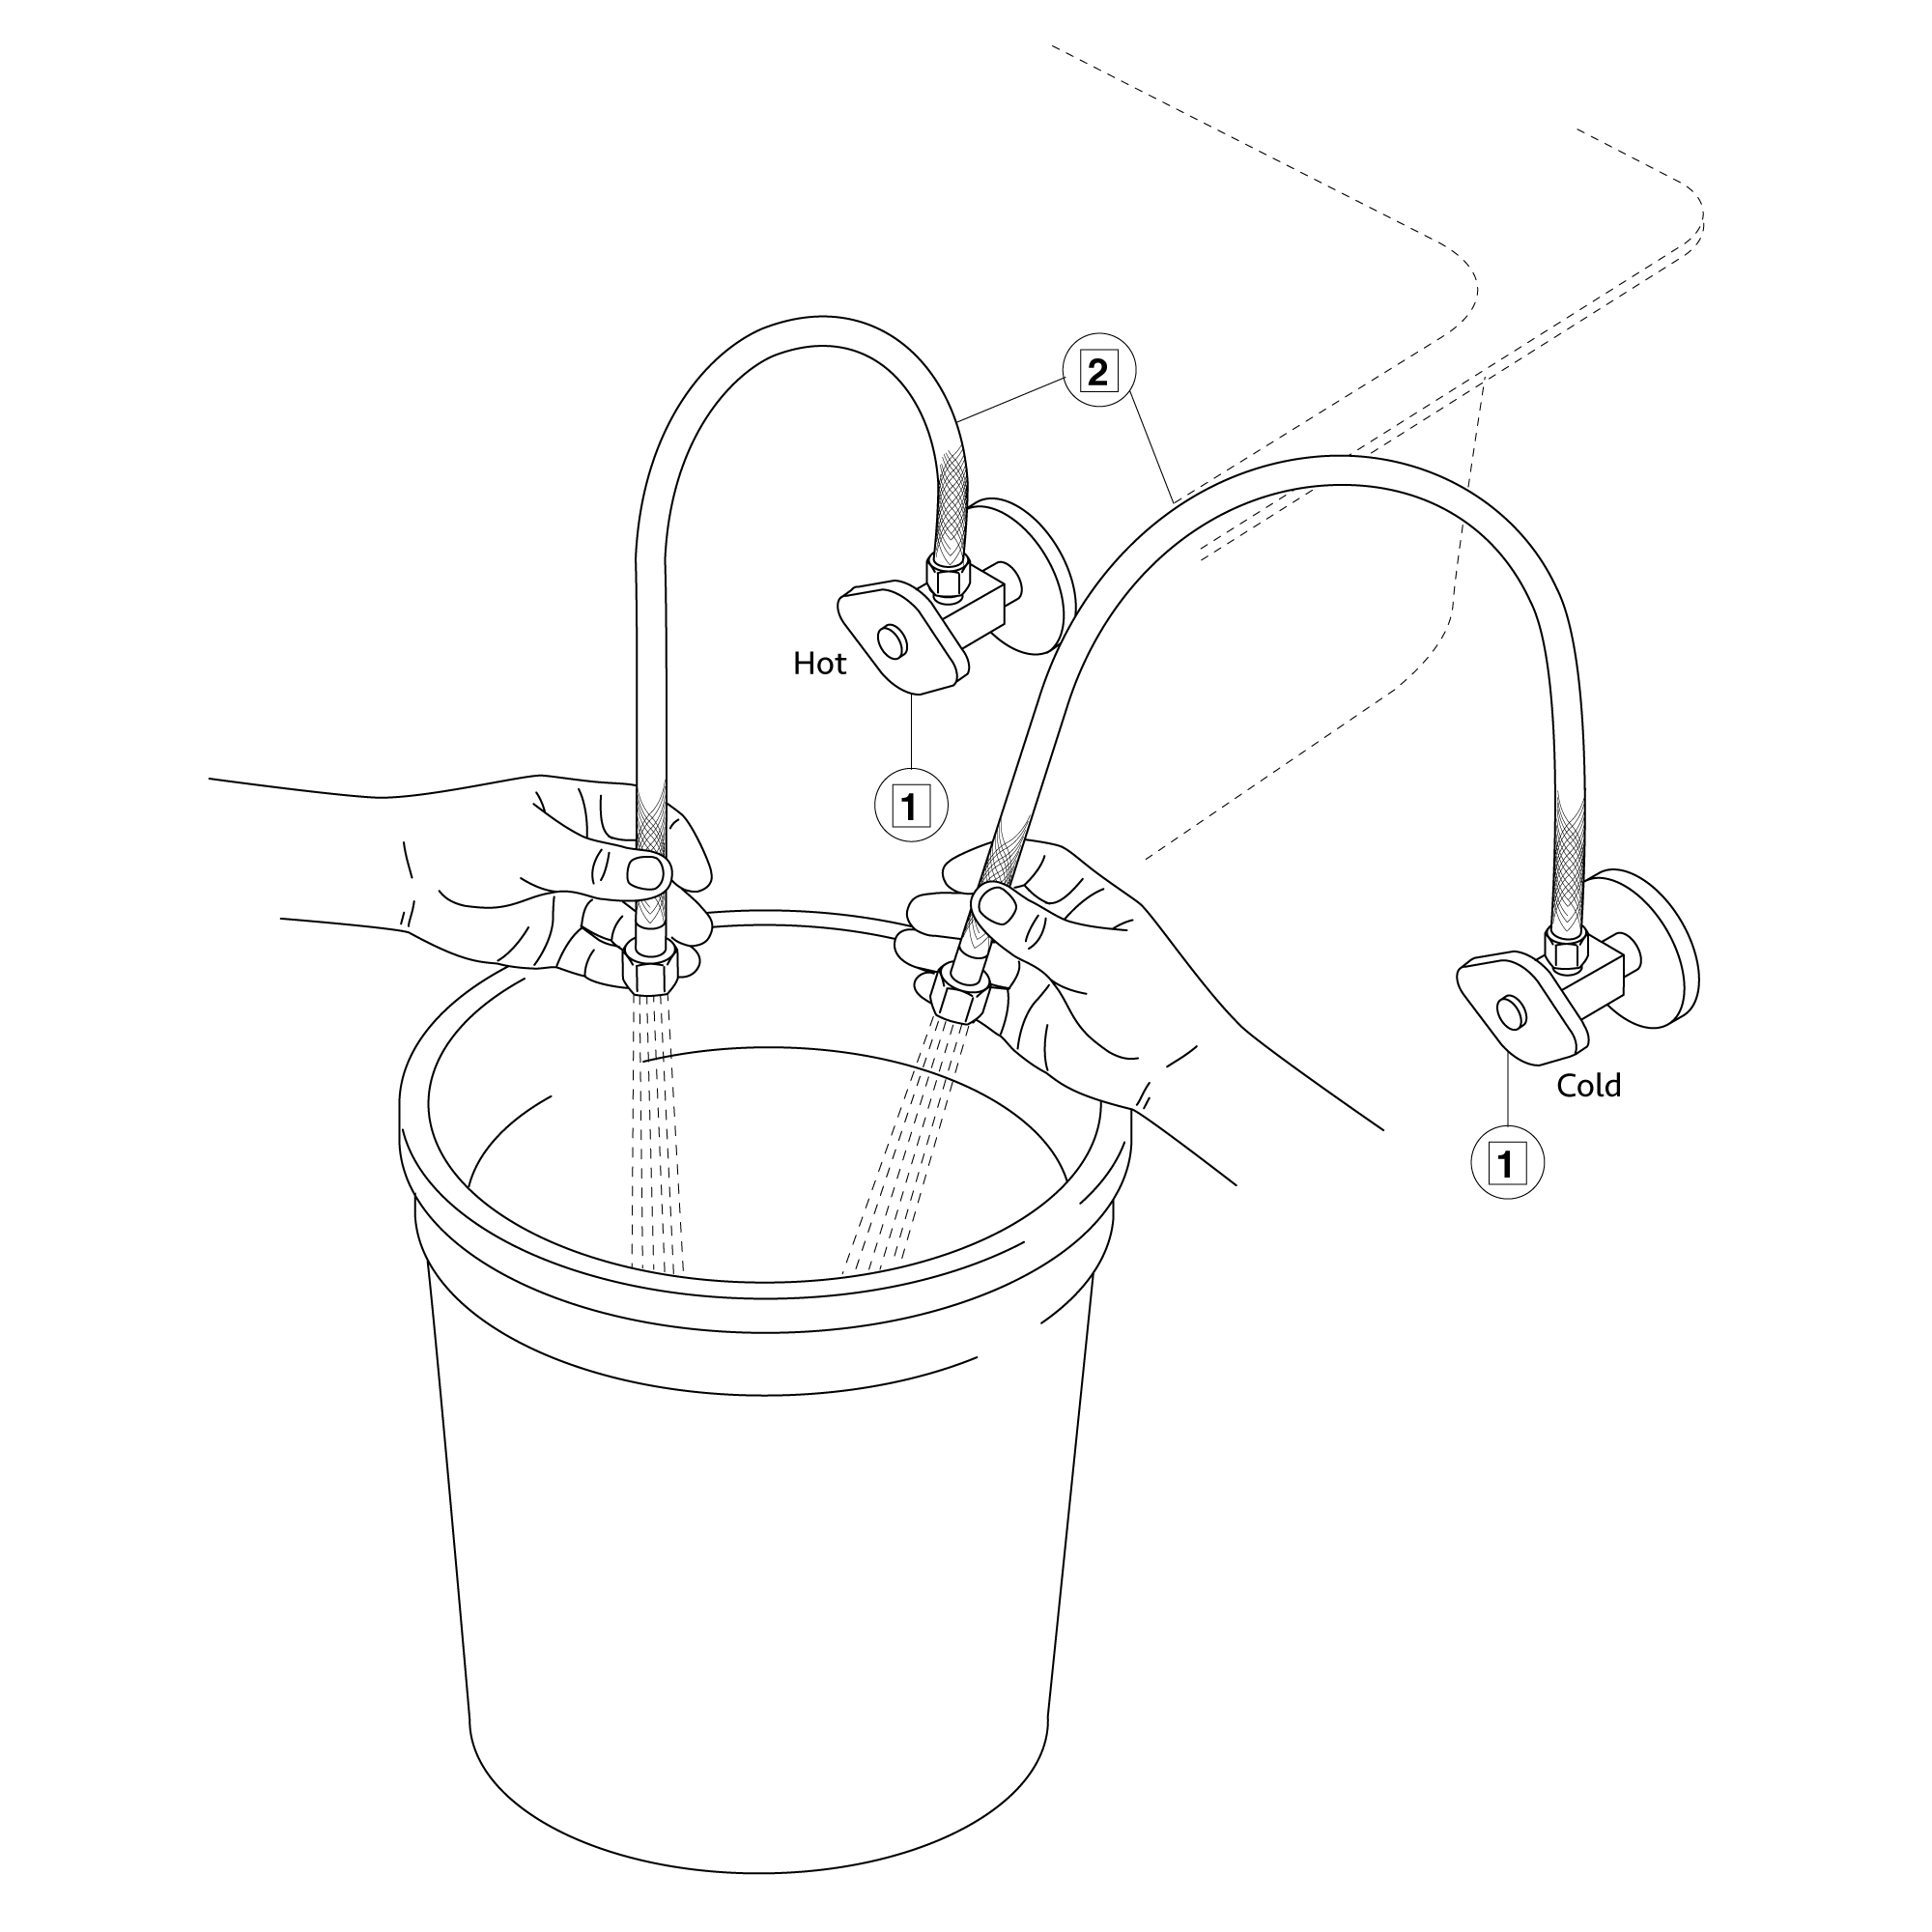
Make Connections to water supplies. Turn on hot and cold water supplies and flush water lines into a container for one minute. Important: This flushes away any debris that could cause damage to internal parts.
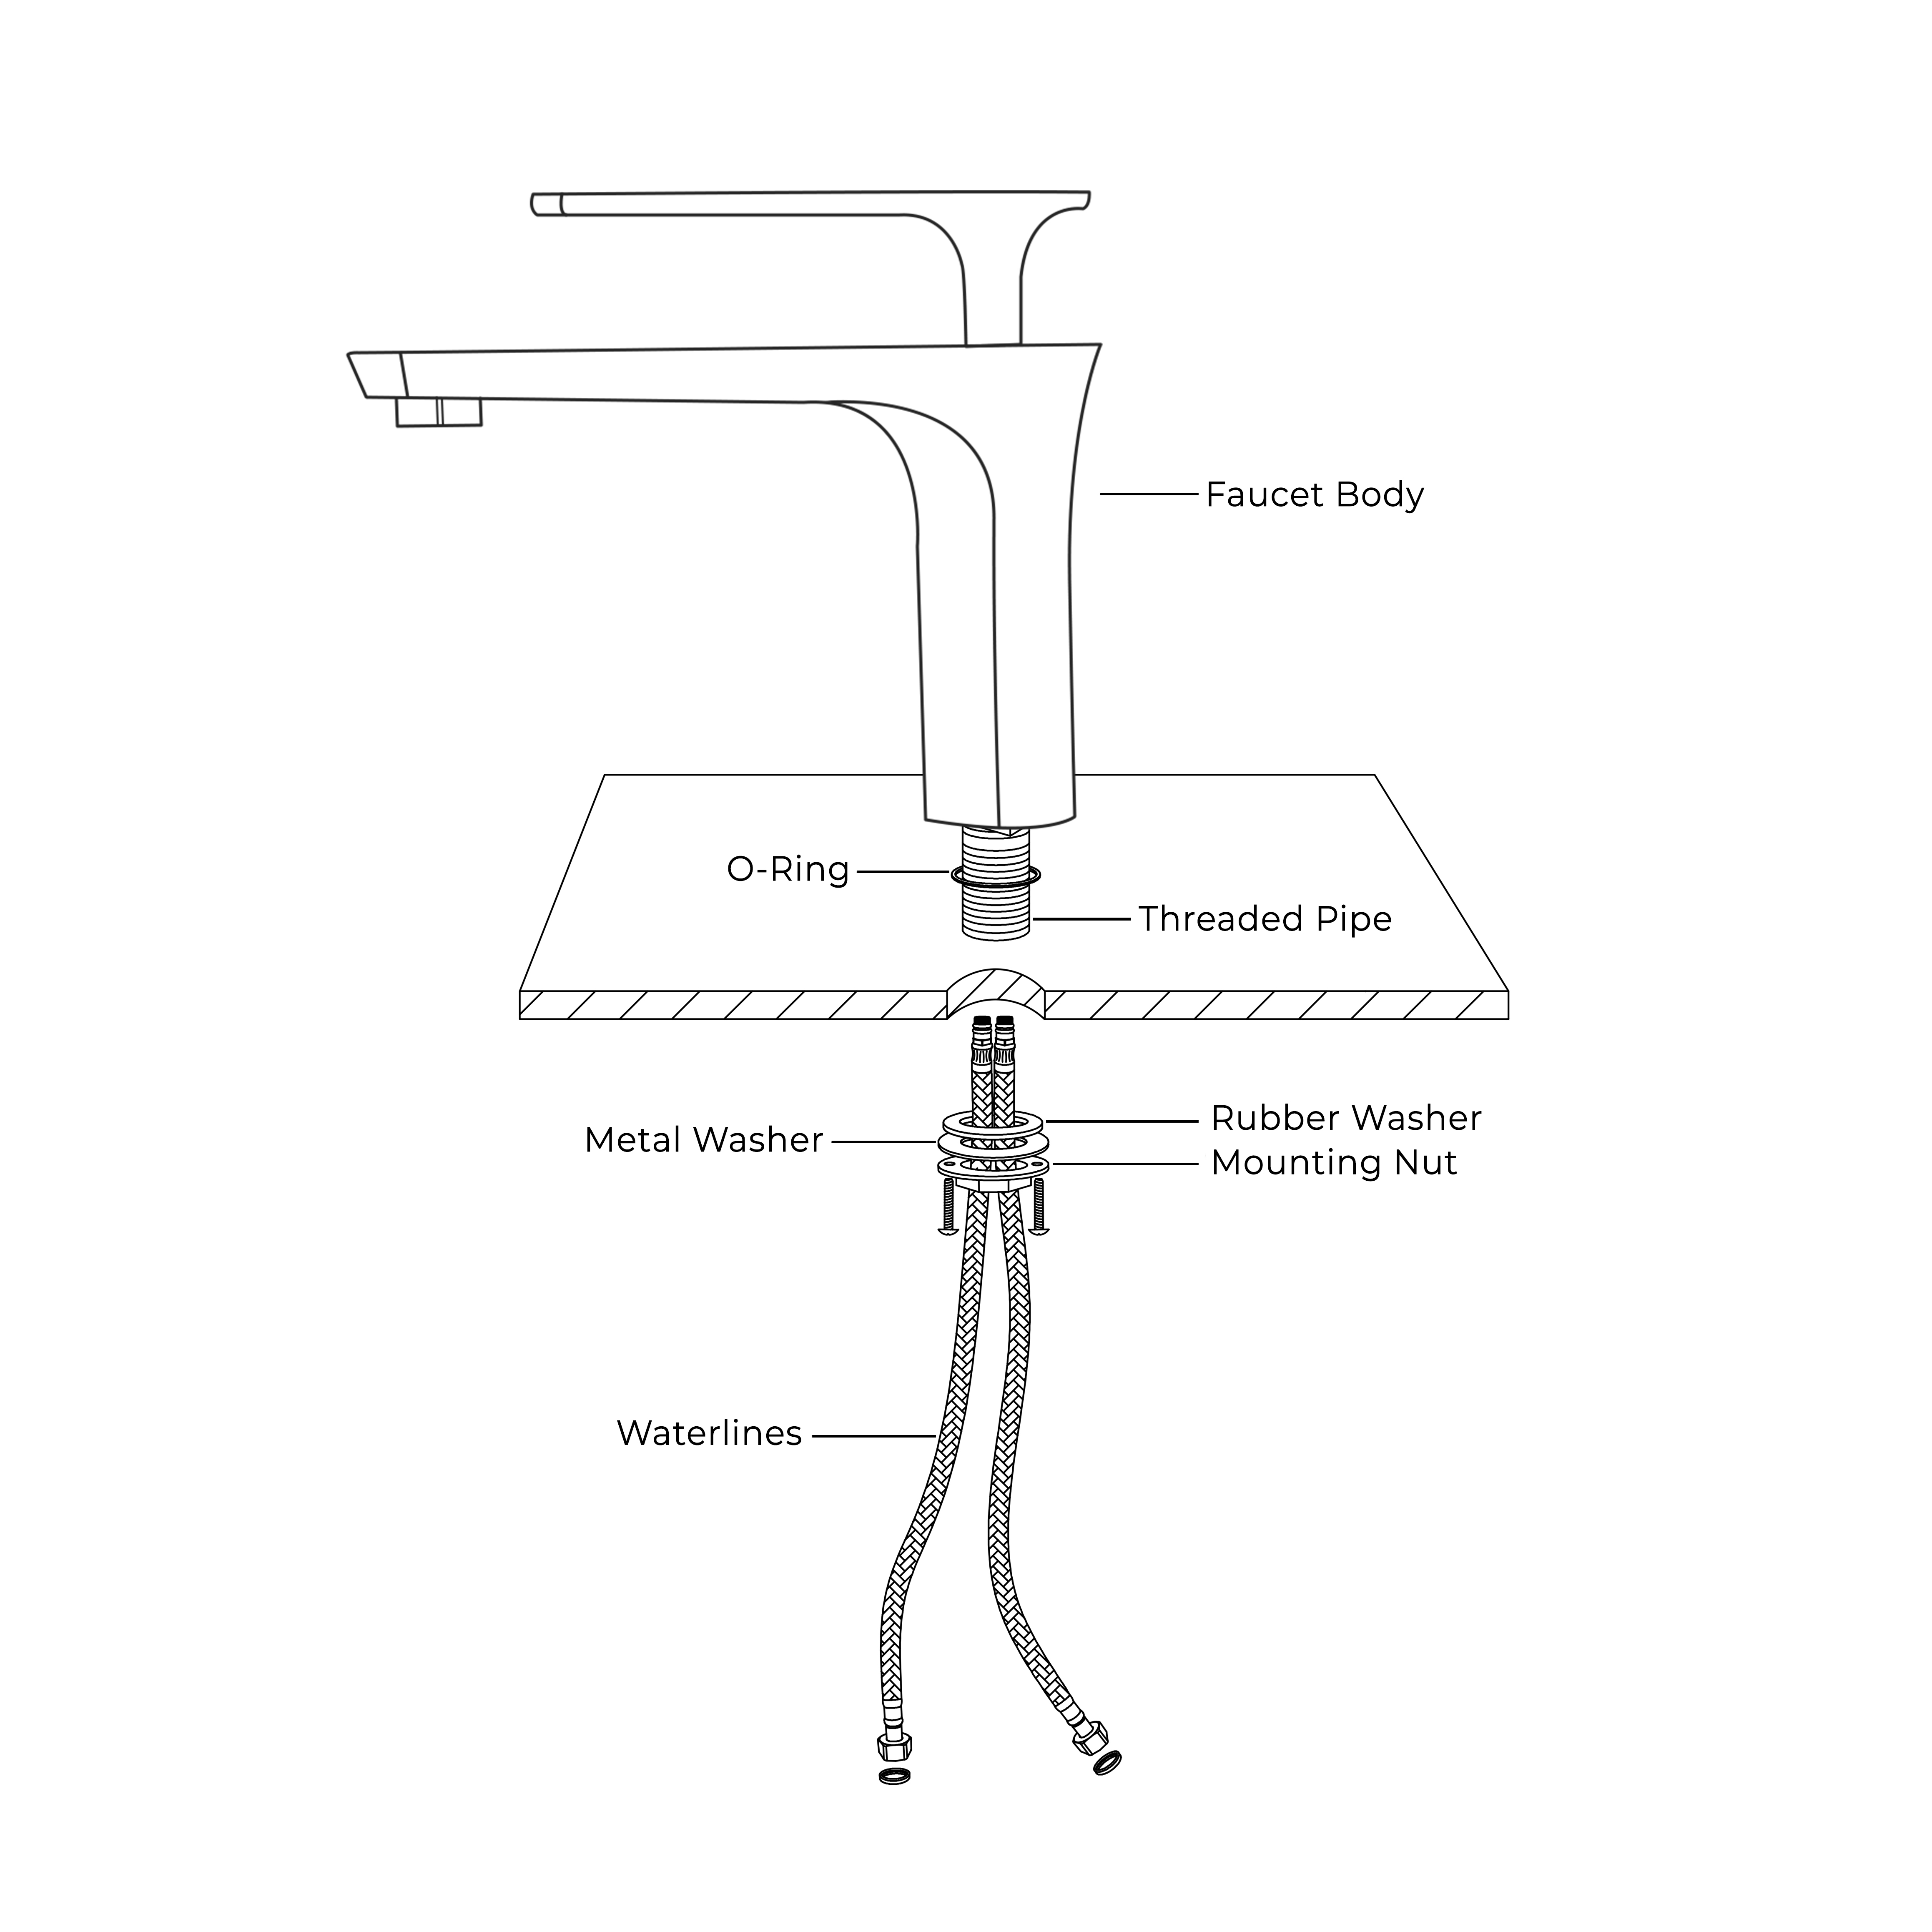
1. Remove the mounting nut, metal washer, and rubber washer from the threaded pipe. 2. Fit the O-ring into the groove of the faucet body. Screw waterlines into the corresponding screw-hole of the faucet body. 3. Insert waterlines and threaded pipe into the hole of the sink. 4. Install rubber washer, metal washer, and mounting nut back to the threaded pipe. Adjust the faucet body correctly and secure with mounting screws tightly. 5. Connect waterlines to angle stops. Turn on the angle stops and check for leaks (DO NOT TURN FAUCET ON). 6. Turn faucet on for 1 minute to flush any debris.