What distinguishes a designer shower set from a standard shower set?
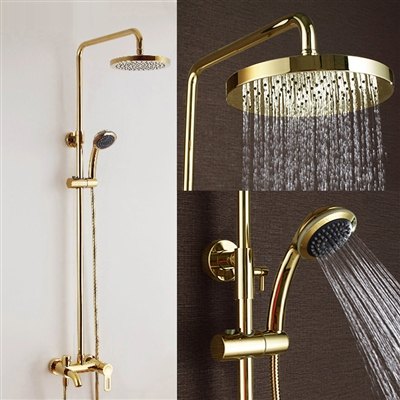
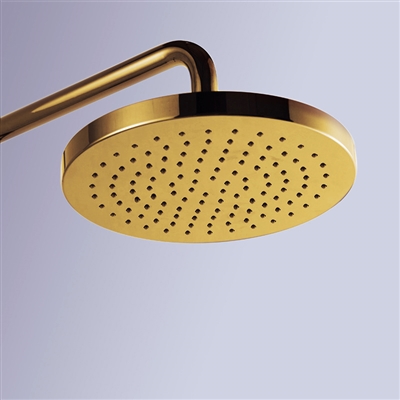
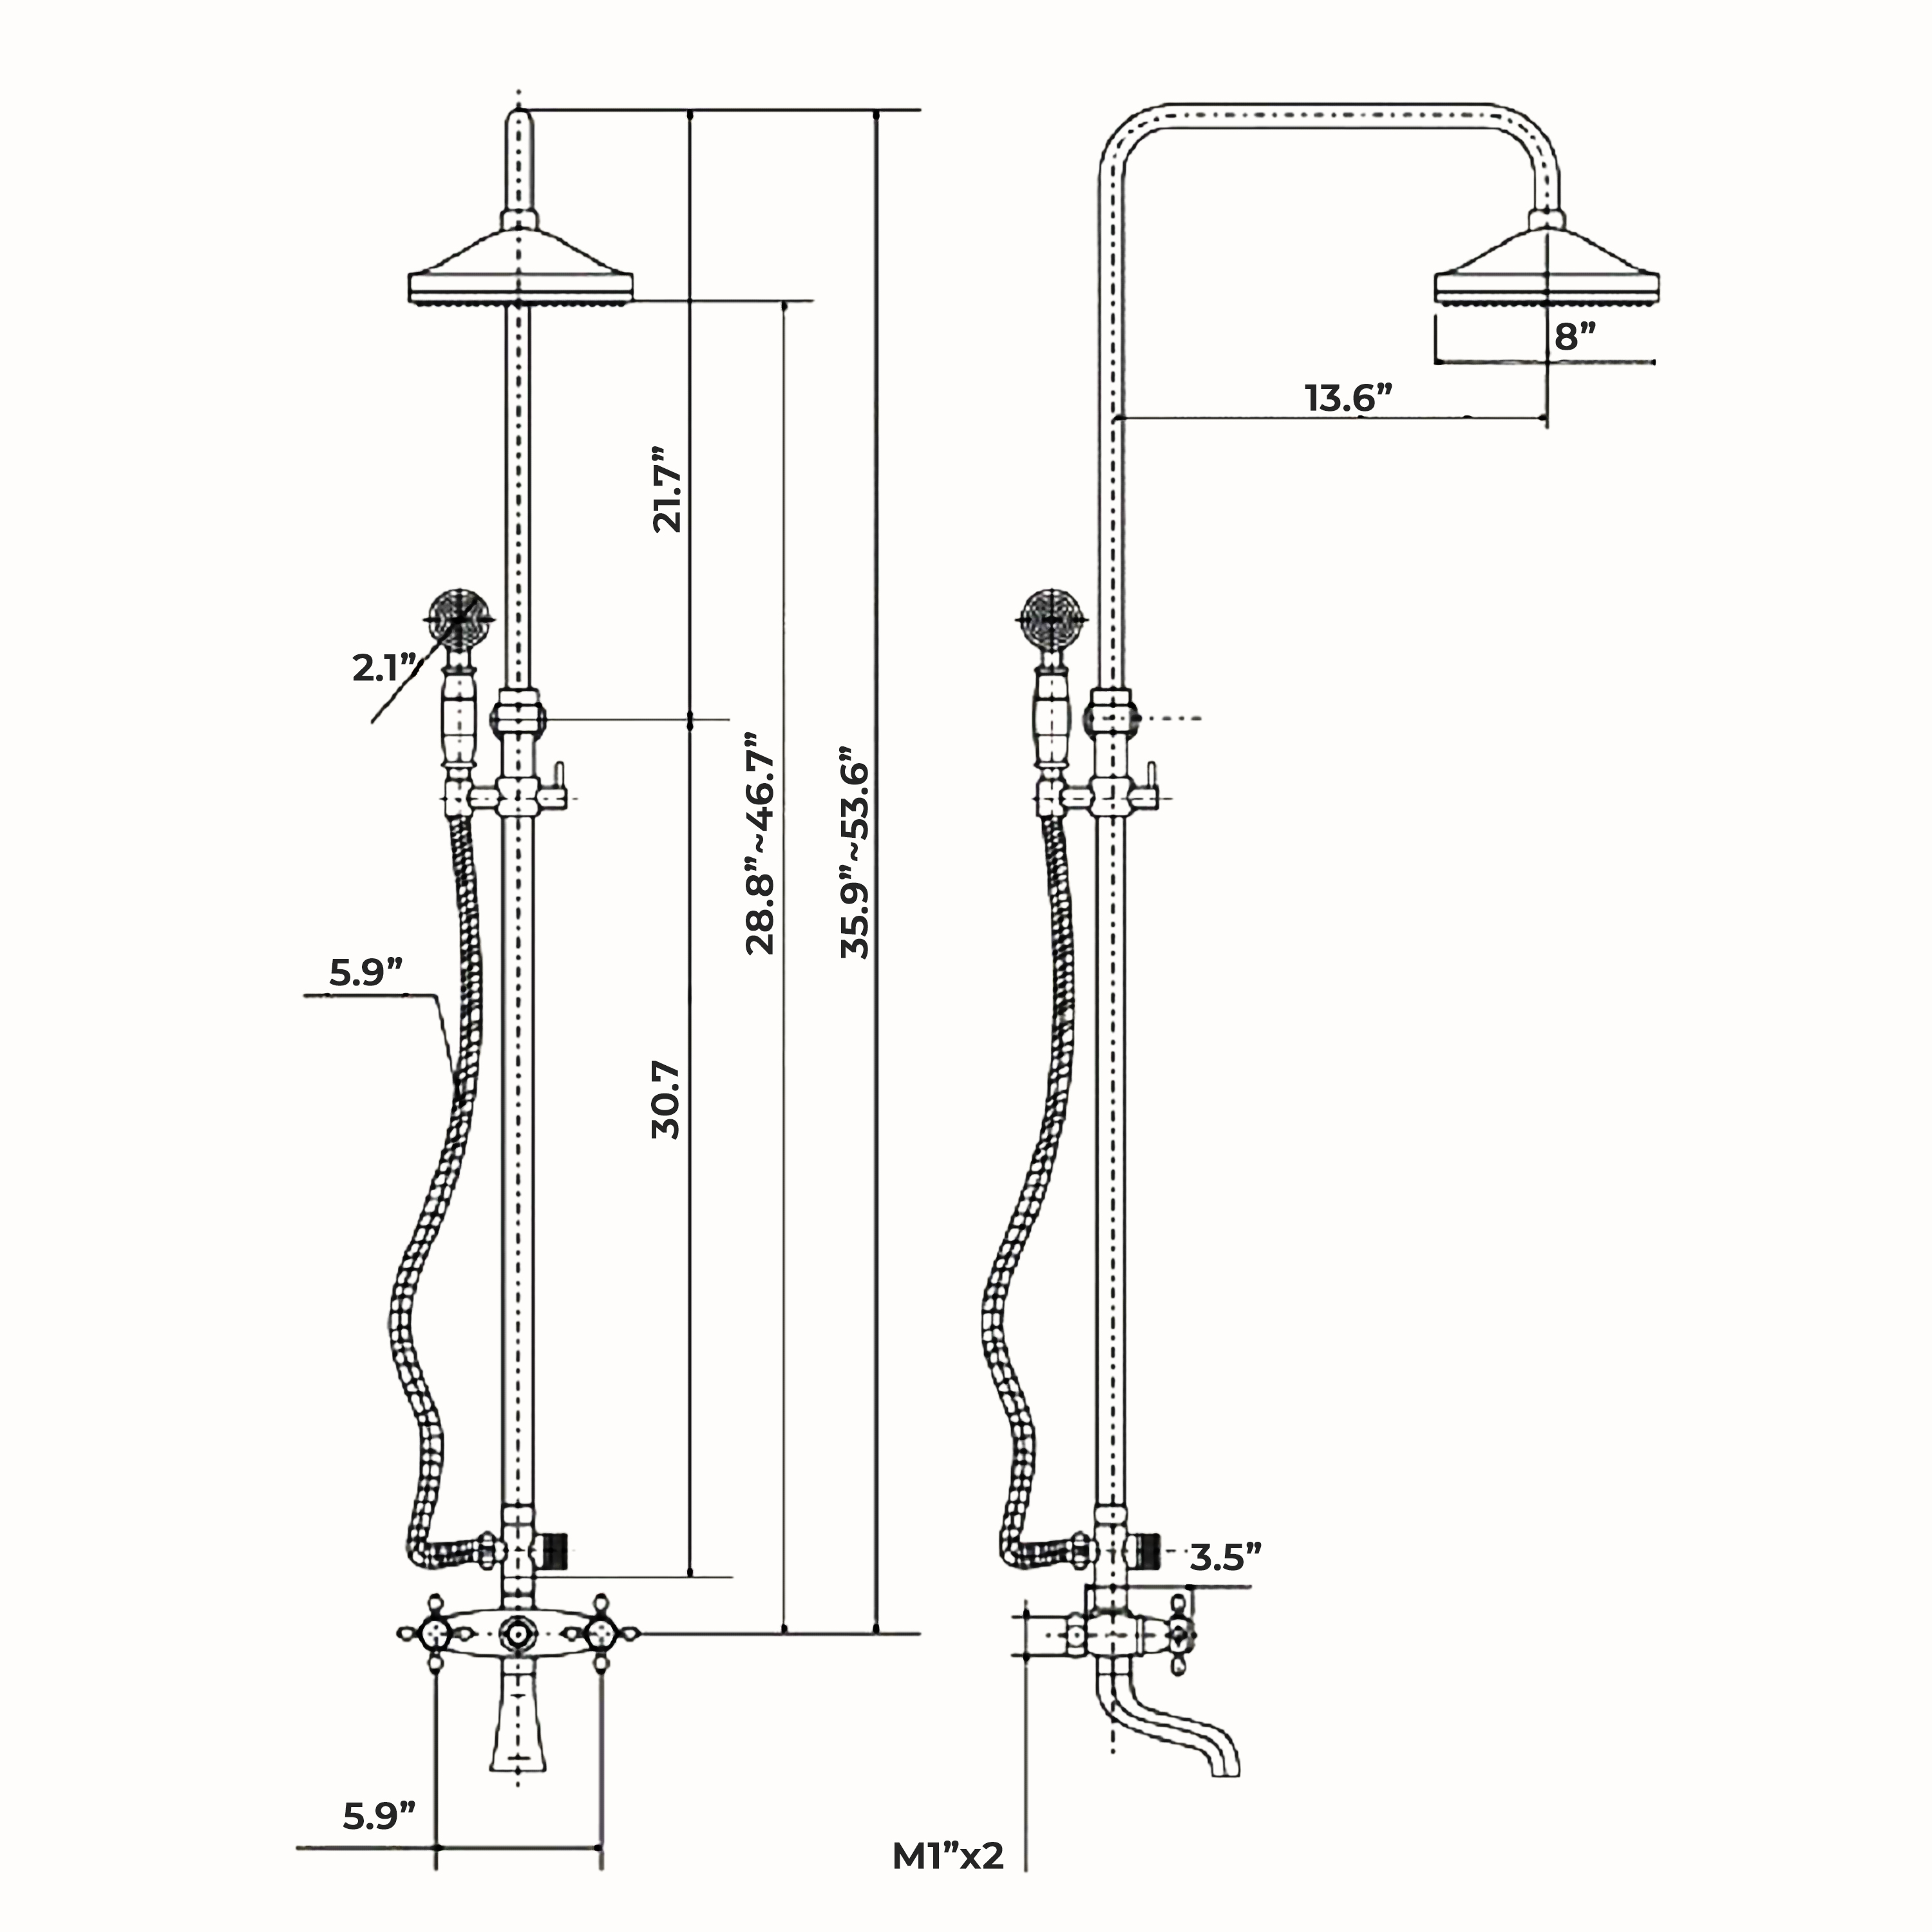
Designer shower sets are crafted with a focus on high-end materials, aesthetic appeal, and innovative features. They often include luxury elements like rain shower heads, body jets, and sophisticated controls, offering both style and superior functionality.
What are the components of a typical designer shower set?
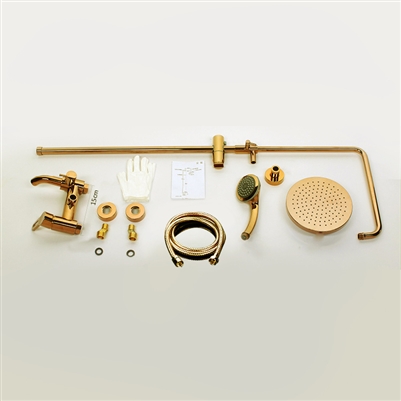
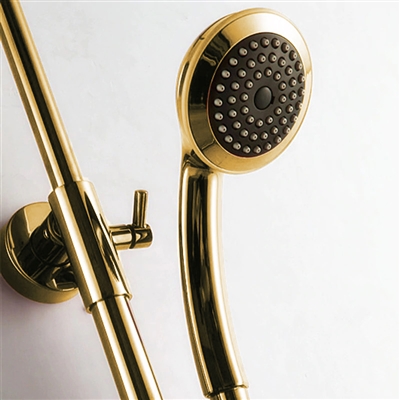
A typical designer shower set may include a rain shower head, a handheld shower, multiple body jets, a thermostatic valve, and stylish control panels. Some sets also feature integrated lighting and digital controls for a fully customizable experience.
How do thermostatic valves in designer shower sets enhance safety and comfort?
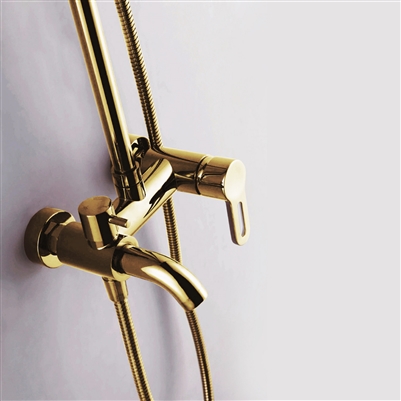
Thermostatic valves maintain a consistent water temperature by automatically adjusting the mix of hot and cold water. This prevents sudden temperature changes, enhancing safety and comfort during your shower.
Can I customize the spray patterns in a designer shower set?
Yes, many designer shower sets offer customizable spray patterns. This allows you to switch between different modes, such as rain, massage, mist, or a combination, to suit your preferences and needs.
Are designer shower sets compatible with smart home systems?
Many modern designer shower sets are compatible with smart home systems. They can be controlled via mobile apps or voice commands, allowing you to set your preferred water temperature, flow, and even schedule showers.


.png)