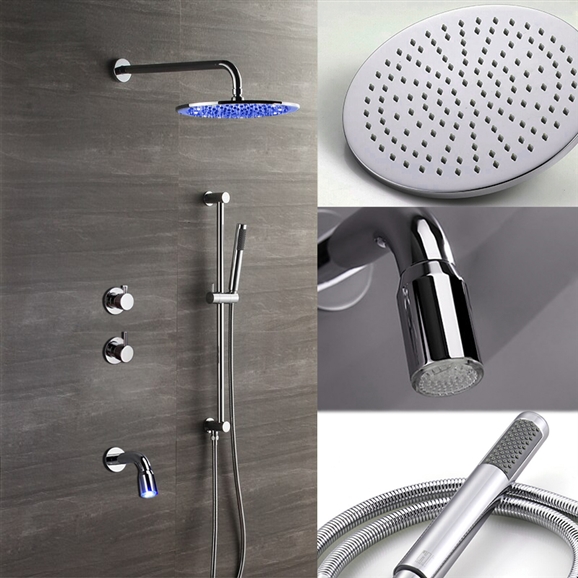
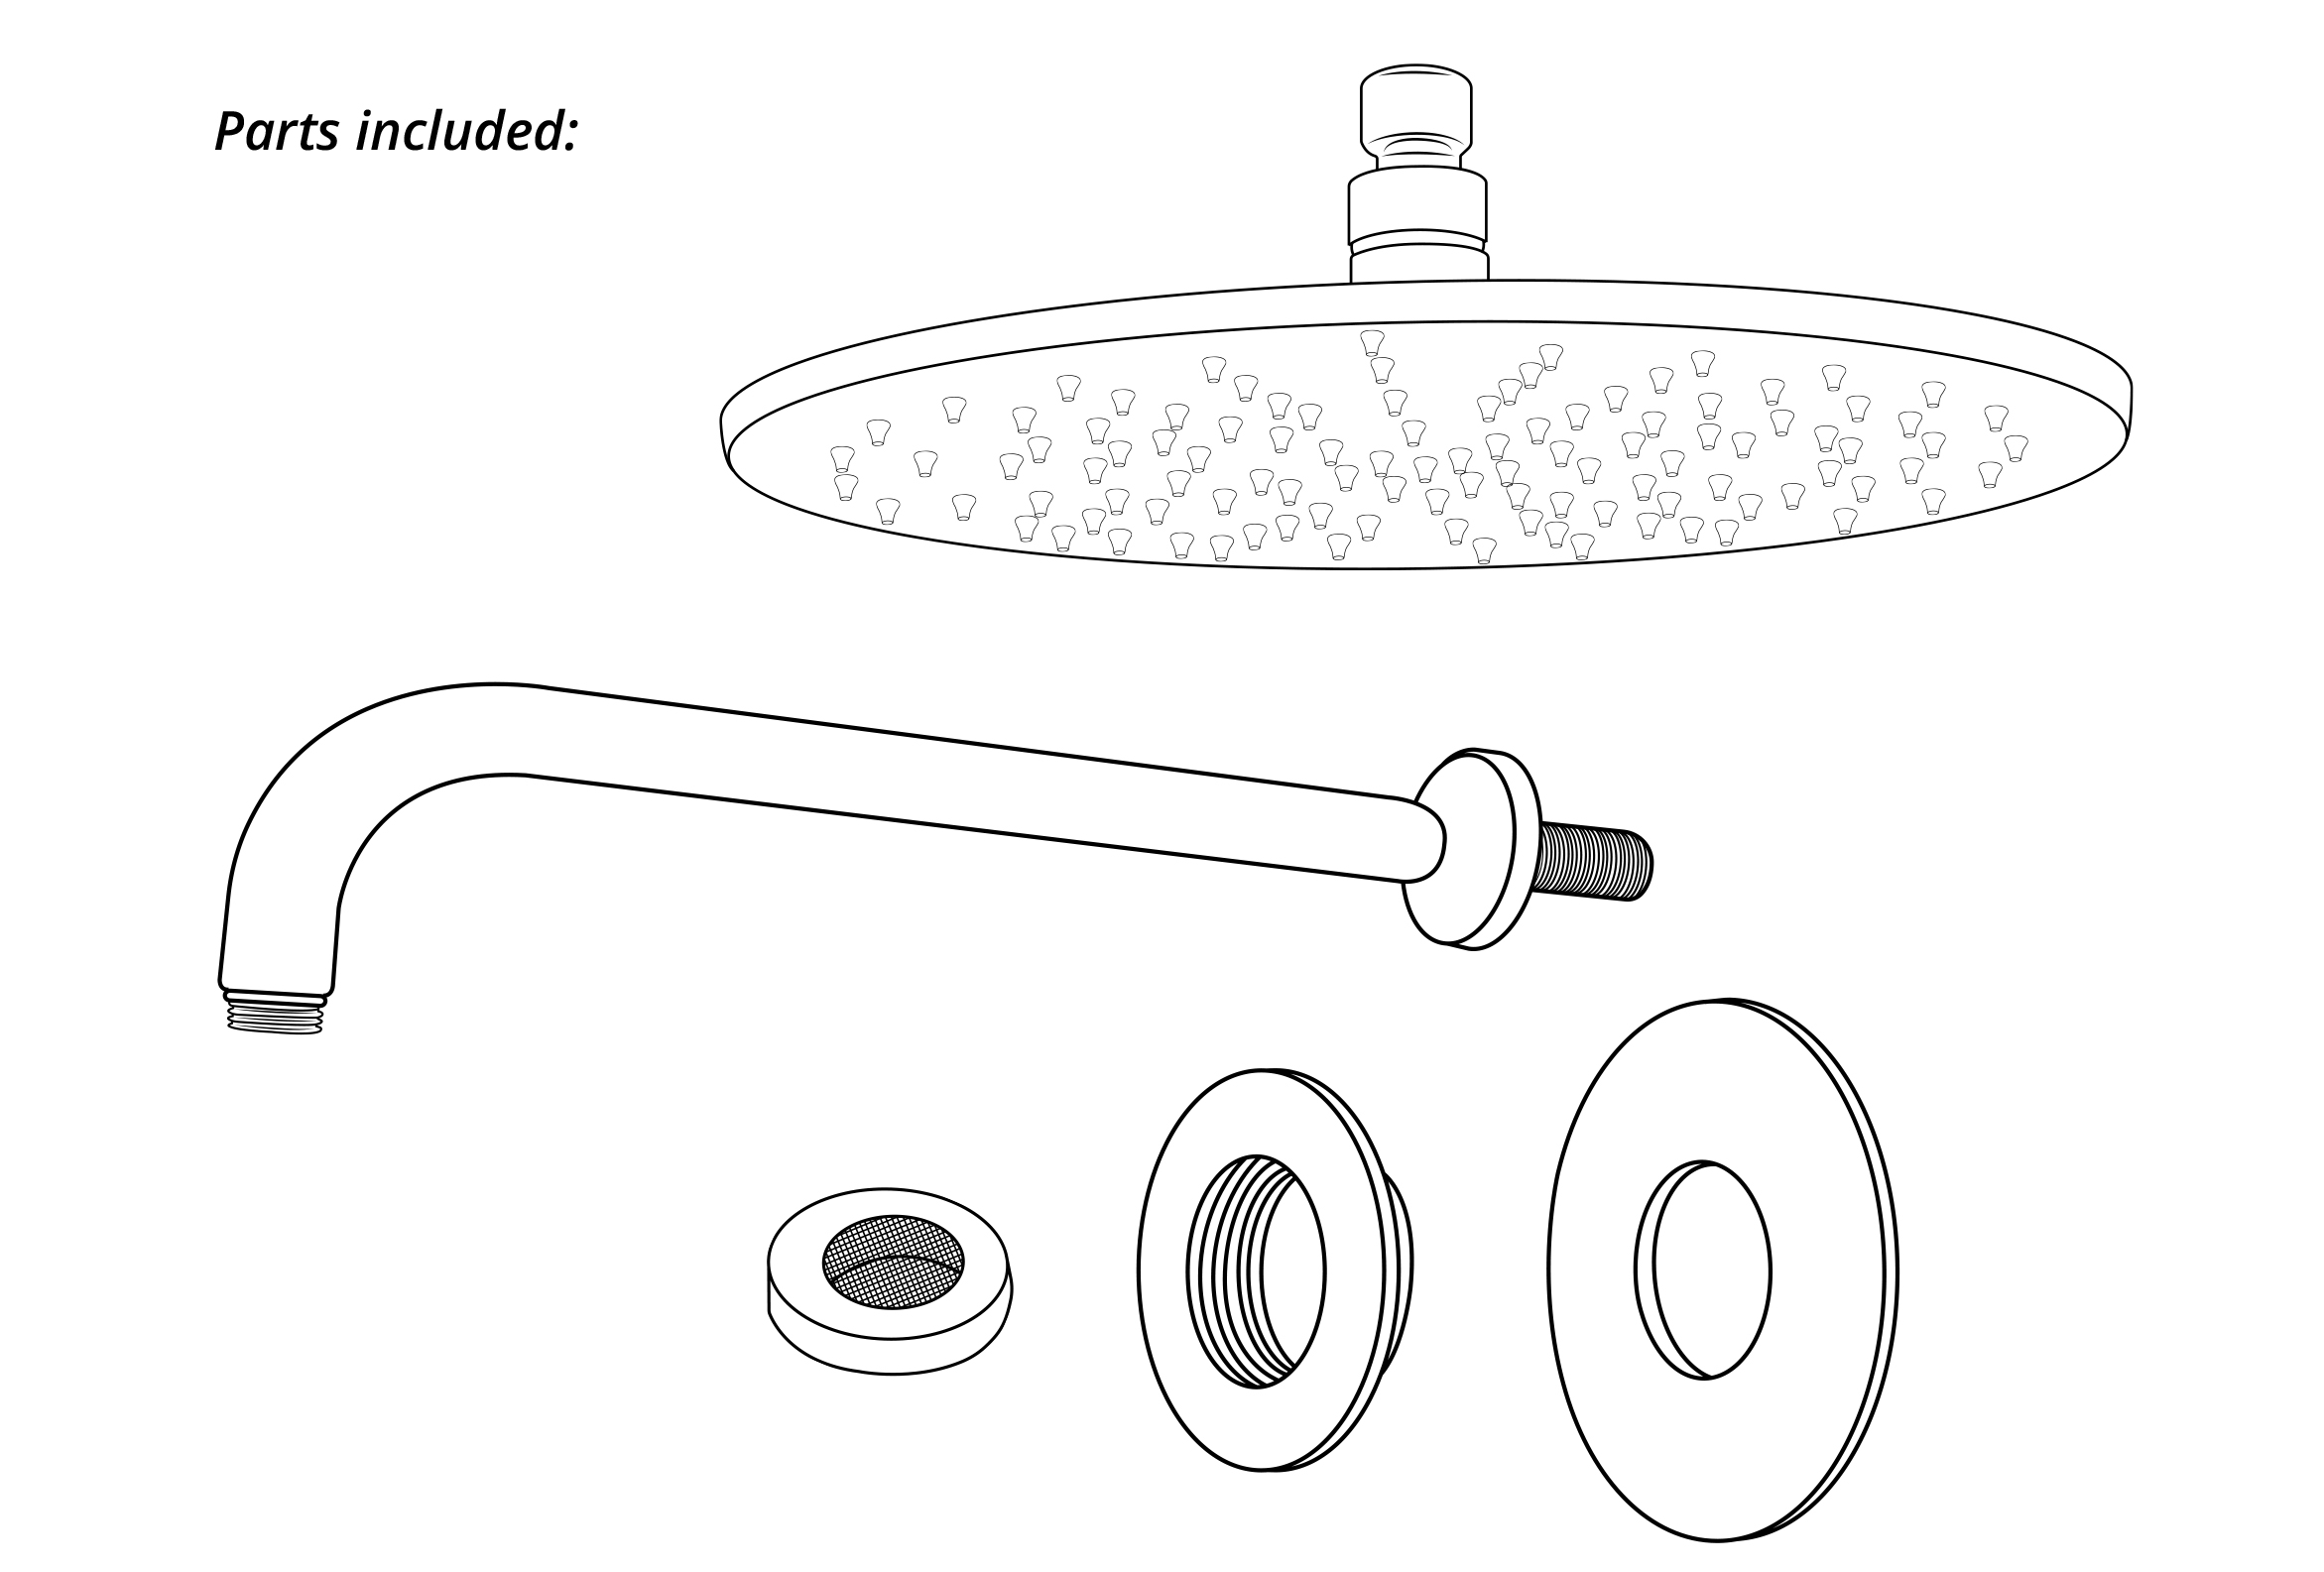
Installation Instructions for LED Shower Set
|
|

Mixer Installation
Hand-Held Shower Installation
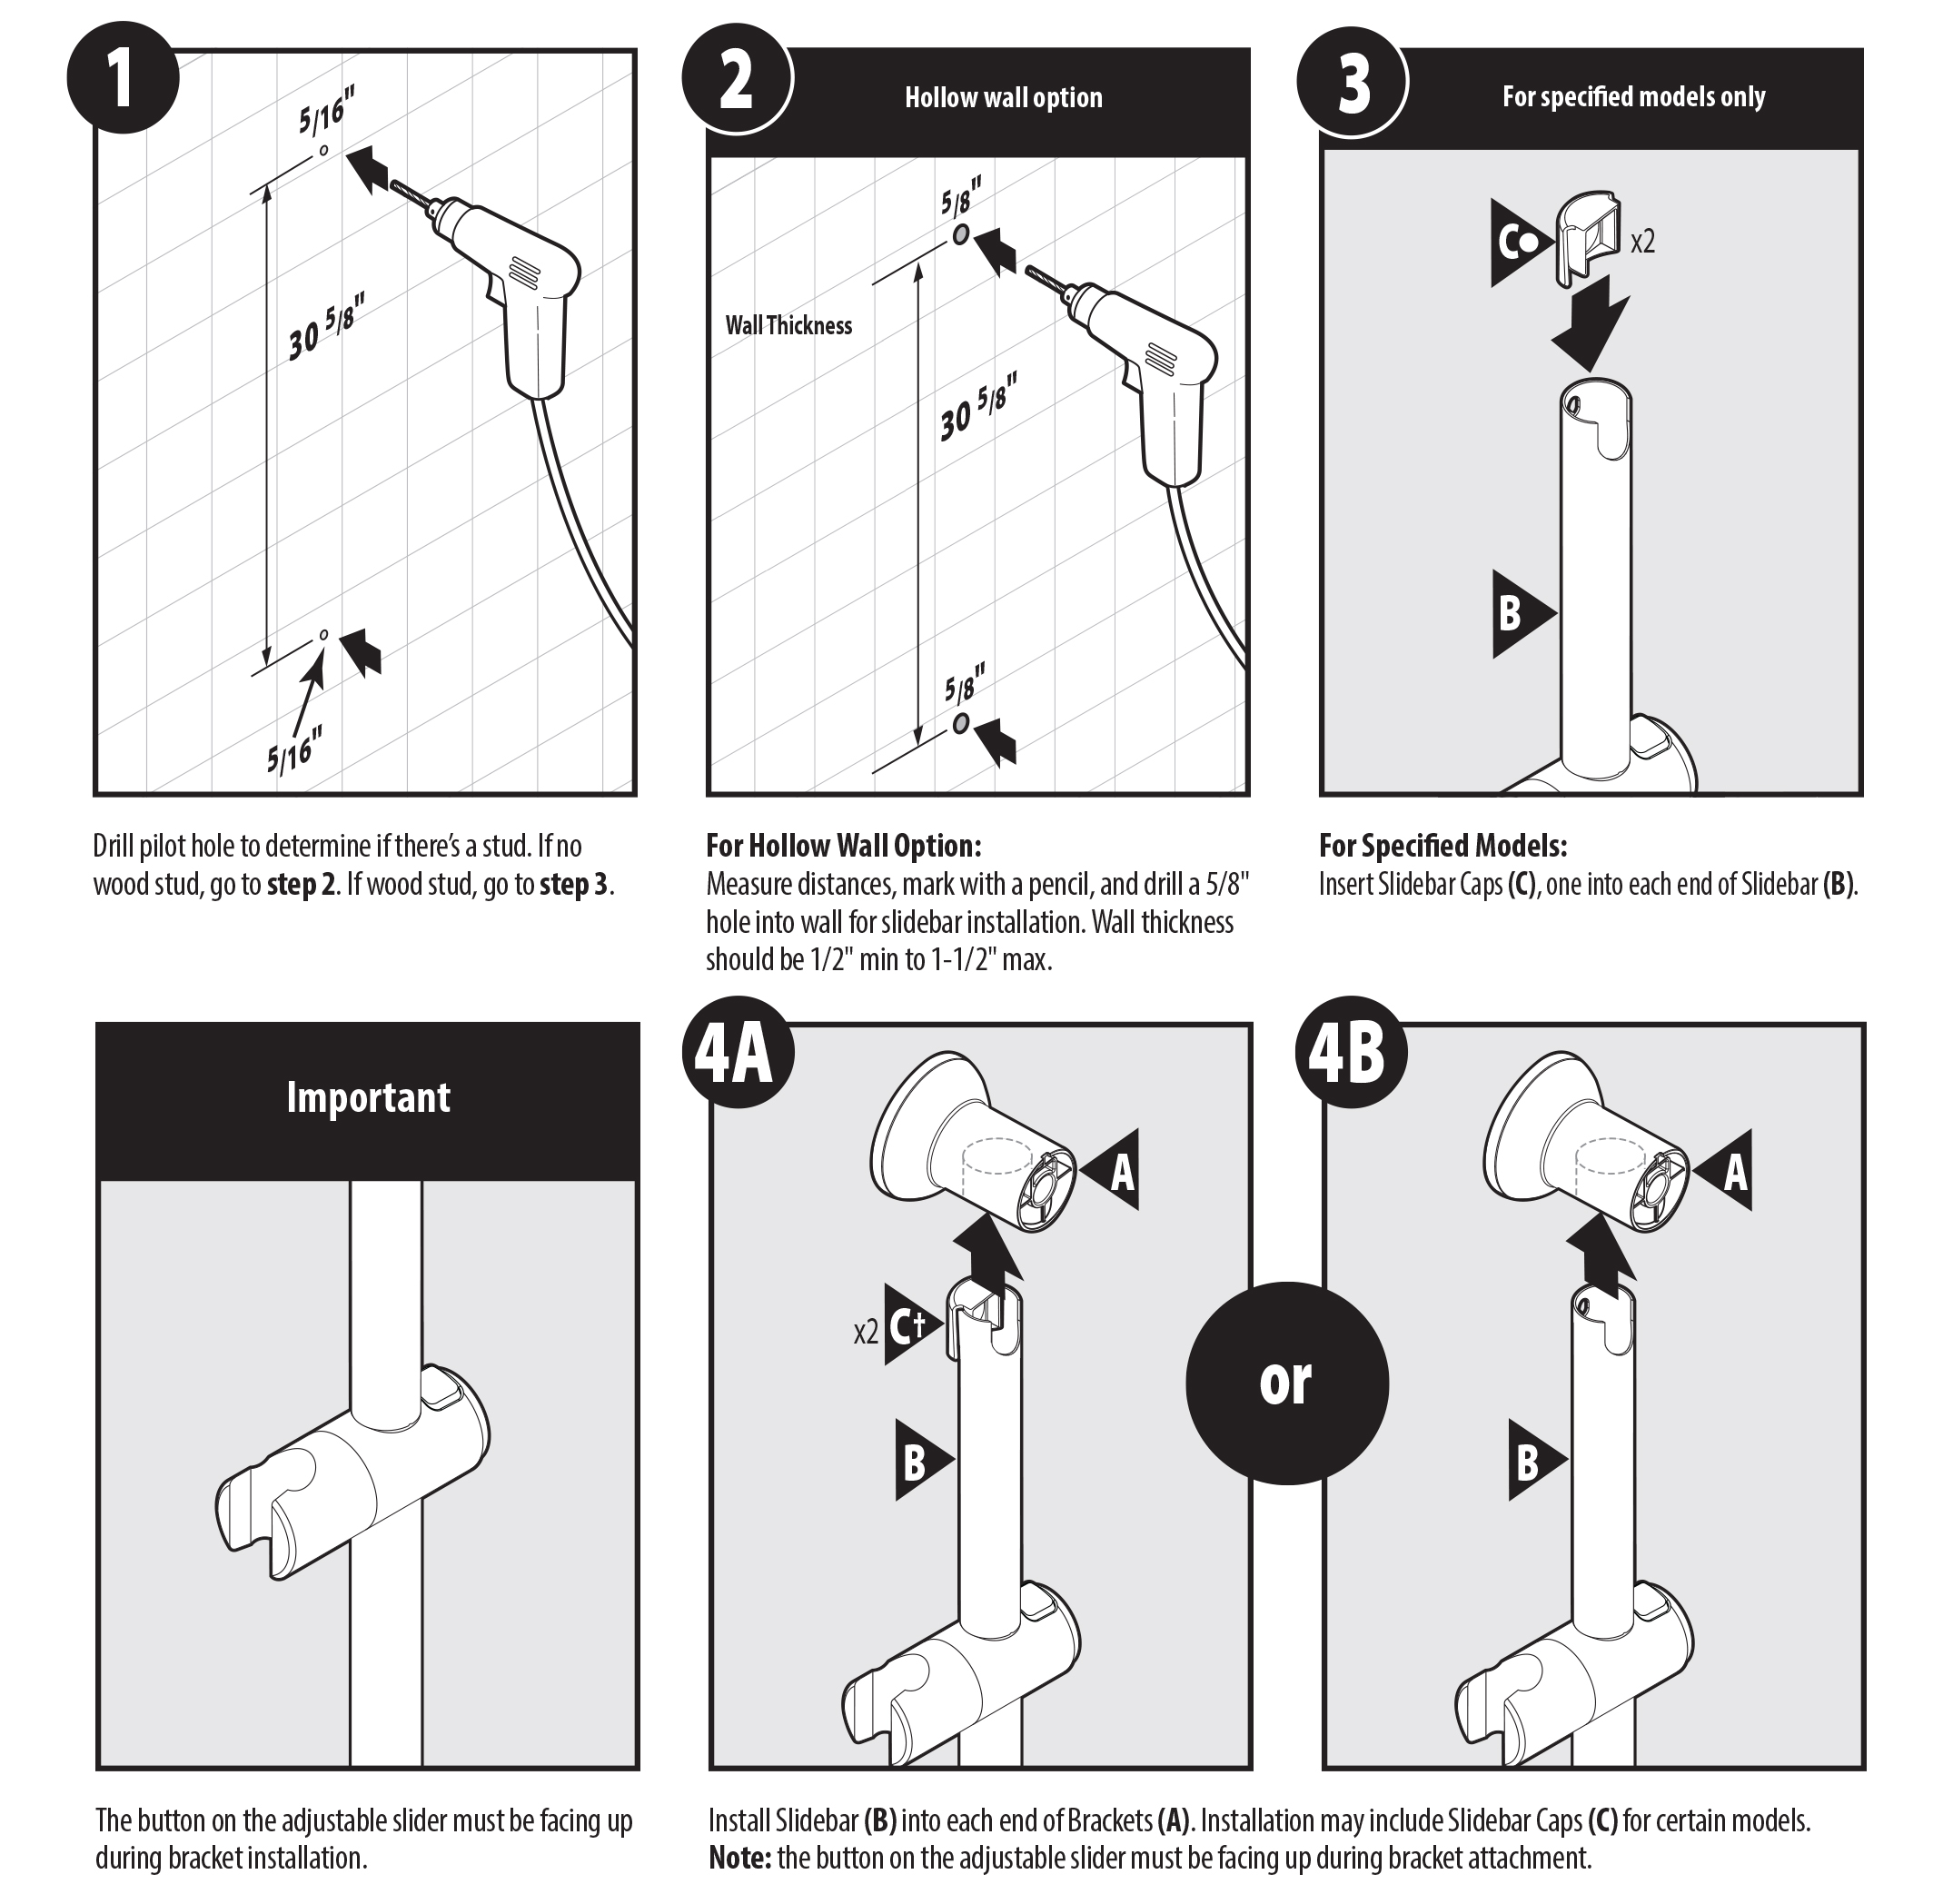 Step 1 - Drill pilot hole to determine if there's a stud. If no wood stud, go to step 2. If wood stud, go to step 3. Step 1 - Drill pilot hole to determine if there's a stud. If no wood stud, go to step 2. If wood stud, go to step 3.
Step 2 - For Hollow Wall Option: Measure distances, mark with a pencil, and drill a 5/8" hole into wall for sidebar installation. Wall thickness should be 1/2" min to 1-1/2" max.
Step 3 - For Specified Models: Insert Sidebar Caps (C), one into each end of Sidebar (B).
Important - The button on the adjustable slider must be facing up during bracket installation.
Step 4 - Install Sidebar (B) into each end of Brackets (A). Installation may include Sidebar Caps (C) for certain models.
Note: the button on the adjustable slider must be facing up during bracket attachment.
Step 5 - For Hollow Wall Install Option: Thread Bracket Screw (E) into Bracket (A) and into Bracket Toggle (D). Pinch ends of Toggle to fit into wall opening. Toggle should then expand.
Step 5B - For Wood Screw Install Option: Insert Wood Screw (G) through Bracket (A) into wood stud.
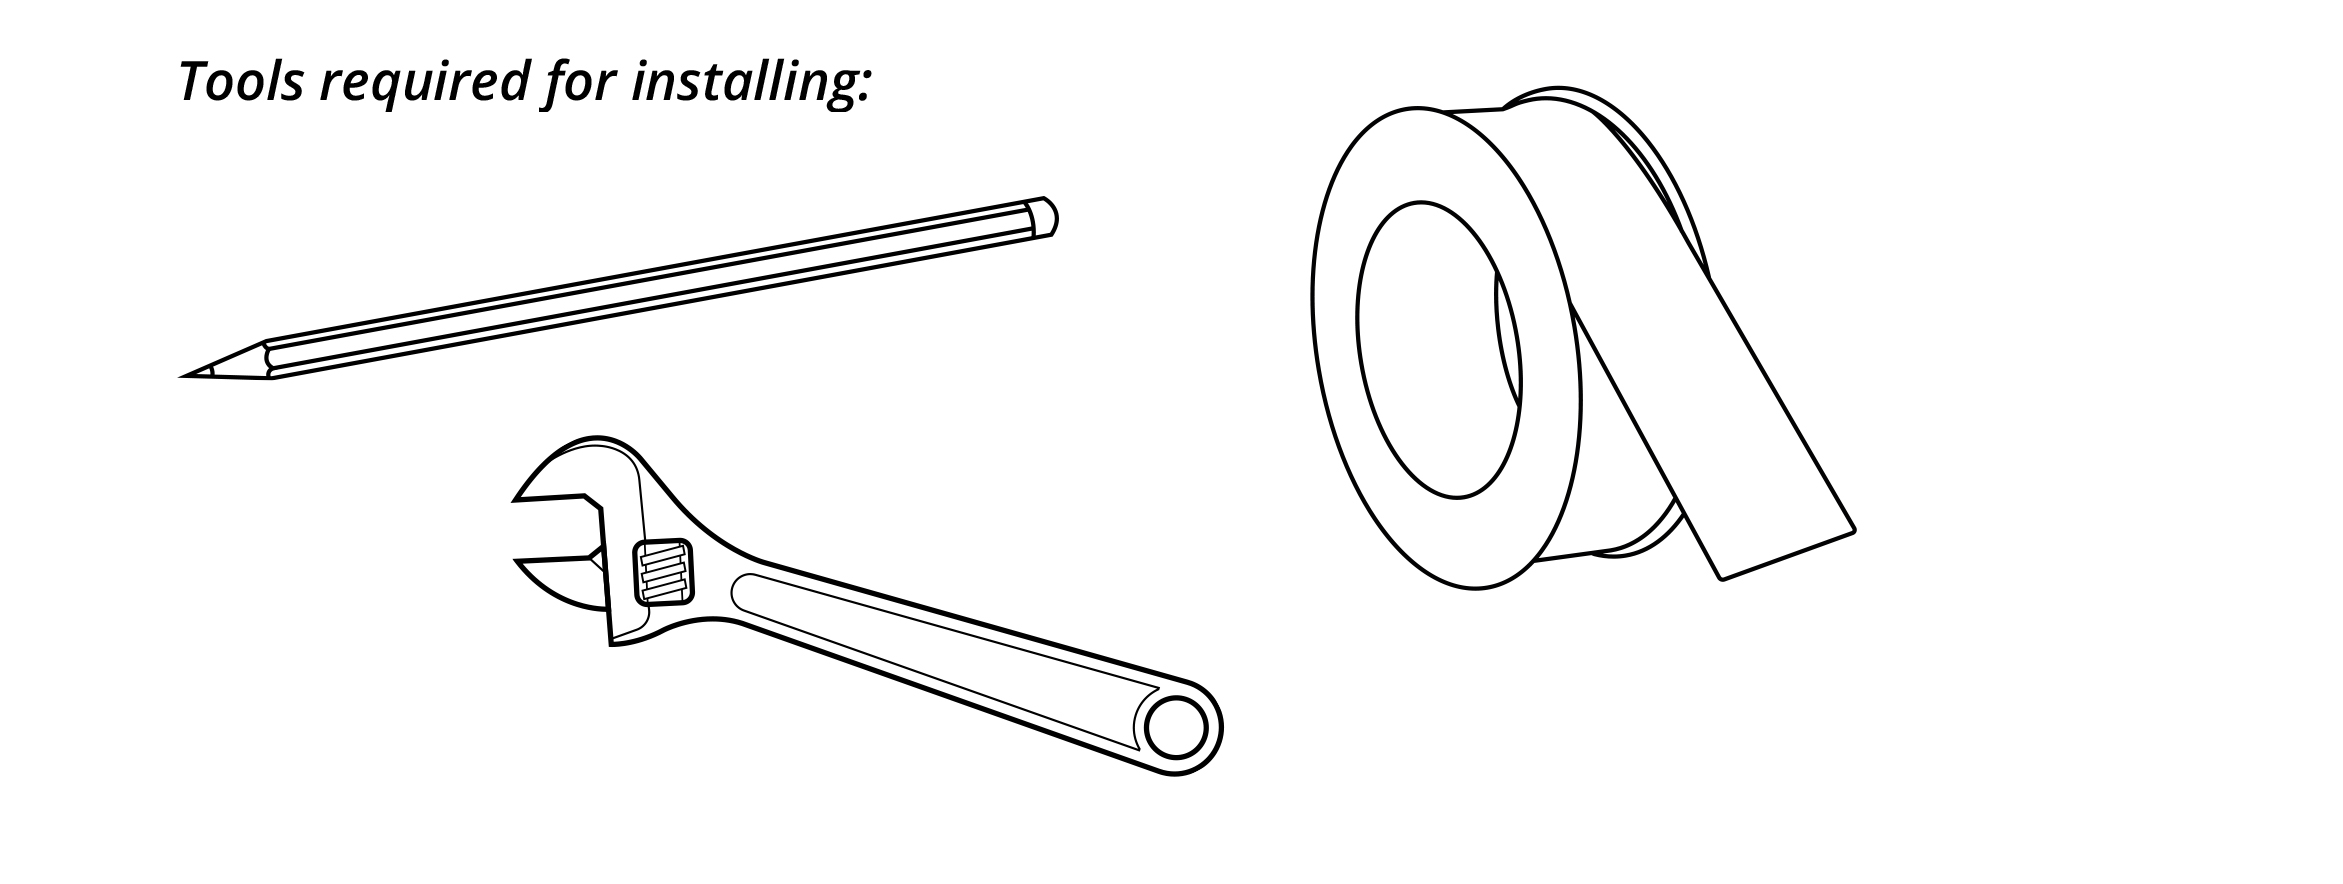
Step 6A - For Hollow Wall Option: Hold Bracket (A) towards you and tighten Bracket Screws (E) using a flat screwdriver. Go to Step 7.
Step 6B - For Wood Screw Install Option: Finish securing Wood Screws (G) until Bracket (A) is secured to wall. Go to Step 7.
Step 7 - Attach Bracket Caps (F) to Brackets (A), one for each end.
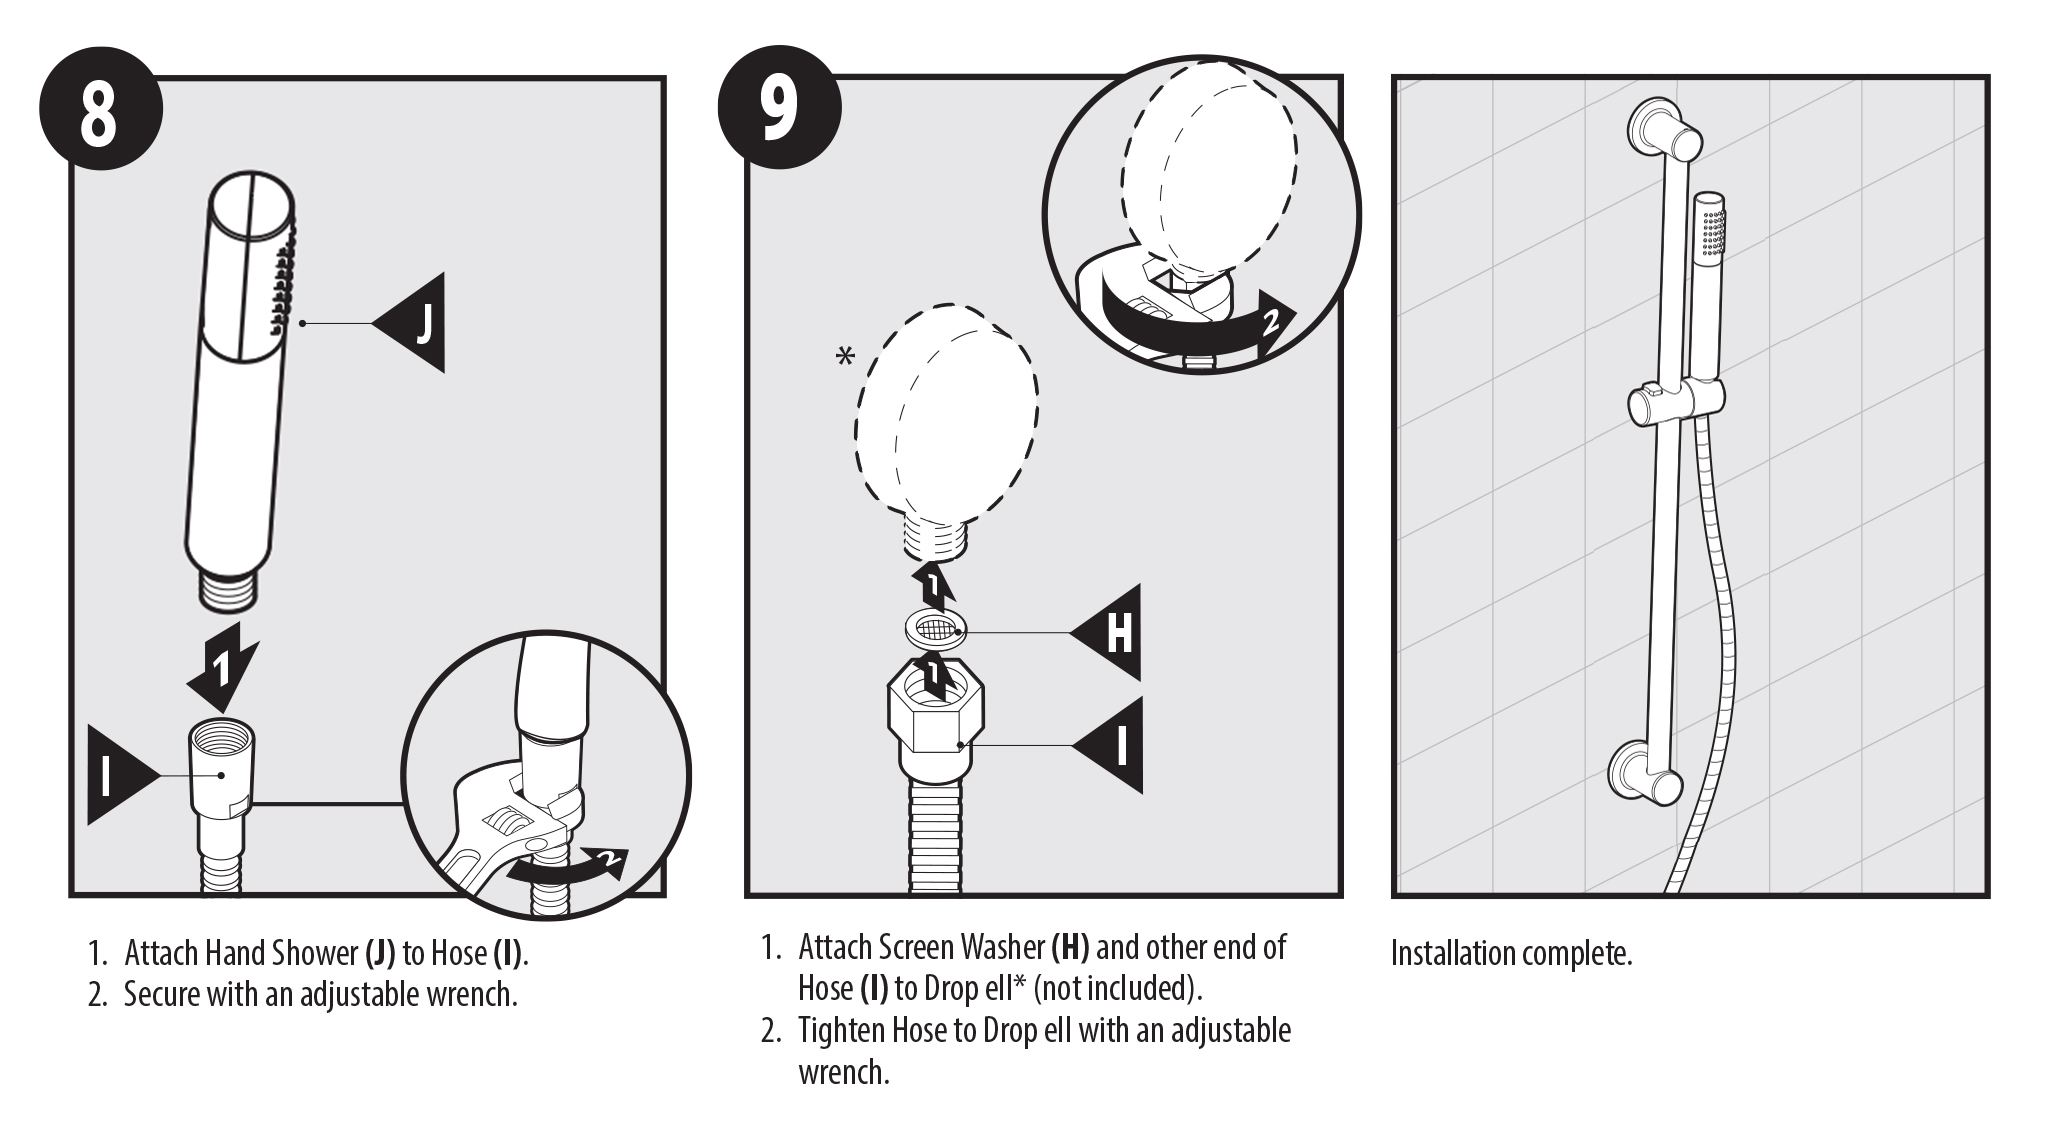
Step 8 -
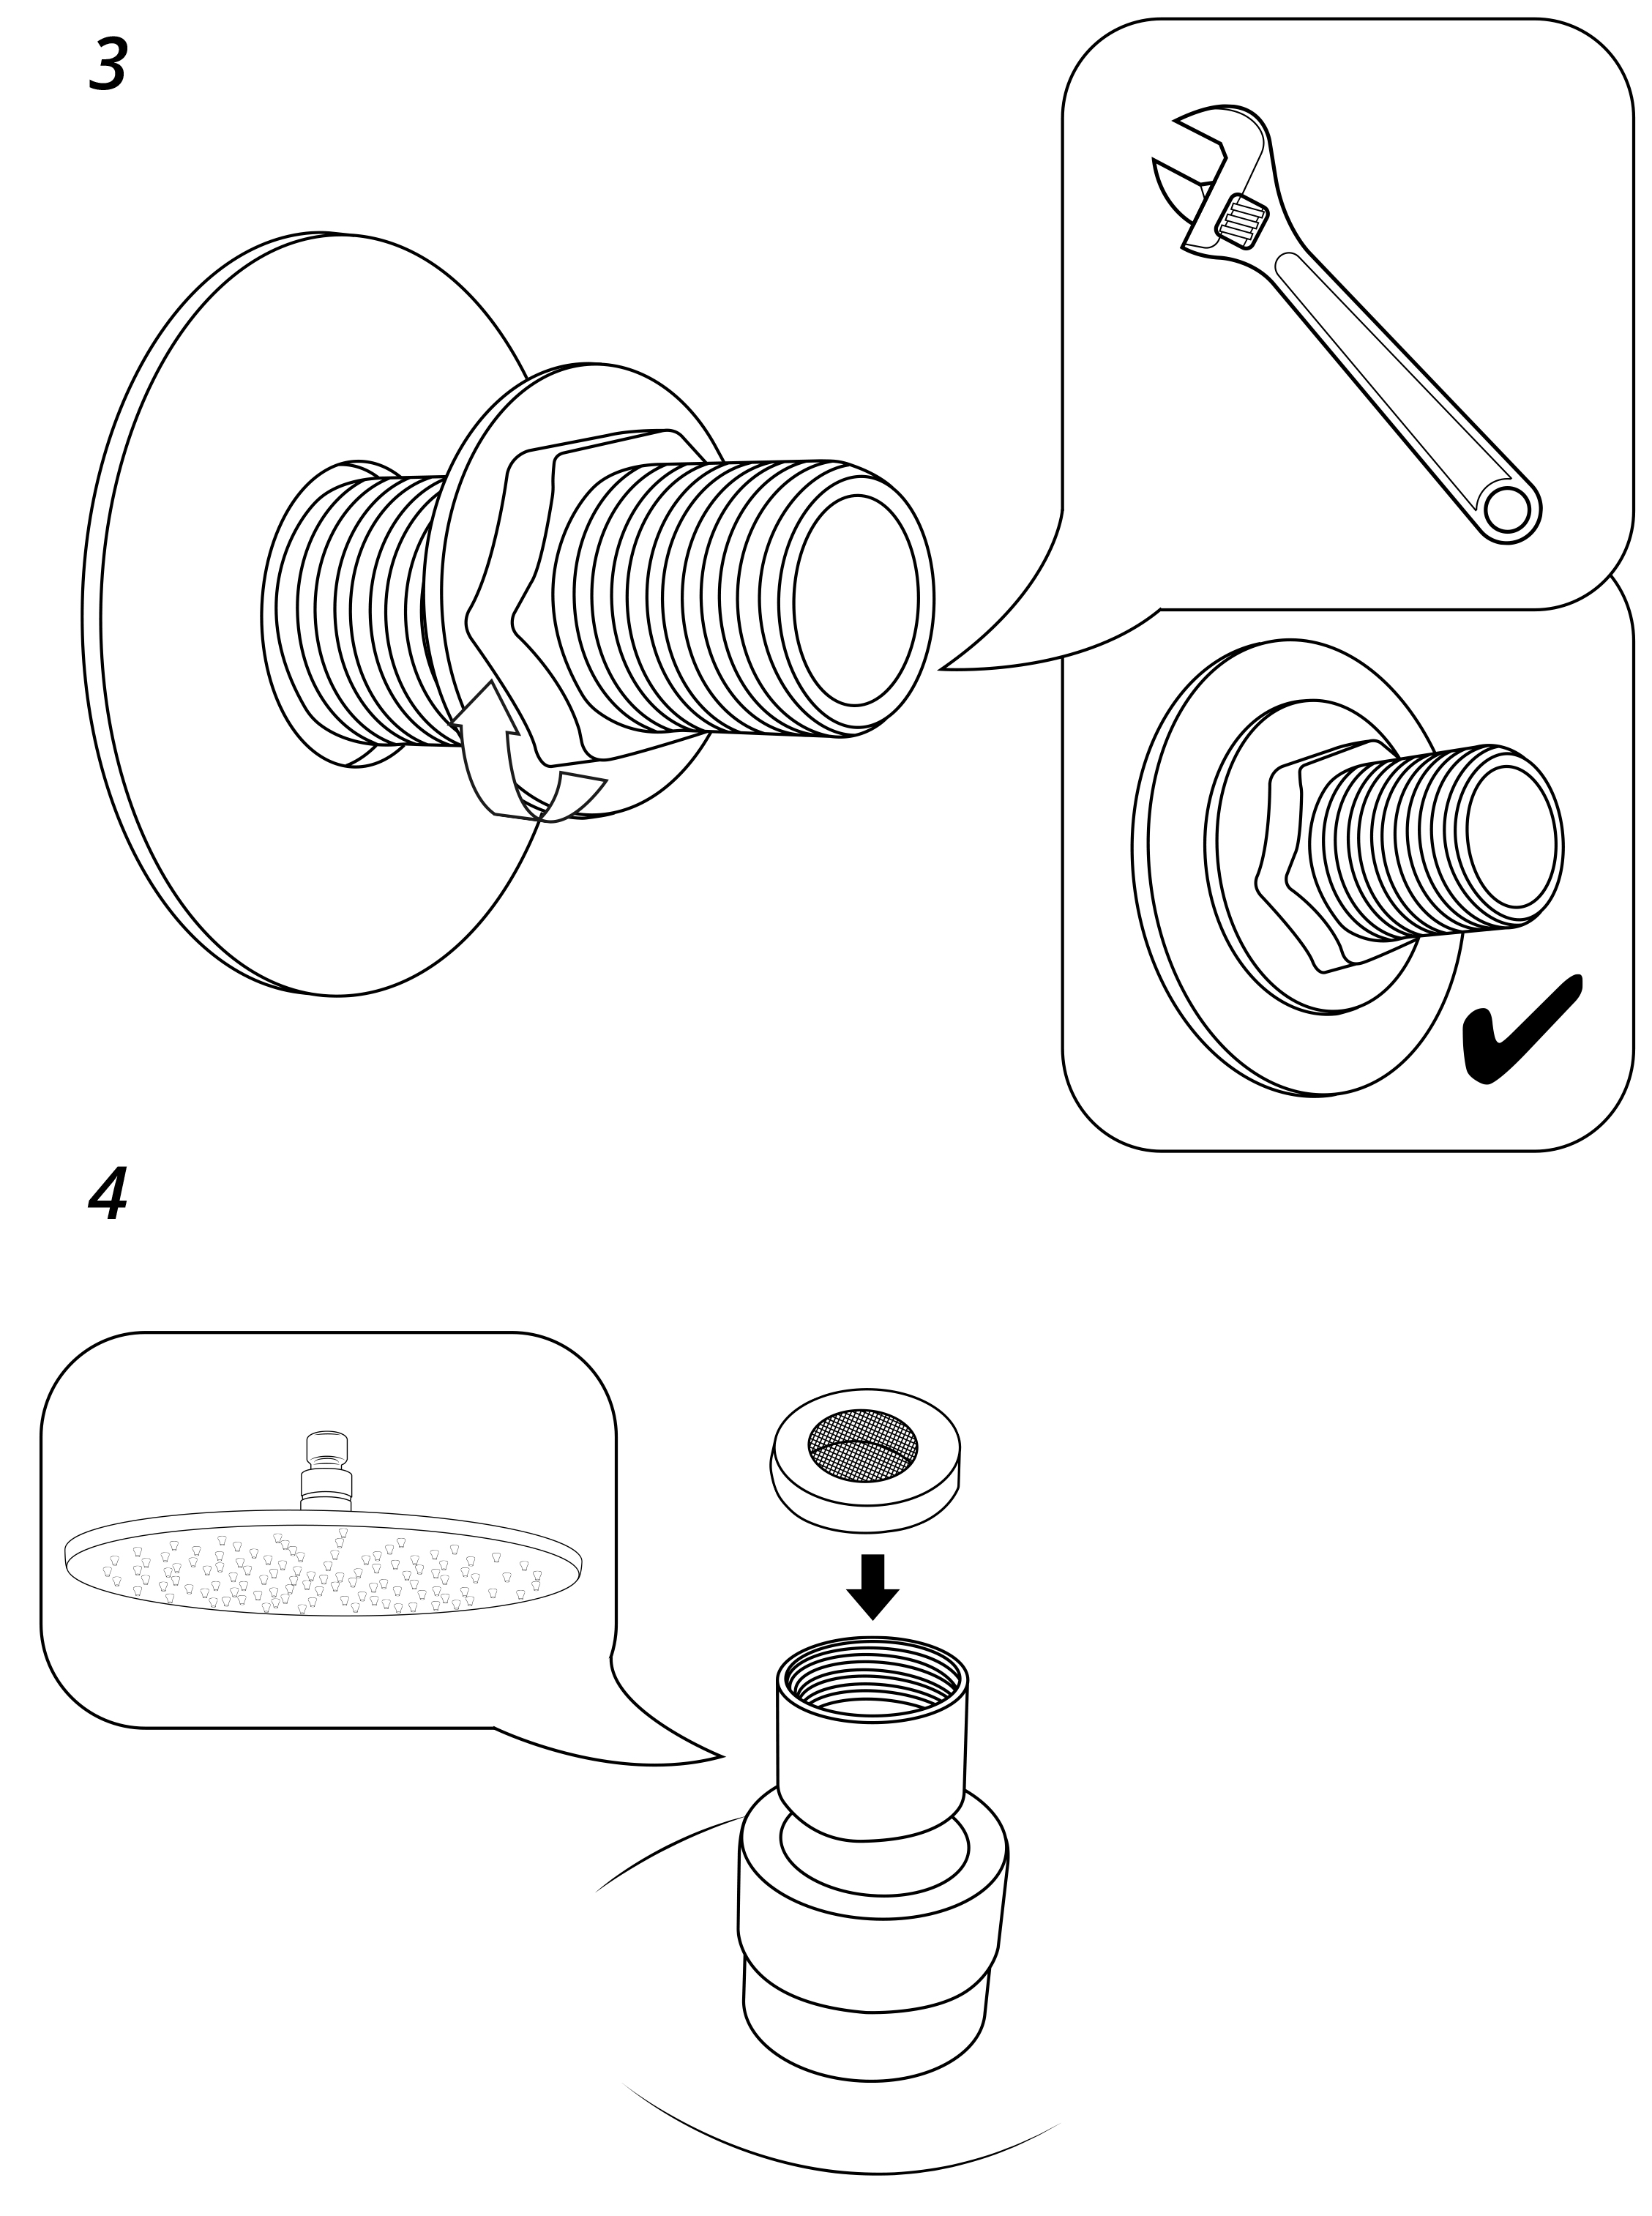
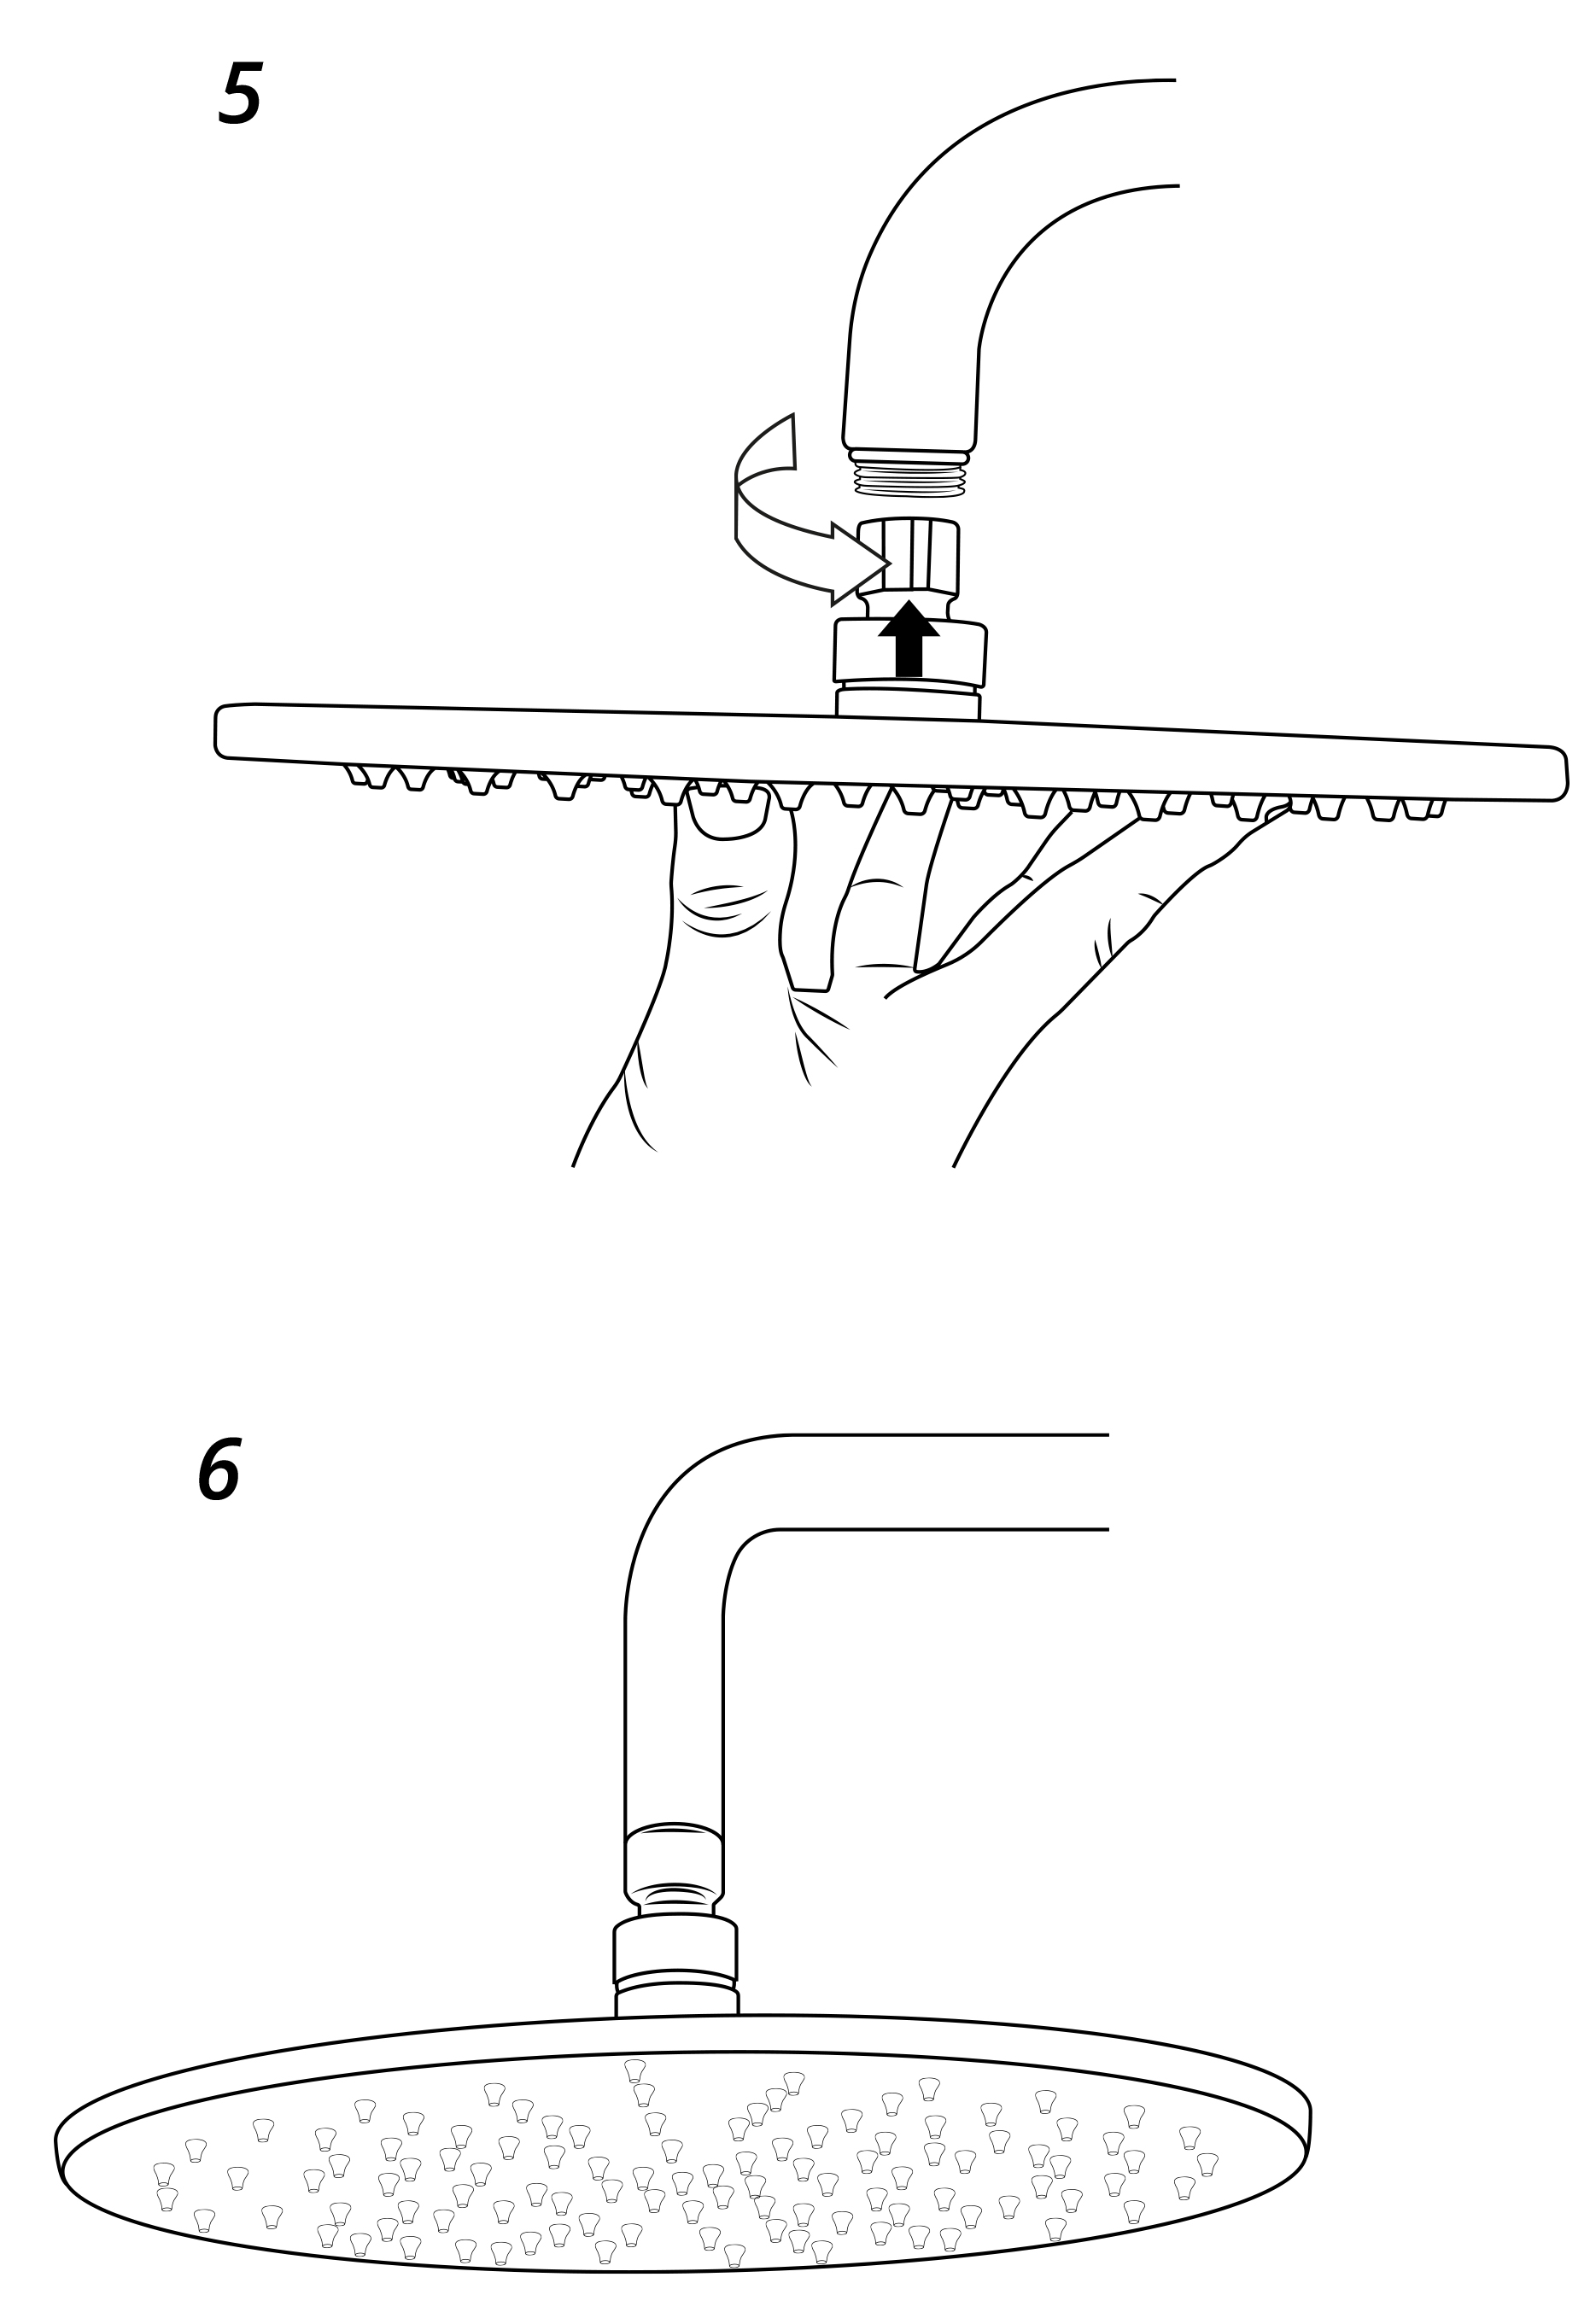
1. Attach Hand Shower (J) to Hose (I).
2. Secure with an adjustable wrench.
Step 9 -
1. Attach Screen Washer (H) and other end of Hose (I) to Drop ell* (not included).
2. Tighten Hose to Drop ell with an adjustable wrench.
Installation complete.
|