Home > How to Install BathSelect Delphi Water Fall Bath Tub Faucet

Installation Instruction For BathSelect Delphi Water Fall Bath Tub Faucet

BathSelect Delphi Water Fall Bath Tub Faucet & Handheld Shower with Hot and Cold Mixer

Our Delphi waterfall bath faucet & handheld shower is an elegant solution for modern bathrooms. If you like simple lines and the classic polished chrome Finish style than this would be the perfect bathroom fixture for you. It is a wall-mount and it comes with a hot & cold water mixer. Only the best materials are used for hassle-free operation and long-lasting lifetime. It comes complete with mounting accessories and installation instructions

BathSelect Delphi Water Fall Bath Tub Faucet & Handheld Shower with Hot and Cold Mixer Features:

  • Brand Name: BathSelect
  • Model Number: BS278BAF
  • Type: Bath and Shower Faucet
  • Style : Contemporary
  • Number of Handle: Single Handle
  • Surface Treatment: Polished
  • Type: Fixed support
  • Core Material: Ceramic
  • Surface Finish: Chrome
  • Type faucet bathroom/shower: Taps exposed bath and shower
  • Installation Type : Wall Mount
 Delphi Water Fall Bath Faucet & HandHeld Shower
BathSelect® Manufacturer Warranty Information
Installation Instructions


Cremona Bathtub Faucet with Hand Held Shower

Materials required for Installing a Wall-mount Bathroom Faucet:

  • A faucet
  • Faucet handles
  • Hot tap and Cold tap
  • Allen wrench
  • Drill machine
  • Pencil and ruler

  • Step 1-Connections And Water SupplyHiring a plumber to handle the connections and water supply is very important especially if you’re replacing a conventional sink mounted faucet. The internal water supply lines have to be relocated in such cases.

    Step 2-Determine the Faucet Height

    Once the plumbing is complete, you need to decide at what height you want to install the faucet. When the right height is decided, be sure to mark it with a pencil.

    Always take proper measurements. There must always be a 1 inch gap between the bottom of the faucet and the top of the sink. If the gap between the top of the sink and bottom of the faucet is more than 1 inch, the water will splash out of the sink.

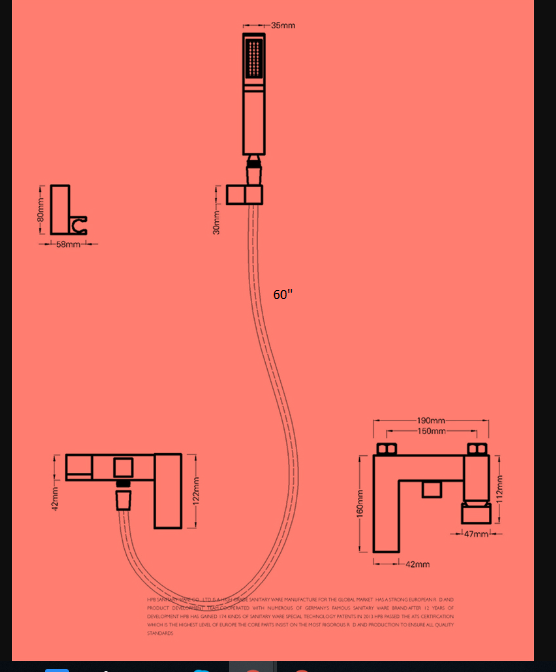
    Step 3: Drill Holes In The Wall

    Once you have marked the level, you need to drill holes in the wall for fastening the bolts. Before you start to drill, verify that there are no pipes or any other wires behind the location.

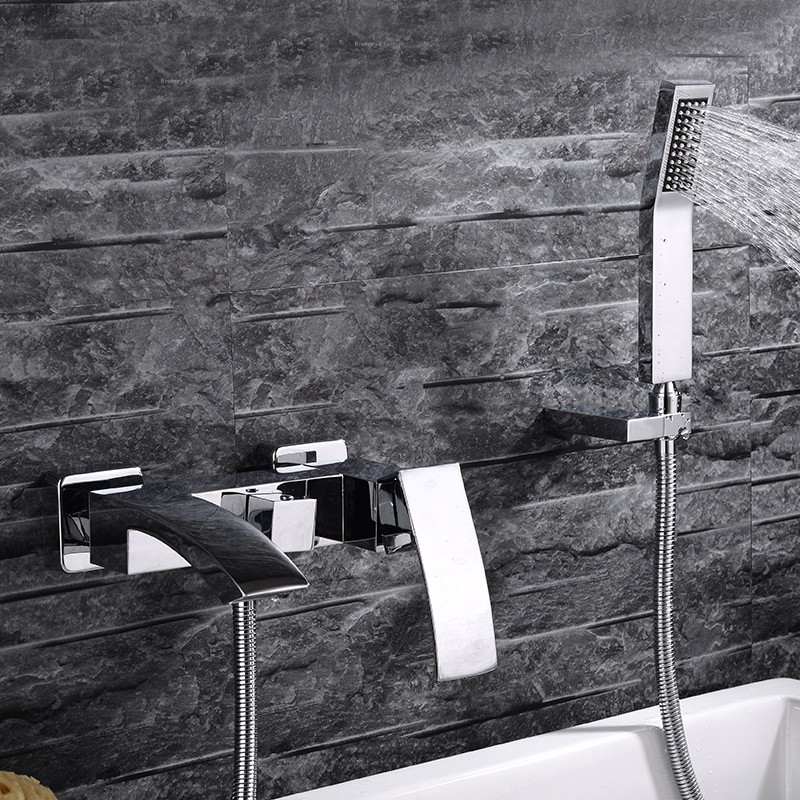
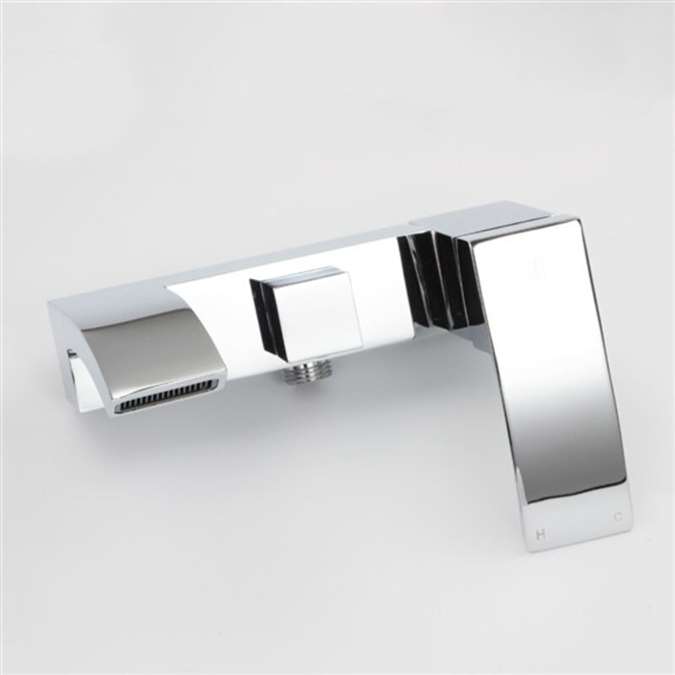
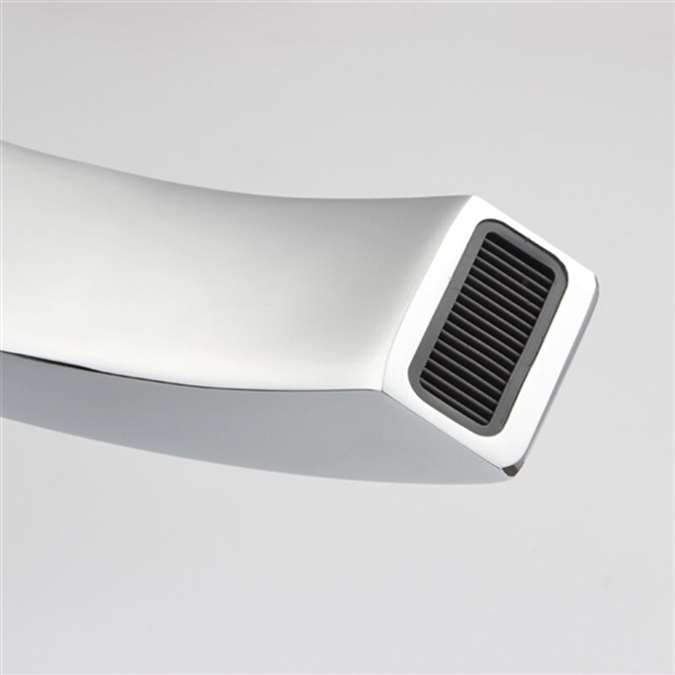
    Step 4: Attaching The Spout

    To attach the spout to the wall plate, you need to position the washers and other hardware as instructed by the manufacturer. Once you attach the spout to the wall plate and position the washers, you need to tighten the bolts using an Allen wrench.

    Step 4: Fasten The Spout And Wall Plate To The Wall

    Once you have attached the spout to the wall plate, you need to position them on the wall. Position it in the right place from the holes you drilled previously and fasten the bolts into the wall.

    Step 5: Attach The Necessary Hardware

    After positioning and fastening the spout and wall plate to the wall, you need to attach the faucet handles and hot and cold taps. Tighten the handles using your hand in a clockwise motion. Make sure they are secure before you begin to use them.


BathSelect Ancient Round Antique Rainfall Wall ShoweBathSelect Ancient Round Antique Rainfall Wall Shower Head Installation Instructions Head Installation Instructions