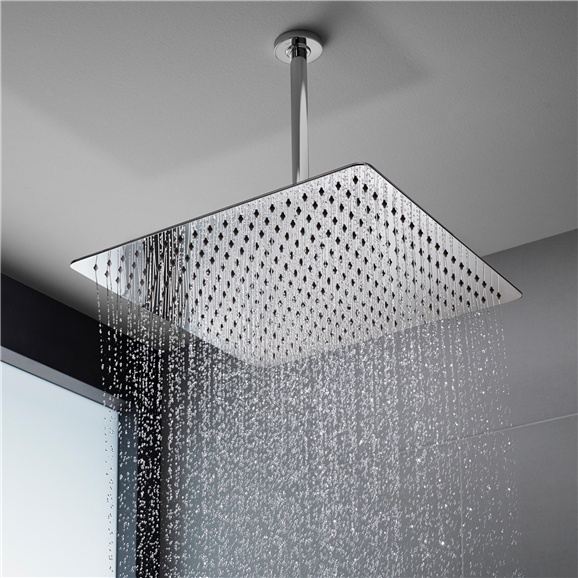
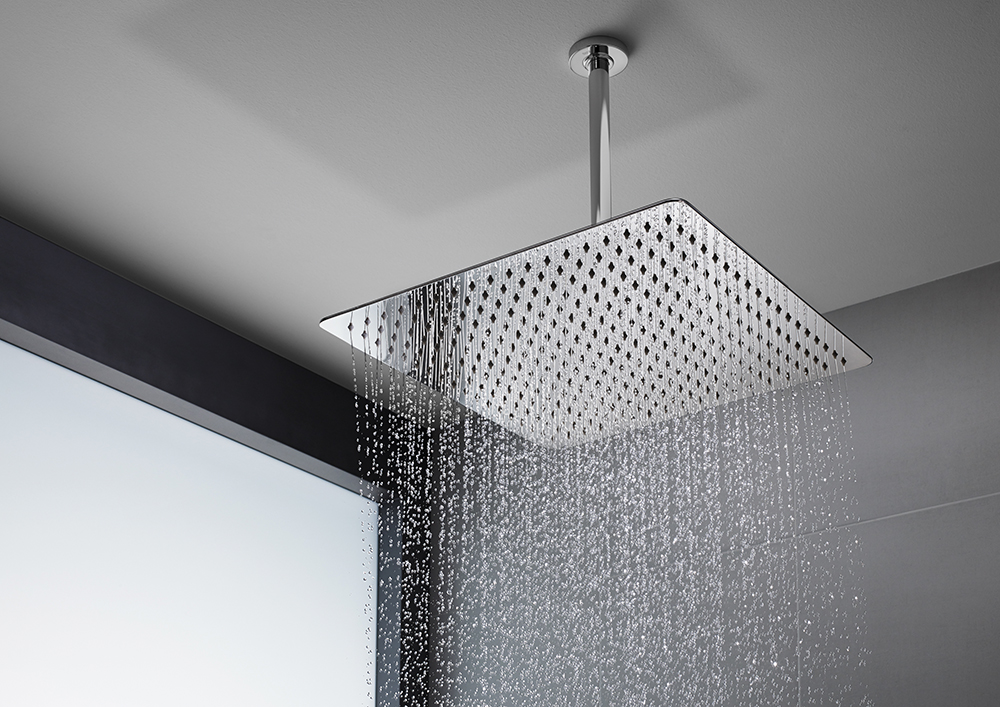
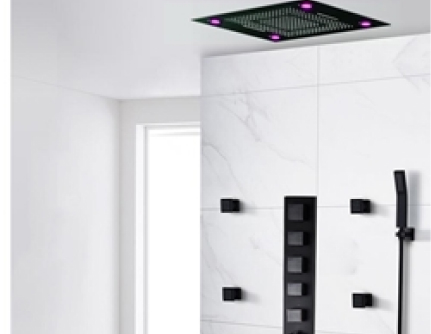
How to Install Reno Contemporary Style Chrome Finish Rain Square Shower Head | BST10179
Important Note:
Before you begin, please read the installation instructions below. Observe all local building and safety codes.
Unpack and inspect the products for any shipping damages. If you find damages, do not install.
Please note all products must be installed by a professional and certified plumber otherwise warranty might be voided.
|
|
Shower Head Installation Instructions
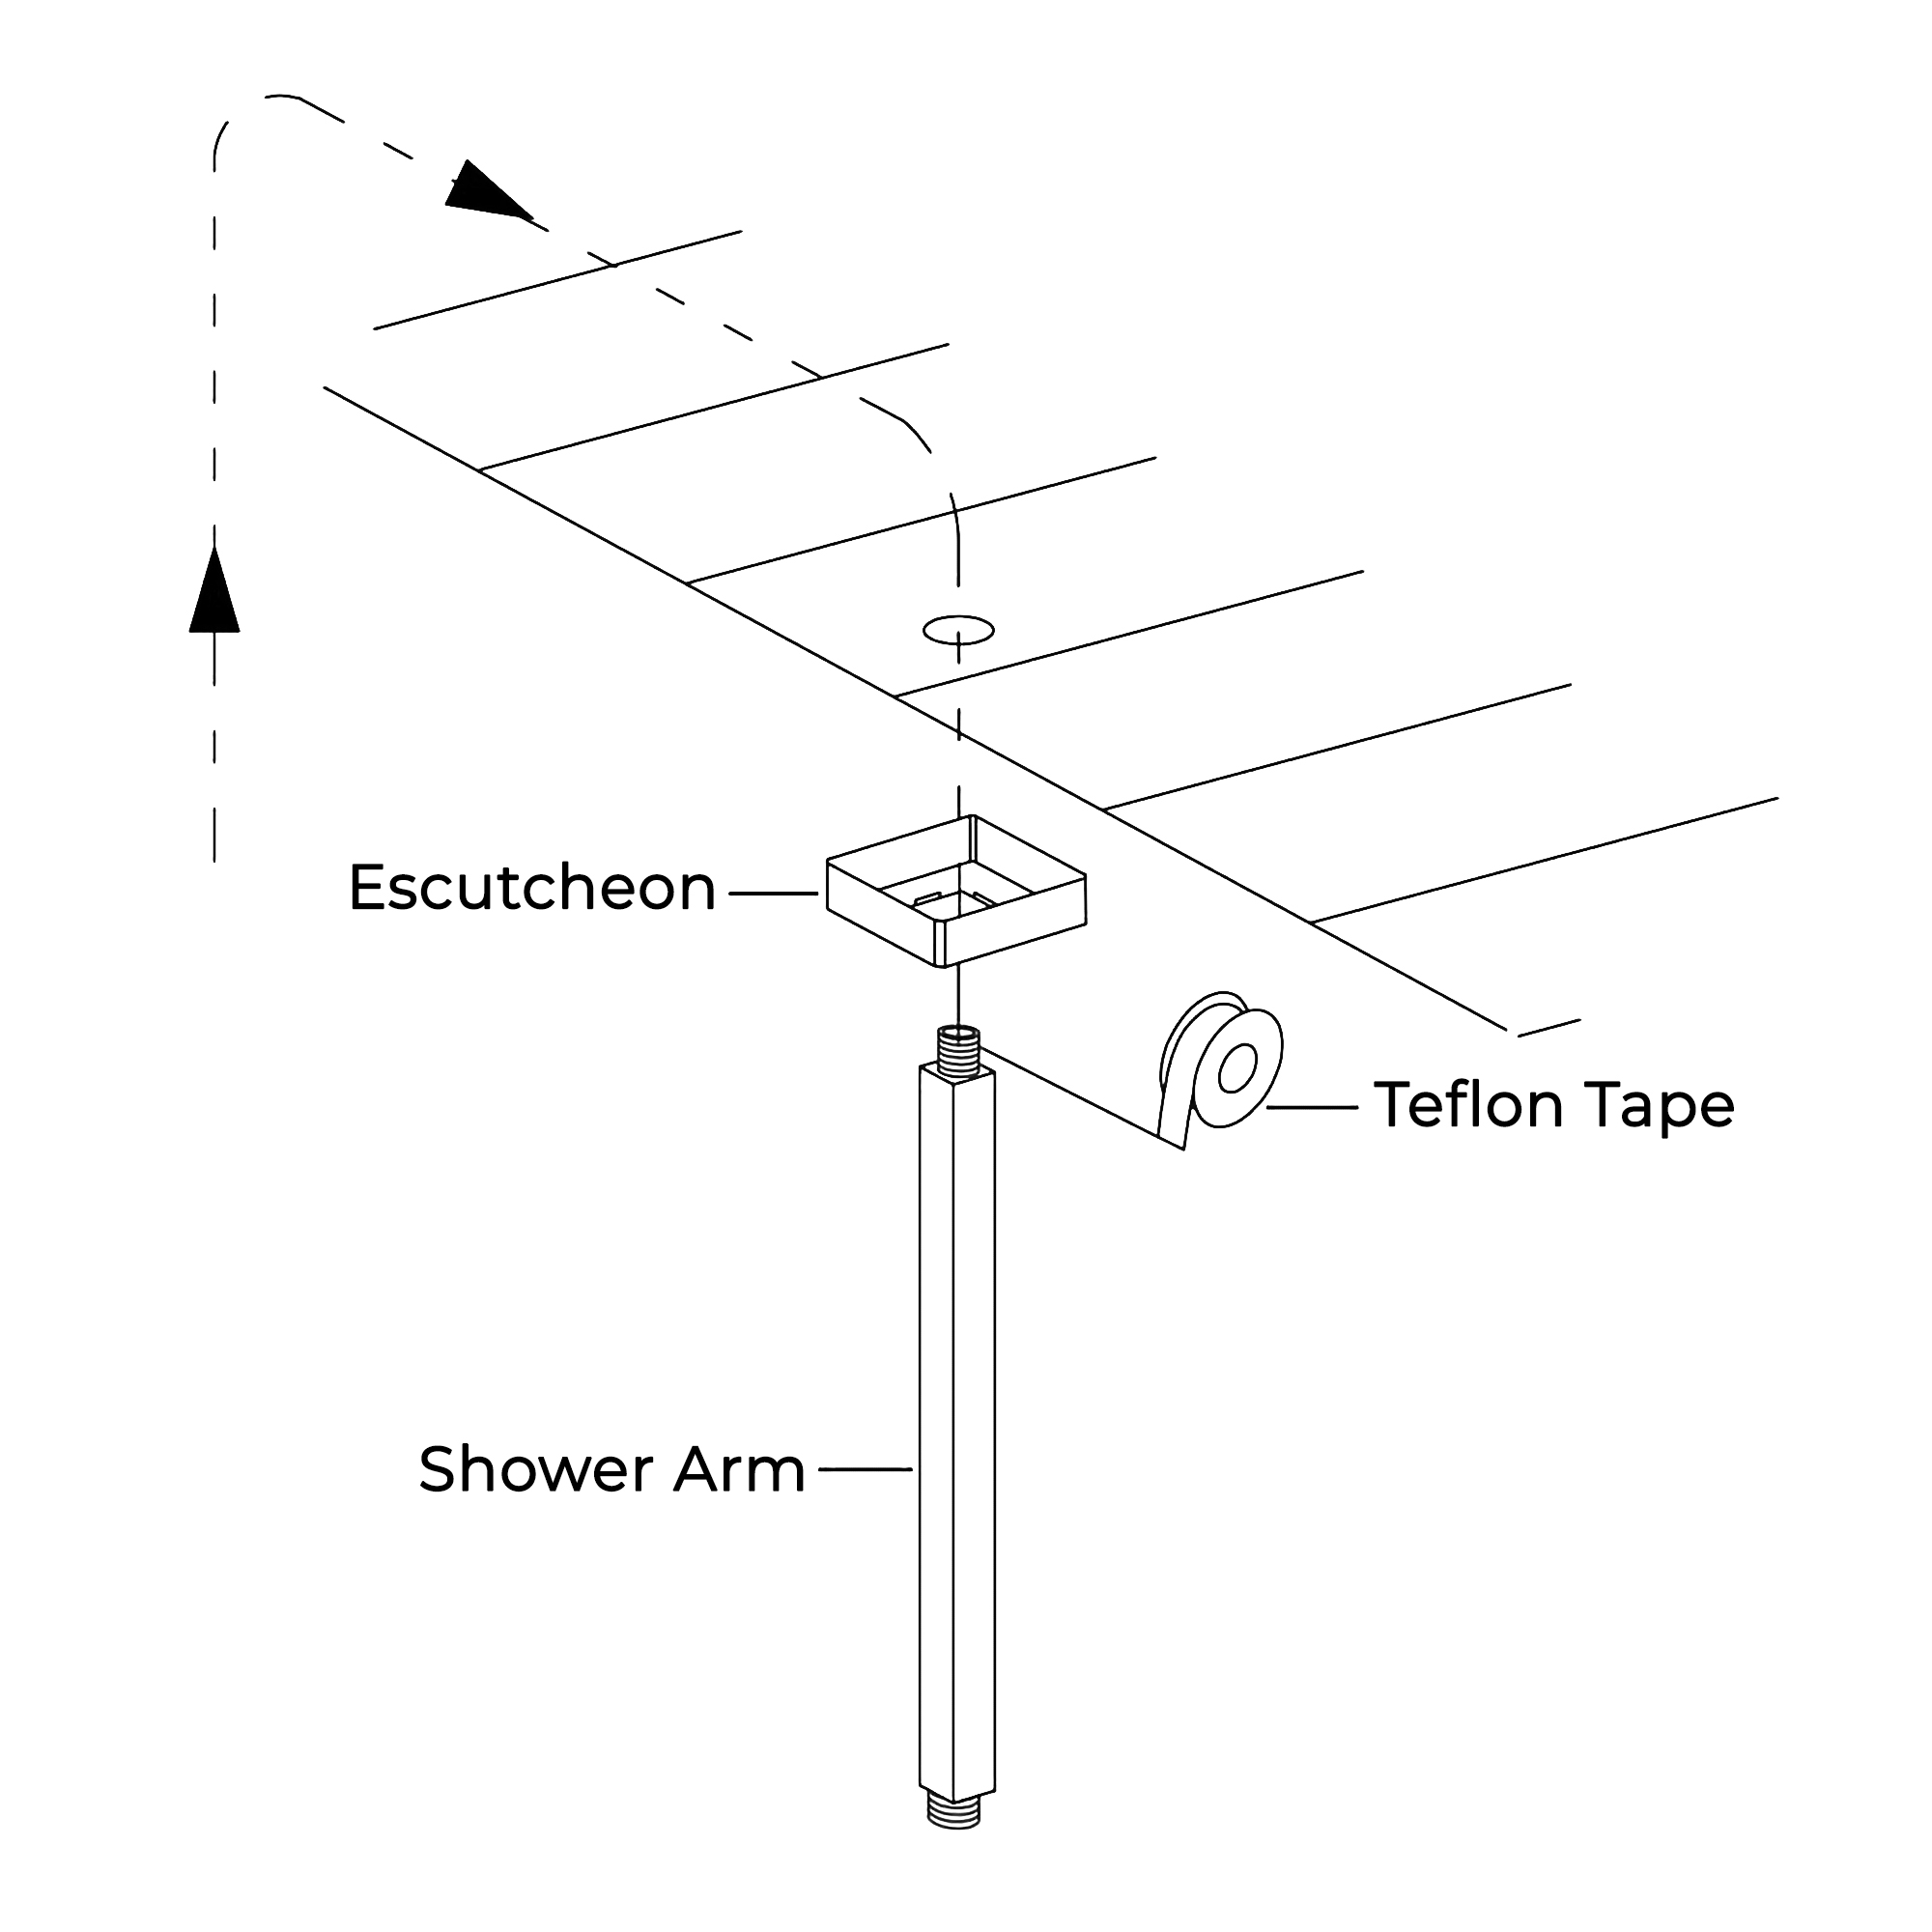
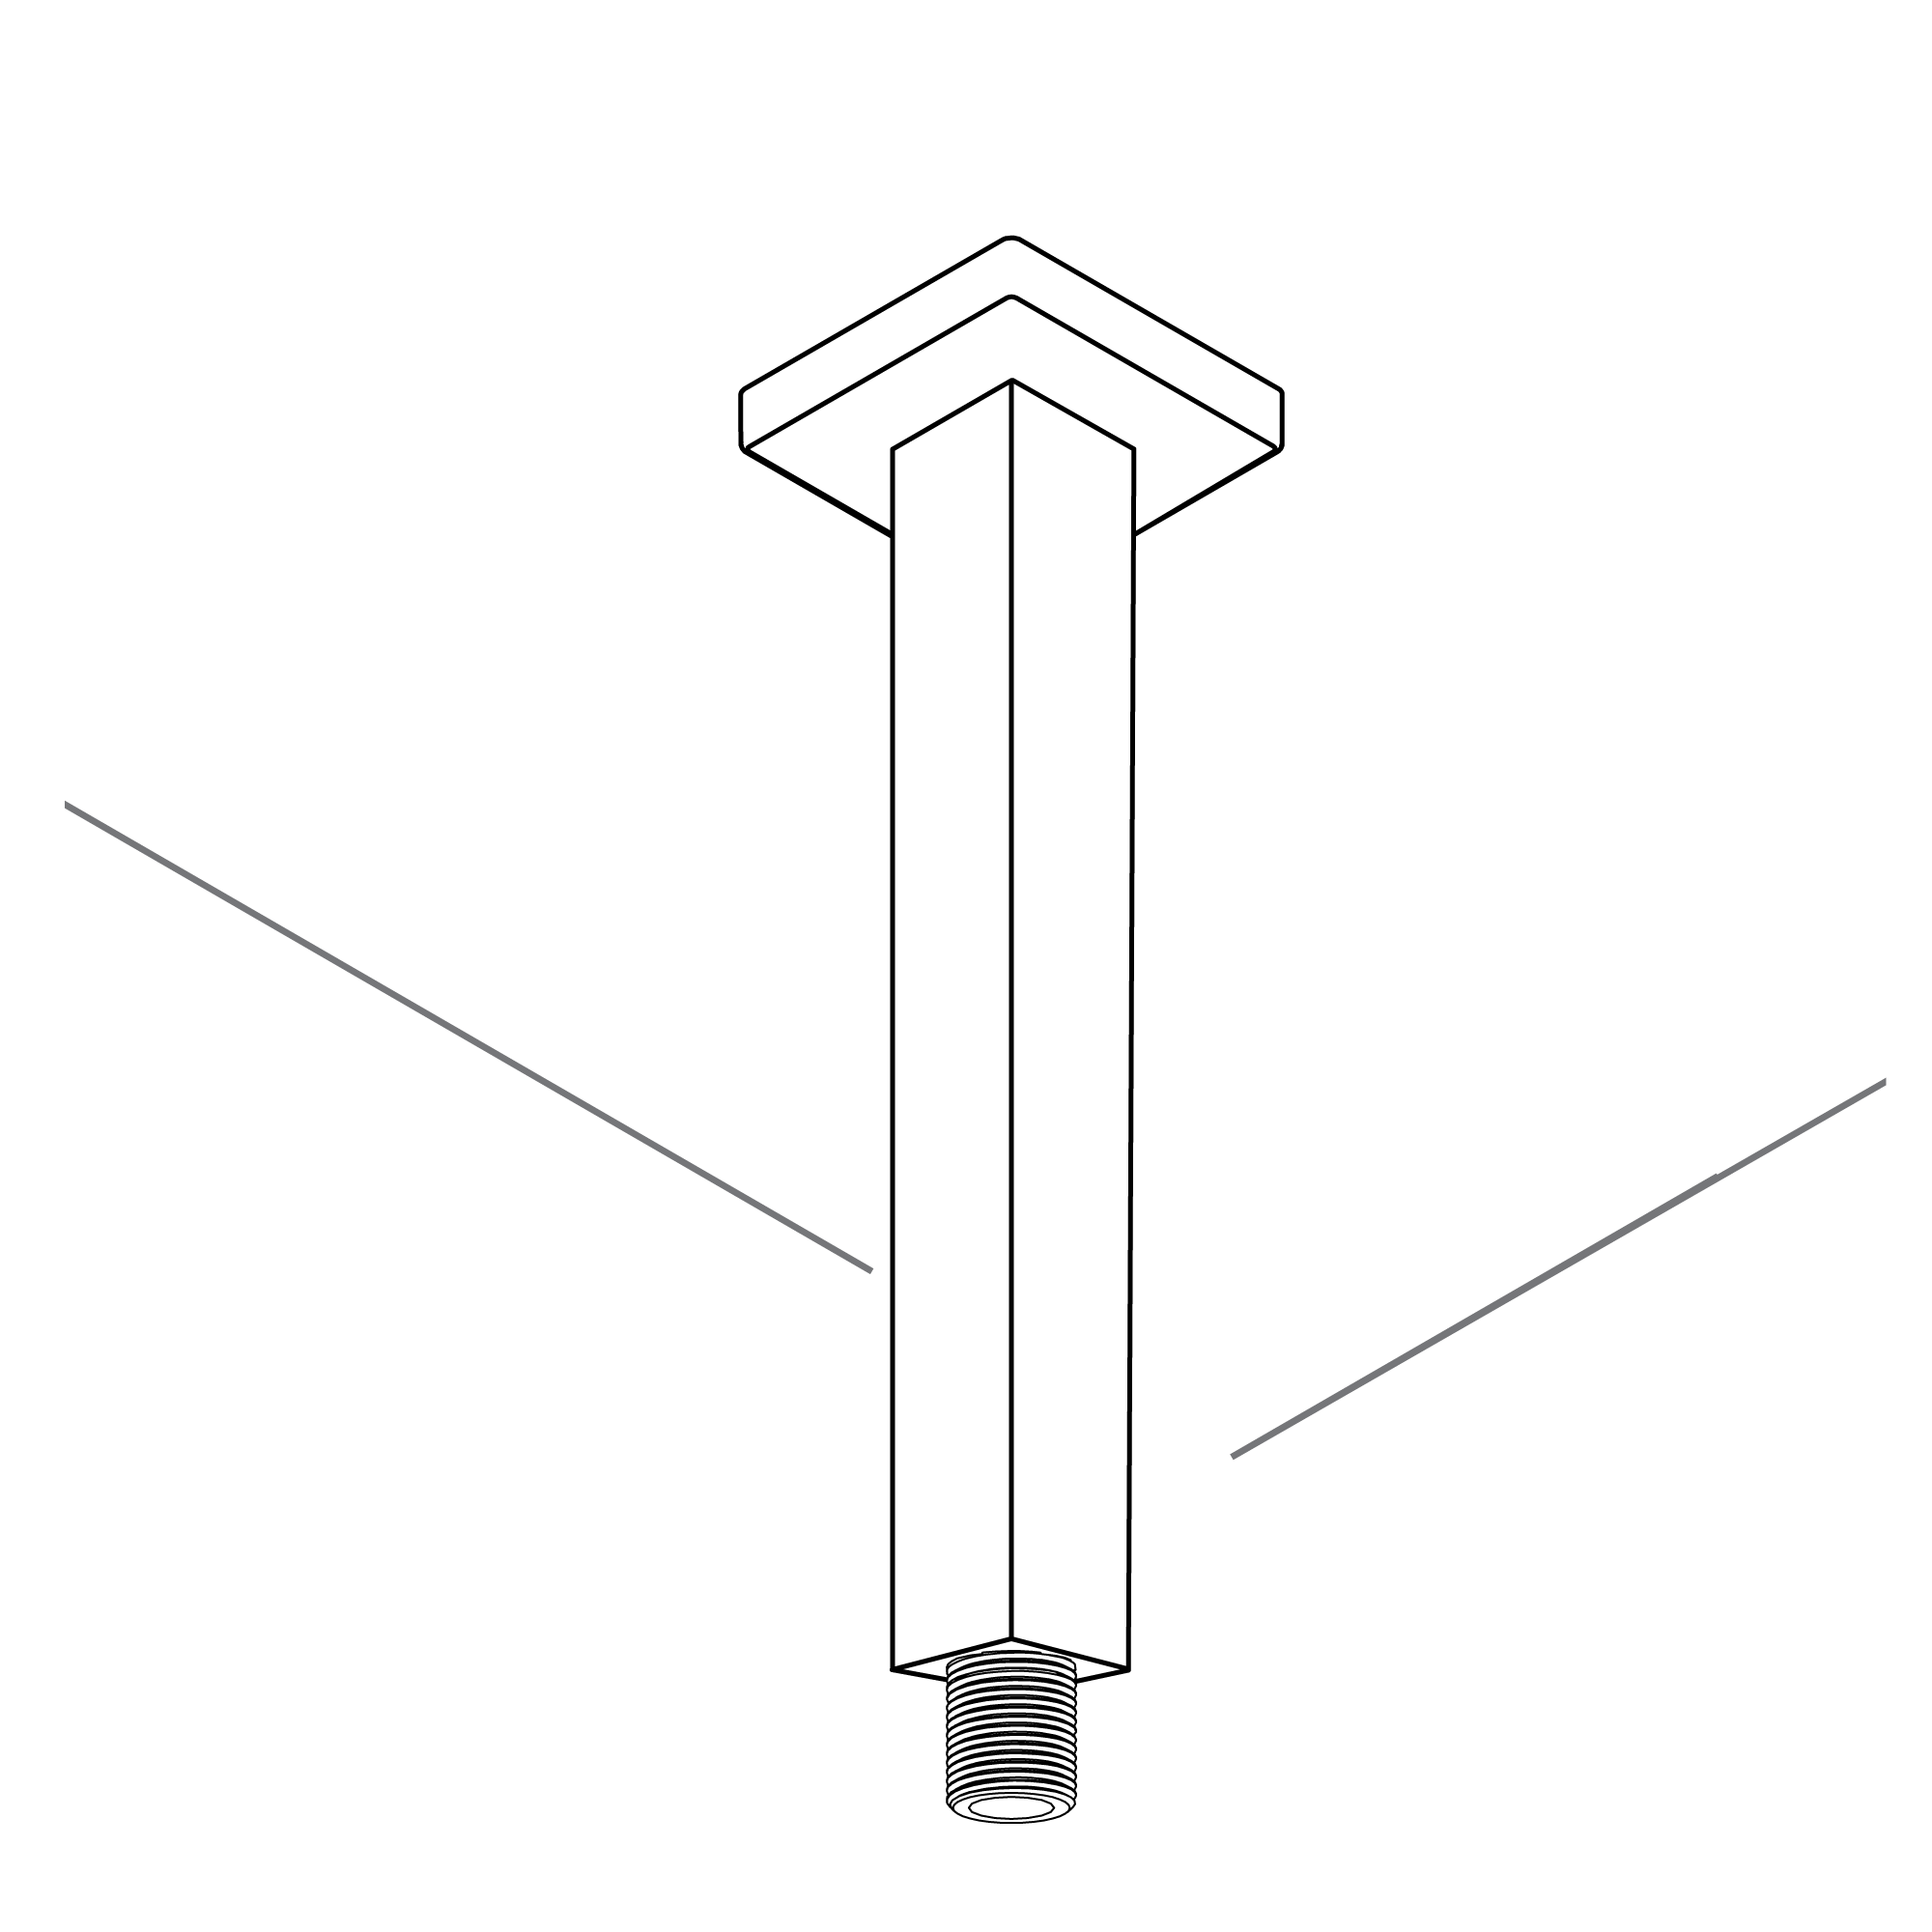
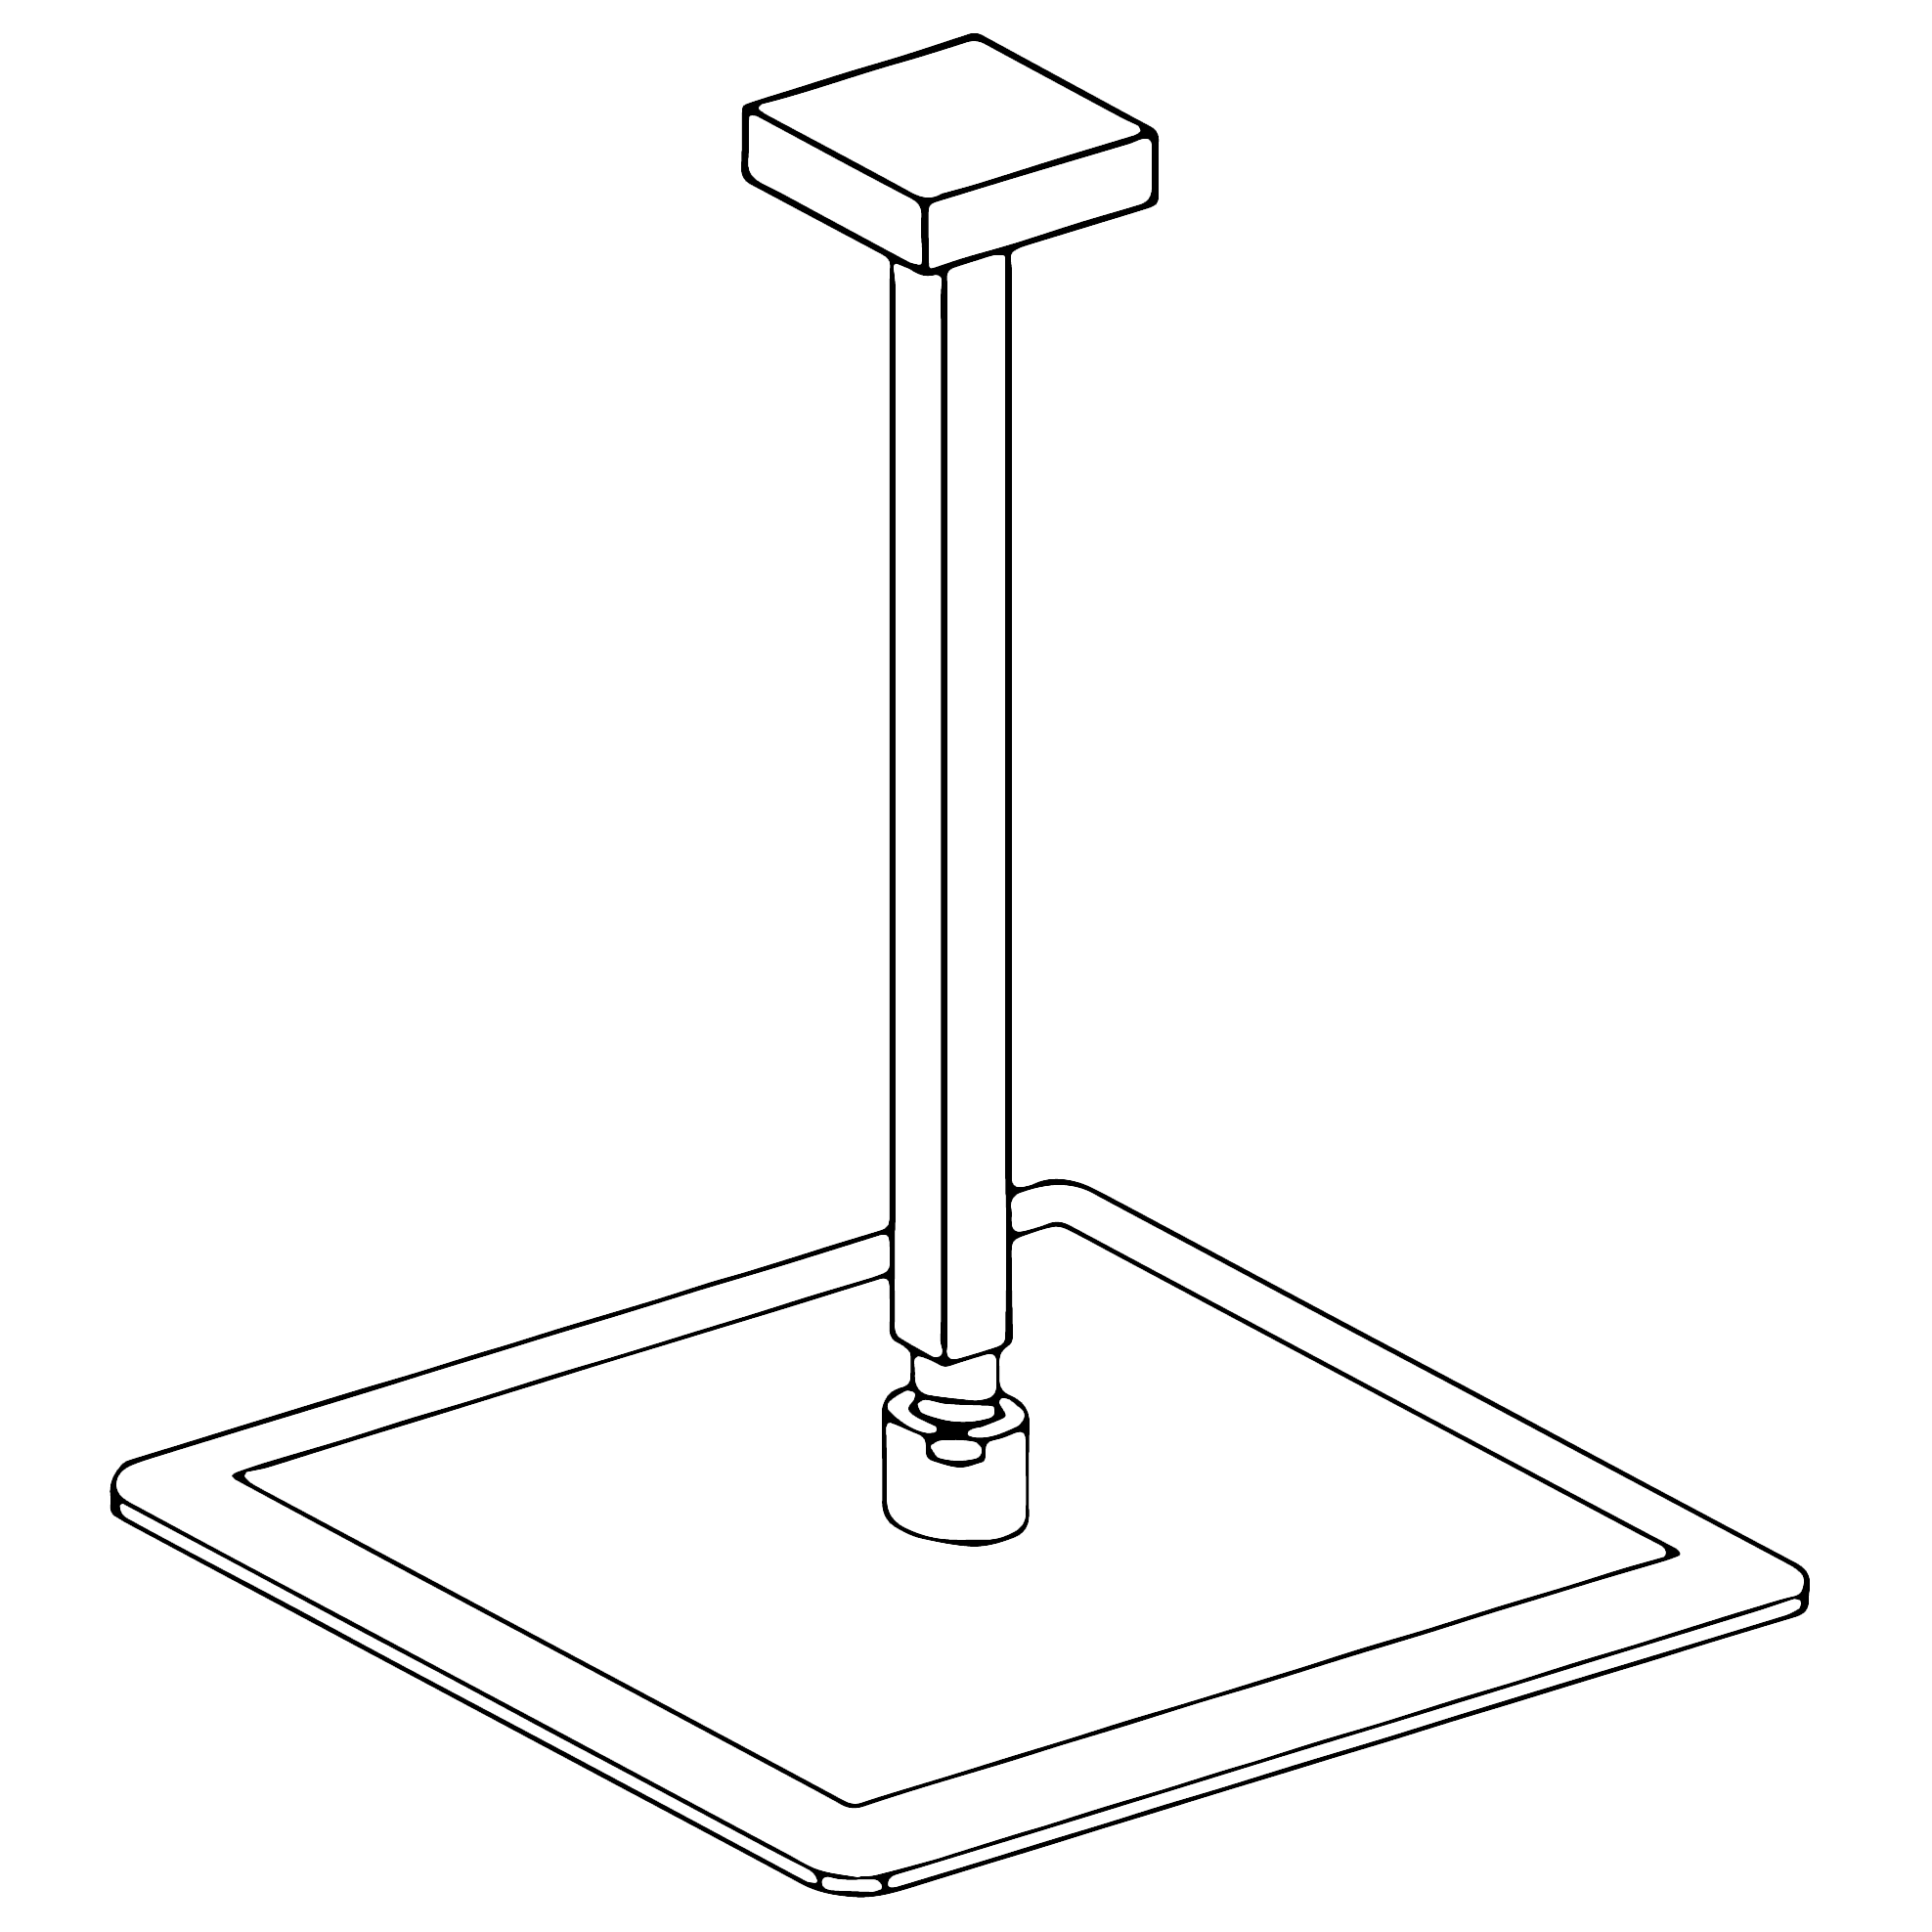
Ceiling Mount Shower Installation Instructions
|
Step 1:
|
|
Step 2:
|
|
shower
installation
|

|
|
|
|
|
|
Step 3:
|
|
Step 4:
|
|
|
|
|
|
|
|
|
|
|
|
|
Step 5:
|
|
Step 6:
|
|
|
|
|
|
|
|
Step 1: Take Out the Old Shower Head
You can easily remove it by hand, but depending on how long the rain showerhead has been installed, you might need to use an adjustable wrench. Hence, if you find it difficult to remove, rotate the showerhead with an adjustable wrench in a counterclockwise direction to unscrew it.
Step 2: Keep the Shower Arm Clean and In Good Shape
After you have removed the head, check the shower arm threads for any debris and old Teflon tape. If you find any, remove it and clean them off thoroughly. Its best to use a microfiber cloth when cleaning the thread because it removes Teflon tape perfectly and works great to pick up tiny grits.
Once youre done cleaning, check if it is corroded or leaking. For damaged threads, it will be best you replace it entirely so you can have a comfortable shower experience any time.
Step 3: Time to Add New Teflon Tape
Since you have removed the old Teflon tape, you have to replace it with new ones. The reason is that this tape helps to protect the shower from leaking after installing the showerhead. Now apply the new Teflon tape about 3-5 turns on the thread and tear the end part. Use your hands to smooth it out to keep it leveled to the thread. Keep in mind that when applying the tape, you should go in a clockwise motion so that it doesnt come off when you attach the head in the same direction.
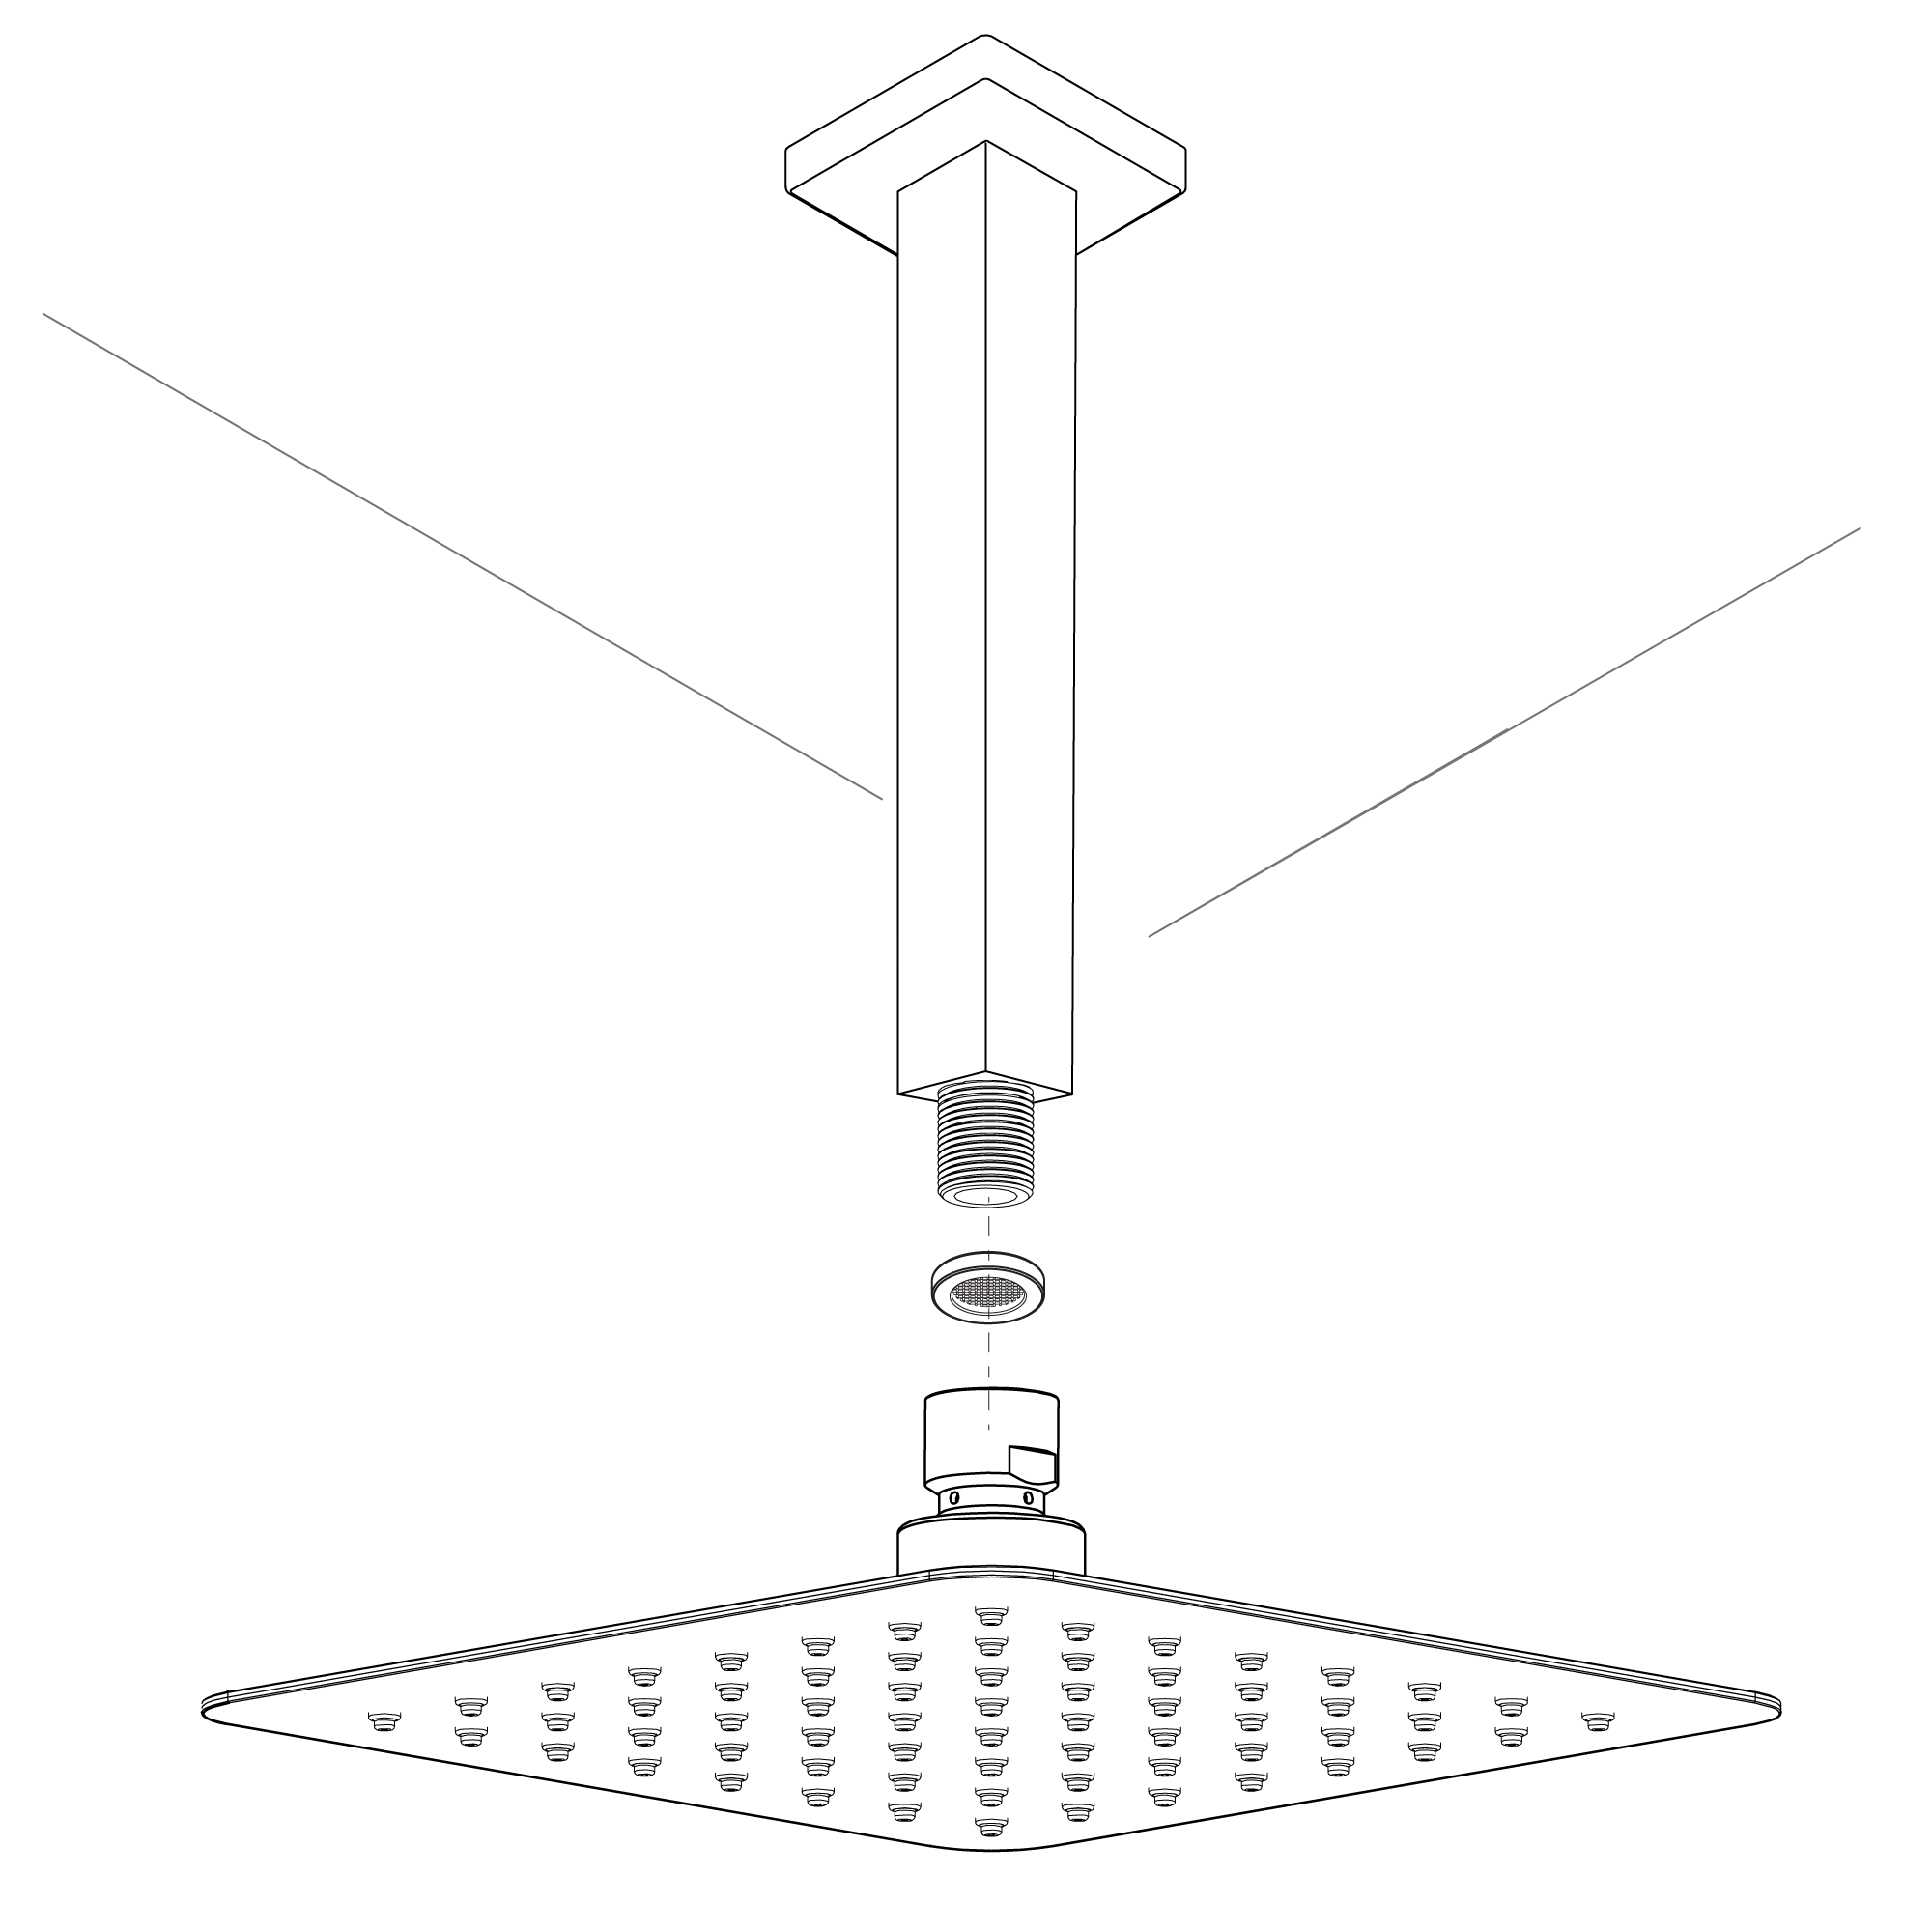
Step 4: Connect the Showerhead
As said earlier in the tools needed, were using the rubber sealing washer that comes with the showerhead. This tool helps to make the showerhead stay watertight and secured on to the thread. Ensure you place it properly before installing it.
After that, reconnect the shower head and tighten it down with your hands. You can employ a chair or ladder to make things easier for you.
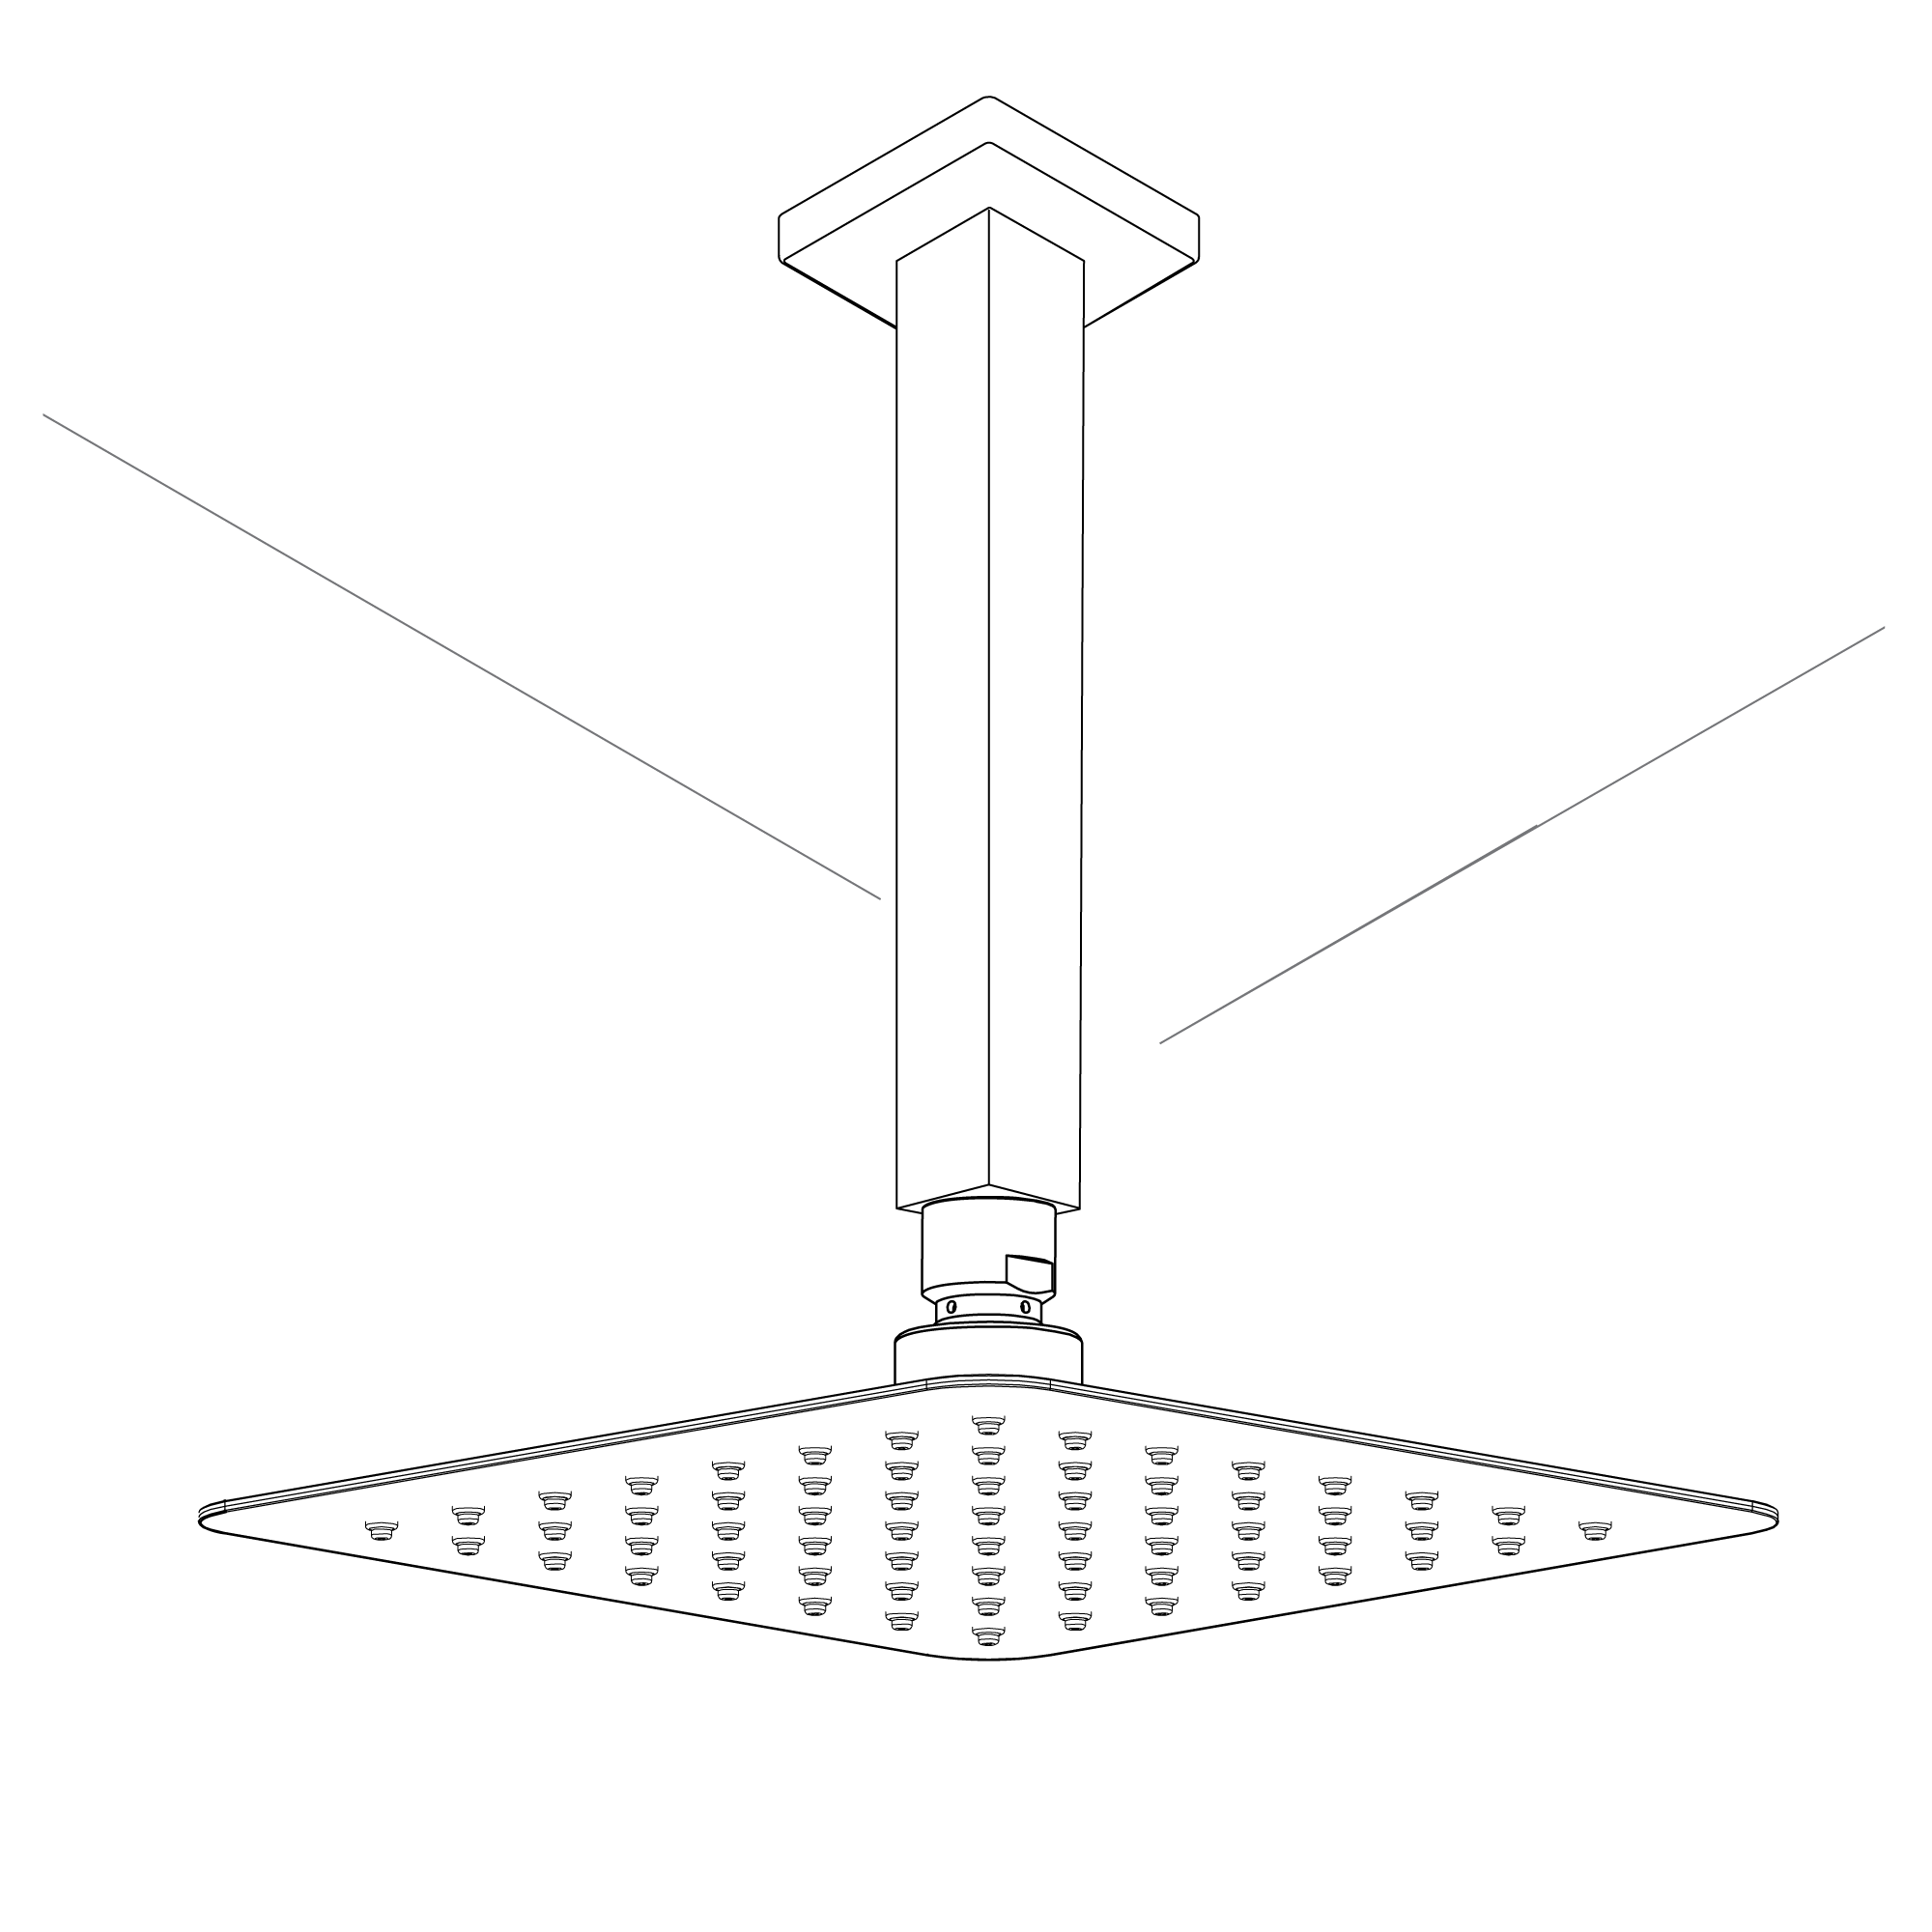
Step 5: Tighten the Showerhead
On To the Thread You will need to get the adjustable wrench handy to tighten down the shower very well. But make sure you wrap the threads with a terry cloth, so it doesnt damage the finish when tightening the showerhead.
Once you have done that, now use the adjustable wrench to tighten down the showerhead. However, dont over-tight or force it so that its easier to remove in the future.
|
|

|
|
|
|
|
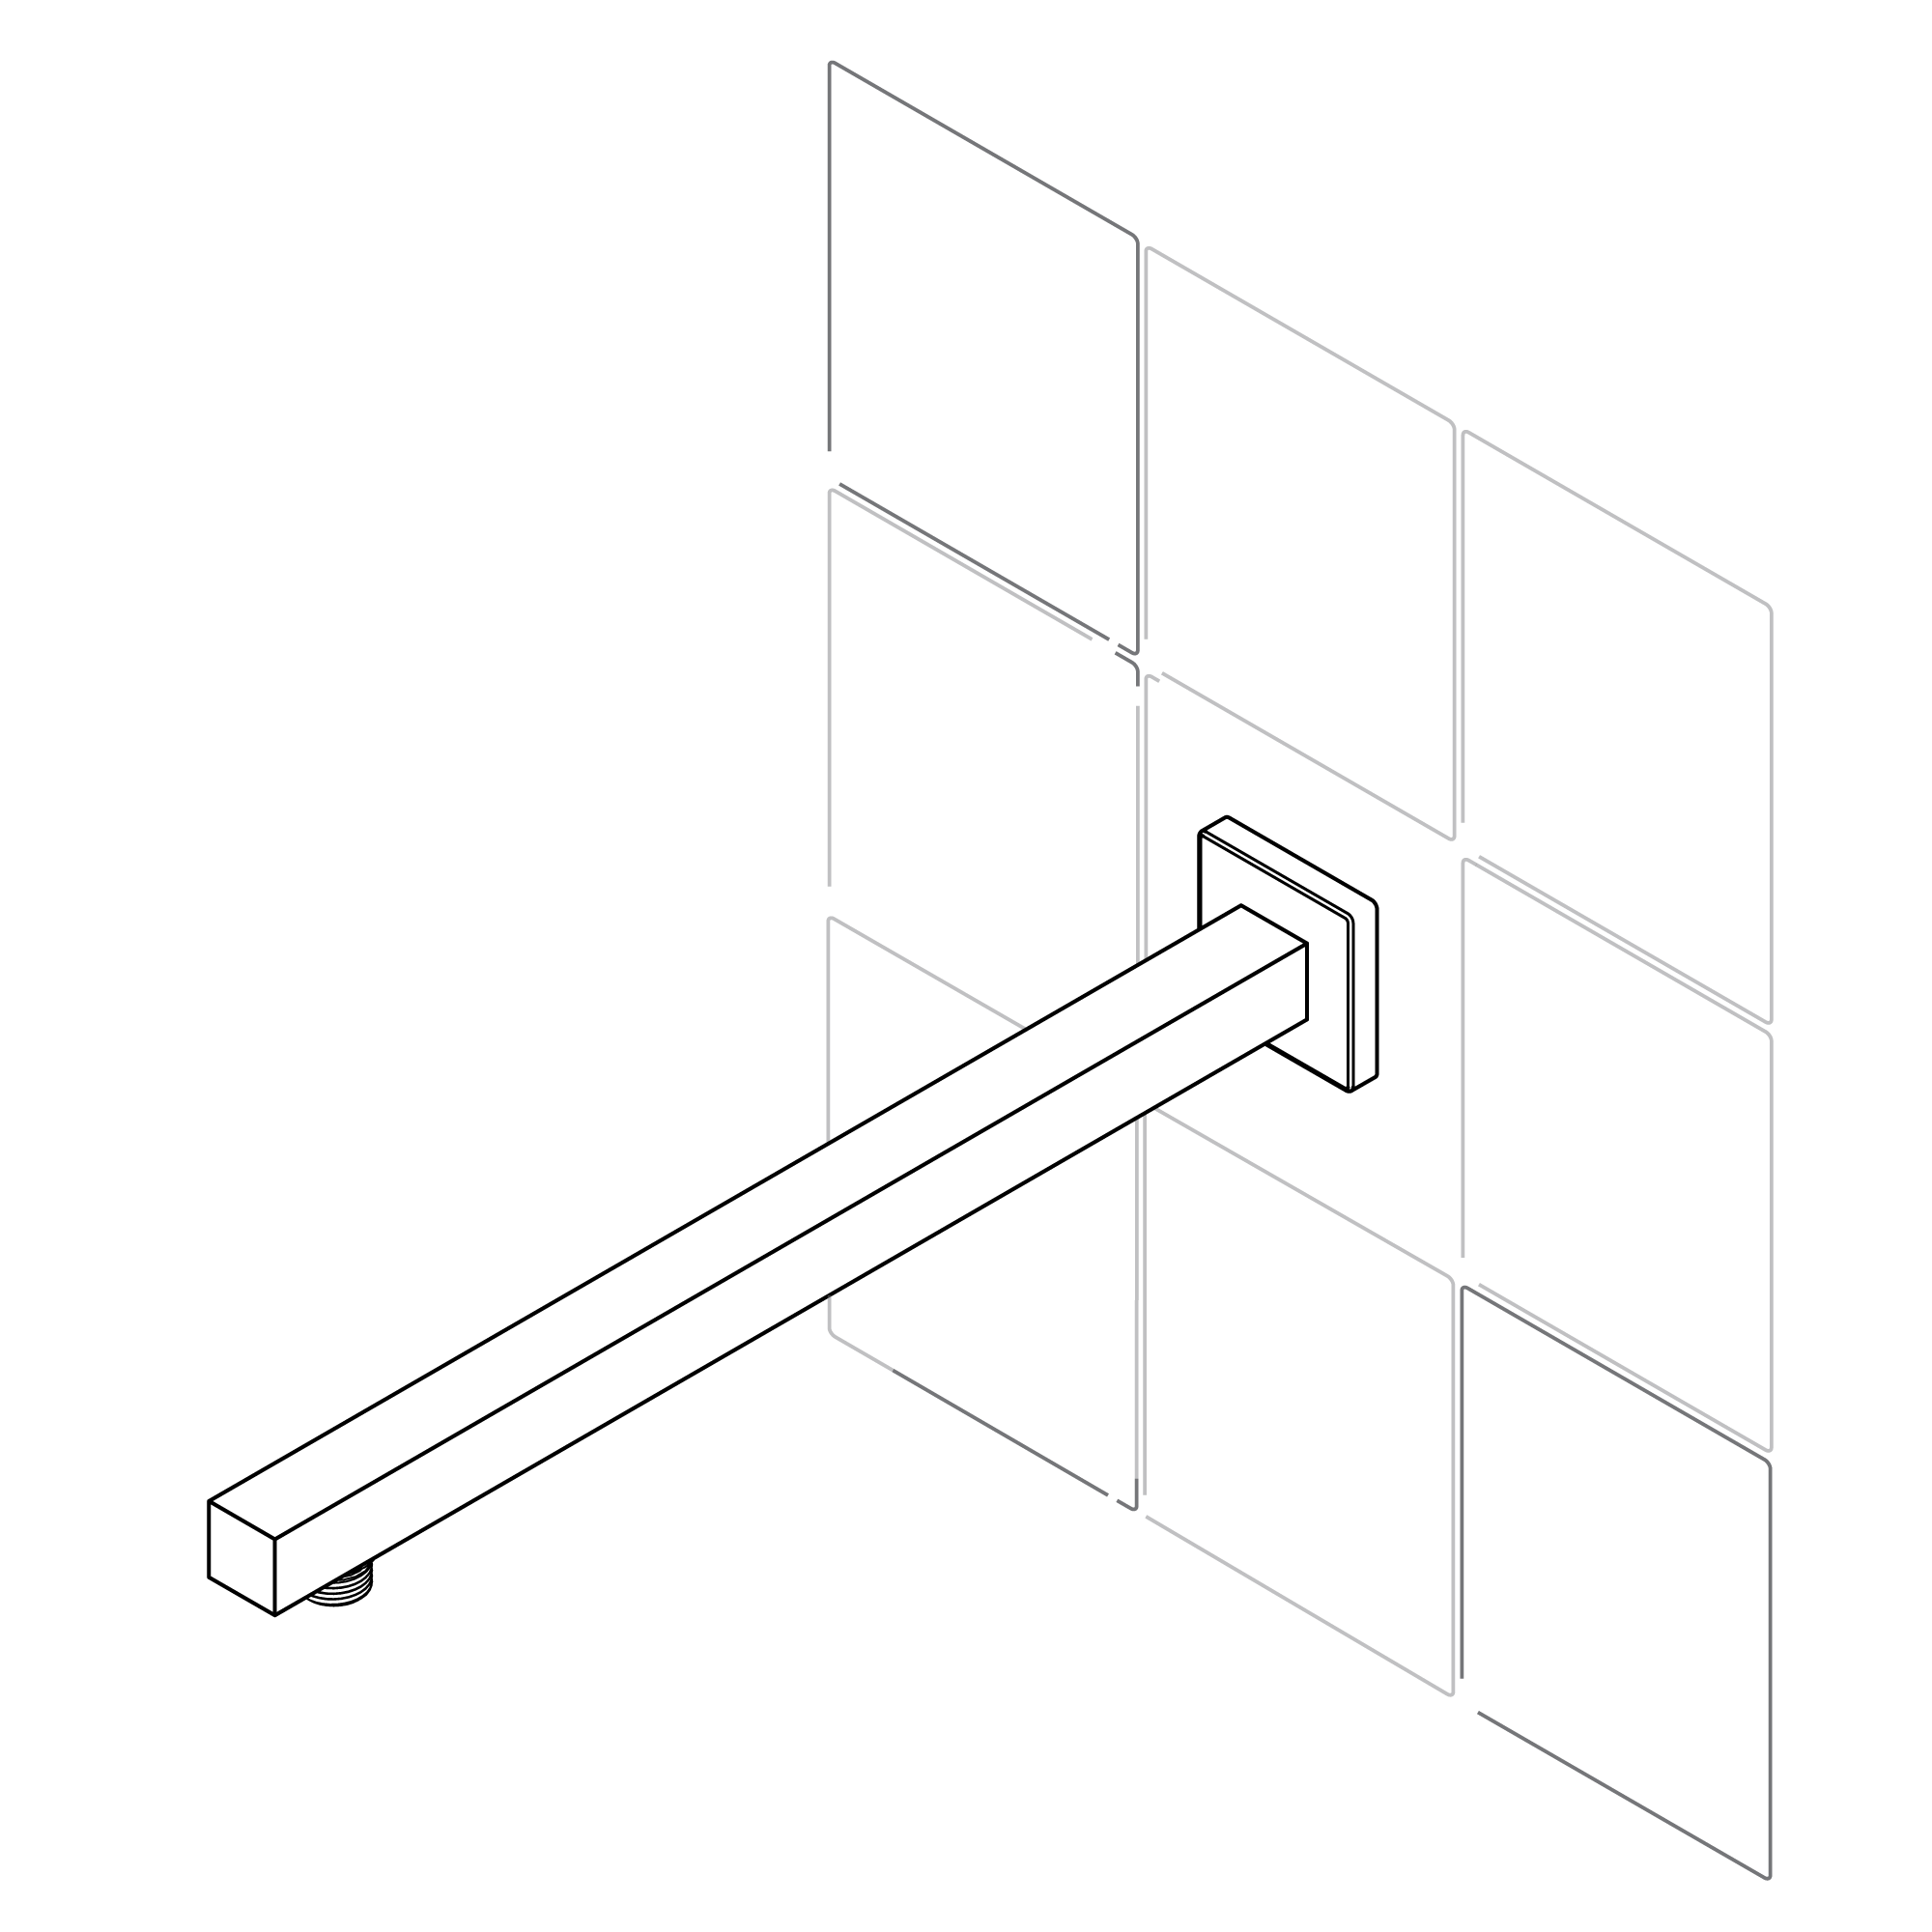
Wall Mount Shower Head Installation Instructions
|
|
|
|
|
|
|
|
|
Step 1:
|
shower
|
installation
|
Step 2:
|
|
|
|

|
|
|

|

|
|
|
|
|
|
|
|
|
|
Step 3:
|
|
|
Step 4:
|
|
|
|

|
|
|
|
|
|
|
|
|
|
|
|
|
|
Step 5:
|
|
|
Step 6:
|
|
|
|
|
|
|

Don't have all your product information? Browse all support topics below.
We're available to provide assistance and support for your inquires!
Featured
categories
About BathSelect
BathSelect, a USA company with a rich history spanning more than three decades, with
over 30 years of experience in creating luxurious and technologically advanced bathroom
fixtures and accessories. The company stands at the intersection of functionality and
innovation, offering a diverse array of products that cater to both commercial and
residential spaces. Among offerings are sophisticated showerheads that range from
thermostatic systems to cutting-edge, voice-controlled smart showers equipped with digital
interfaces.
For those looking to add a touch of allure, the we specialize in captivating LED
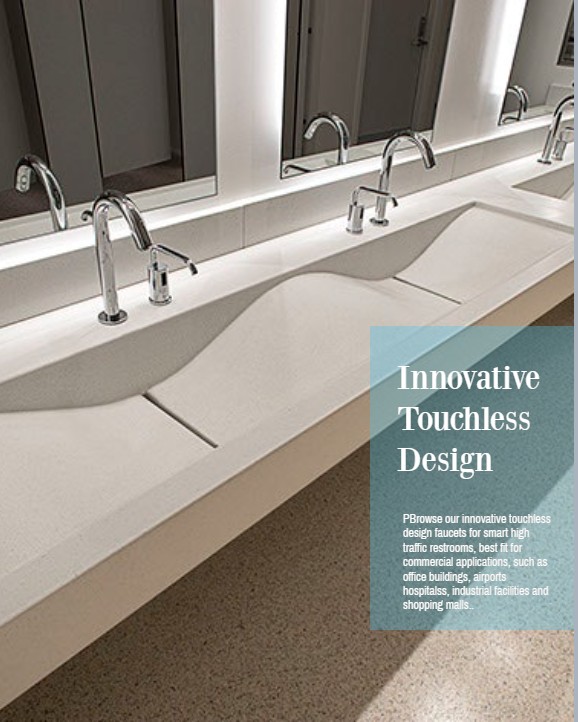
showerheads. We provide high-grade touchless faucets and automatic soap dispensers designed
to handle high traffic with ease. The line of bathtubs includes both freestanding and
drop-in models, available in various styles and dimensions to suit any interior.
Additionally, we offer smart LED mirrors embedded with advanced technology, perfect for
enhancing hospitality settings. Whether your focus is on state-of-the-art technology or
timeless elegance, FontanaShowers commits to elevating the quality and upscale of bathroom
space excelling in the design and production of premium bathroom fixtures and accessories,
blending functionality with innovation.
Learn more
Who We Are?
BathSelect specializes in producing high-quality bathroom fixtures and accessories that
combine style with functionality. Our extensive range includes touchless faucets available
in various designs, finishes, and with diverse features such as voice-activated controls,
smart technology, LED lighting, and temperature regulation. Known for their exceptional
quality and durability, our touchless faucets are a preferred choice for commercial
applications. These touchless are architect and designer top picks, often specified by
top-name architectural firms who value the reliability of Fontana touchless faucets.
Their sleek and modern design seamlessly complements a wide range of bathroom styles while
providing a hygienic handwashing solution, making them especially appealing for public
restrooms and commercial settings. We offer automatic soap dispensers, which are both
eco-friendly and durable choices for commercial bathrooms. With a strong reputation for
quality products and excellent customer service, we became a well-recognized brand in the
bathroom fixture industry. No wounder architects often choose our products, particularly our
touchless faucets & soap dispensers, due to their trust in the brands reliability and
product quality. Our focus remains on producing top-quality bathroom fixtures and
accessories that seamlessly blend style and functionality.
Learn more
|
|
|