Home > Installation Instructions for Prima 40 Inch Contemp Glass Bowl Vessel Sink & Vanity With Matching Faucet

How to Install Prima 40 Inch Contemp Glass Bowl Vessel Sink & Vanity With Matching Faucet | BS-NIM39


This Glass Circular Vessel Bathroom Sink with Faucet is a wonderful blend of form and function. It allows flexibility to match as well as enhance a wide variety of bathroom designs.

This Glass Circular Vessel Bathroom Sink with Faucet is constructed from stainless steel and glass, which ensures strength and durability. It features a glass top with a clear finish and a chrome finish on its base. This vanity set has a modern design, which is visually appealing. It has a stainless-steel base with a chrome finish. It features a vessel sink for washing up. The drain is placed in the middle of the sink. It is pre-drilled for a single-hole faucet. This freestanding vanity is great for an outdoor wash up area and a small guest bathroom. It is the perfect example of quality and durability. It is water-resistant and withstands moisture and humidity. It is rust-resistant, which prevents it from corrosion. It is also stain-resistant, which means it will retain its color for a long time.


Features:Visit Product Page
  • Overall size: 39.4"x22.1"x35.4"
  • Glass bowl size: 165."x16.5"
  • Vitreous mesa: 33.3"x22"
  • The glass shelf: 16.5"x11.4"
  • Main part: Toughened glass
  • Pedestal: Stainless Steel
  • Towel bar: Stainless Steel
  • Stand: Solid Wood
  • Faucet: Solid Brass
  • Package includes: vanity, faucet and plumbing
sensorPrima 40 Inch Contemp Glass Bowl Vessel Sink & Wood Vanity With Matching Faucet

Important Note:

  • Before you begin, please read the installation instructions below. Observe all local building and safety codes.
  • Unpack and inspect the products for any shipping damages. If you find damages, do not install.
  • Please note all products must be installed by a professional and certified plumber otherwise warranty might be voided.

  • Specs

    Size:

    Tempered Glass Countertop Vanity Set.
    Color: Transparent and dark brown wood.
    Dimensions: 39 1/2 inch; wide x 22 "deep x 36 inch tall
    Glass countertop-thickness: 1/2"
    Contemporary clear glass Vessel sink- Dimensions: 16-1 / 2 "W x 16-1 / 2" Dx 6 "H Thickness: 1 / 2 "
    Chrome push-up umbrella drainer, p-trap.
    Chrome-plated stainless steel racket and towel bar.
    Free 12 "Finish Chrome Wrench W / 2 Hoses.


    Chrome push umbrella pop-up drainer
    Stainless steel racket and towel bar in chrome finish
    Finish: Dark espresso brown and clear glass
    May be installed with shelves on right-hand side only
    Materials: Glass and stainless steel
    Hardware finish: Chrome
    Glass: Yes
    Sink thickness: 0.5 inch
    Sink dimensions: 16.5 inches in diameter x 6 inches high
    Faucet: One
    Number of shelves: Three
    Dimensions: 36 inches high x 39.5 inches wide x 22 inches deep

    Deep vessel sink with contemporary chrome fixtures
    Glass shelving along the sides provides storage for all of your needs
    This dynamic vanity combo includes a vessel sink and a 12-in faucet


    Installation


    Partsvanity


    Step 1:Step 2:

    we need to mount the screws to install the legs


    Step 3:Step 4:


    Step 5:Step 6:
    after mounting the left, you can set the stainless frame.
    The following photos, we will show you
    how to put the frame & pedestal legs together.

    insert those metal bar into the wood pedestal before you connect them
    with the stainless frame, it will make it easier for the installation process.
    Step 7:Step 8:


    Step 9:Step 10:


    Step 11:Step 12:
    after setting up the leg & frame, we need to set up screws for glass top to mount on.
    following photos will show you how

    Step 13:Step 14:


    the big glass counter can be sit on those 4 metal support

    Step 15:Step 16:
    if the hole is not drilled, you need to use the power toll to drill through the hole, so we can
    use the long screw to connect the front towel bar. the following photo will show you how it is look like
    after the connection.

    Step 17:Step 18:


    Step 19:Step 20:


    Position the white gasket on the sink, then apply plumber's putty.
    Step 21:Step 22:


    Push the drain body down to the sink hole,
    Step 23:Step 24:


    Step 25:Step 26:


    Step 27:Step 28:


    now you finished setting up the stainless frame + wood pedestal, all you need to do next is very easy.
    you just need to sit the glass top on the frame, and mount the glass top to the wall with wall mount clips.
    Step 29:


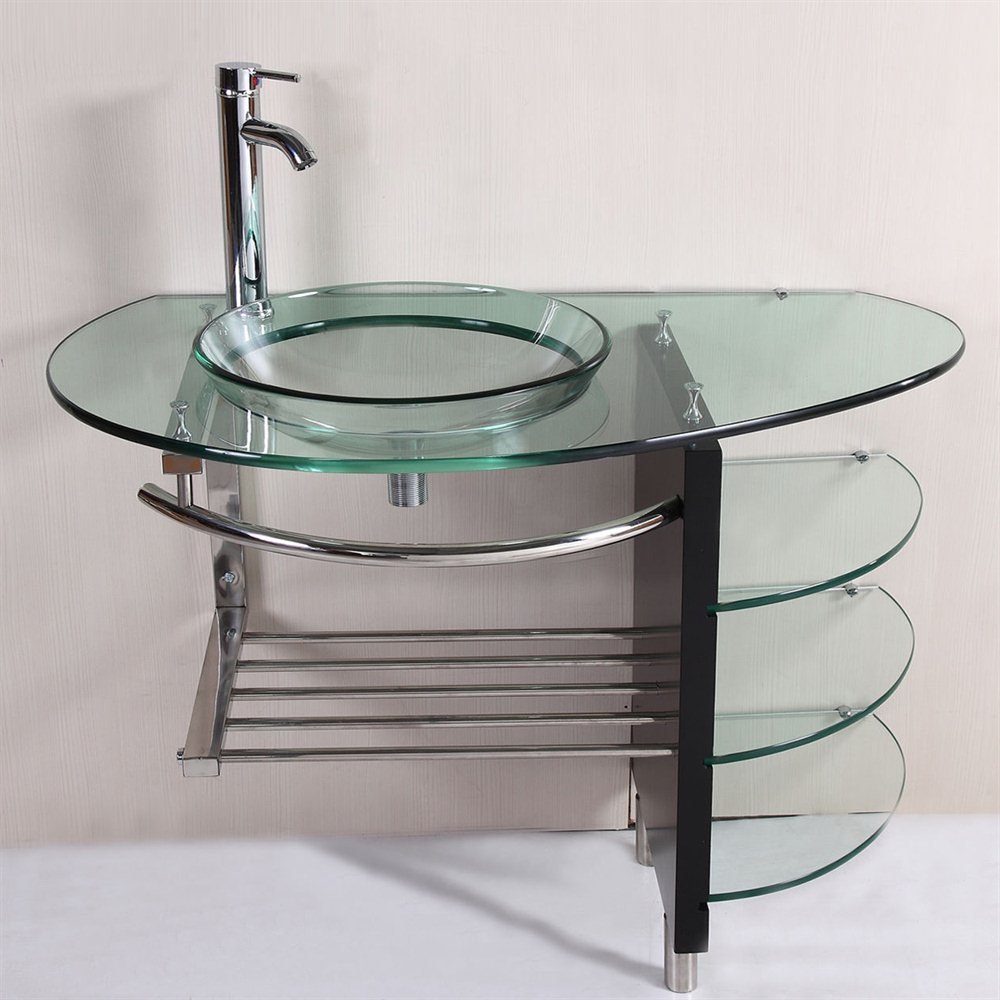
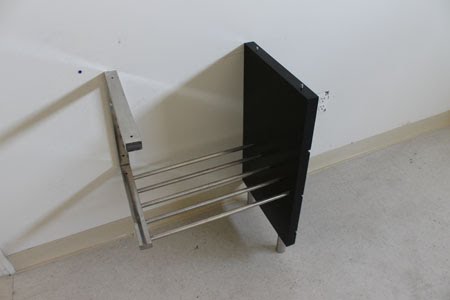
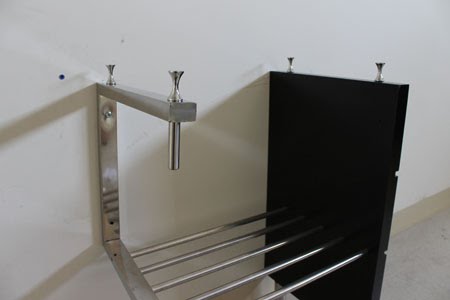
    above Step 21: Place the mounting ring. A mounting ring is only necessary if you're installing an above-counter vessel sink. Recessed vessel sinks are supported directly by the countertop. Place the ring directly over the drain hole in the countertop, applying adhesive or plumber's putty as directed by the instructions that came with your vessel sink.

    It is important that the hole for the drain through the top of the counter is not too large. It needs to be just big enough to allow the drain's pipe through. The thin metal ring and a retaining nut that screw onto the pipe from under the counter actually "clamp" the sink down. Apply a small bead of caulk to the bottom of the sink around the edge and carefully set it in place while keeping it centered over the hole.

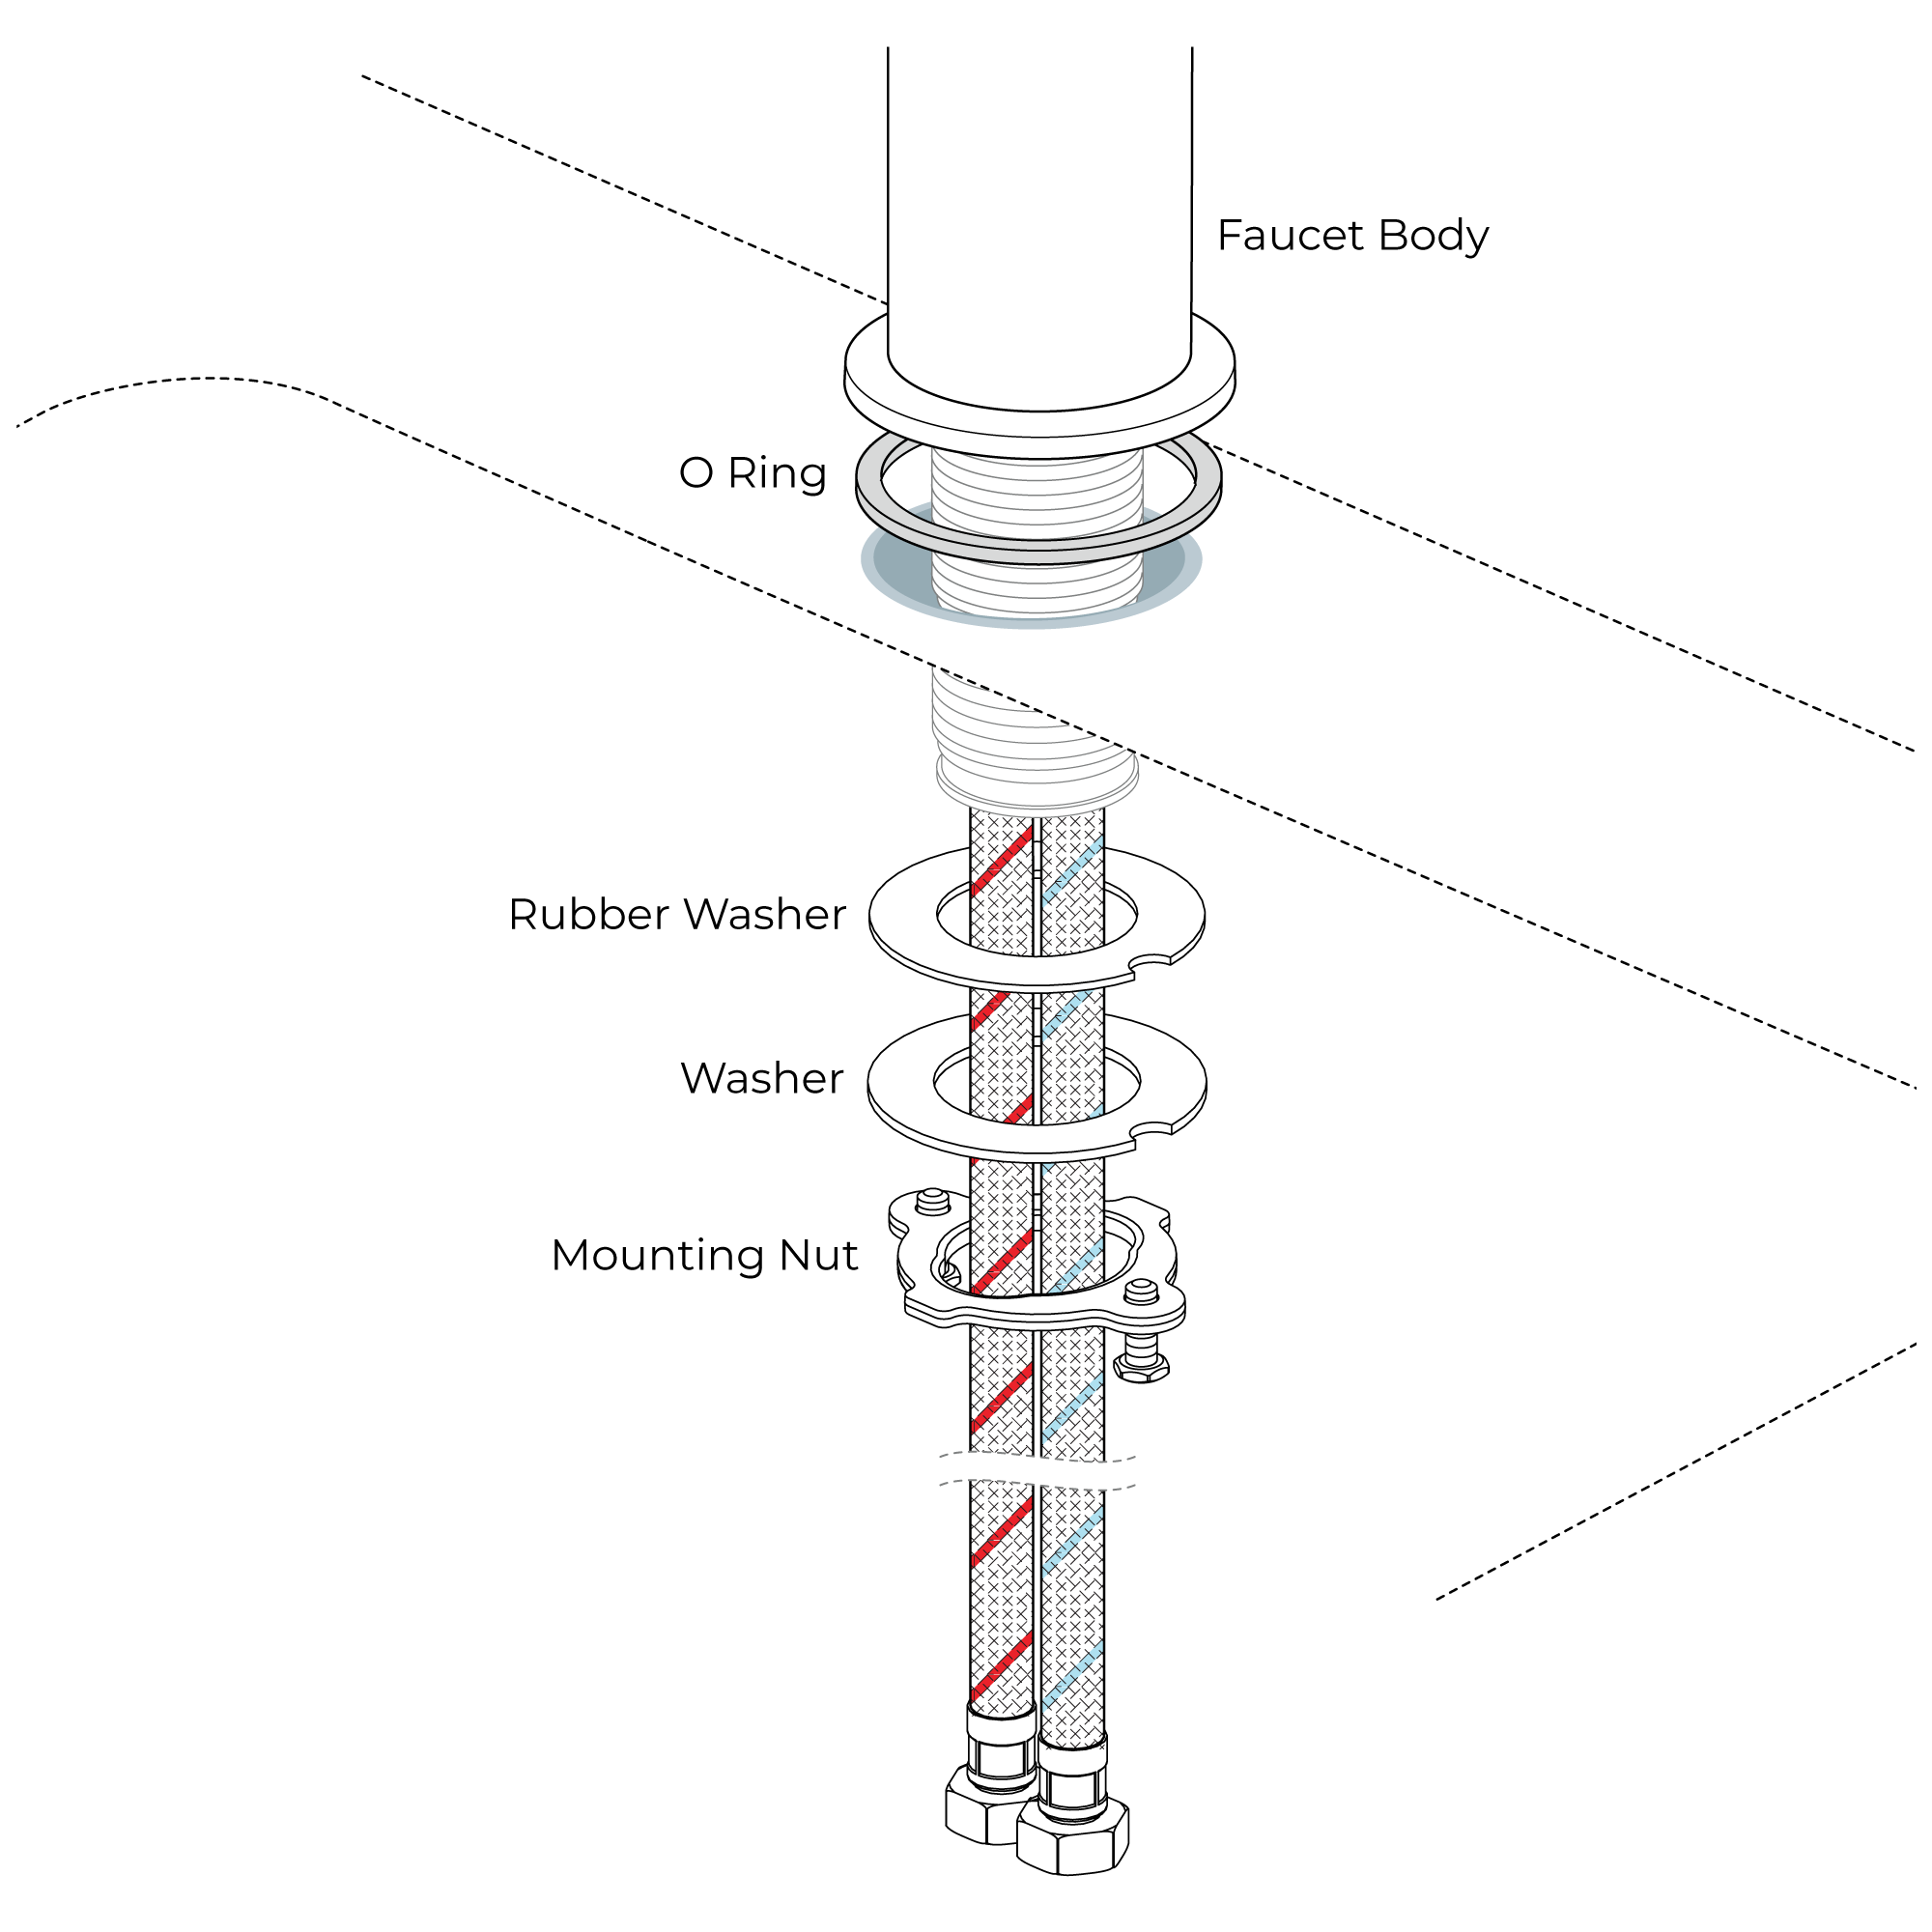
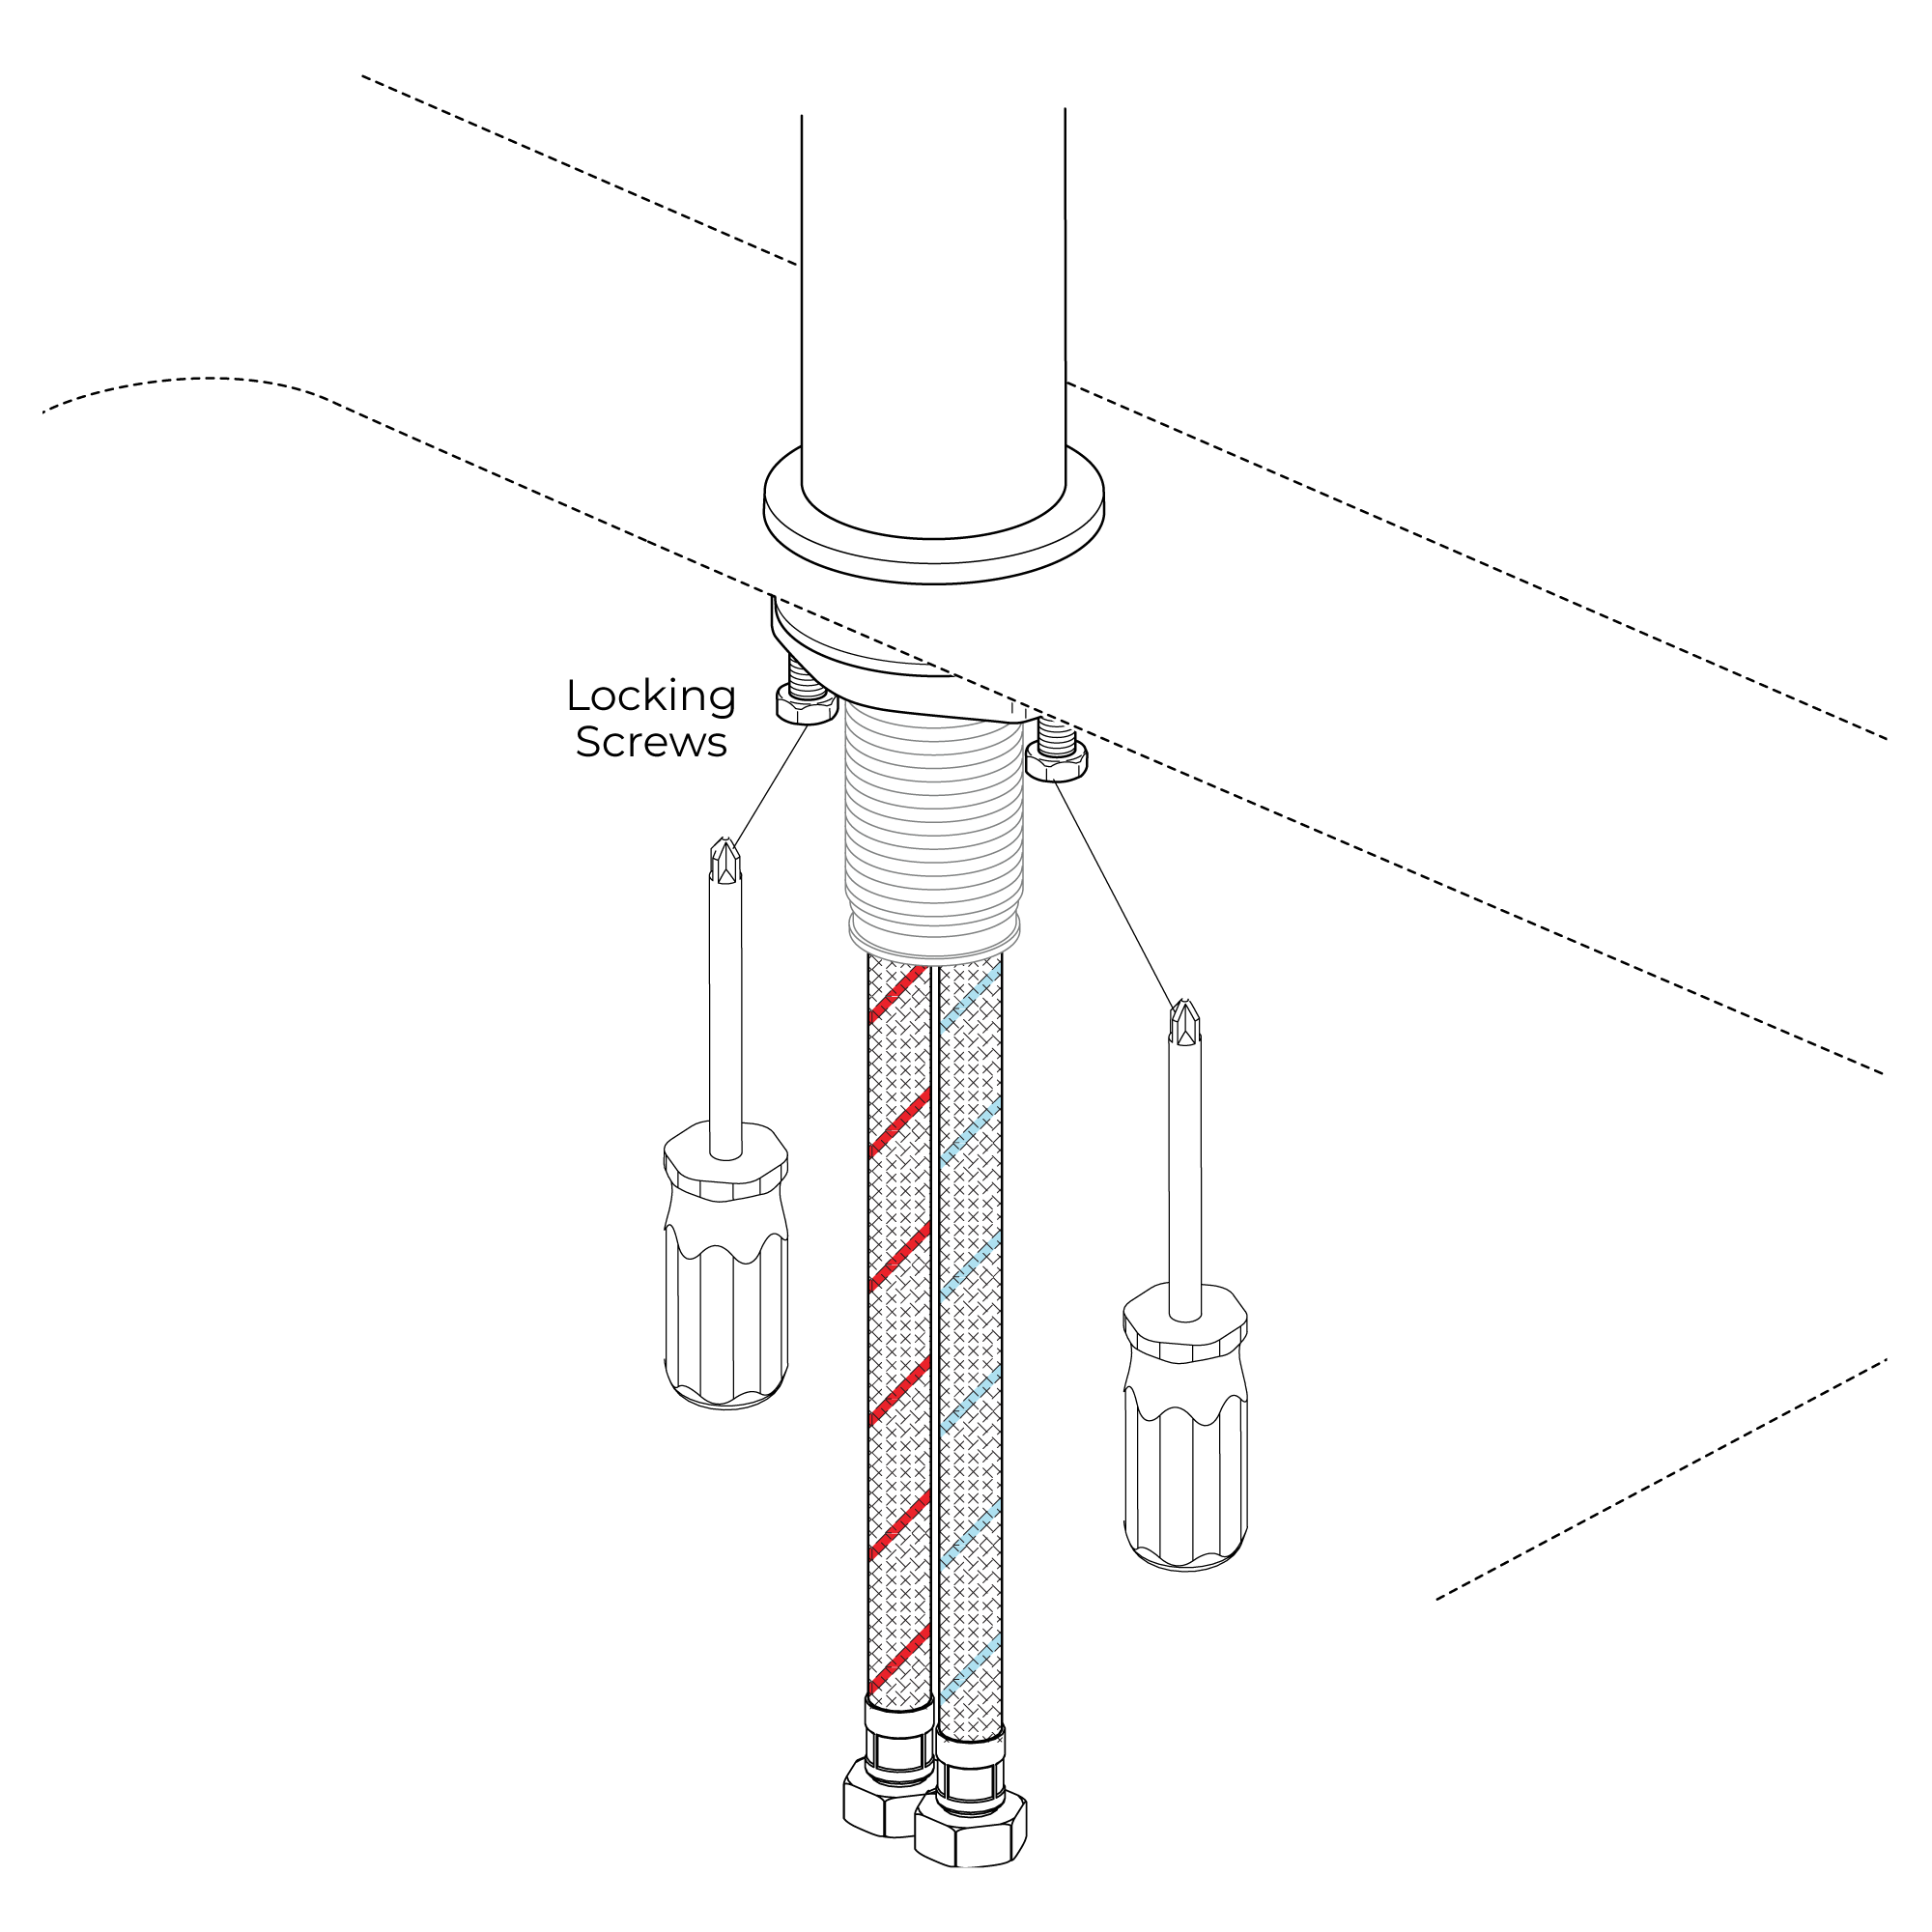
    Wipe away any excess If your drain came with a rubber upper gasket you'll want to use it. Otherwise, apply plumber's putty to the underside edge of the upper retaining ring (that which makes contact with the sink's inside surface where the drain penetrates through the bowl).

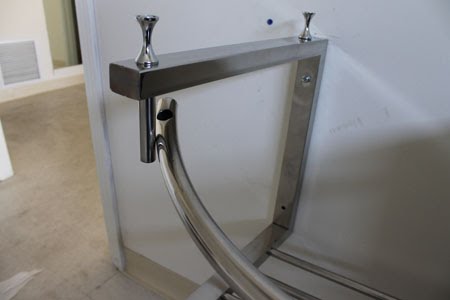
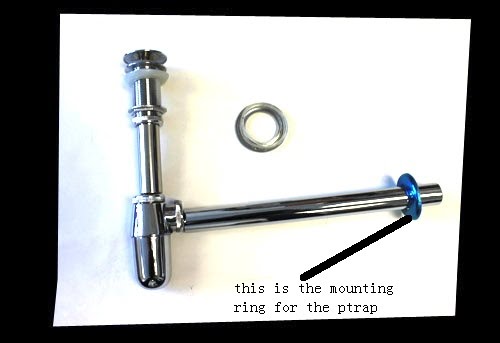
    Slip the lower fastening ring and nut onto the threaded end of the pipe. Hand-tighten and then use the pipe wrench to firmly secure the sink in place.

    step1-

    Place the mounting ring. A mounting ring is only necessary if you're installing an above-counter vessel sink. Recessed vessel sinks are supported directly by the countertop. Place the ring directly over the drain hole in the countertop, applying adhesive or plumber's putty as directed by the instructions that came with your vessel sink.

    step2 Lower the sink vessel. Rest the sink either on the mounting ring or into the recessed hole in your countertop. Align the vessel drain hole facing directly

    step 3: Caulk the edges of the sink hole. From beneath the countertop, use silicone caulk to seal the seam between the vessel sink and the edges of the countertop hole. This will keep moisture from dripping down

    step 4. Separate the drain assembly. The drain assembly that came with your vessel sink may be completely assembled. Separate the drain body from the rest of the assembly. Since each vessel sink is different, check the manual that came with your sink to keep track of how the washers, nuts and O-rings fit on the assembly. You'll be reassembling it in Step 5.

    step 5. insert the drain body. Slide the drain body down into the sink's drain hole. If the vessel sink instructions require it, apply a bead of plumber's putty around the fitting and press it firmly into place.

    step 6 Reassemble the drain assembly. From underneath the vessel sink, reattach the rest of the washers and other assembly hardware to the drain body, protruding from the drain hole. Check the vessel sink instructions to be sure you assemble everything properly.

    Attach the P-trap. Depending on your vessel sink design, you may be using a custom P-trap and drain fittings. Otherwise, you can attach the drain assembly to the existing P-trap, hand-tightening the connections.

    Turn on the water. Release the stop valves for the hot and cold water and test the sink faucet.

    .


    To make the vessel sink stable & not moving, please apply a small bead of caulk to the bottom of the sink around the edge and carefully set it in place while keeping it centered over the hole.

    Wipe away any excess.


    Faucet Installation Instructions


    Step 1:sink faucetStep 2:faucet


    Step 3:Step 4:
    BathSelect Installation Instructions
    Skip to content