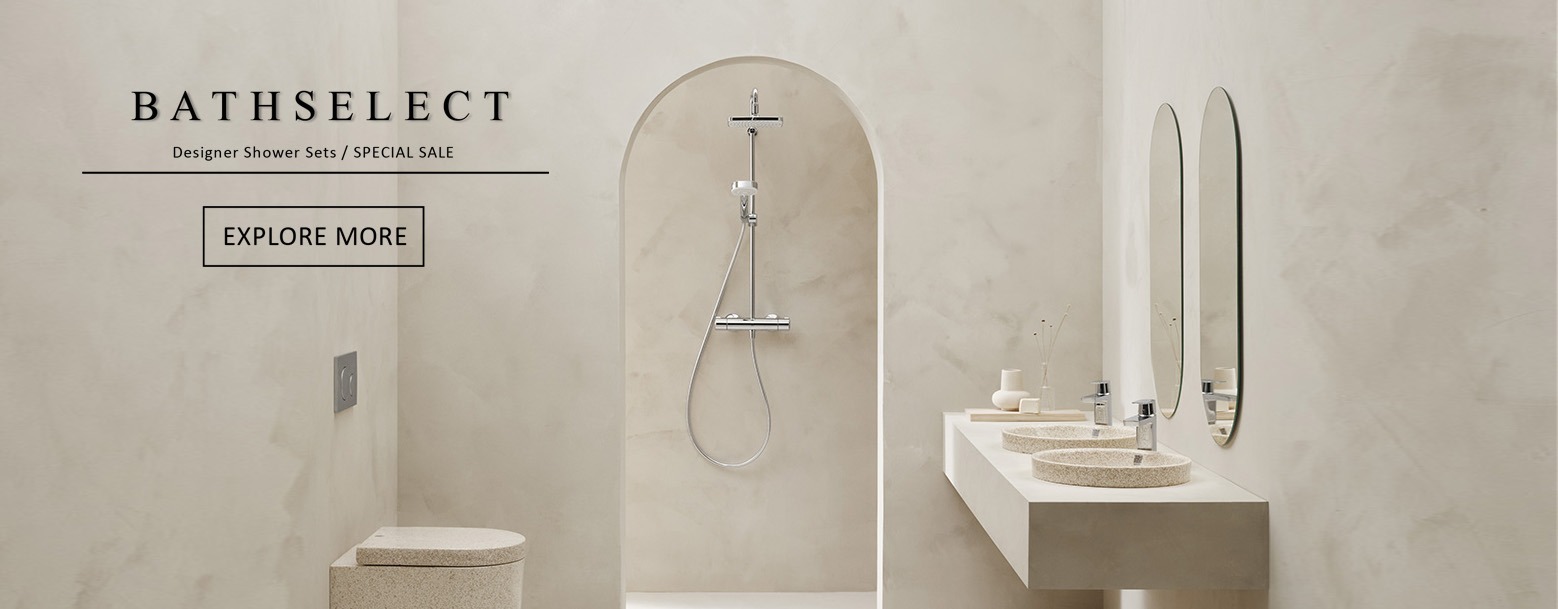
Designer Brand Shower Systems
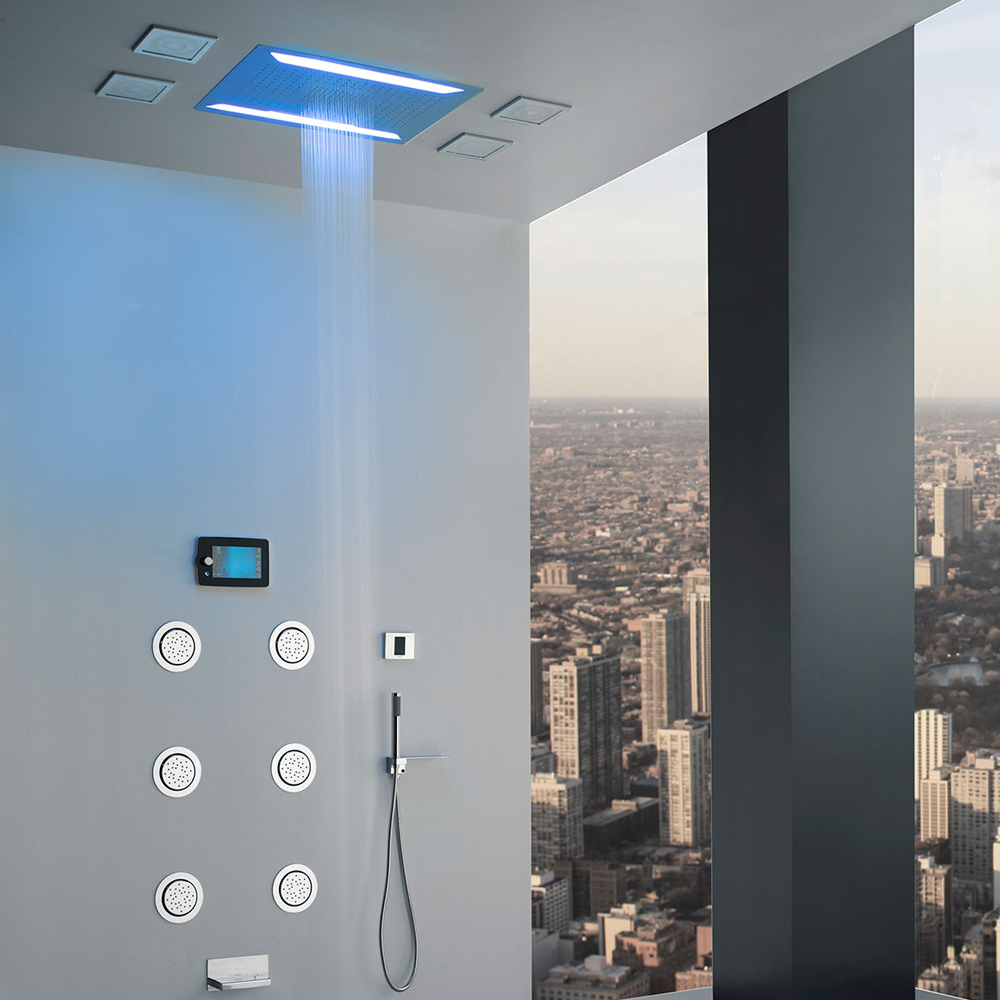
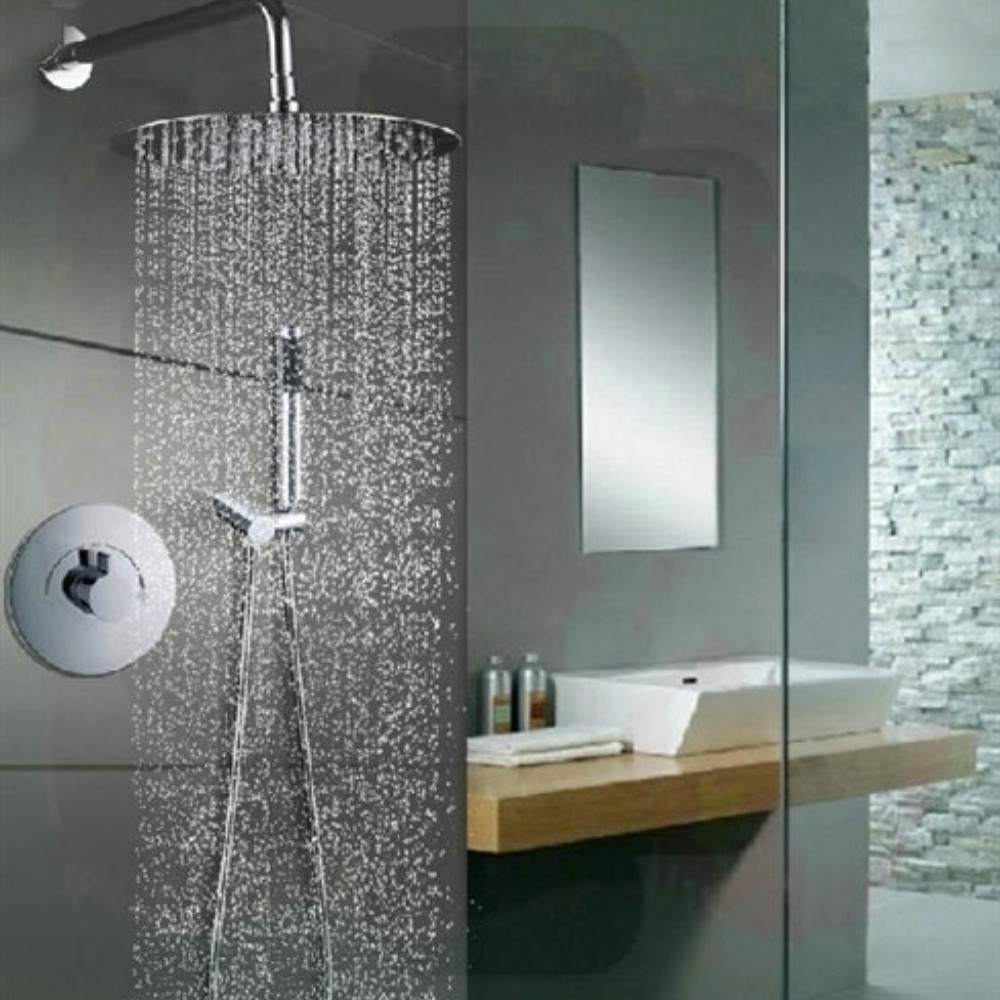
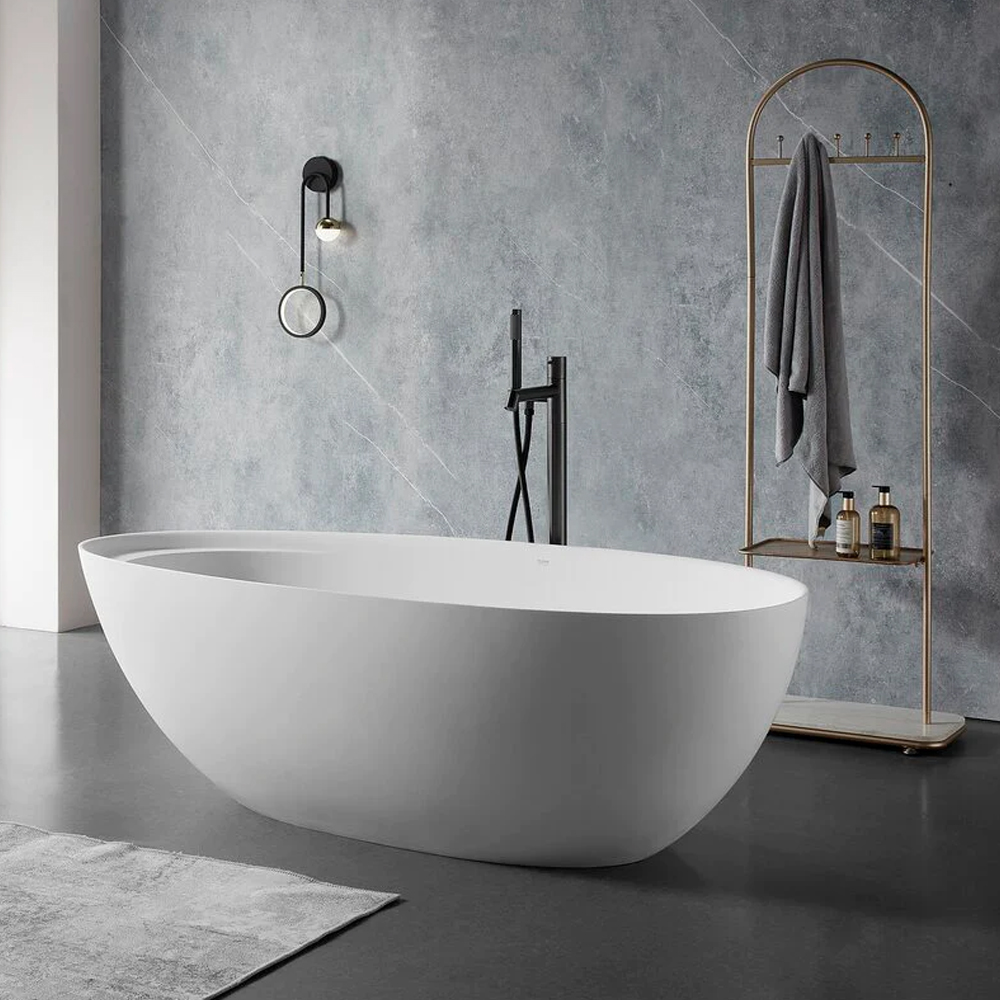
BathSelect specializes in crafting bespoke shower systems and designer bath fixtures, offering a wide array of options to enhance your bathroom ambiance. Whether you seek luxurious shower setups, orbital designs, MultiColor LED showers, sleek Aluminum sets, Rio themes, waterfall features, or contemporary styles, we provide chic solutions tailored precisely to your needs. Our team of design mavens assists you in choosing and specifying the ideal shower systems, ensuring a perfect fit. We're dedicated to delivering top-notch bathroom fixtures blending comfort, reliability, and premium craftsmanship.
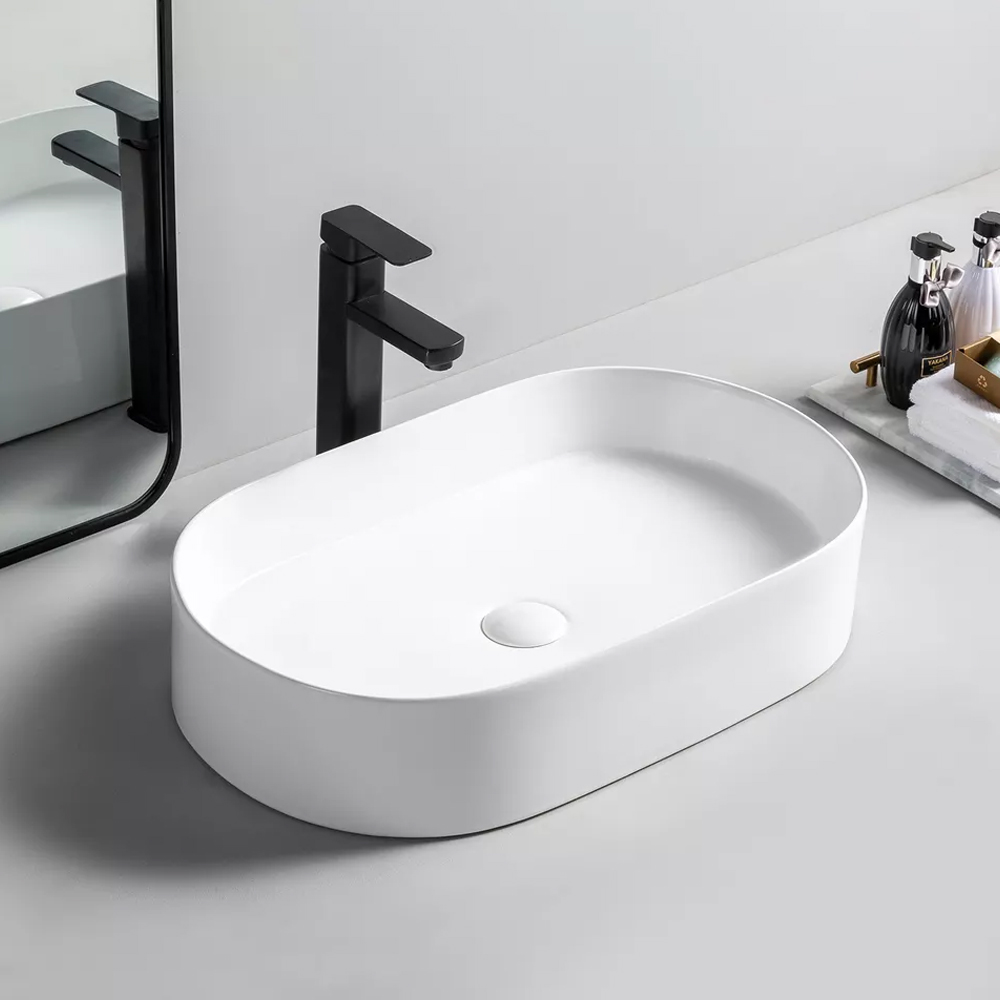
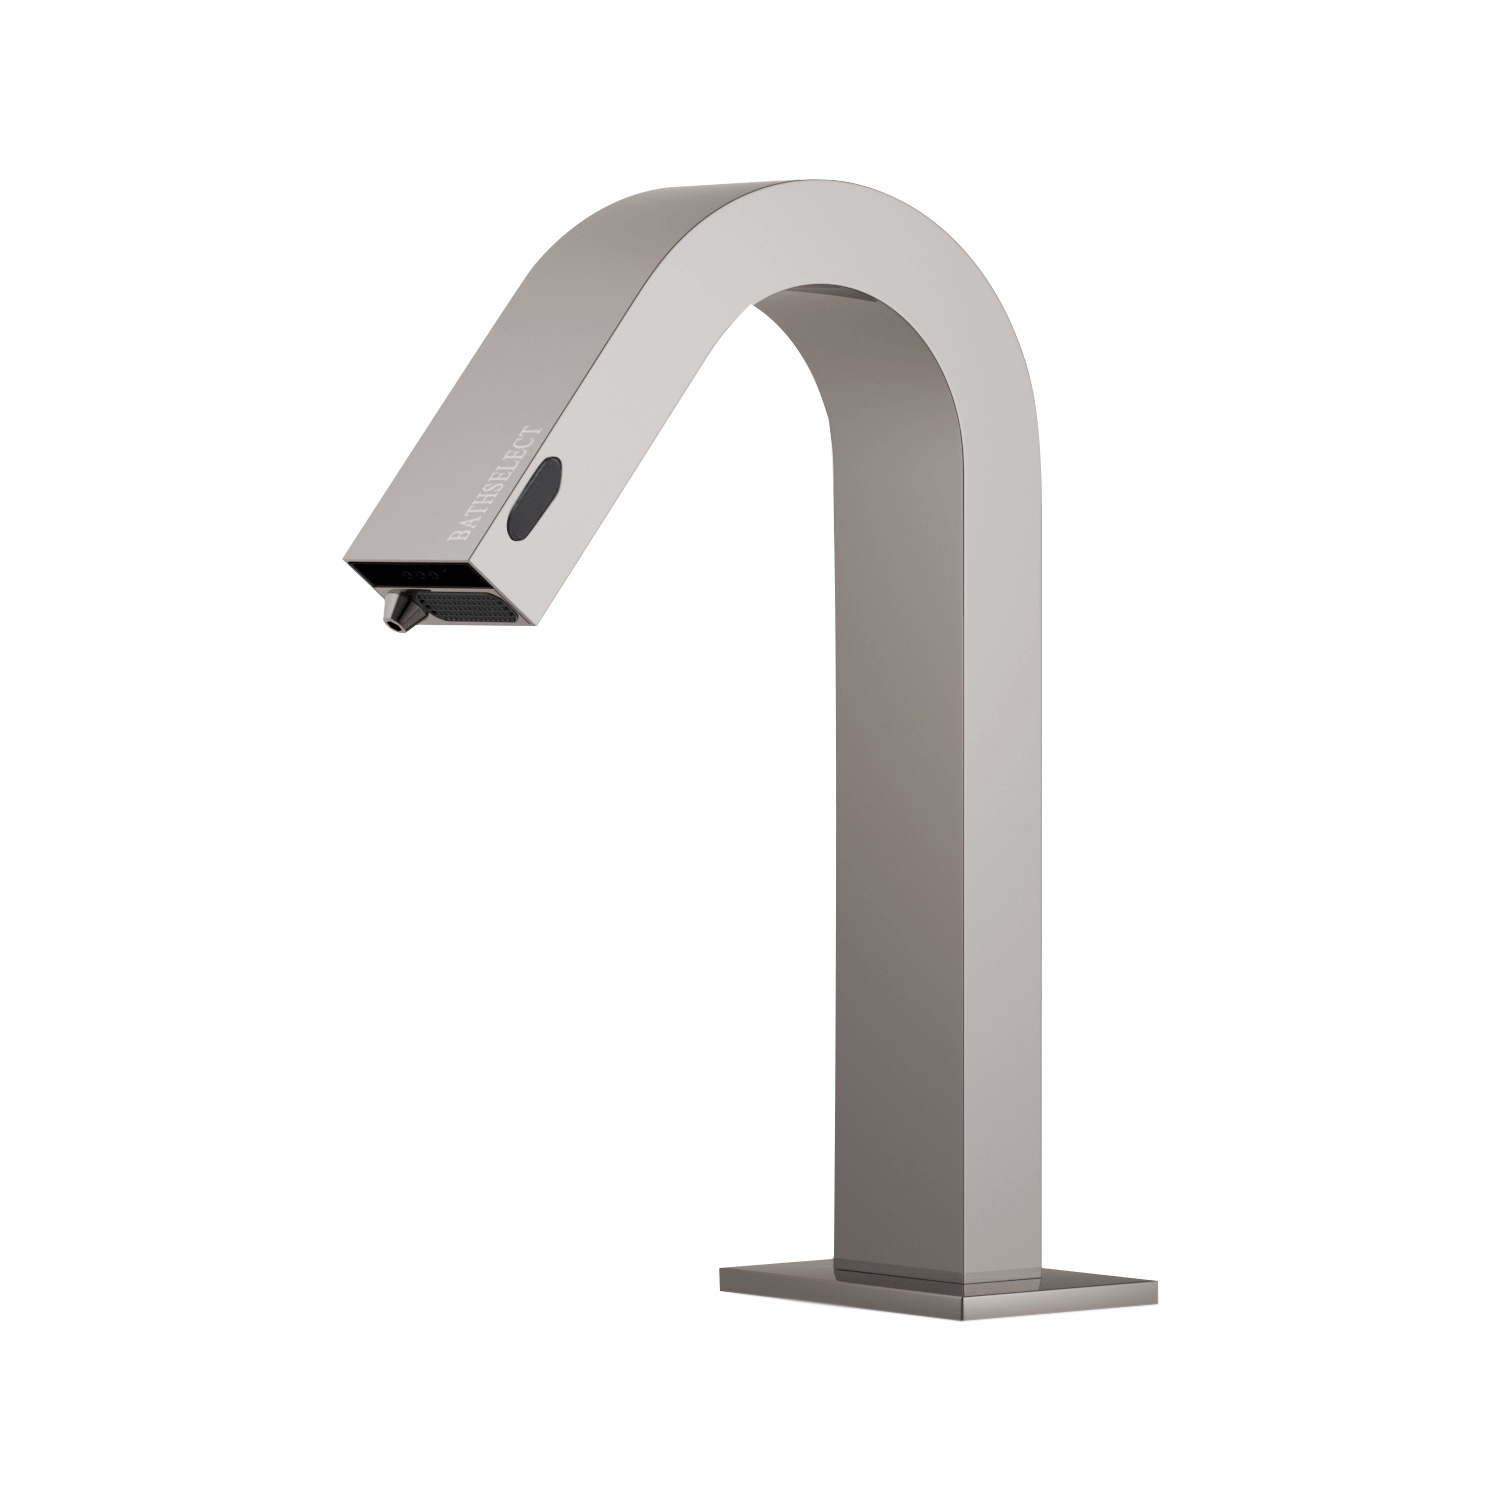
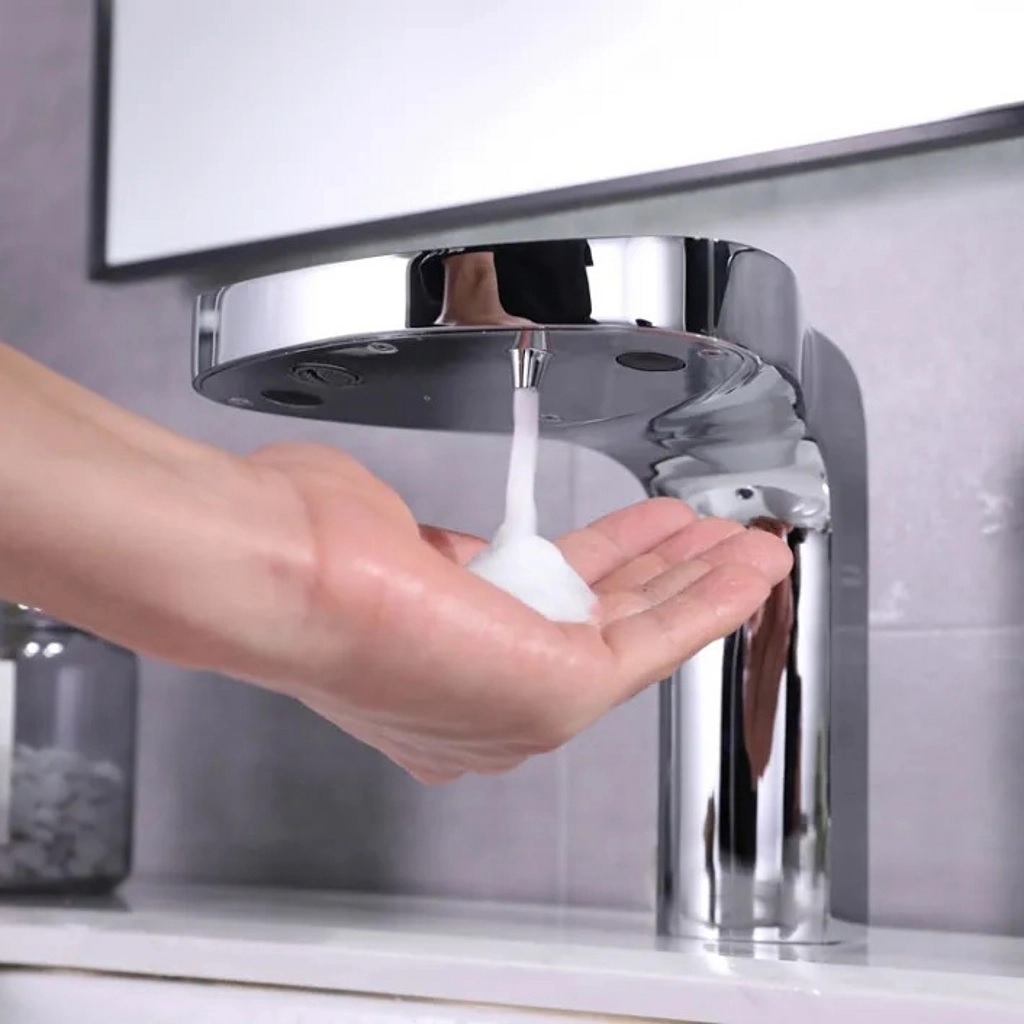
Our product lineup spans Massage Showers, Touchless Sensor Faucets, LED Showers, Smart & Digital Showers, Body Massage Shower Jets, Shower Heads, Steam Shower Rooms, Modern Bath Vanity Sets, and Bath Accessories, showcasing cutting-edge bathroom technology. Embracing diversity, we cater to varied tastes with trending fixtures. Our commitment to customer satisfaction ensures a seamless shopping experience with easy checkout and swift delivery. Choose BathSelect for courteous treatment and exceptional service, guaranteeing your satisfaction at every turn.
|
|

|