Who We Are?
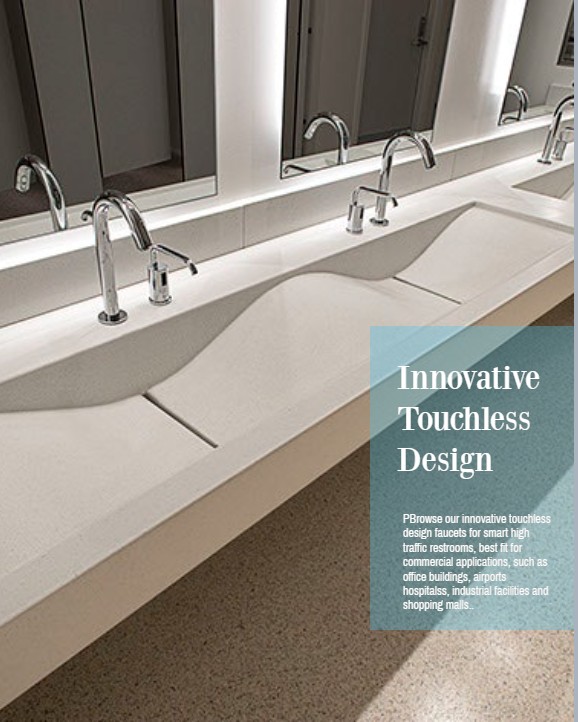
BathSelect specializes in producing high-quality bathroom fixtures and accessories that
combine style with functionality. Our extensive range includes touchless faucets available
in various designs, finishes, and with diverse features such as voice-activated controls,
smart technology, LED lighting, and temperature regulation. Known for their exceptional
quality and durability, our touchless faucets are a preferred choice for commercial
applications. These touchless are architect and designer top picks, often specified by
top-name architectural firms who value the reliability of Fontana touchless faucets.
Their sleek and modern design seamlessly complements a wide range of bathroom styles while
providing a hygienic handwashing solution, making them especially appealing for public
restrooms and commercial settings. We offer automatic soap dispensers, which are both
eco-friendly and durable choices for commercial bathrooms. With a strong reputation for
quality products and excellent customer service, we became a well-recognized brand in the
bathroom fixture industry. No wounder architects often choose our products, particularly our
touchless faucets & soap dispensers, due to their trust in the brands reliability and
product quality. Our focus remains on producing top-quality bathroom fixtures and
accessories that seamlessly blend style and functionality.
Learn more