How to Install BathSelect Brushed Nickel Wall Mount Thermostatic Mixer LED Shower Set | BST-1025
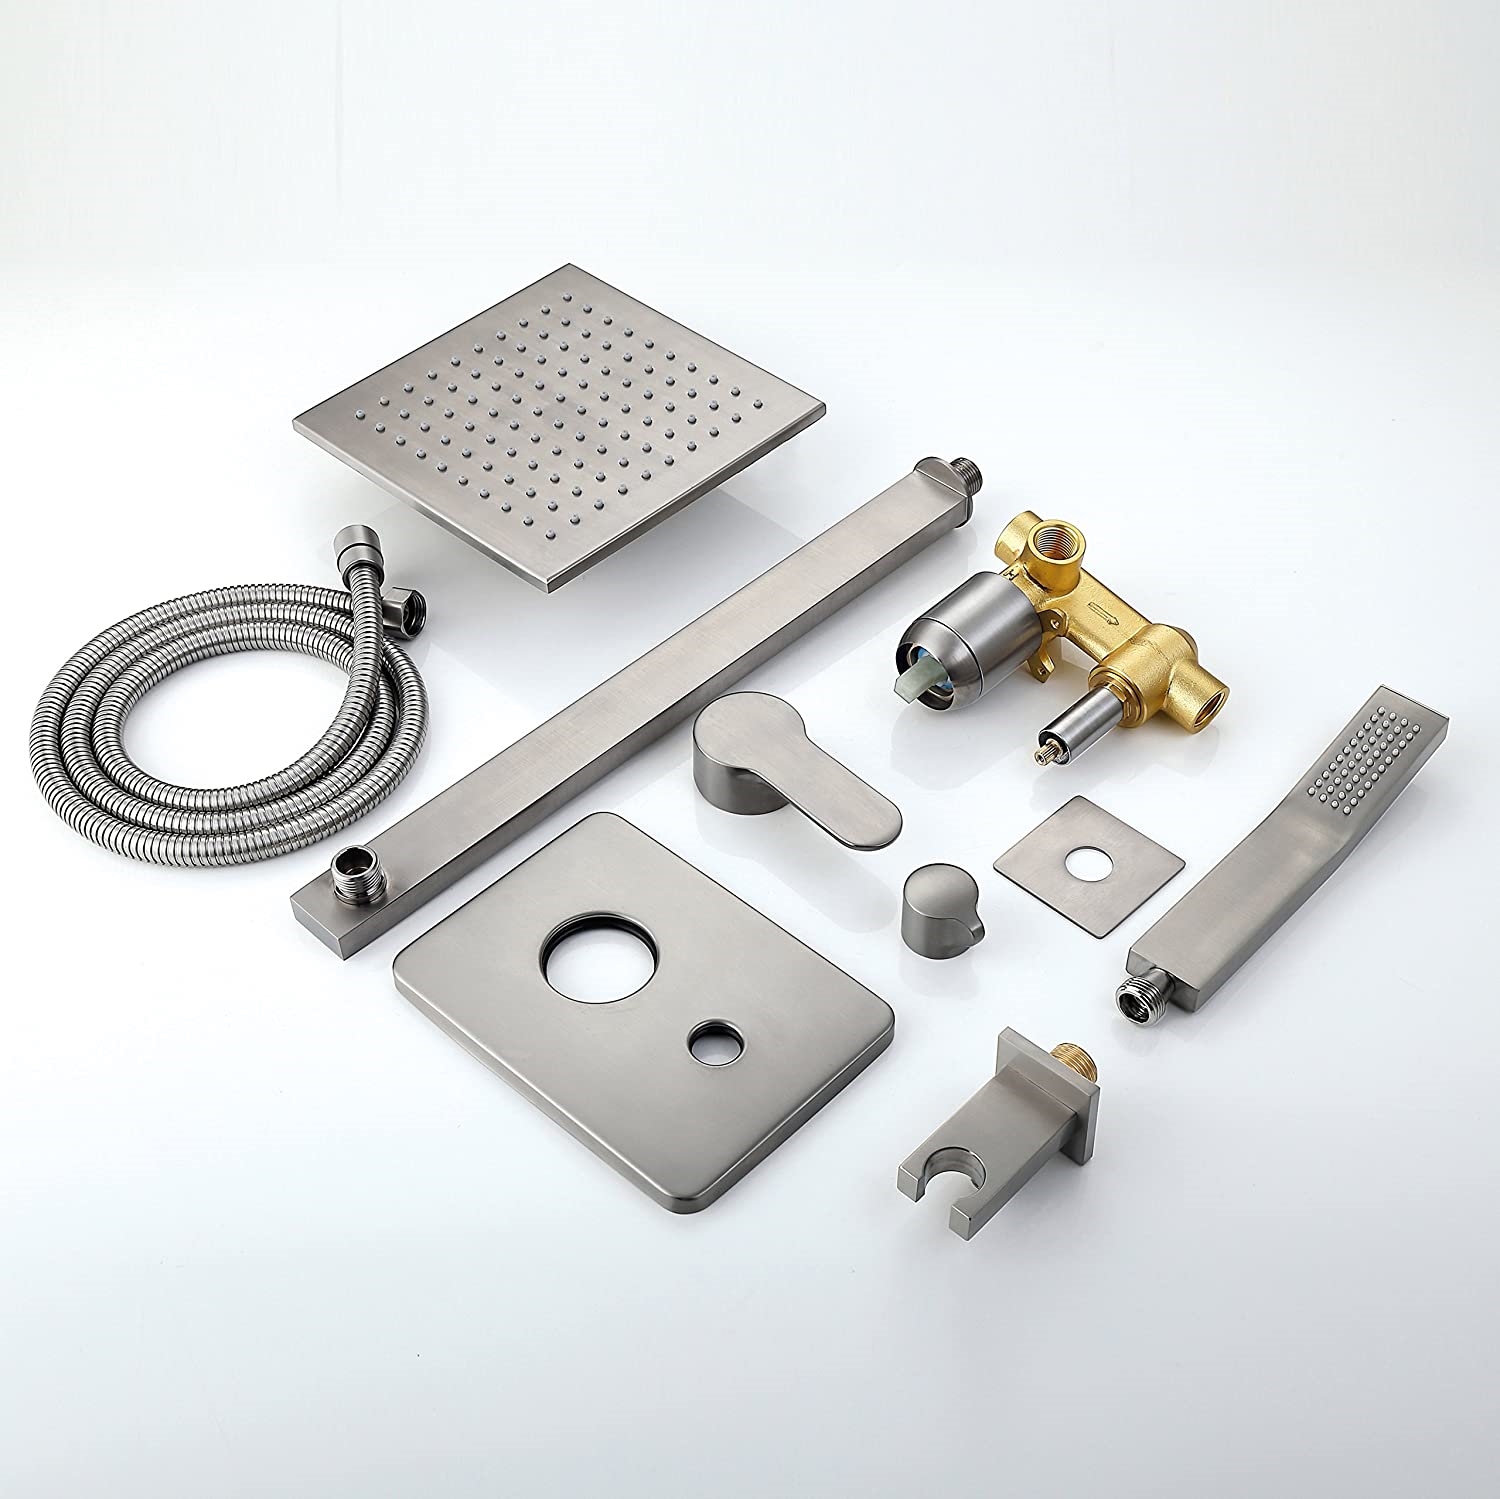
Enhance your modern bathroom with BathSelect Sénart Brushed Nickel Wall Mounted Thermostatic Mixer Shower Set which comes complete with the Square rotatable shower head, handheld shower spray, and thermostatic triple mixer everything in a beautiful brushed Nickel finish. Its rainfall effect experience makes showering experience more soothing and relaxing. Made from high-quality brass, Brushed Nickel finish to create a bright, highly reflective, beautiful metallic look. Effortlessly provides superior water pressure even in low pressure. This is one of the simplest products we offer, yet indispensable when it comes to installing a brand new shower. It comes complete with accessories and installation instructions.
Features:
Brand Name: BathSelect
Model Number: BST-1025
Function Type: Bathroom Thermostatic Shower Set
Style: Contemporary
Shower Head Feature: Rotatable Rainfall Shower Head
Installation Type: Wall Mount
Surface Finishing: Brushed Nickel
Material: Brass
Number of Handles: Duel Handle
Connection: G1/2 Standard
Concealed Mixer valve: Thermostatic
Hose Length: 1.5m
Hose Material: Stainless Steel
Flow Rate: 2.5 GPM
shower
Important Note:
Before you begin, please read the installation instructions below. Observe all local building and safety codes.
Unpack and inspect the product for any shipping damages. If you find damages, do not install.
Please note all products must be installed by a professional and certified plumber otherwise warranty might be voided.
Shower Head Installation Instructions
Size:
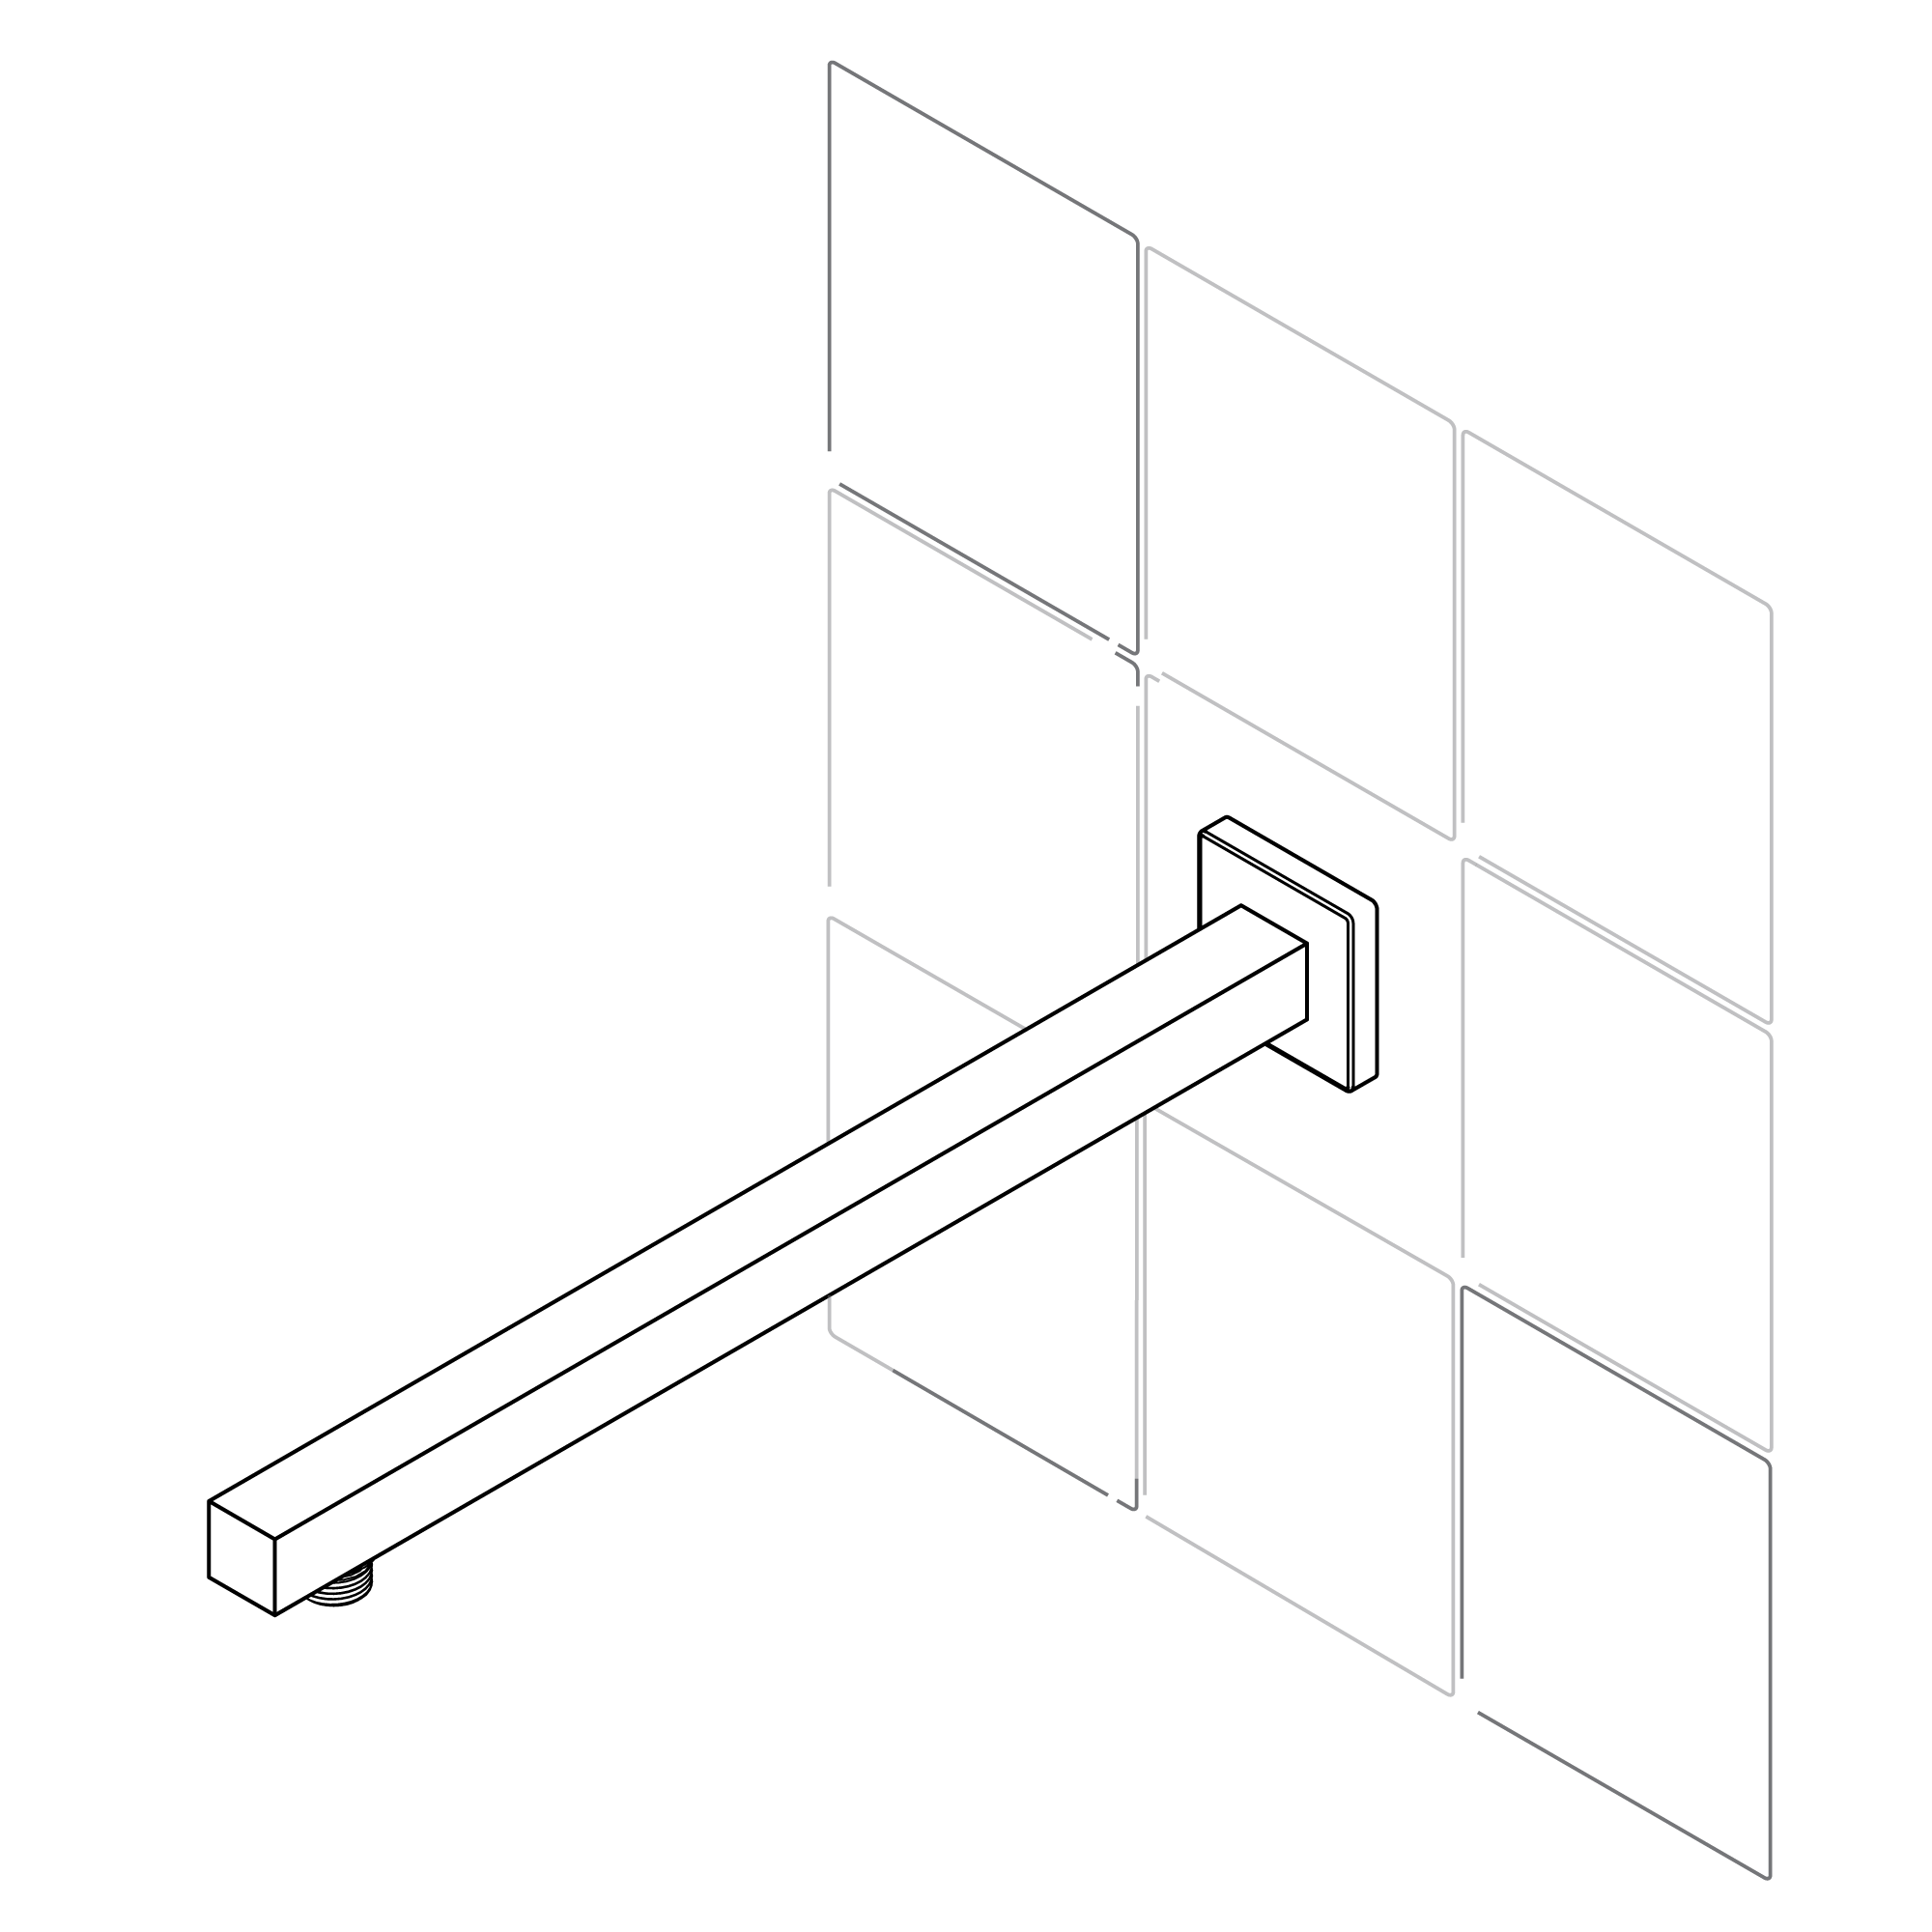
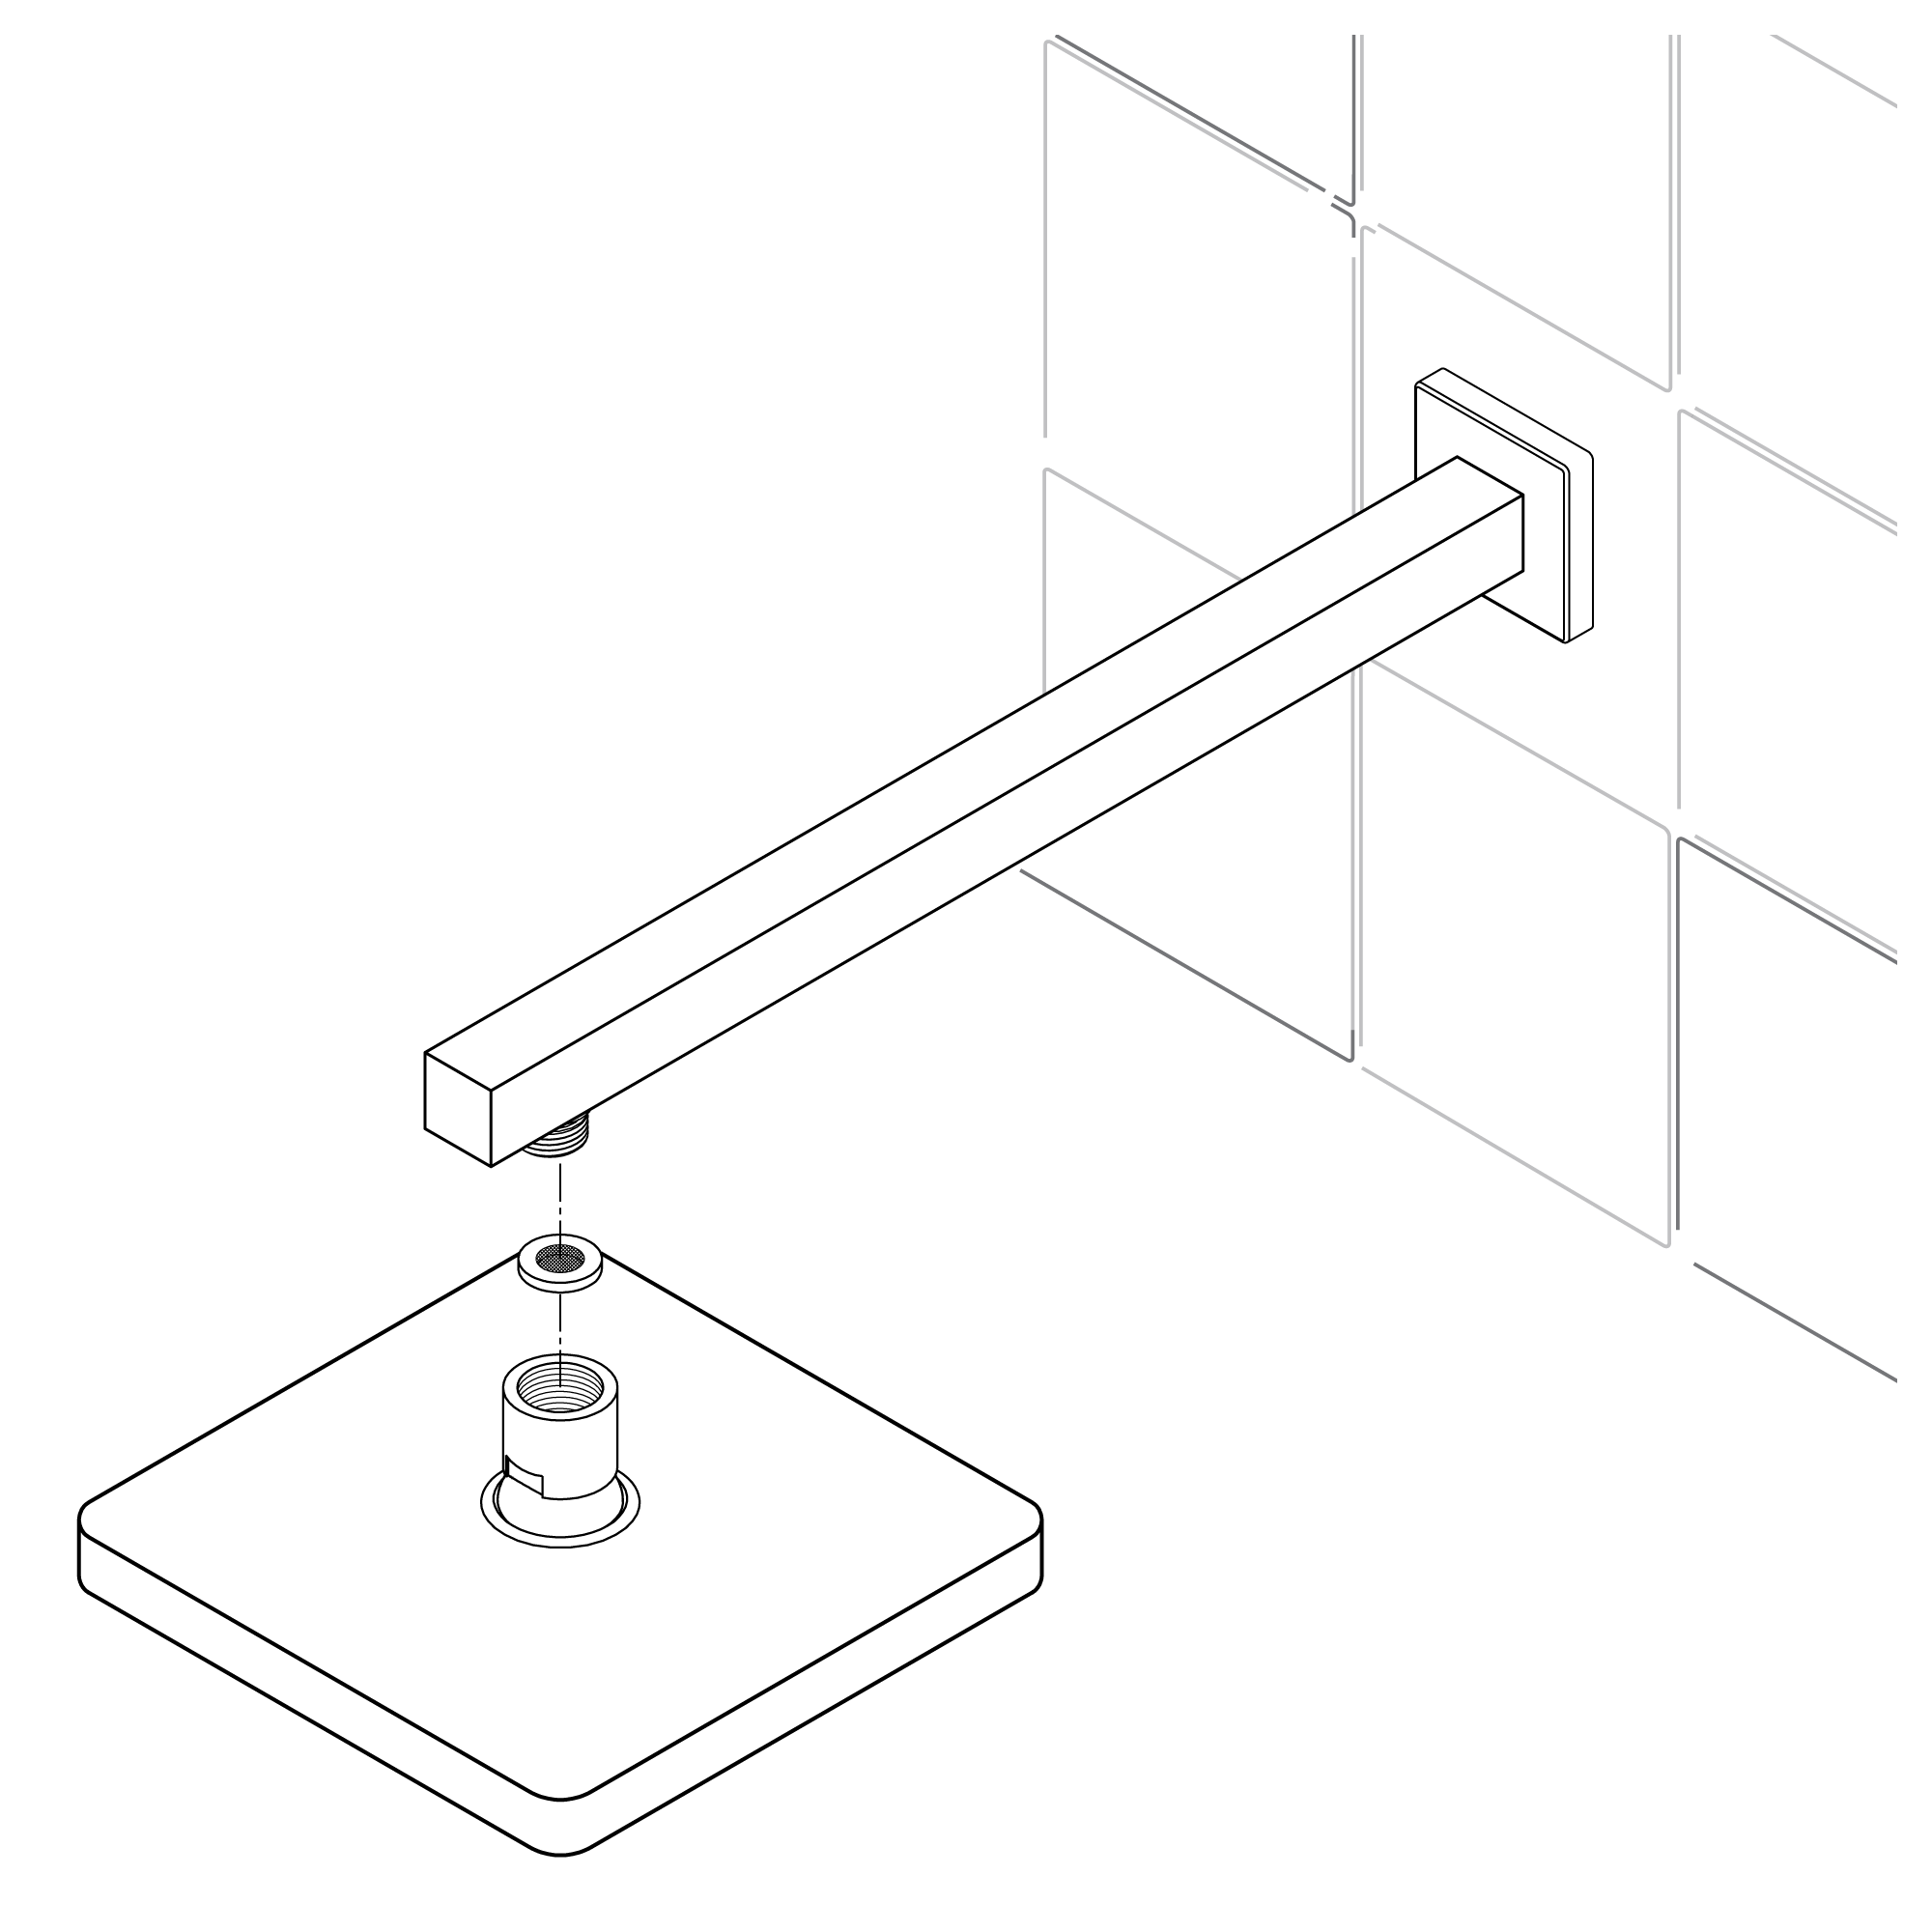
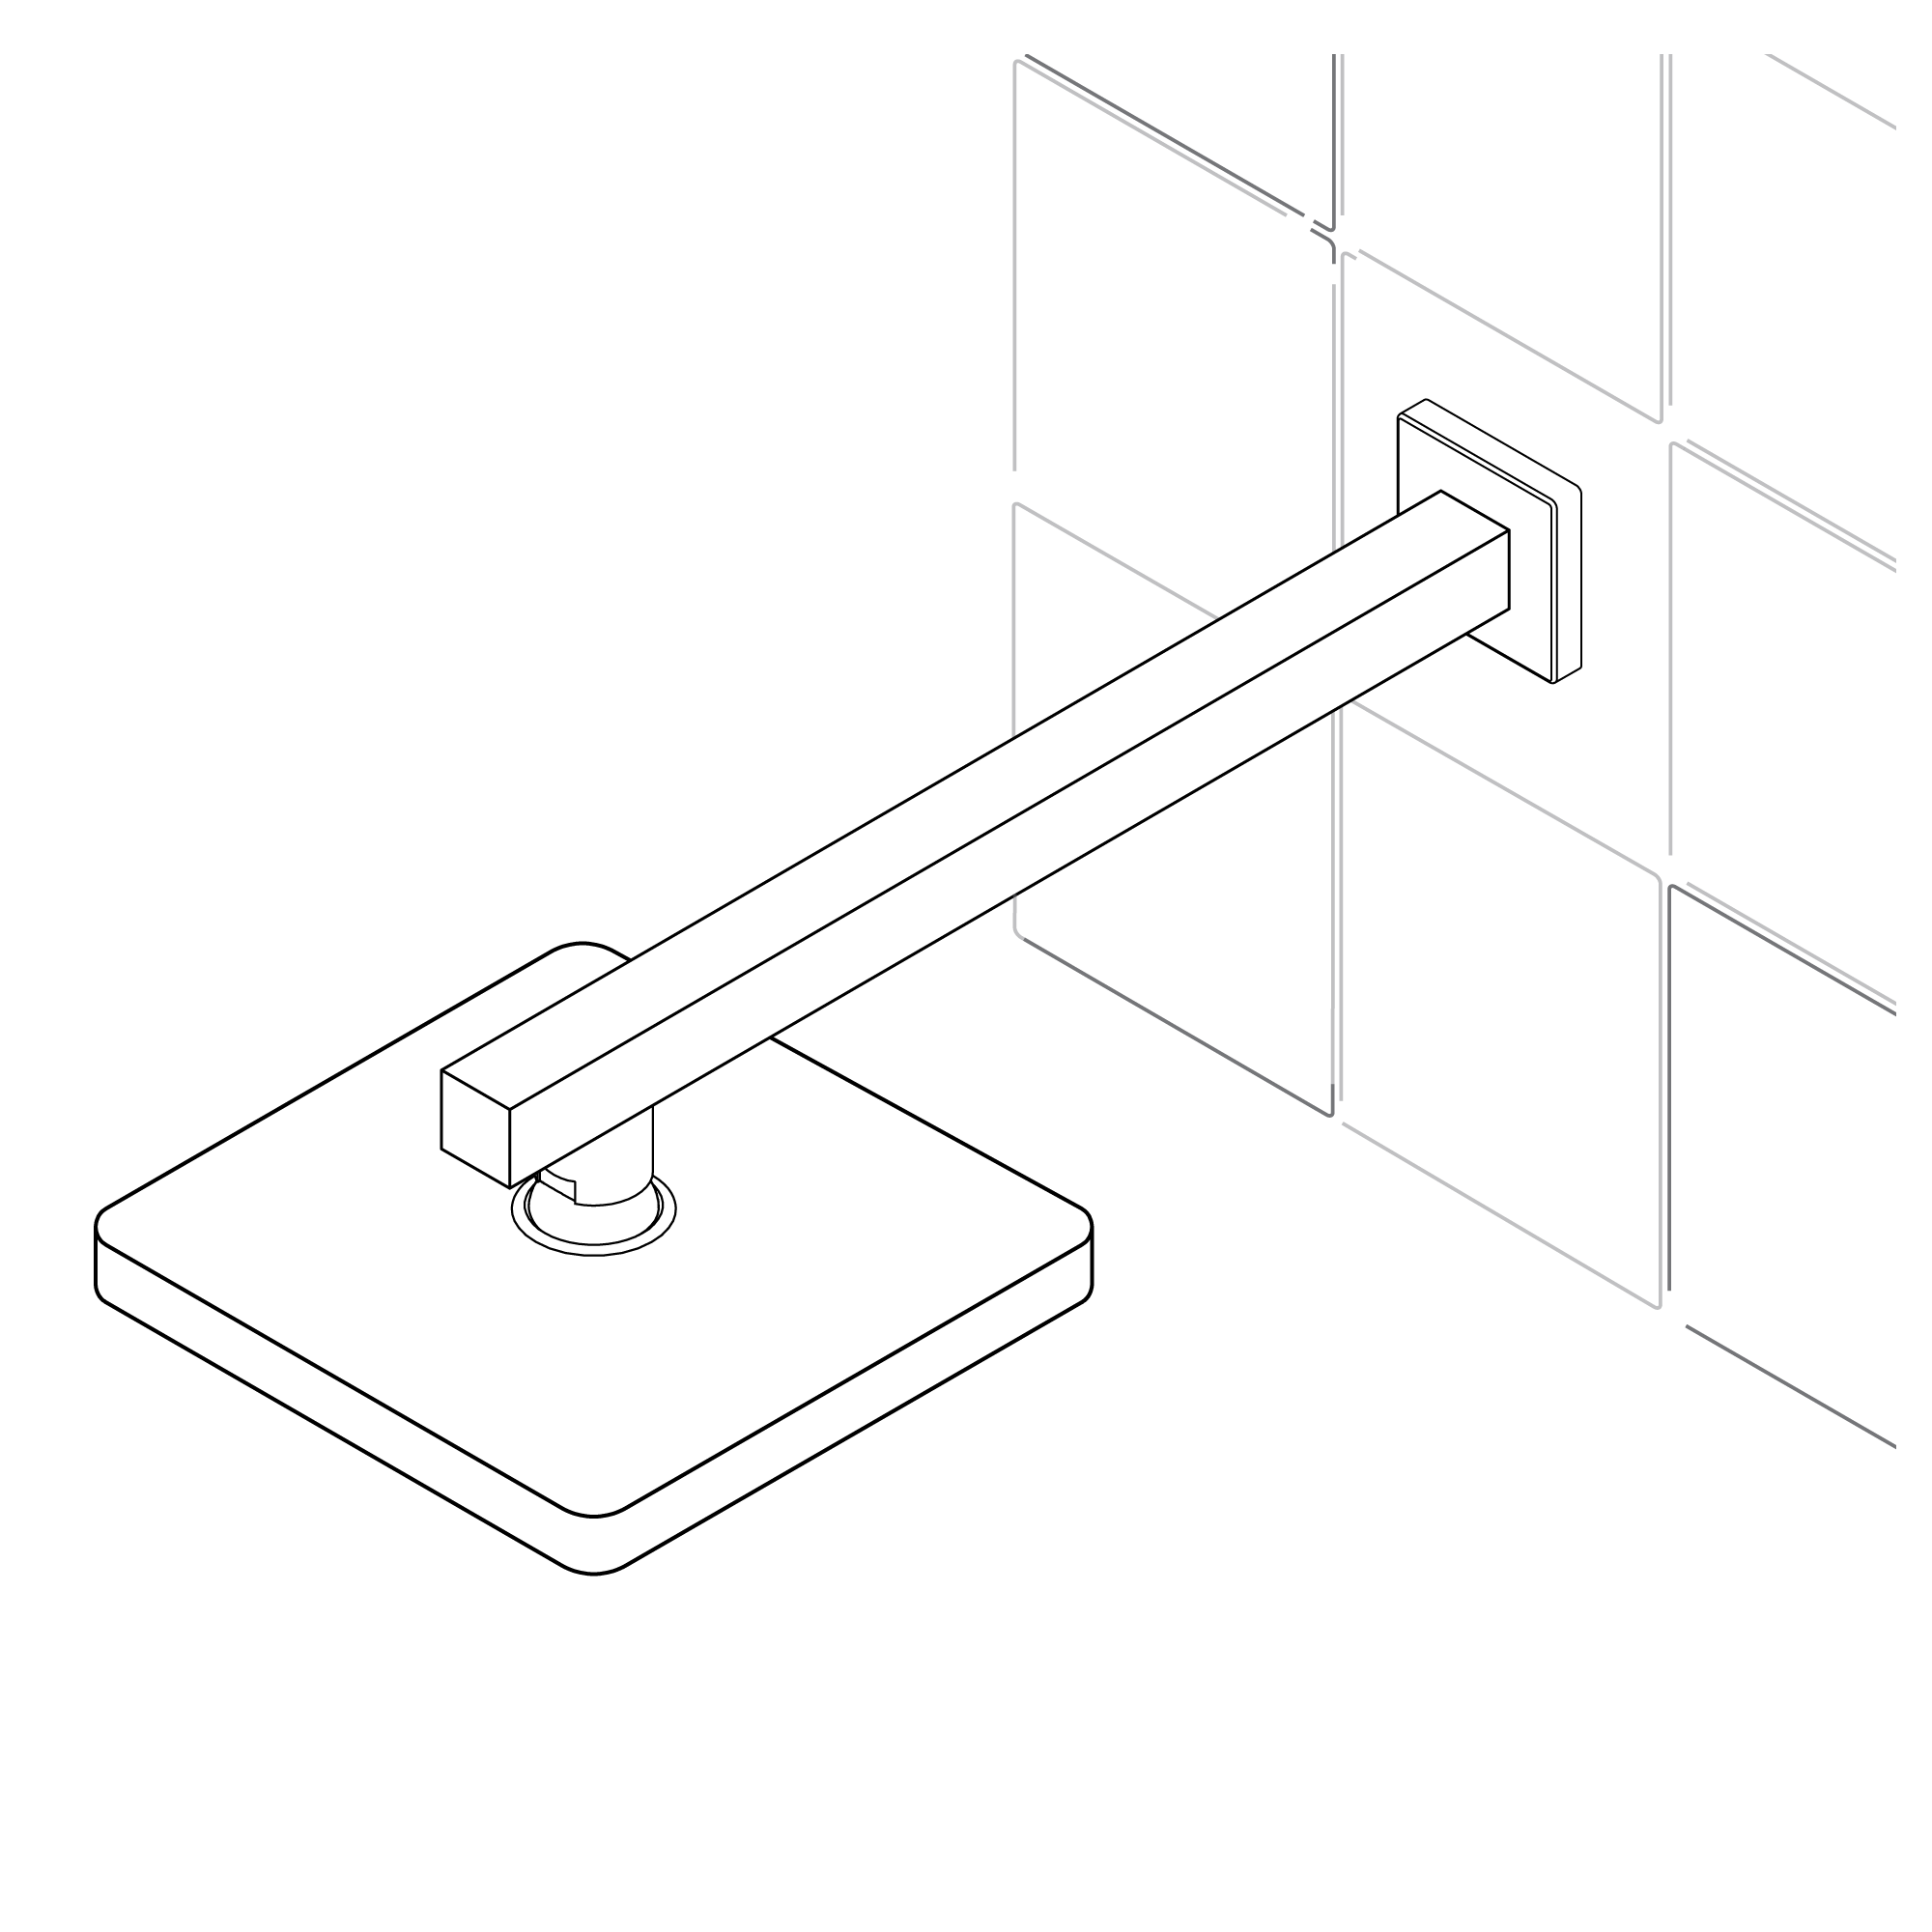
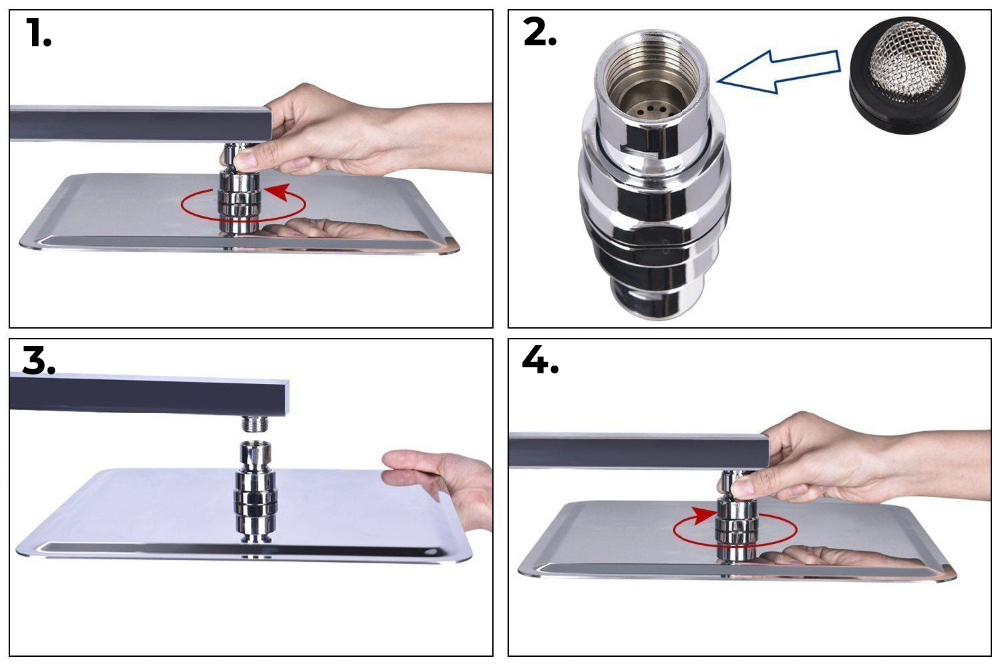
Wall Mount Shower Head Installation Instructions
Step 1:
shower
installation
Step 2:
Step 3:
Step 4:
Step 5:
Step 6:
Step 7:
No tools required, ½ connector fits standard-sized shower plumbing.
1. Apply plumber's tape to the threads on both ends of the shower arm and slide on the decorative escutcheon. 2. Insert the new arm into the fitting in the ceiling and twist to tighten. Finish tightening with your adjustable wrench. Wrap a dry cloth around the shower arm to protect the finish while tightening with adjustable wrench. 3. Thread the new shower head onto the arm and hand-tighten. Hold t