Home > Installation Instructions for Alurae In Light Oil Rubbed Bronze Finish Shower Set

How to Install Alurae In Light Oil Rubbed Bronze Finish Shower Set | BST6109RB


Alurae In Light ORB Finish Shower Set - Multiple sizes available

Stylish BathSelect ancient square antique is a bathroom shower-head with 8” 10"; 12" & 16" sizes. Very attractive and fabulous looks and gives you a classic look to your bathroom. The finish of this beautiful shower head is antique brass. Enjoy the experience of luxurious straight water flow and drenching rainfall showering in an overhead shower. It also has a water-saving function. It is made of heavy brass material and ceramic for durability and reliability. Swivel ball allows you to adjust the angle of the showerhead to suit your preference. This Shower Set has 3 handle design where you can easily adjust temperature and volume to your preference. Easy installation, comes with all standard accessories.

Features:
  • Brand Name: BathSelect
  • Model Number: BST6109RB
  • Shower Head Material: Solid Brass
  • Finish: Oil Rubbed Bronze
  • Pressure balance brass valve
  • Mixing Valve: Water Pressure Balance Control
  • Standard plumbing connection-Shower Panel Unit is pre-plumbed
  • Minimum pressure required: 29 psi
  • Maximum pressure required: 72.7 psi
  • Ceramic Disc Technology
  • Double locked stainless steel shower hose 1.5m.
  • ½" NPT Inlets and Outlets Compatible with standard US plumbing connections
  • Pre-set maximum temperature: 104º F
  • Automatic anti-scald device
  • Recommended pressure for best performance: 2 to 75 psi
  • Flow rate: 2.5 GPM
shower Alurae In Light Oil Rubbed Bronze Finish Shower Set


Important Note:

  • Before you begin, please read the installation instructions below. Observe all local building and safety codes.
  • Unpack and inspect the product for any shipping damages. If you find damages, do not install.
  • Please note all showers must be installed by a professional and certified plumber otherwise warranty may be voided.

  • Shower Head Installation Instructions


    Ceiling Mount Shower Installation Instructions

    Step 1: Step 2:
    shower
    installation
    Step 3: Step 4:
    Step 5: Step 6:

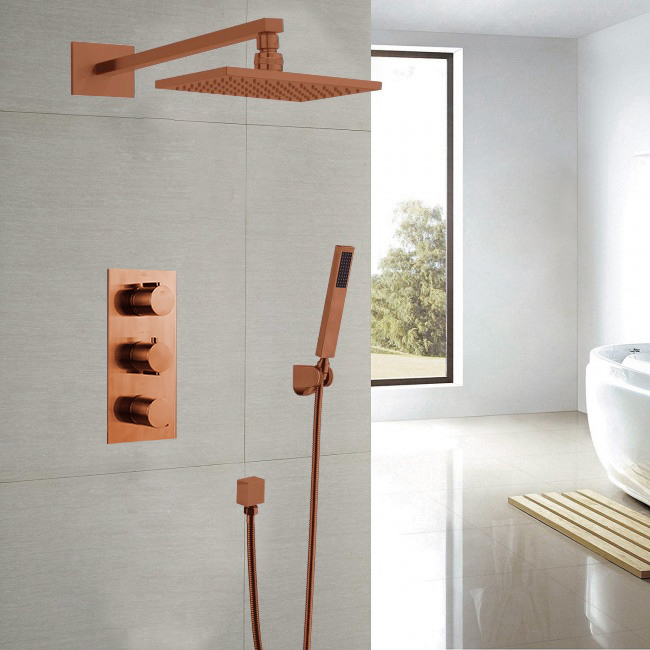
    Step 1: Take Out the Old Shower Head
    You can easily remove it by hand, but depending on how long the rain showerhead has been installed, you might need to use an adjustable wrench. Hence, if you find it difficult to remove, rotate the showerhead with an adjustable wrench in a counterclockwise direction to unscrew it.

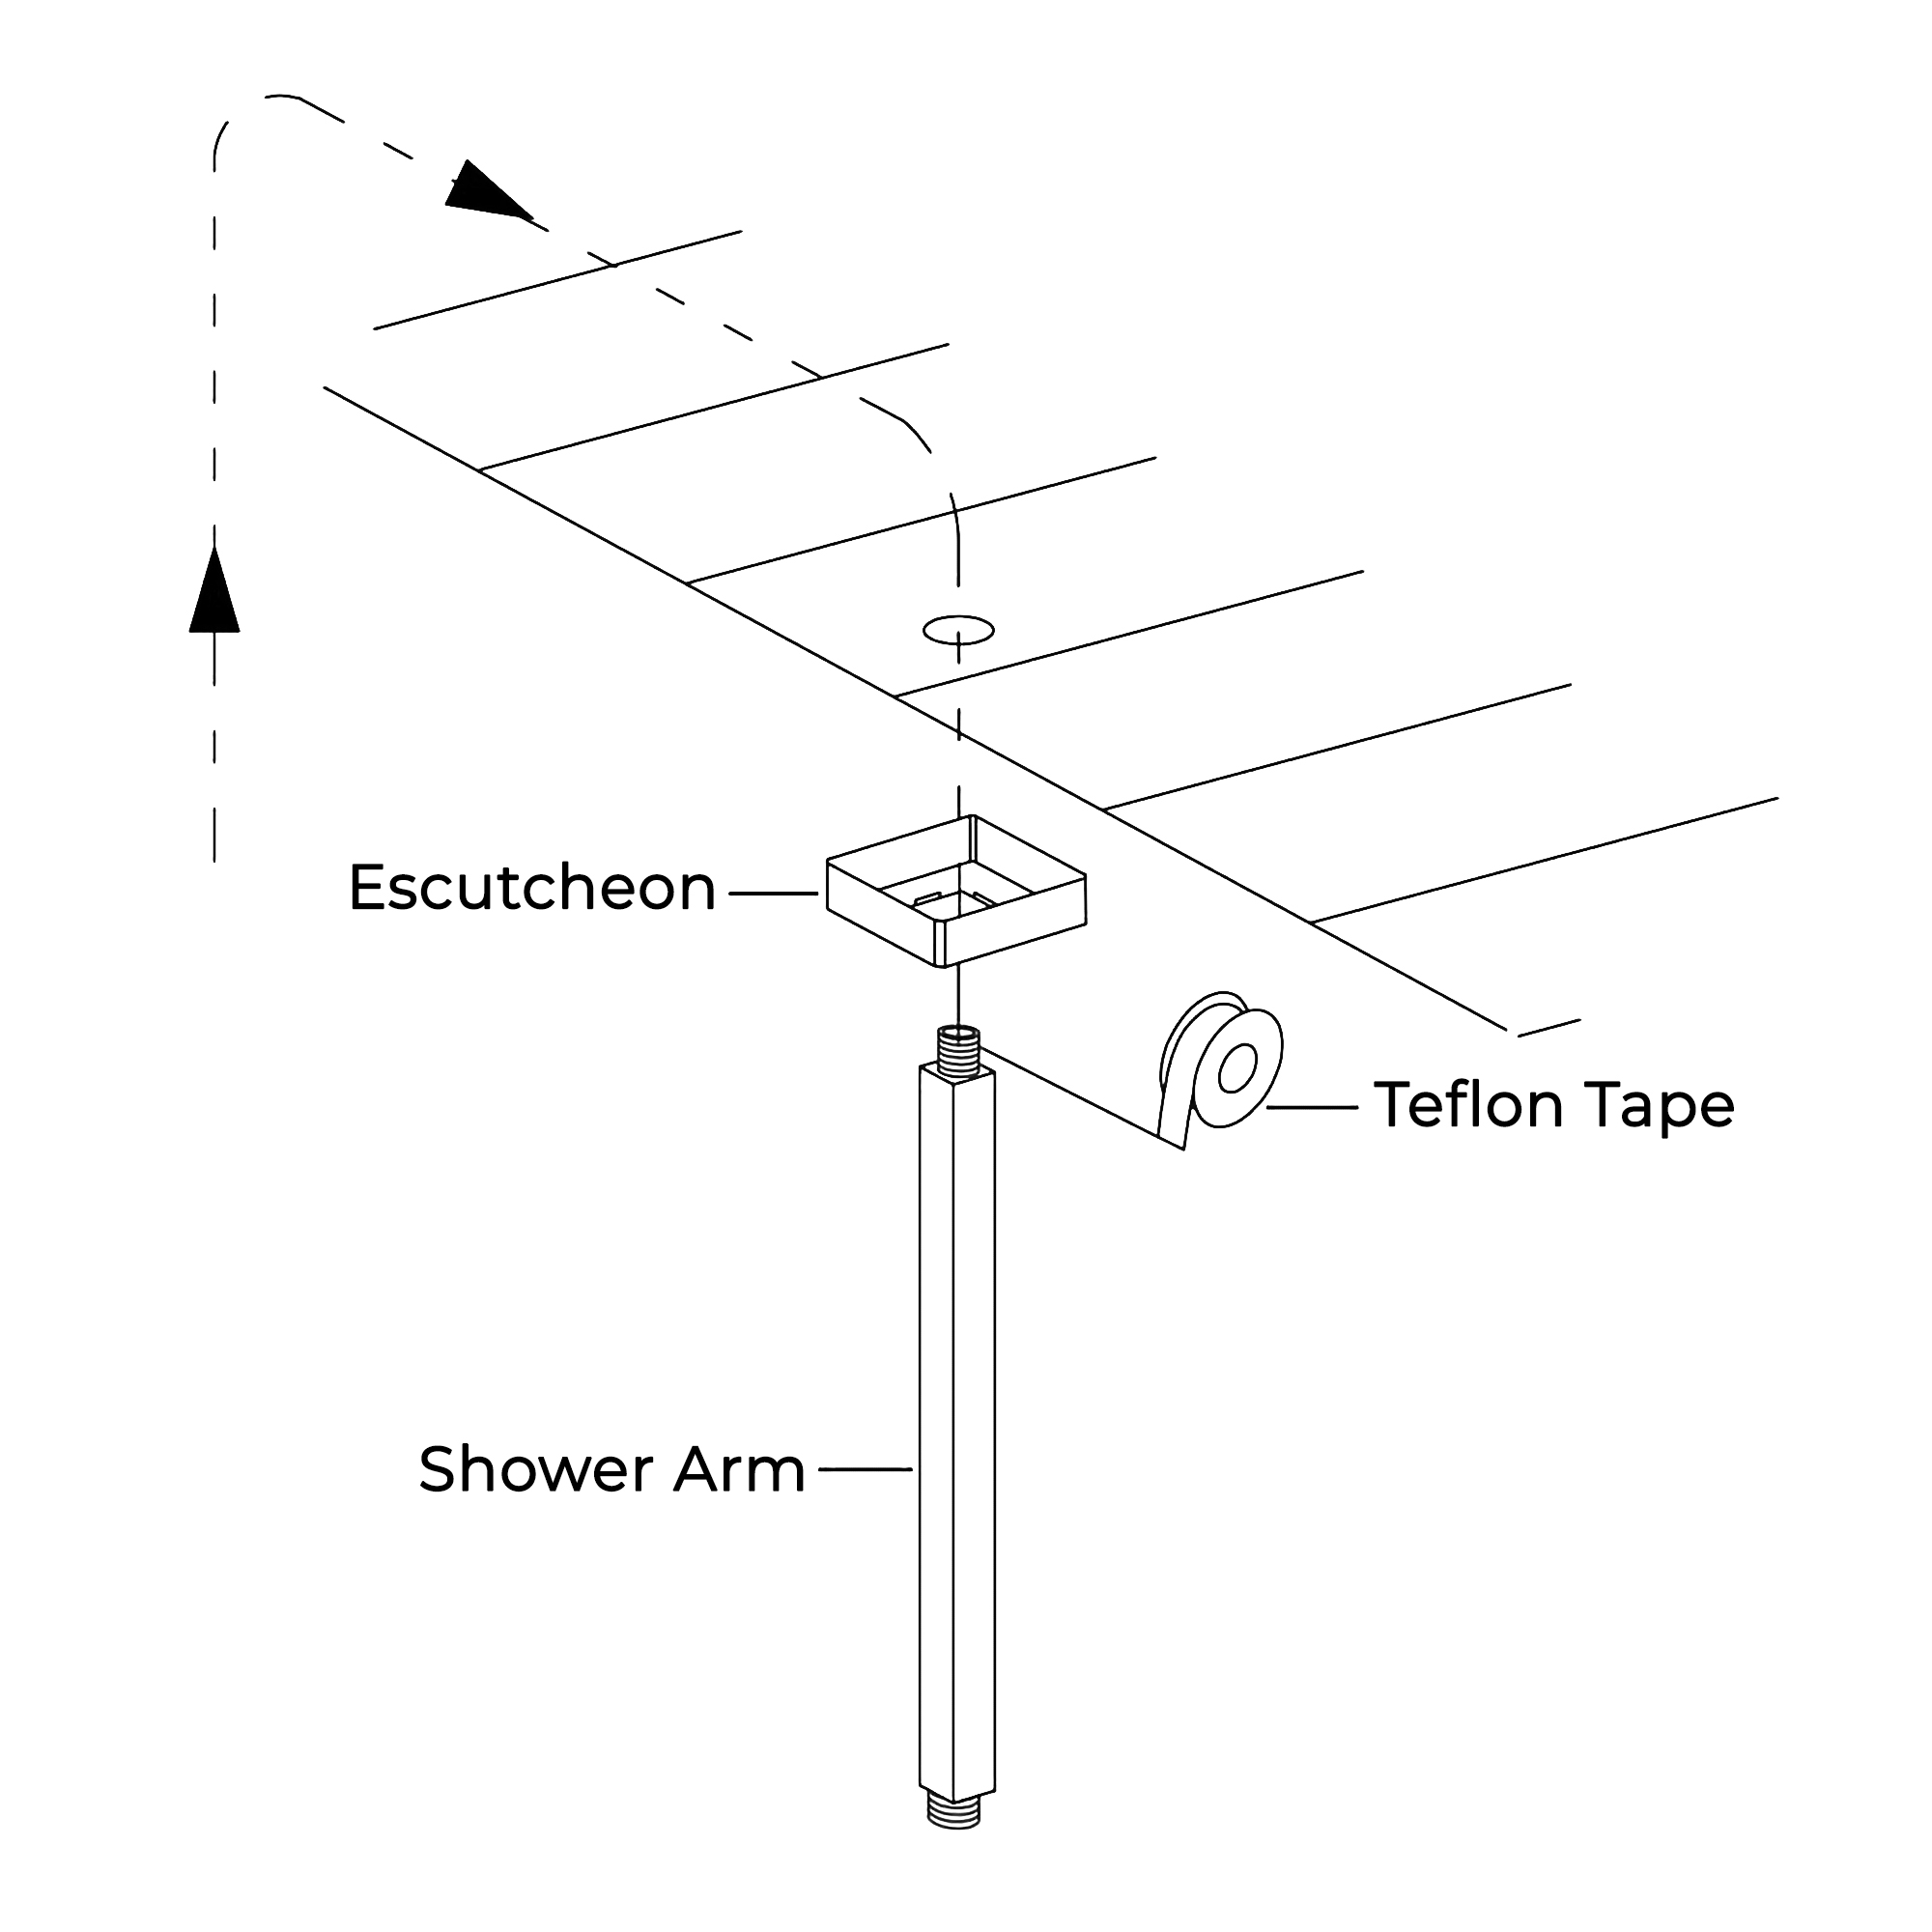
    Step 2: Keep the Shower Arm Clean and In Good Shape
    After you have removed the head, check the shower arm threads for any debris and old Teflon tape. If you find any, remove it and clean them off thoroughly. It’s best to use a microfiber cloth when cleaning the thread because it removes Teflon tape perfectly and works great to pick up tiny grits.
    Once you’re done cleaning, check if it is corroded or leaking. For damaged threads, it will be best you replace it entirely so you can have a comfortable shower experience any time.

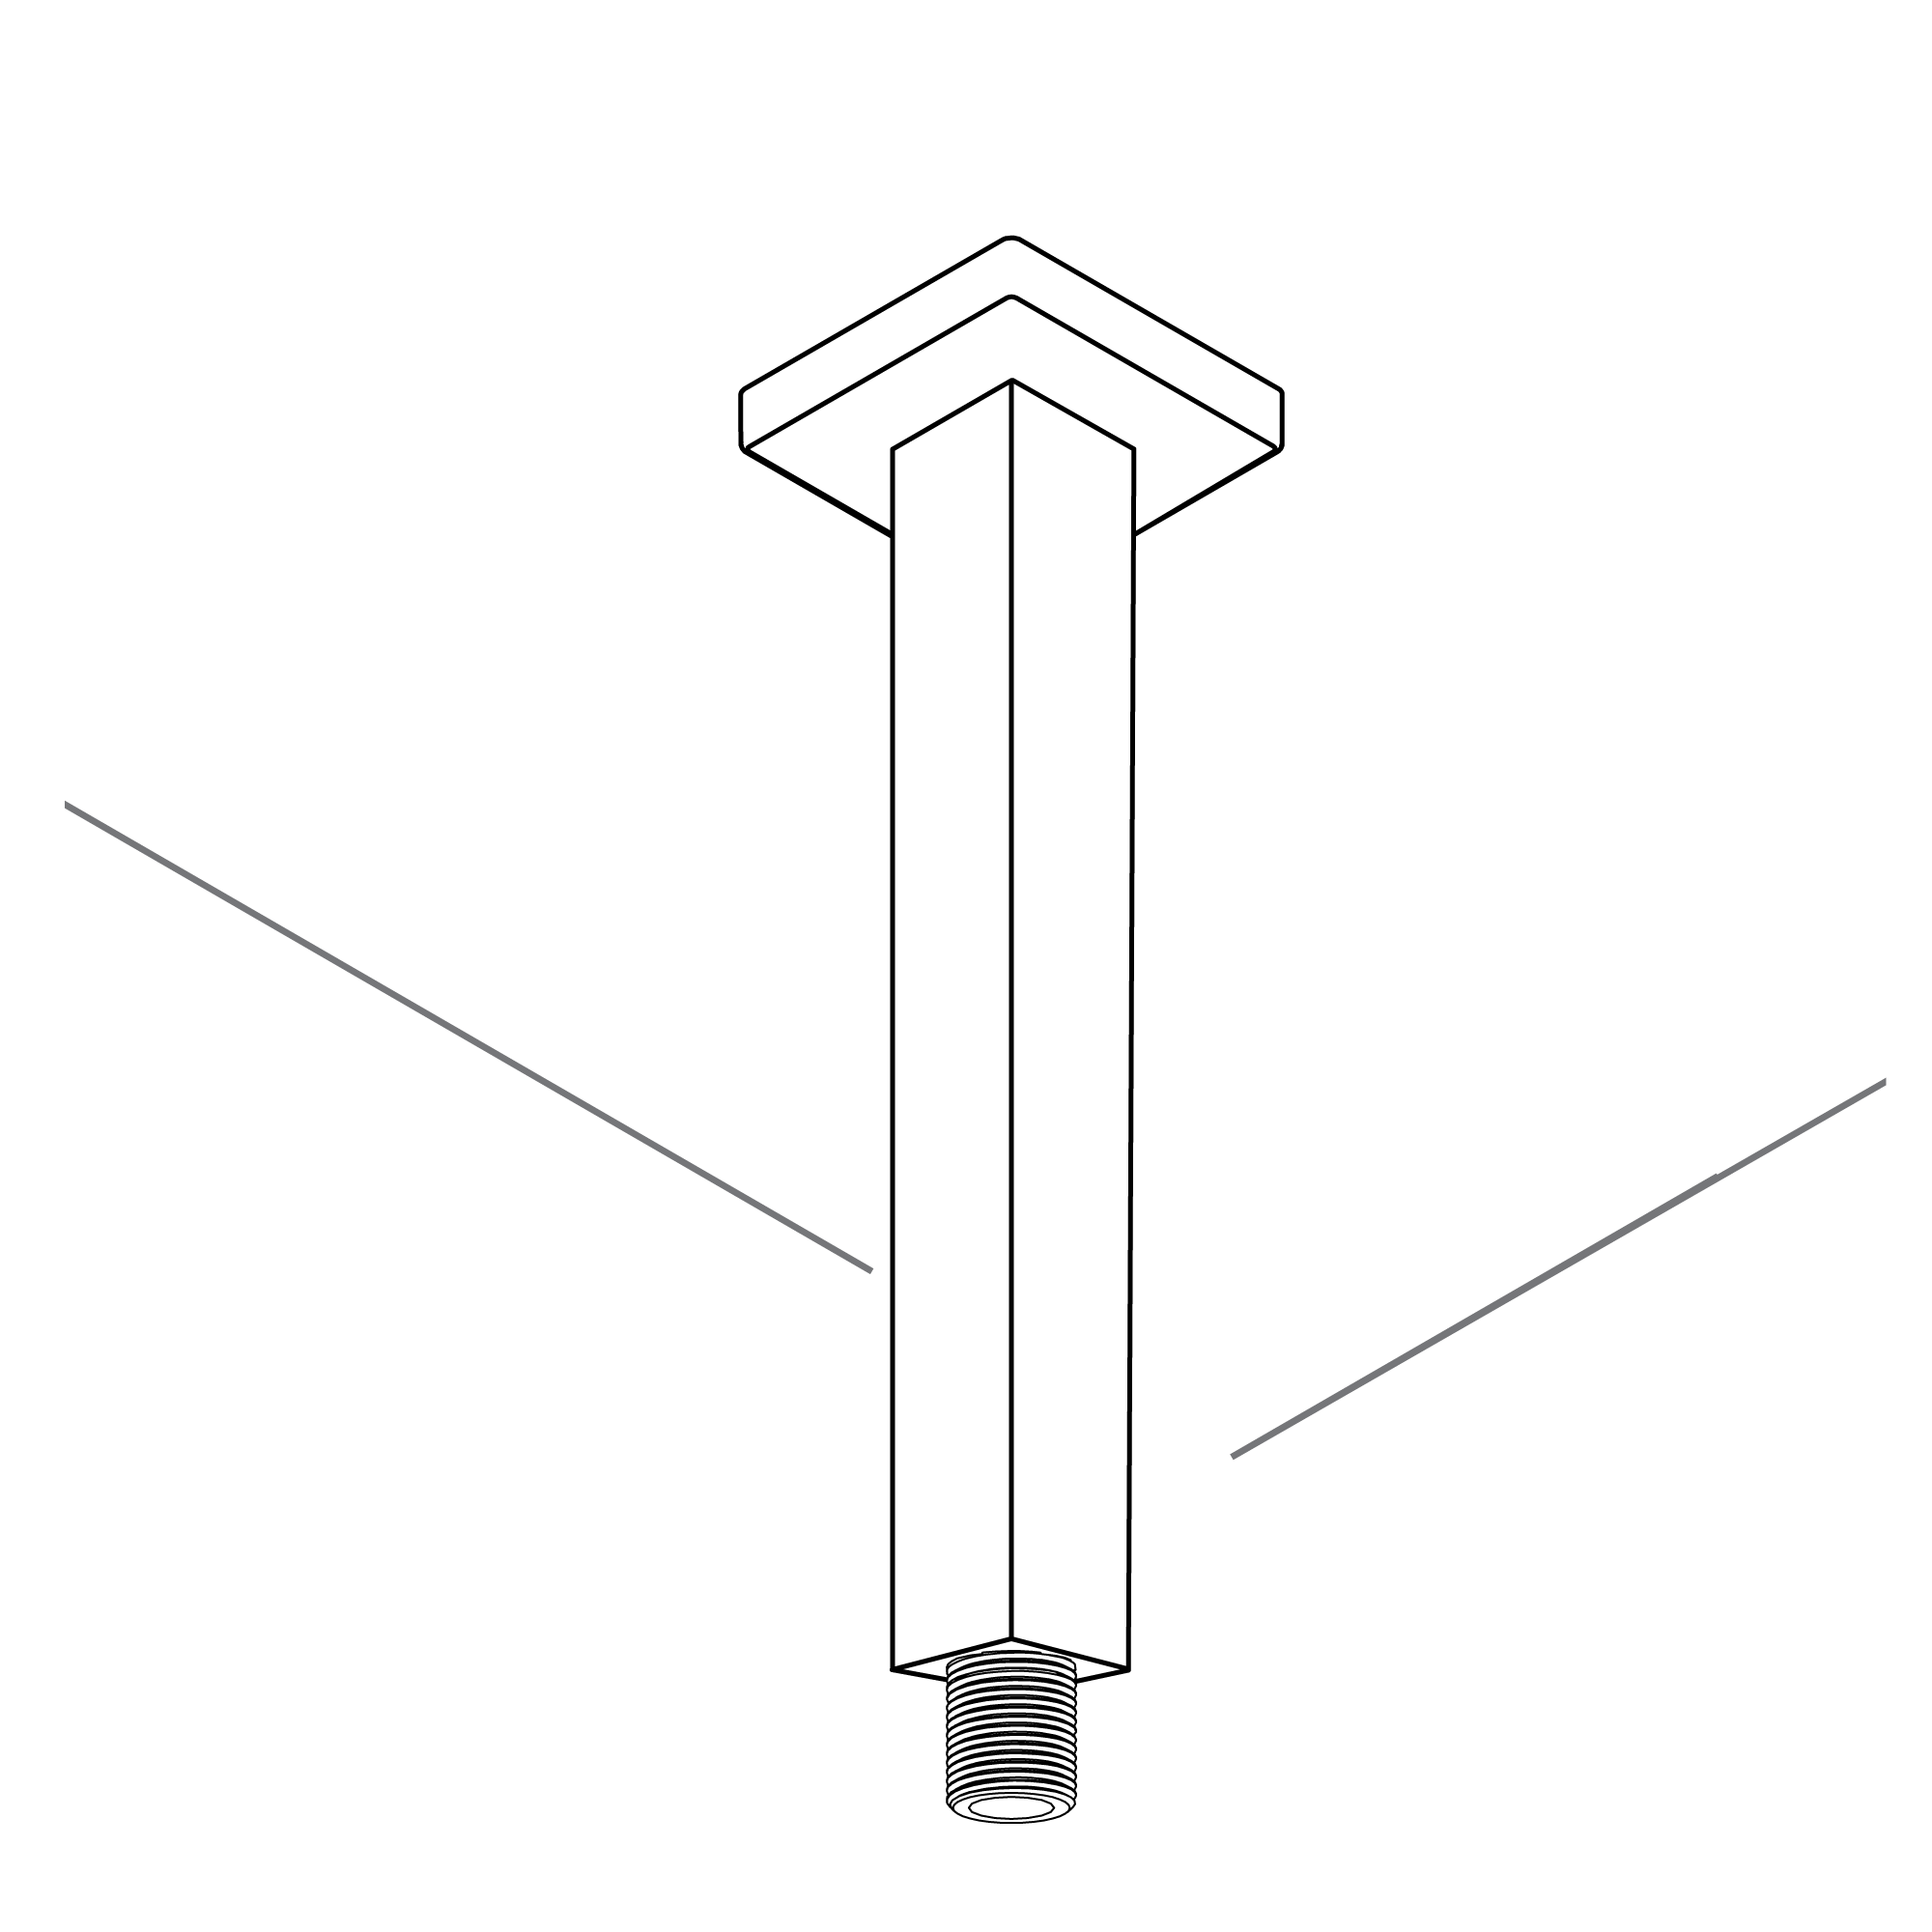
    Step 3: Time to Add New Teflon Tape
    Since you have removed the old Teflon tape, you have to replace it with new ones. The reason is that this tape helps to protect the shower from leaking after installing the showerhead. Now apply the new Teflon tape about 3-5 turns on the thread and tear the end part. Use your hands to smooth it out to keep it leveled to the thread. Keep in mind that when applying the tape, you should go in a clockwise motion so that it doesn’t come off when you attach the head in the same direction.

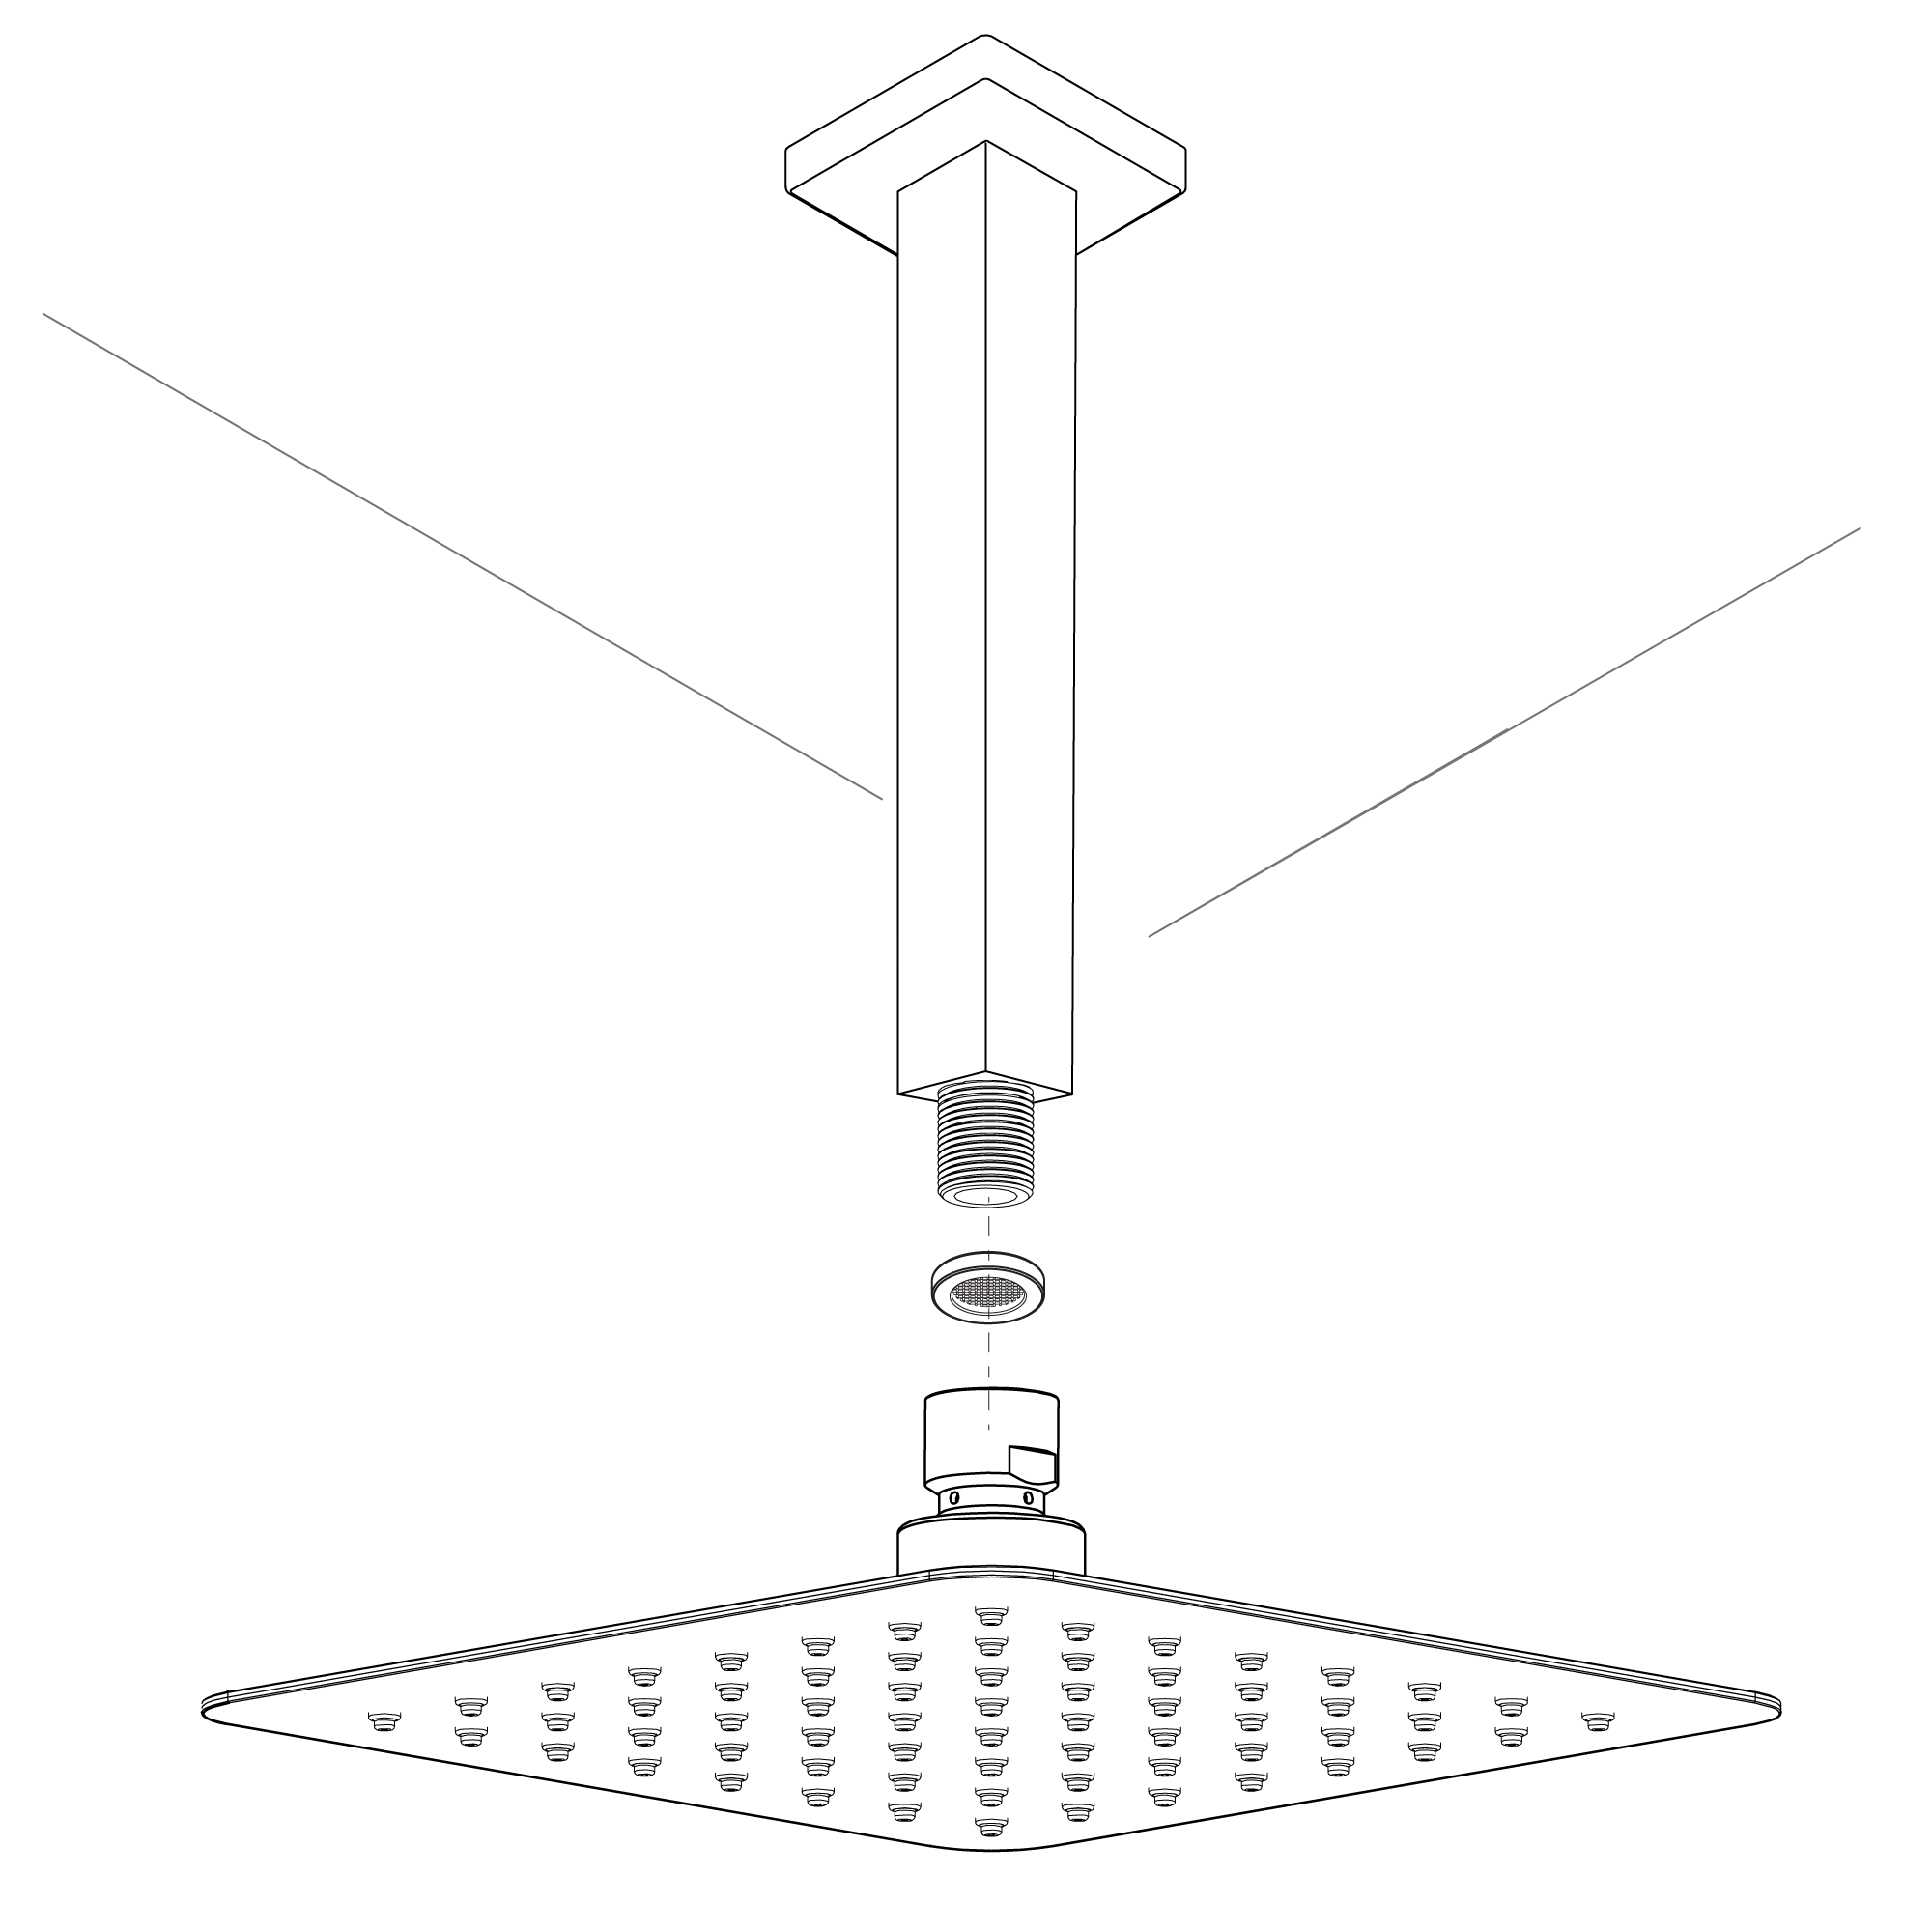
    Step 4: Connect the Showerhead
    As said earlier in the tools needed, we’re using the rubber sealing washer that comes with the showerhead. This tool helps to make the showerhead stay watertight and secured on to the thread. Ensure you place it properly before installing it.
    After that, reconnect the shower head and tighten it down with your hands. You can employ a chair or ladder to make things easier for you.

    Step 5: Tighten the Showerhead
    On To the Thread You will need to get the adjustable wrench handy to tighten down the shower very well. But make sure you wrap the threads with a terry cloth, so it doesn’t damage the finish when tightening the showerhead.
    Once you have done that, now use the adjustable wrench to tighten down the showerhead. However, don’t over-tight or force it so that it’s easier to remove in the future.


    Wall Mount Shower Head Installation Instructions

    Step 1: shower installation Step 2:
    Step 3: Step 4:
    Step 5: Step 6:
    BathSelect Ancient Round Antique Rainfall Wall ShoweBathSelect Ancient Round Antique Rainfall Wall Shower Head Installation Instructions Head Installation Instructions
    Skip to content