BathSelect LED Light Oil Rubbed Bronze Waterfall Shower Head Installation Instructions
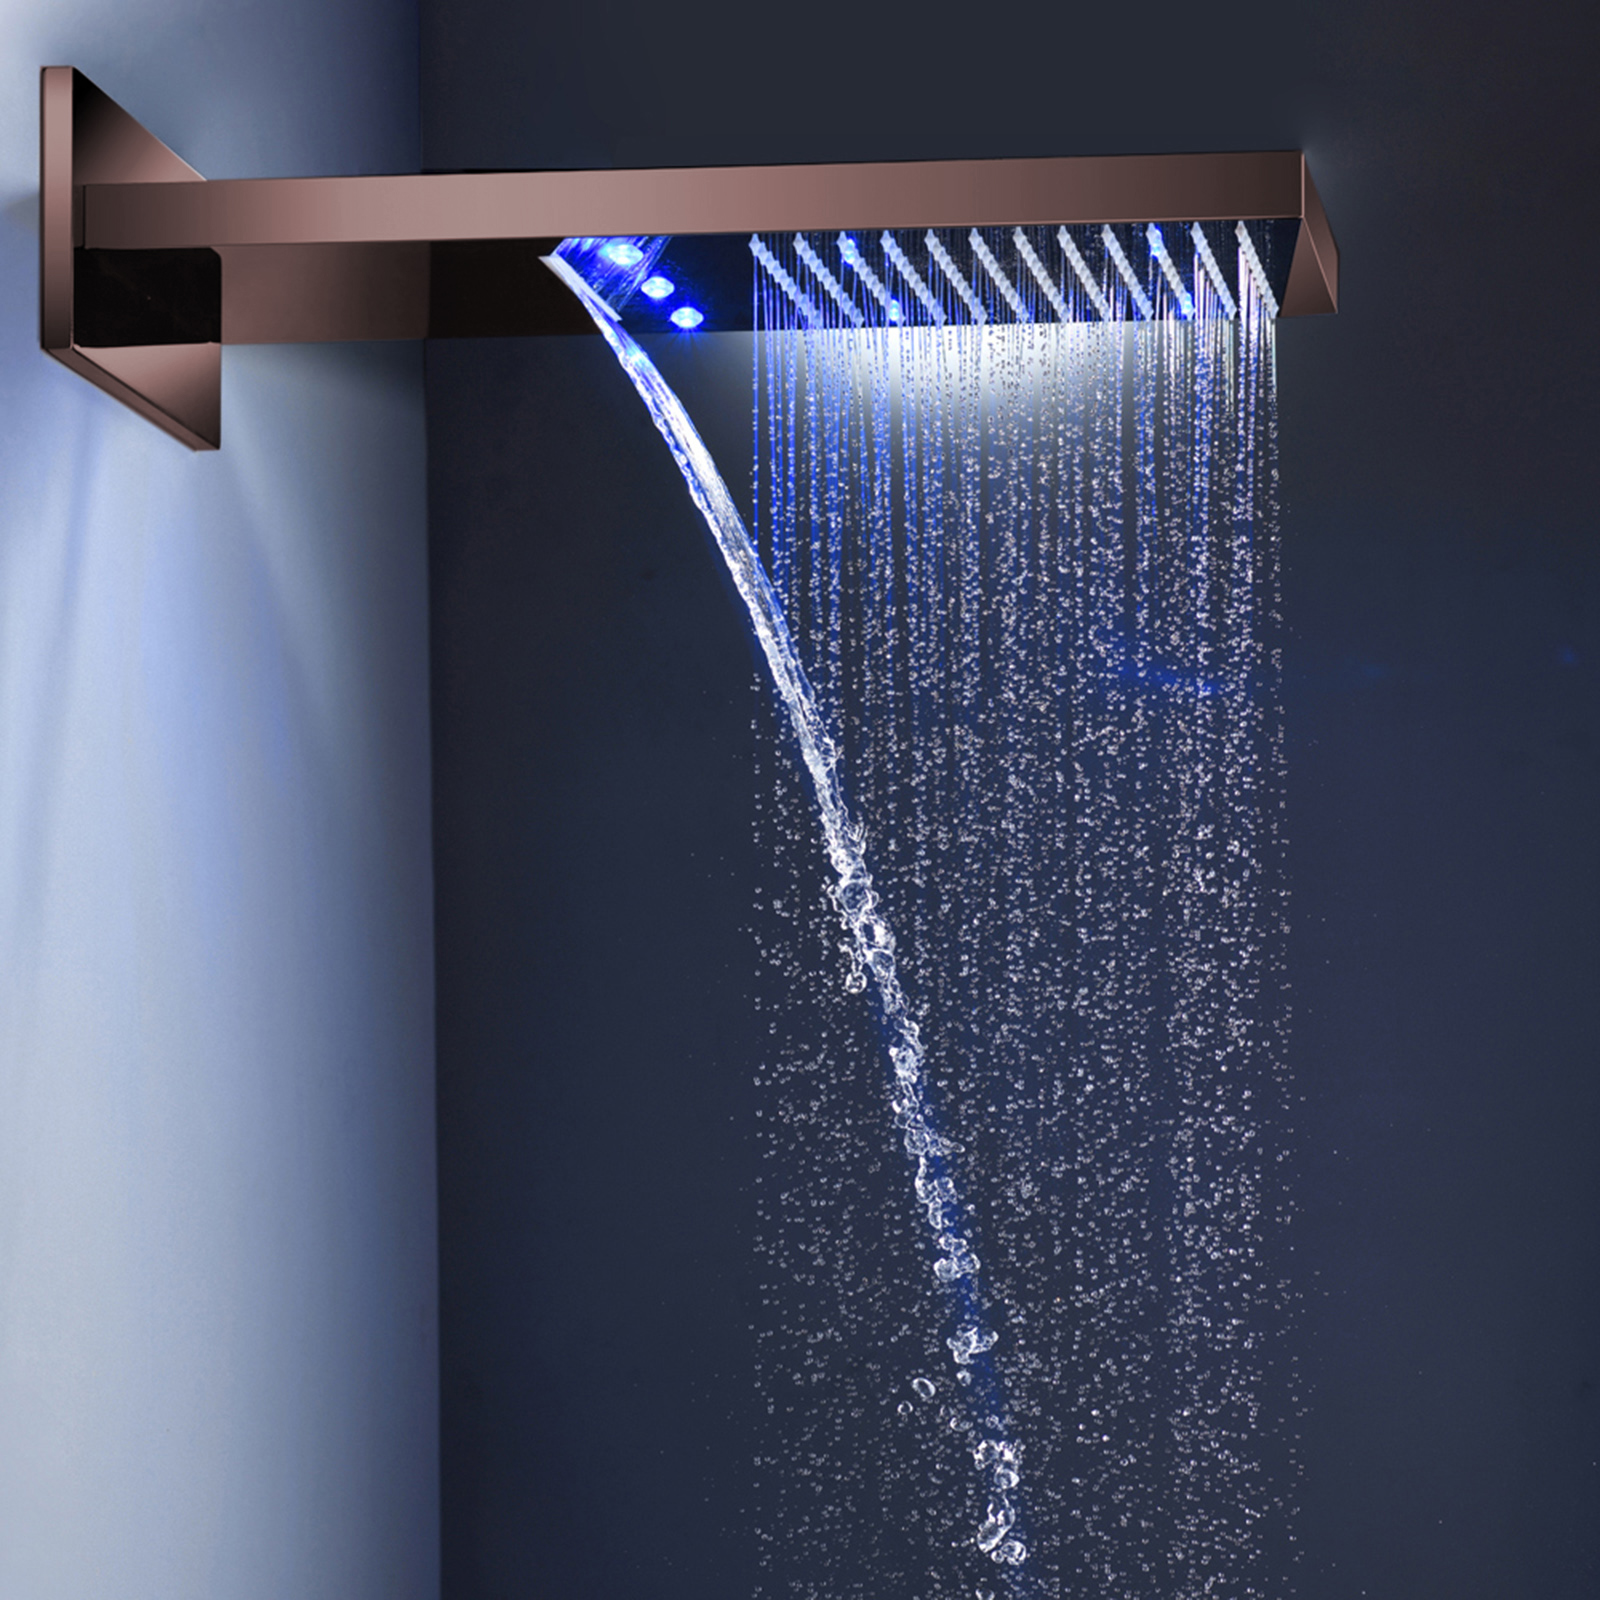
BathSelect LED Light Oil Rubbed Bronze Waterfall/Rainfall Shower HeadThe beauty of the light oil rubbed bronze finish is in its versatility. It pairs well with traditional or contemporary decor and can be particularly effective if you're going for a more rustic look. This jumbo-sized shower-head features 252 self-cleaning spray nozzles to provide full-body coverage. The light oil rubbed bronze finish offers a warm- rich look. With spray technology for optimal water distribution providing full-body rain spray. No assembly or tools required just unscrew your old shower head and twist by hand the new shower head till it locks in, and you are ready to enjoy your shower spa. This shower head flow rate is 2.4 GPM (gallons per minute) which is within the federal standard of 2.5 GPM.
BathSelect LED Light Oil Rubbed Bronze Waterfall/Rainfall Shower Head Features:Brand Name: BathSelectModel Number: BS1011Material: Stainless SteelFinish: Light Oil Rubbed BronzeFeature 1: Waterfall/Rainfall ShowerMount Method: Wall MountConnection: 1/2" US standard
|  |
BathSelect® Manufacturer Warranty Information
- Before you begin, please read the installation instructions below. Observe all local building and safety codes.
- Unpack and inspect the product for any shipping damages. If you find damages, do not install.
- Please note all showers must be installed by a professional and certified plumber otherwise warranty may be voided
|
shower
|
shower
|
|
|
Oil Rubbed Bronze Shower Head Installation
Step 1
|
shower
|
|
Step 2
|
|
Step 3
|
|
|
Step 4
|
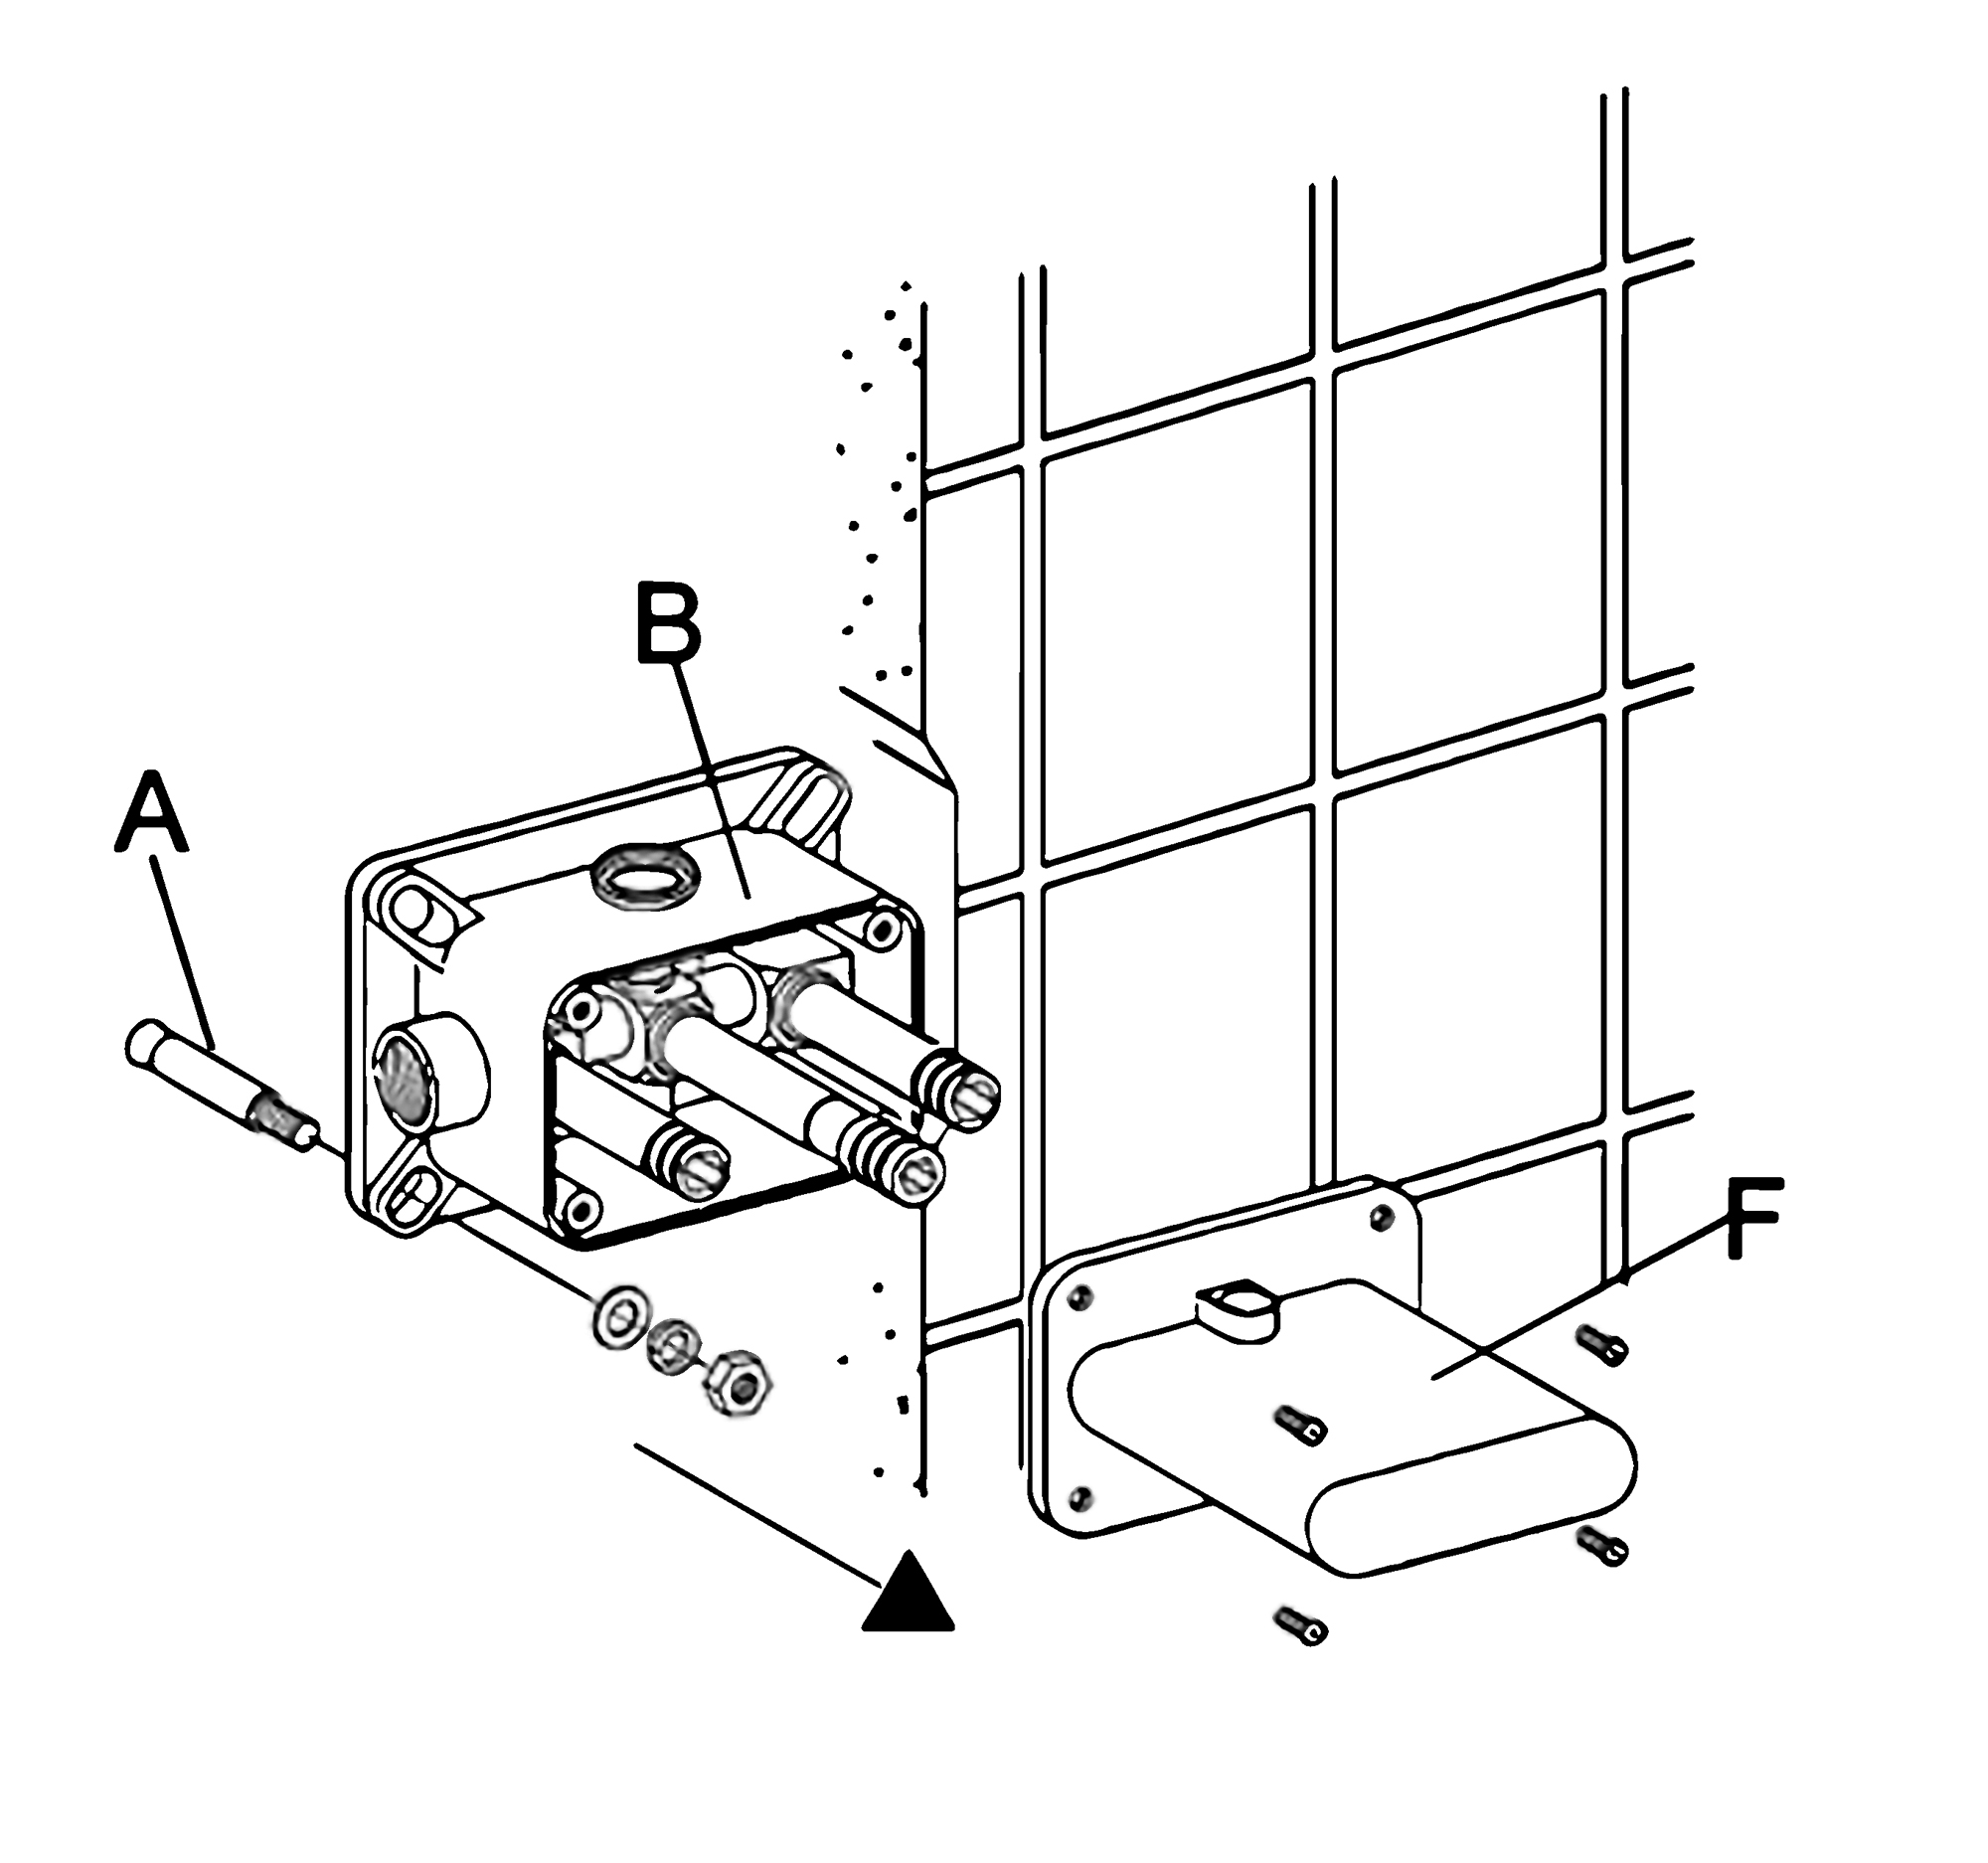
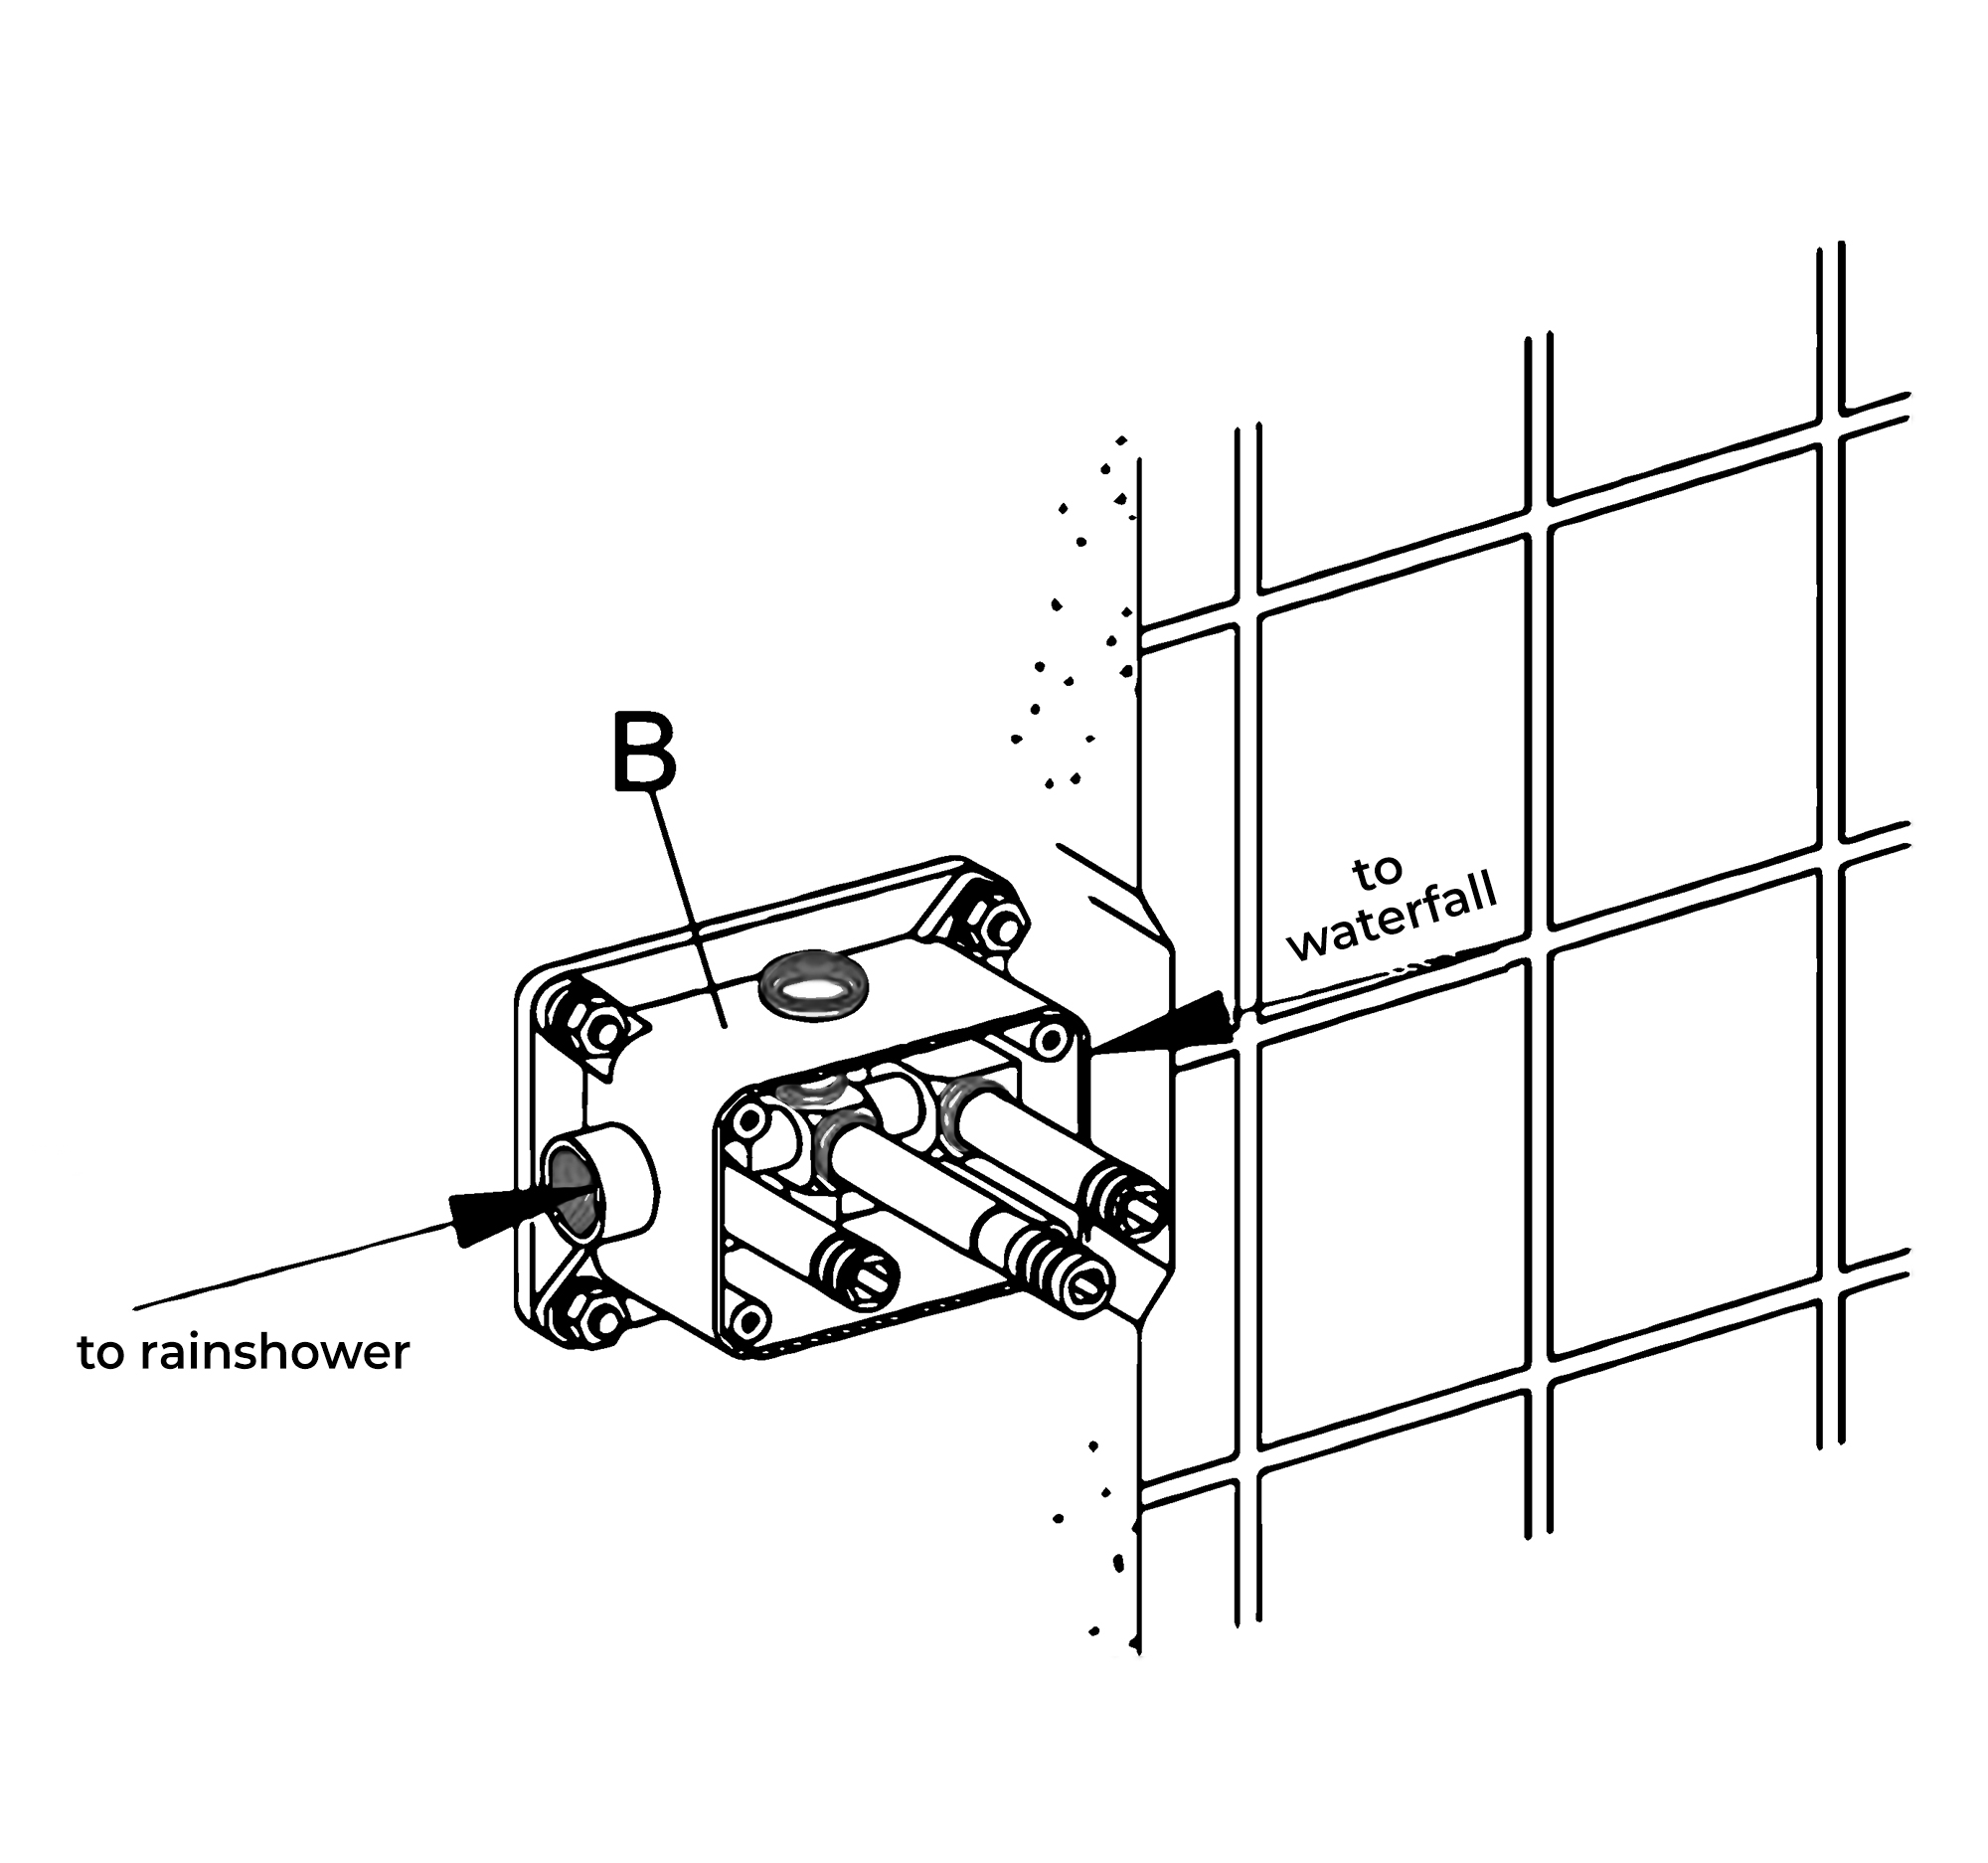
1. Remove the protective cover (F). Mark the positions and drill holes to suit the anchors (A). Install the anchors (A) and fix the rough-in valve (B) into the wall with screws. Use a level to ensure that the rough-in valve (B) is straight and level. (Important: Flush the water supply to remove any dirt and debris before installing the valve body).
2. Wrap Teflon tape around the pipe threads and connect water supply lines and in-wall pipes (not included) as desired to the rough-in valve (B). Turn on the water supply and open the cartridge to check for leakage. Then put on the protective cover and finish the wall surrounding the valve. (Note: Test the water pressure after the pipe connections have been made and before the finished wall material is installed).
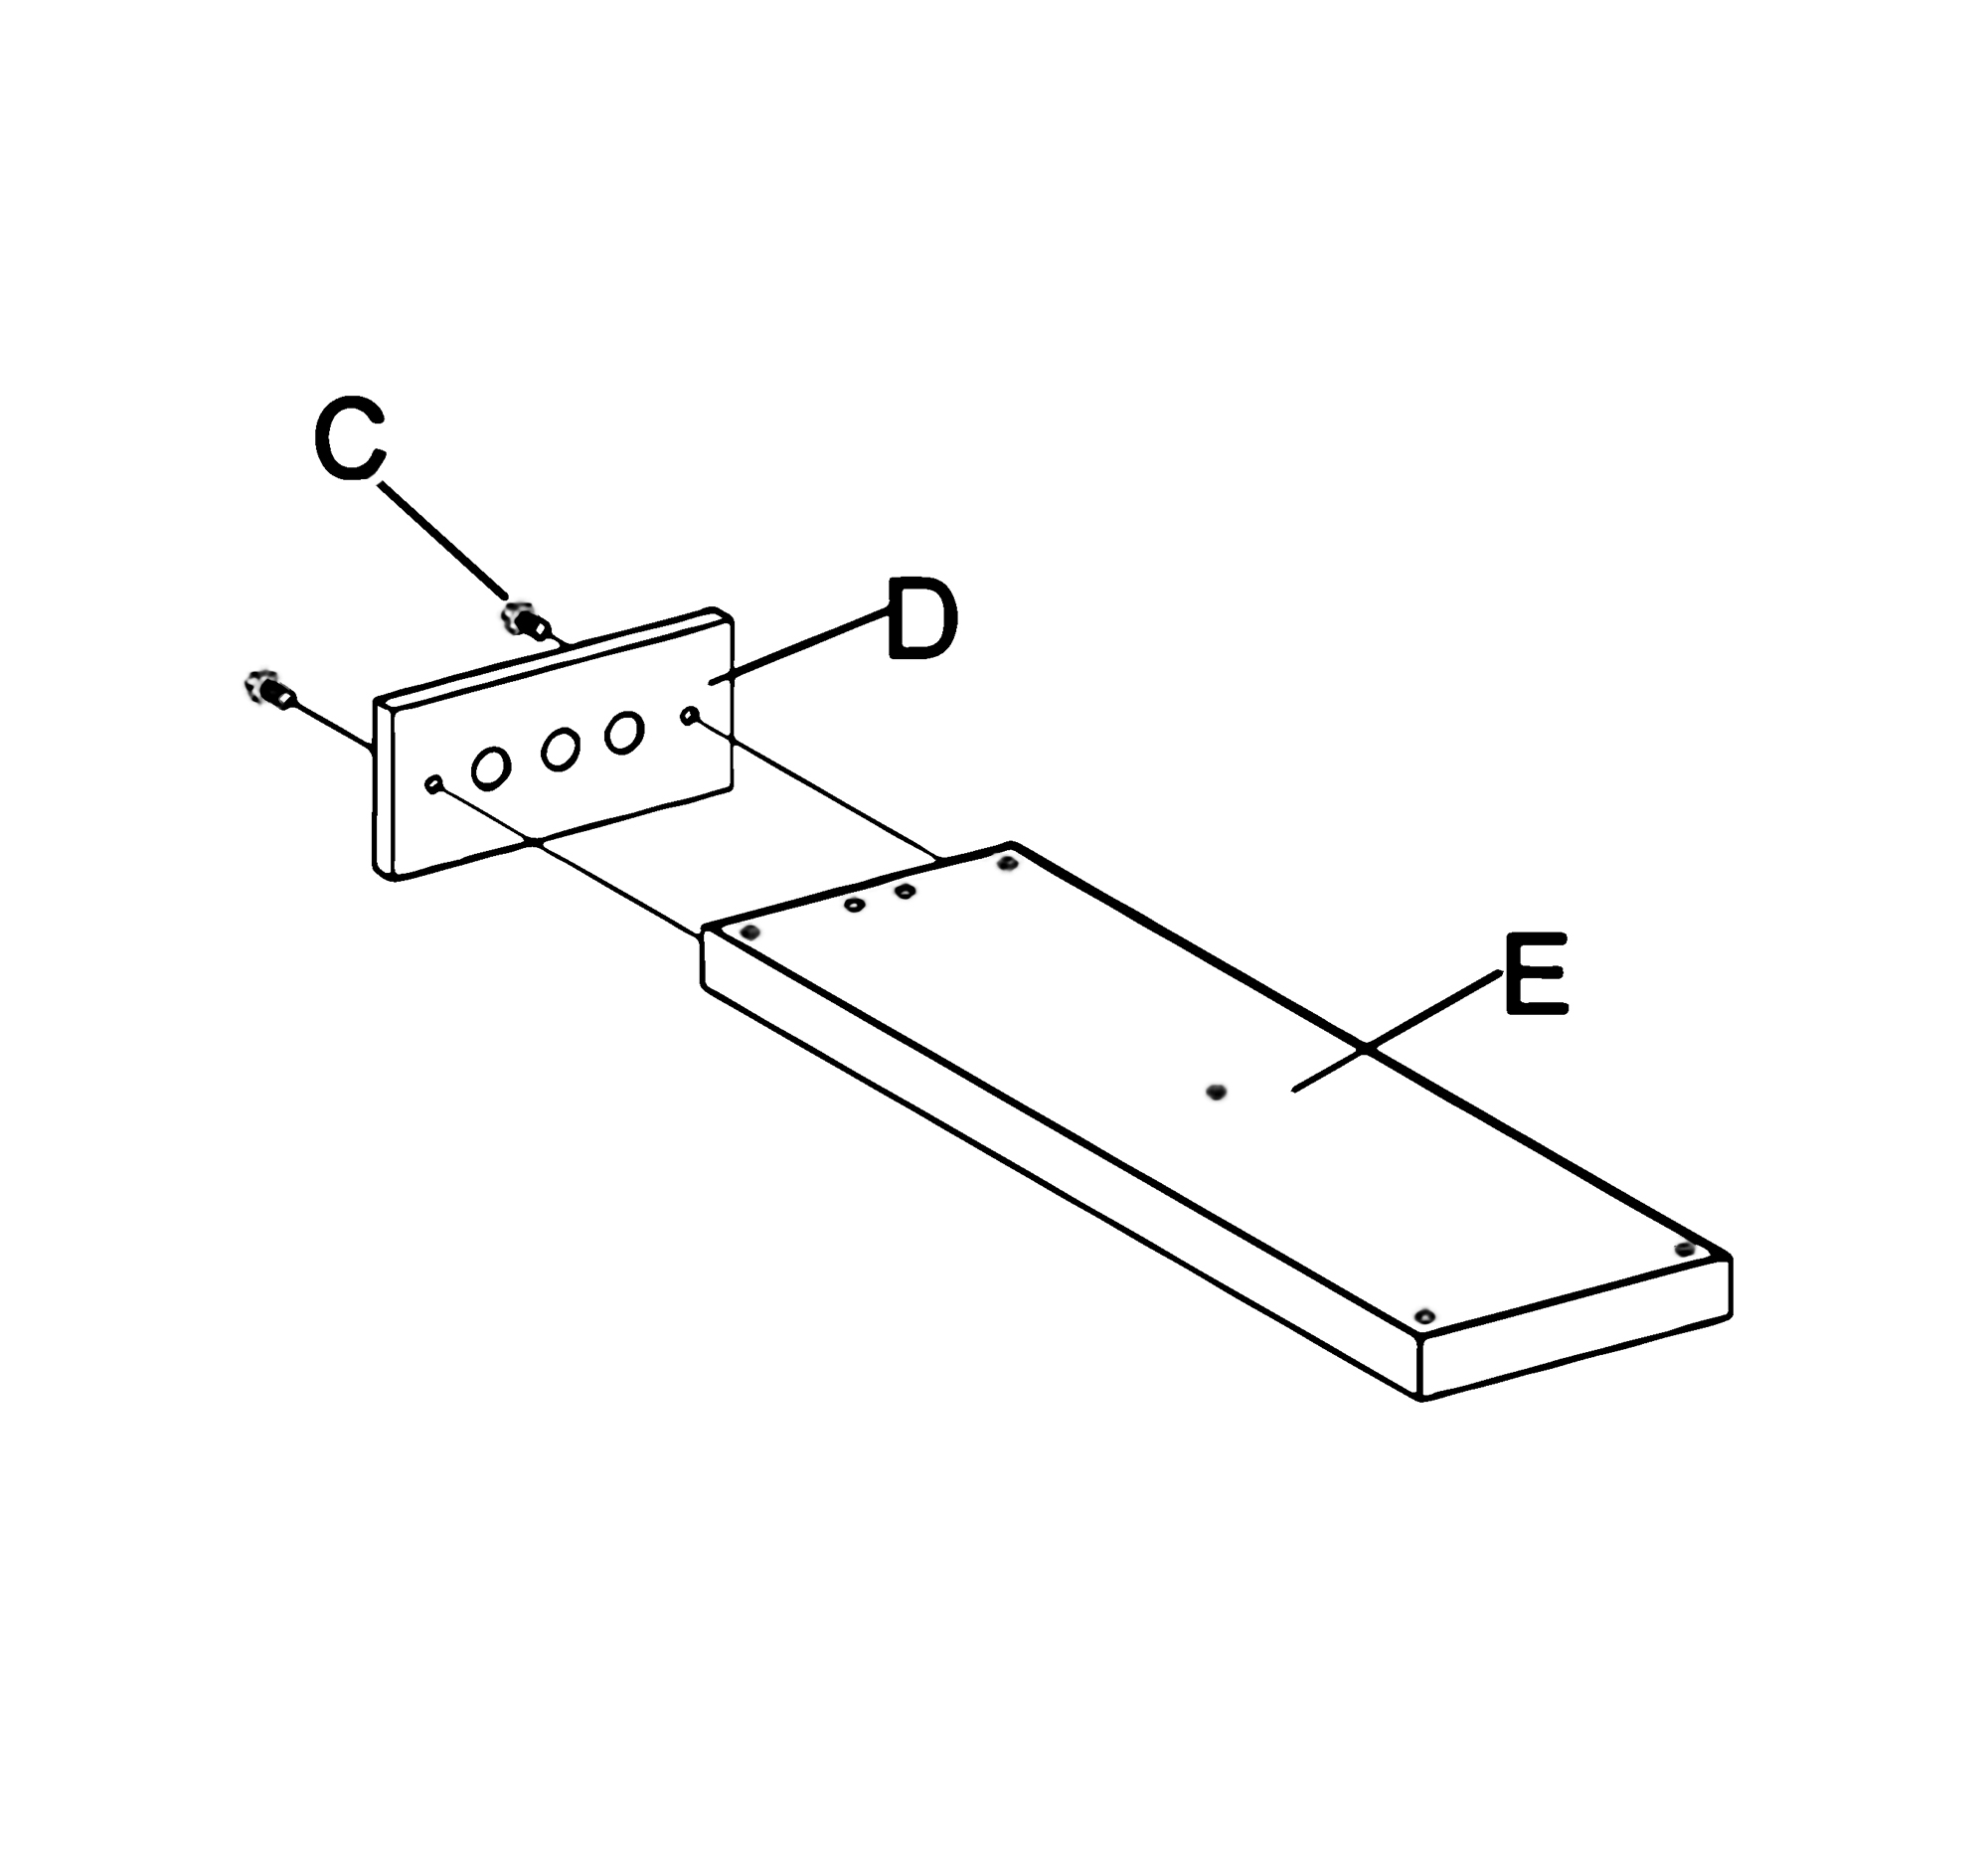
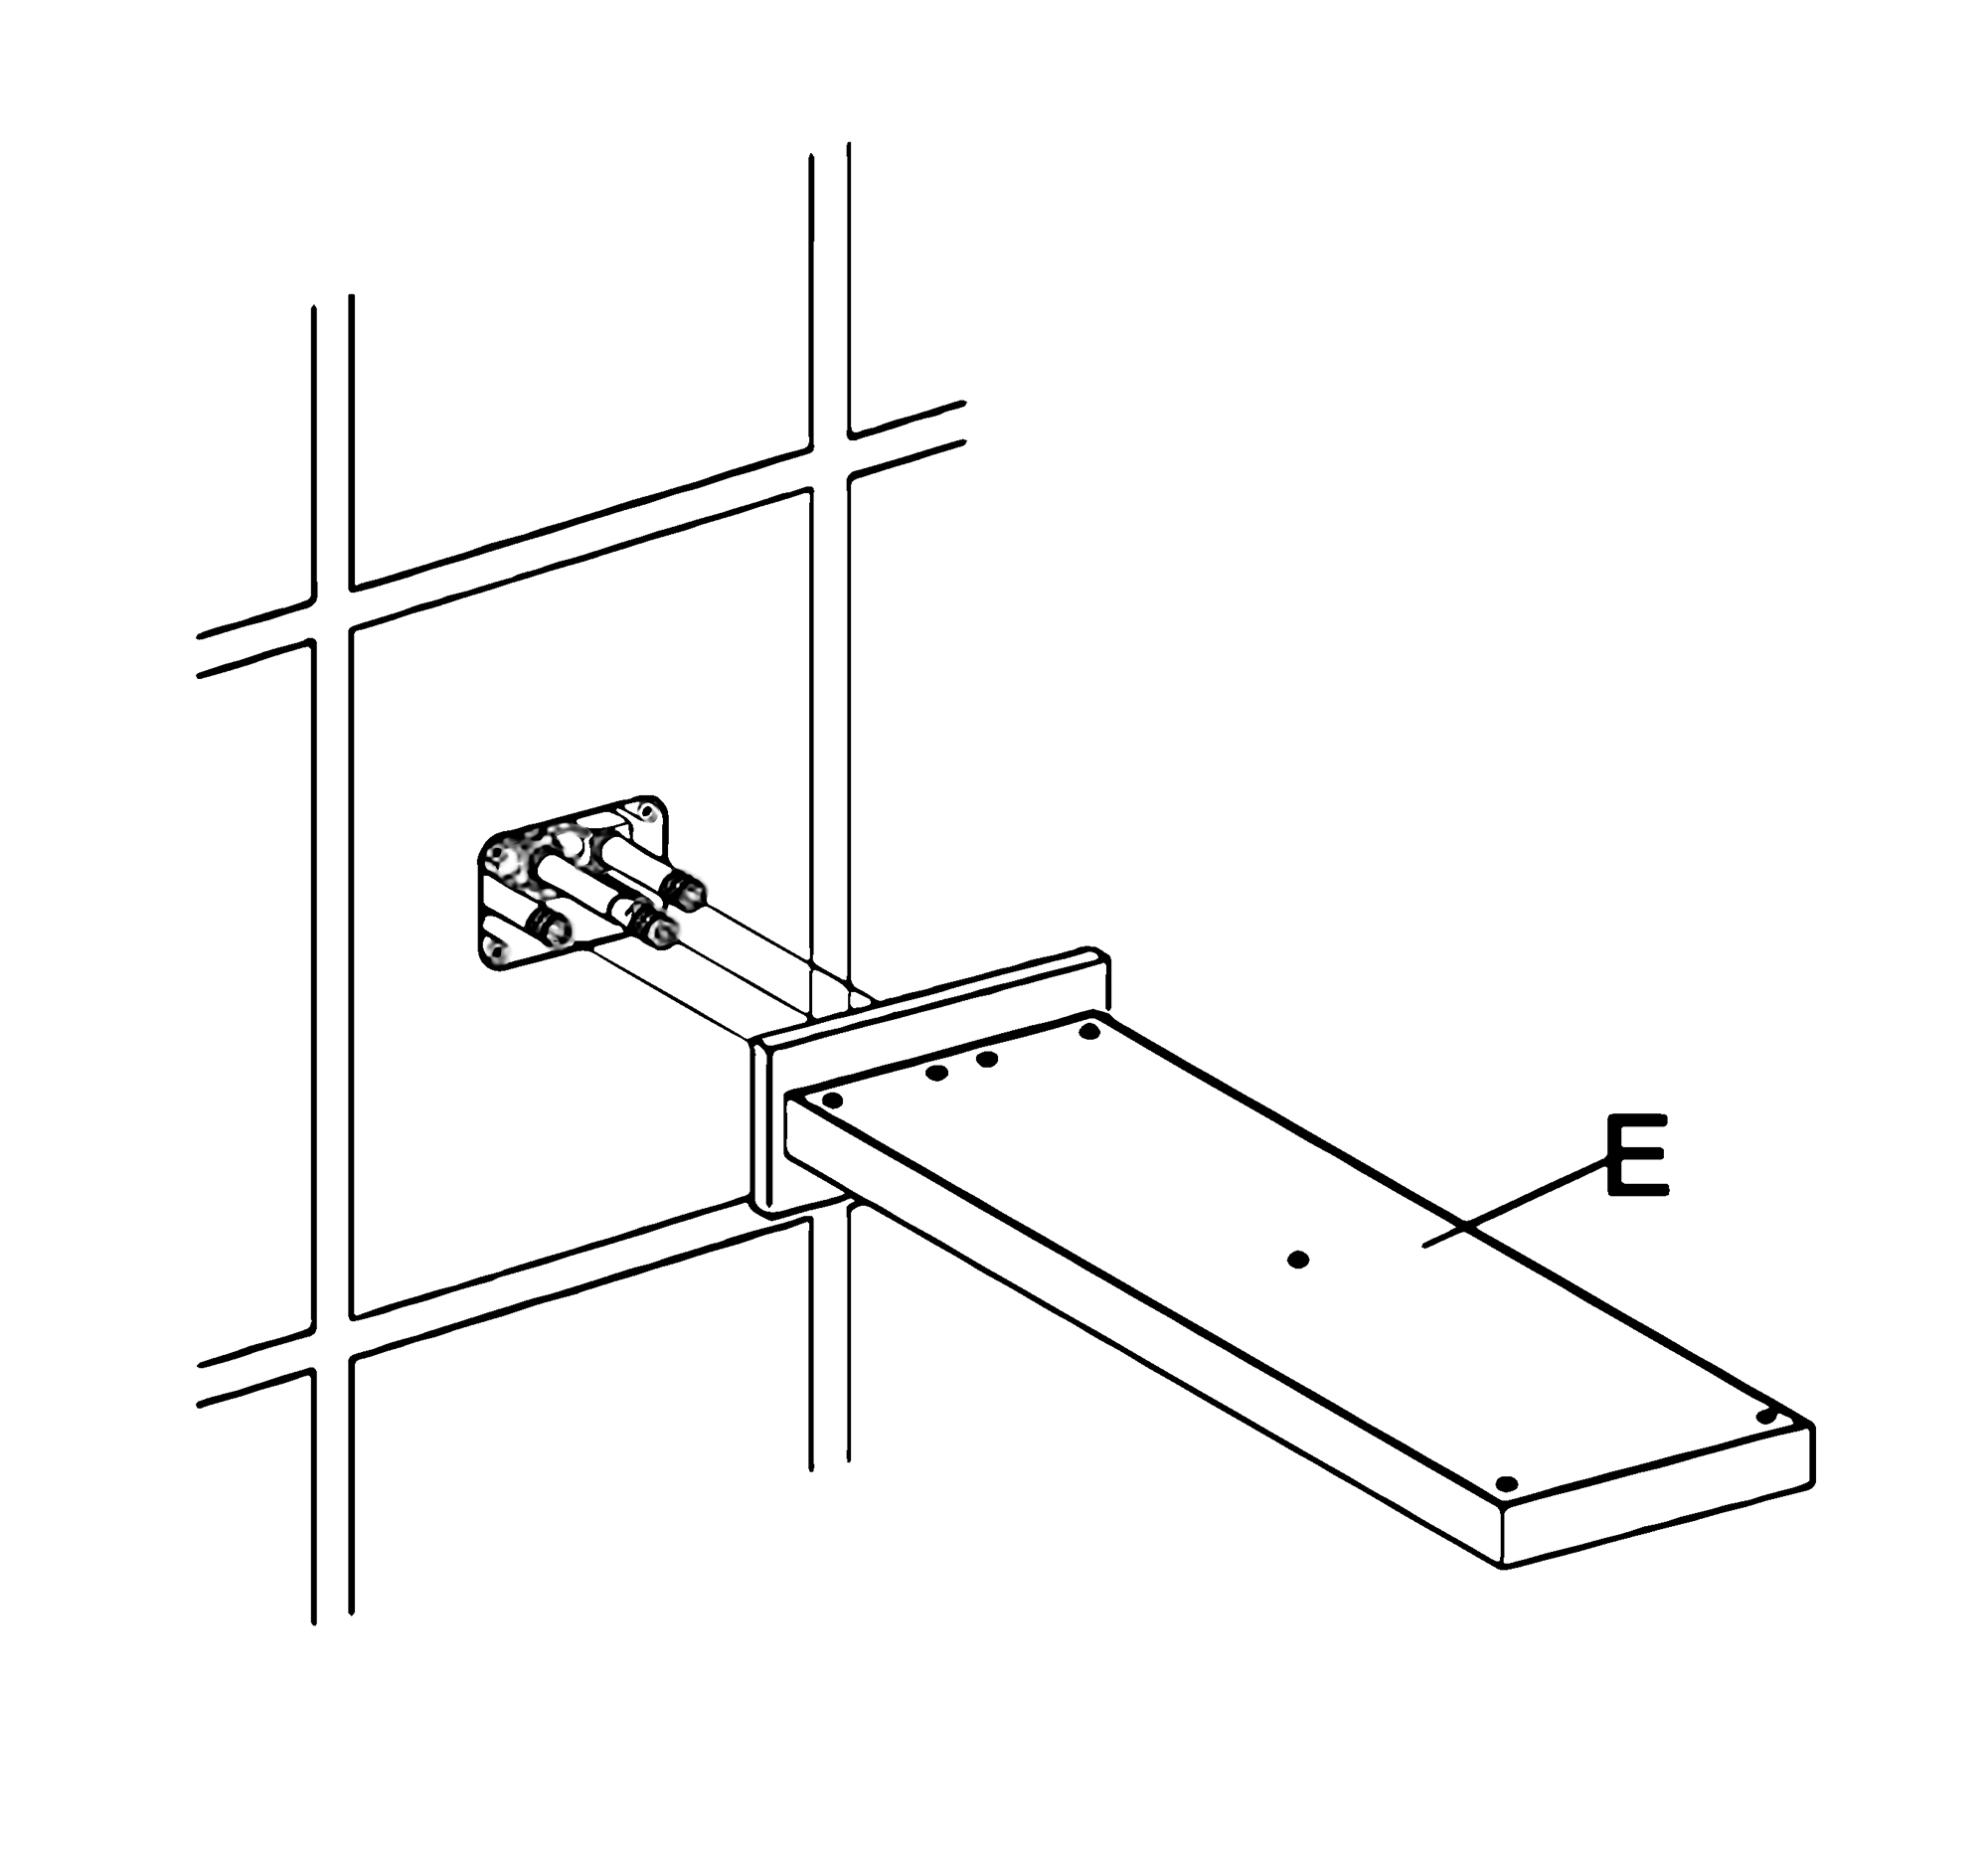
3. Fix the escutcheon (D) to the showerhead (E) with screws (C).
4. Remove the protective cover when the finished wall is completed. Then, install the showerhead (E) and press it against the finished wall.
|
|
|


