.jpg)
BathSelect Genoa Chrome Installation
Explore the Genoa Wall-Mount Shower Set
Browse chrome rain showers, handheld fixtures, mixer controls and installation assistance.
Main CollectionsFinishMountingShower HeadsComponentsInstallation
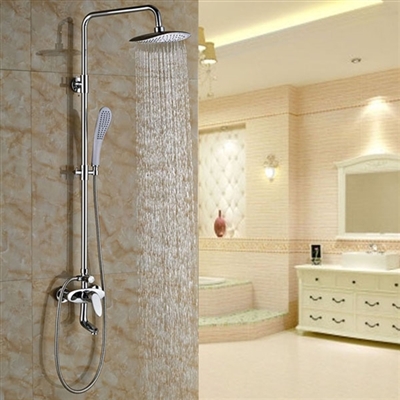
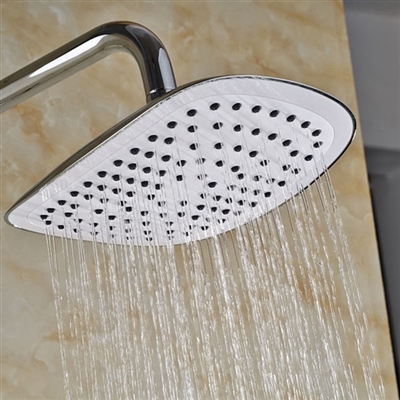
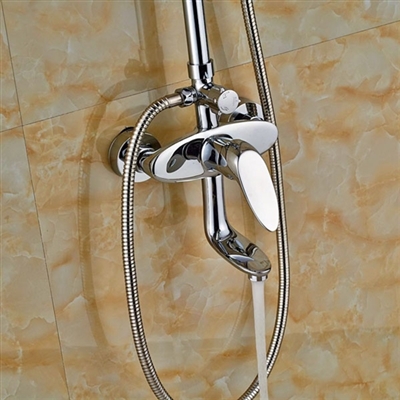
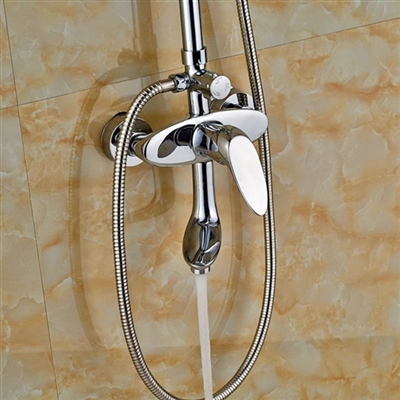
The Genoa chrome system combines a wall-mounted shower head with a flexible hand shower. It provides both broad overhead coverage and convenient directional rinsing. Chrome coordinates easily with modern fixtures but can show fingerprints and water spots. Installation requires firm backing for the head and hand-shower holder, correct diverter routing and protected plated surfaces. Test both outlets, temperature adjustment and every concealed connection before completion.
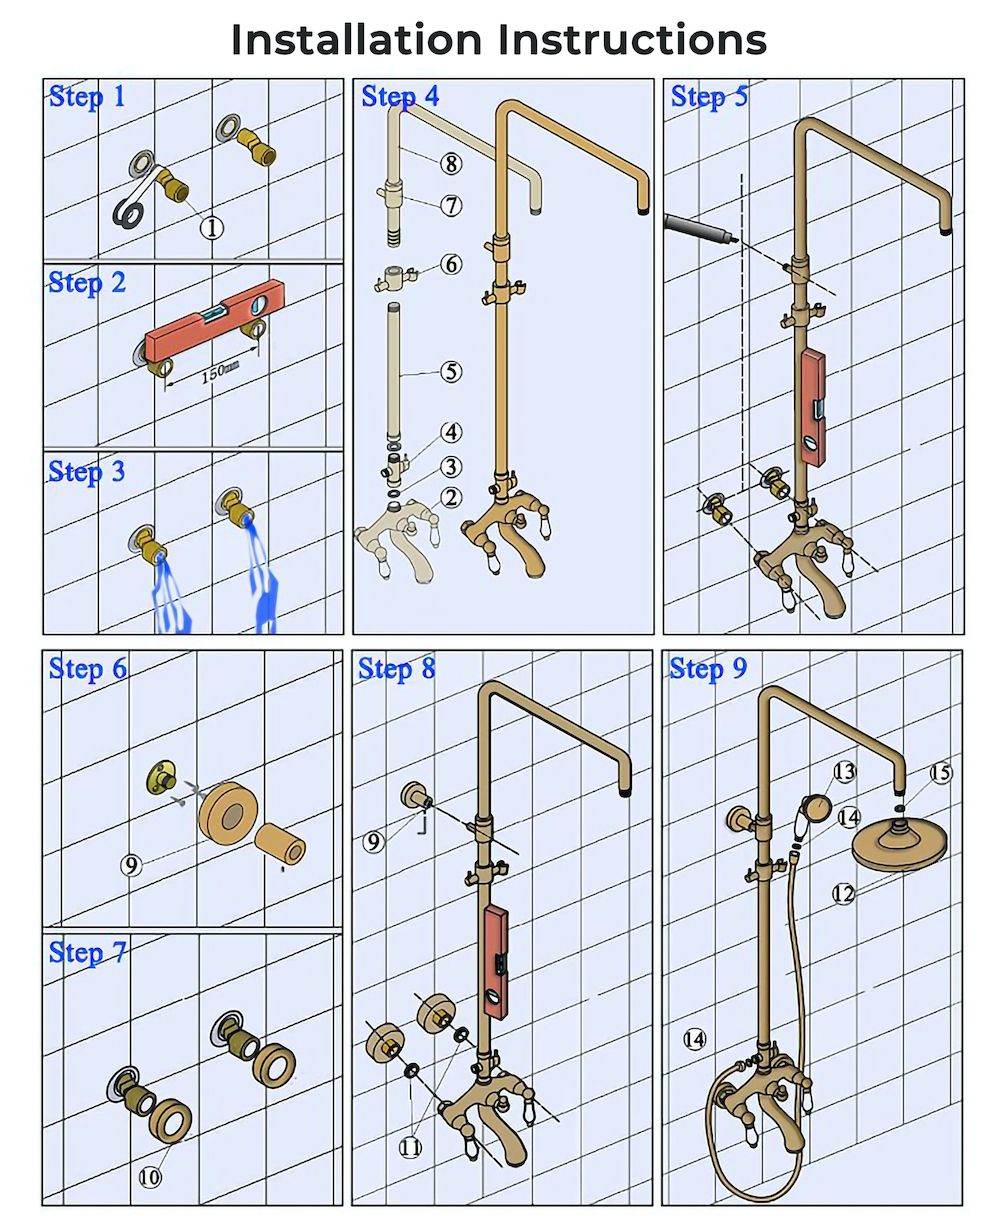
1. Brass Adapter
2. Faucet body
3. Washers
4. Diverter
5. Shower bar
6. Hand shower holder
7. Shower bar bracket
8. Shower bar
9. Mounting base
10. Decoration cover
11. Rain shower head
12. Handheld shower
Step 1: Connect the brass adapter provided to the water supply line.
Step 2: Adjust lever and distance to fit the faucet body.
Step 3: Turn the water valve on for a while to let the dust and impurities out.
Step 4: Assemble the shower set.
Step 5: Place a pre-assembled shower in the wall to find the proper position and then mark the mounting hole that needs to be drilled.
Step 6: Drill a hole for the upper part shower bar bracket, screw it.
Step 7: Place the decoration cover to the brass adapters.
Step 8: Install the pre-assembled shower to the connections.
Step 9: Connect shower hose, handheld shower, and rain shower head.
|