BathSelect Geneva Rain Shower Installation
Explore the Geneva Ultrathin Ceiling Shower
Discover brushed nickel square rain heads, ceiling configurations and installation resources.
Main CollectionsAvailable SizesInstallation TypeComplete SystemsComponentsInstallation
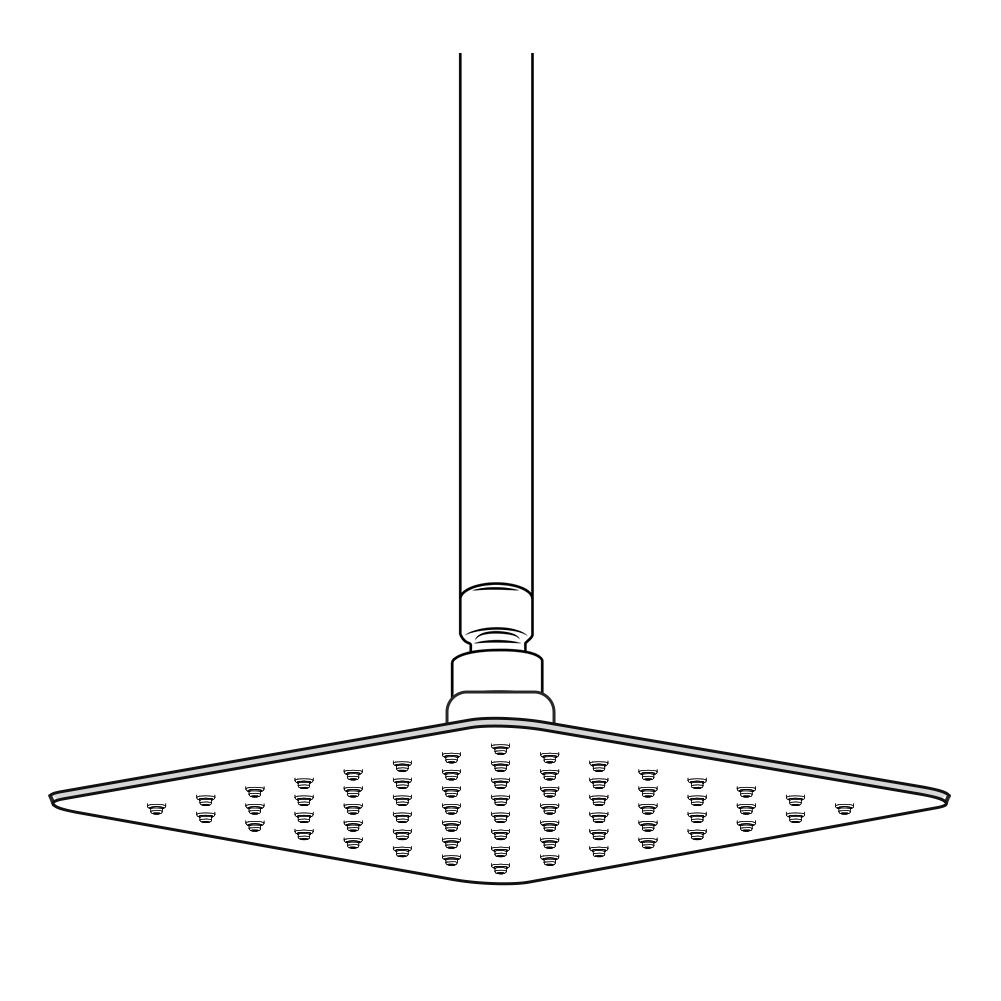
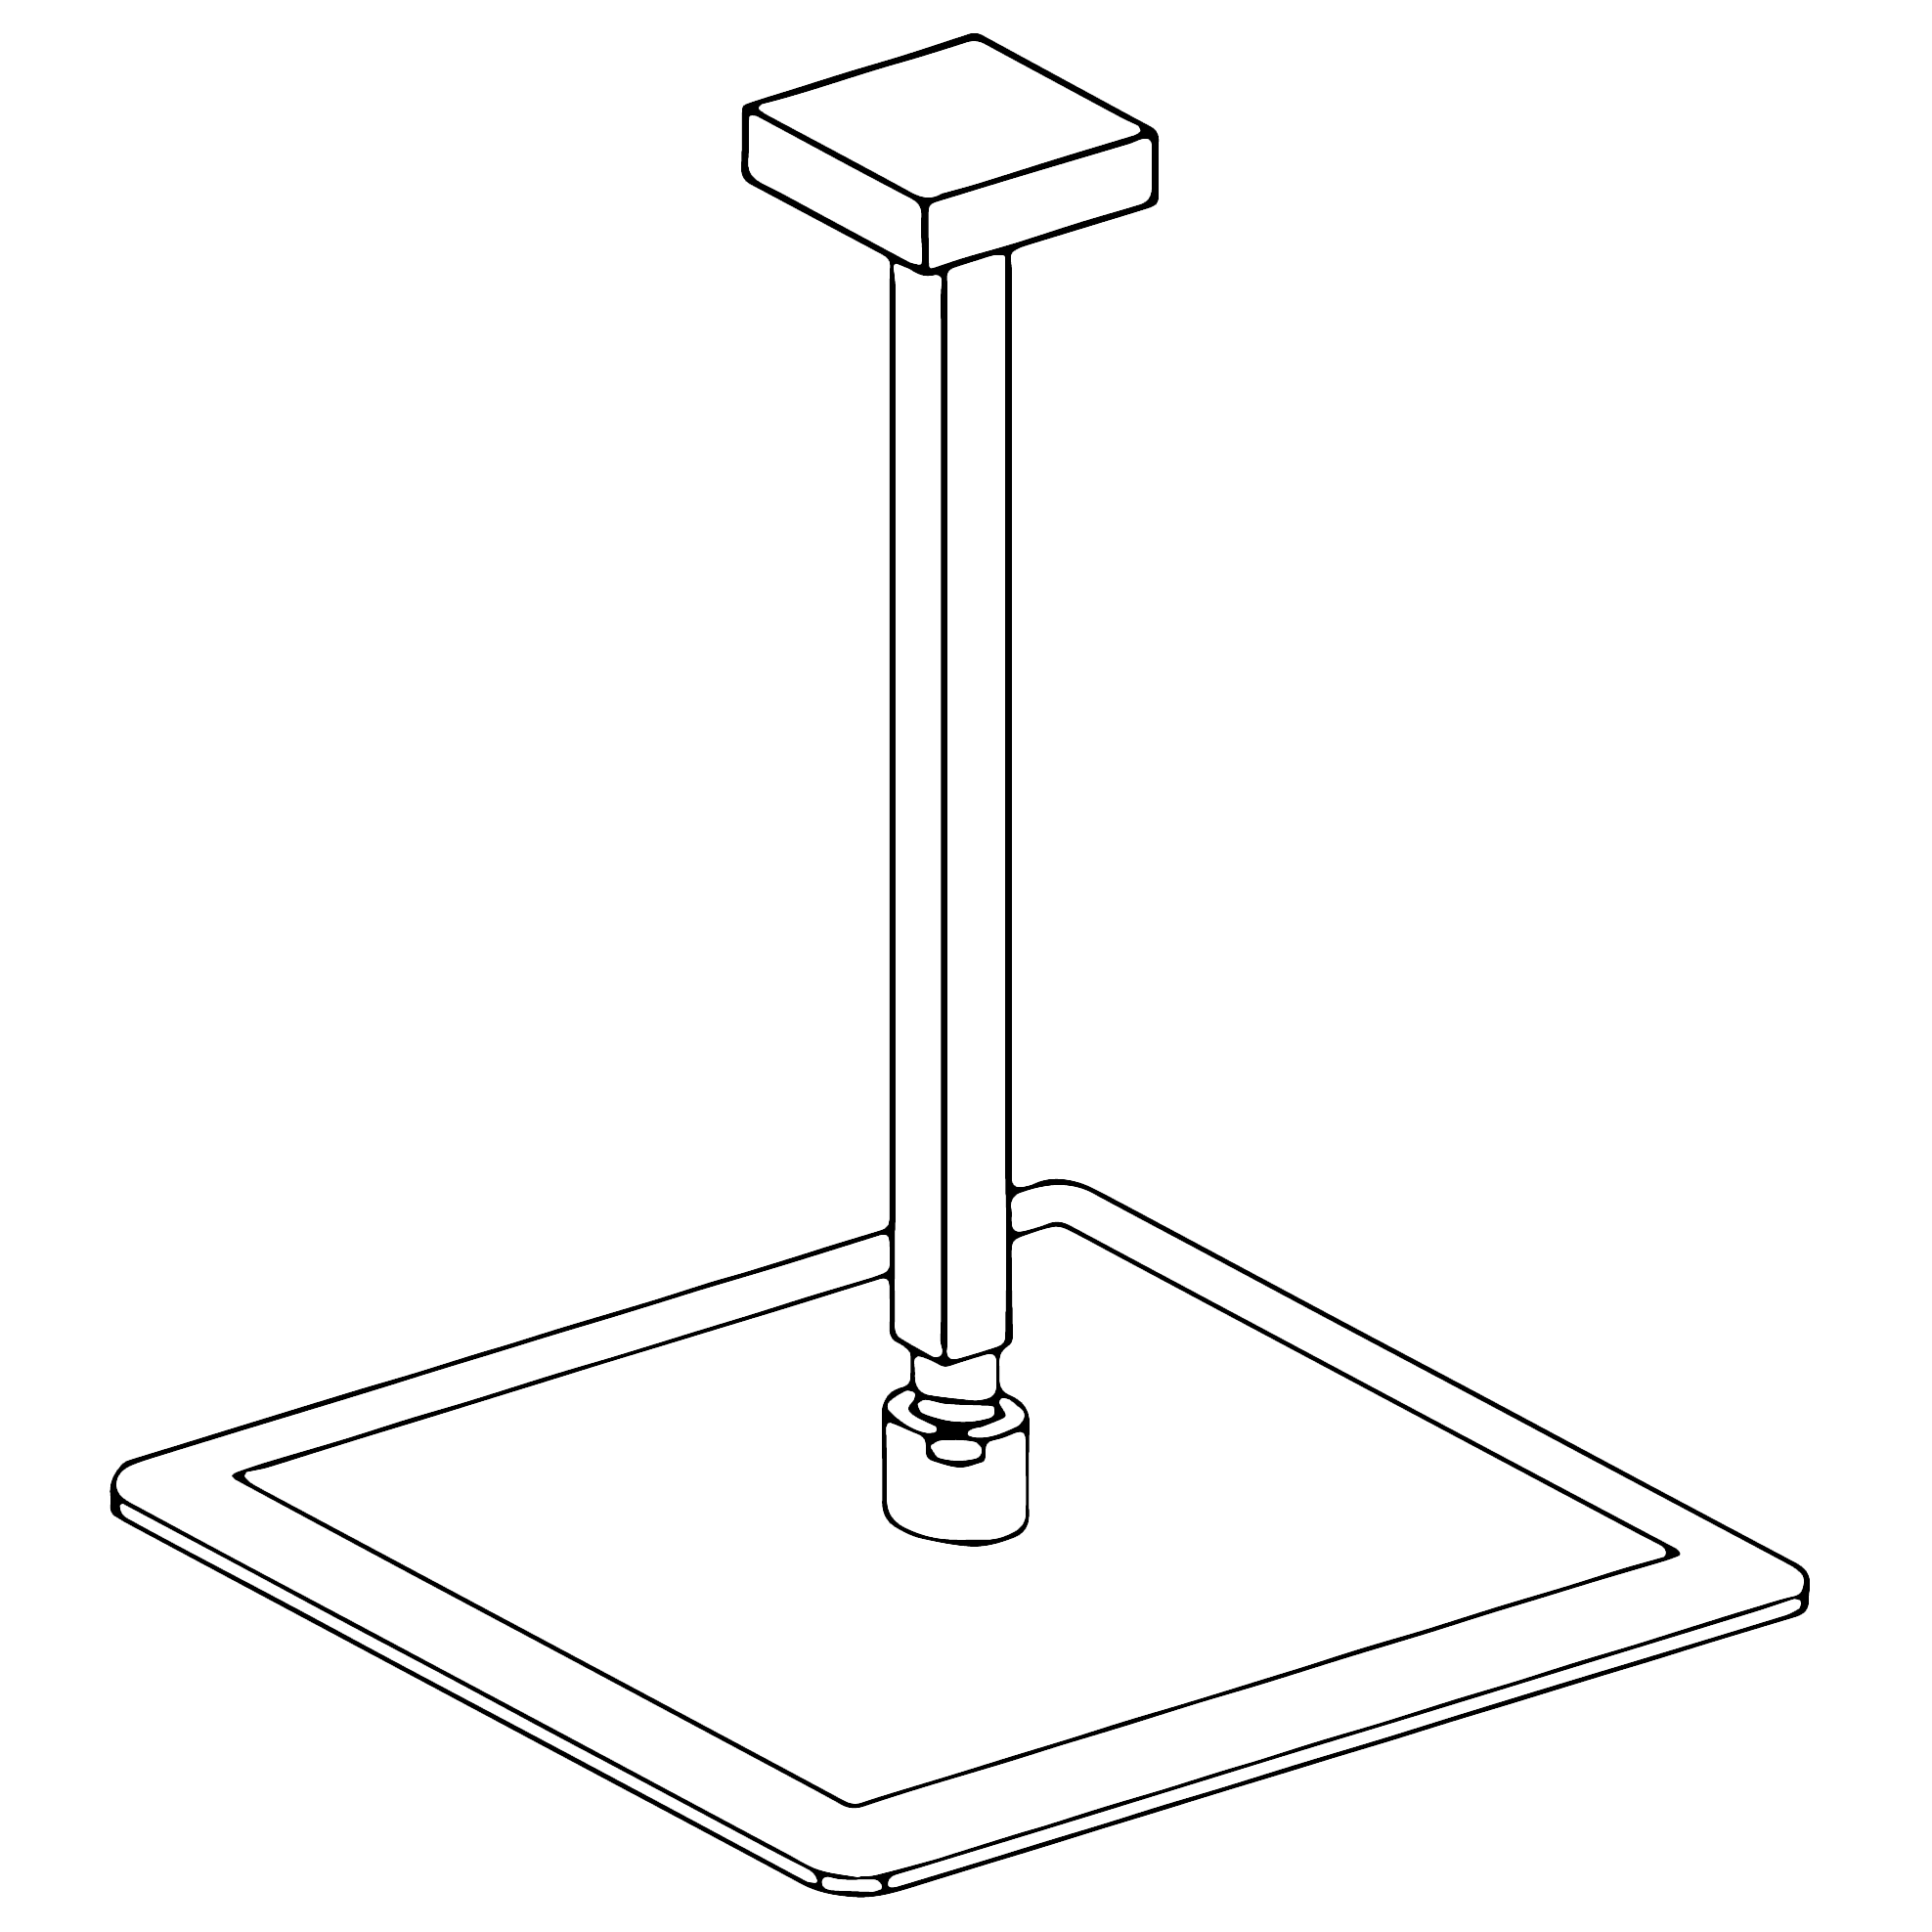
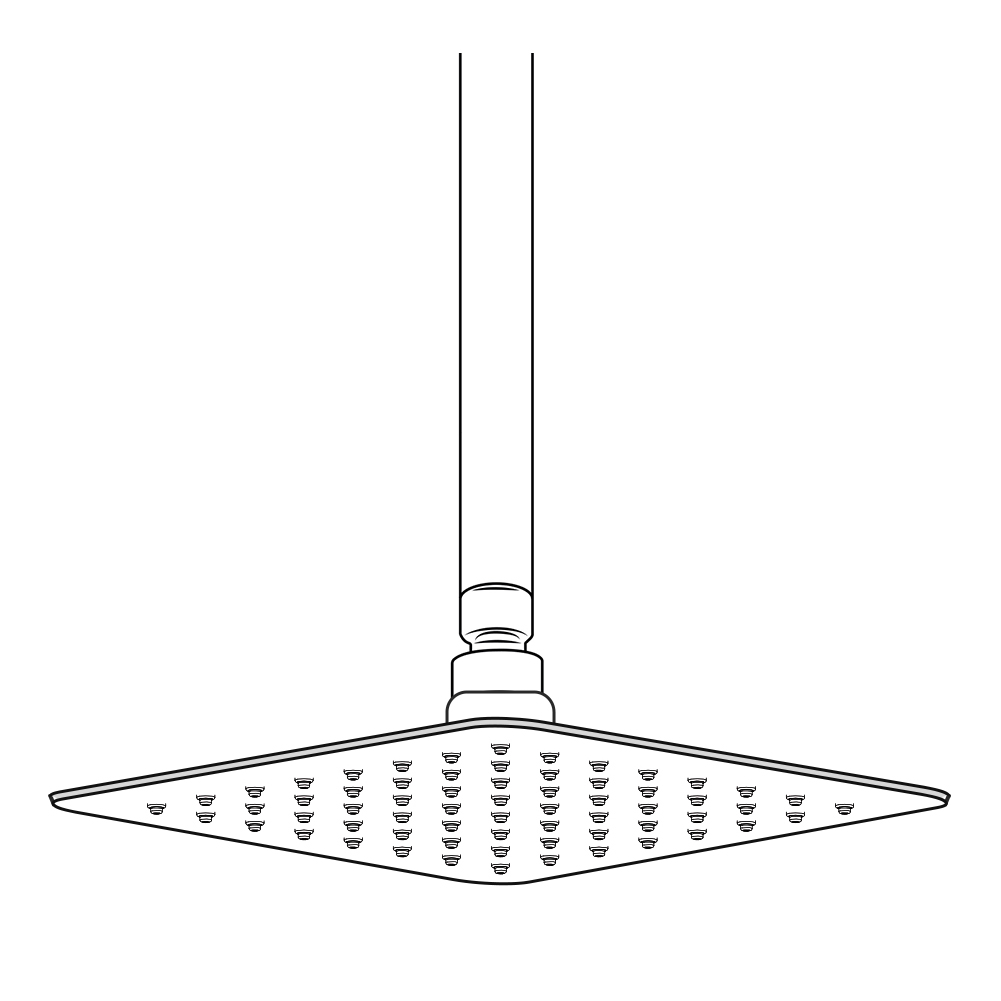
The Geneva ultrathin square ceiling shower head is available in compact 8-, 10- and 12-inch configurations. Its slim brushed nickel design provides clean styling and direct overhead rainfall without the weight and water demand of very large heads. Installation requires a centered, firmly supported ceiling arm, a level threaded connection and sufficient ceiling height. Seal and pressure-test the connection before final use.
How to Install Geneva Ultrathin Brushed Nickel 8", 10", 12" Square Ceiling Rain Shower Head | BS10265
Geneva Ultrathin Square Ceiling Rain Shower Head
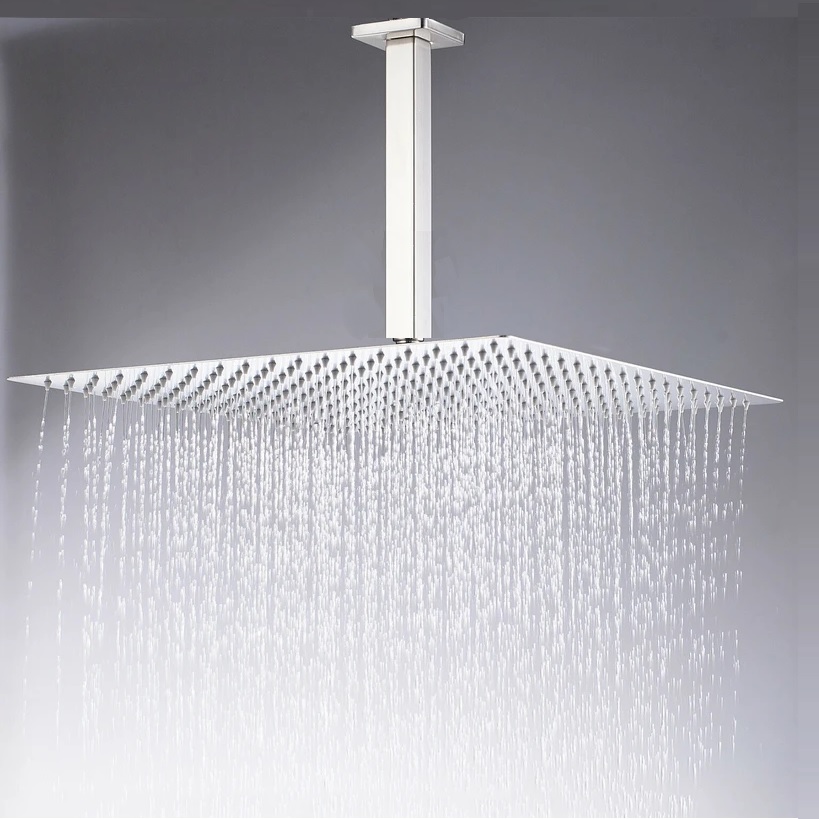
| This Geneva Ultrathin Brushed Nickel 8", 10", 12" Square Ceiling Rain Shower Head comes with solid construction for long durability that will upgrade your bathroom with a modern and cool look. Dual control style for easy flow and temperature management, a square rainfall shower head that is a self-cleaning and hand spray for better showering experience. You may even have more time to enjoy your shower with a rainfall feeling. Effortlessly provides superior water pressure. Optimal performance even in low water pressure. This shower set can be easily put in without the need for professional skills. When it comes to new bathroom upgrades, BathSelect is offering shape, finishes, and styles that you've looking for. | |  | | |
|
| |
|
|
| |
|
|
Features:
| |
|
- Brand Name: BathSelect
- Model Number: BS10265
- Type : Ultrathin Showerhead
- Style: Contemporary
- Finish: Brushed Nickel
- Type: Shower Head
- Valve Core Material: Ceramic
- Surface Finish: Brass
- Installation Type: Ceiling Mounted
- Showerhead Size: 8", 10", 12"
- Shower Head Shape: Square
- Feature: Rain Shower
- Flow Rate: 8L/min
| shower head |
|
Important Note:
Before you begin, please read the installation instructions below. Observe all local building and safety codes.
Unpack and inspect the product for any shipping damages. If you find damages, do not install.
Please note all showers must be installed by a professional and certified plumber otherwise warranty may be voided.
|
|
Ceiling Mount Shower Installation Instructions
|
Step 1:
|
|
Step 2:
|
|
shower
installation
|
|
|
|
|
|
|
Step 3:
|
|
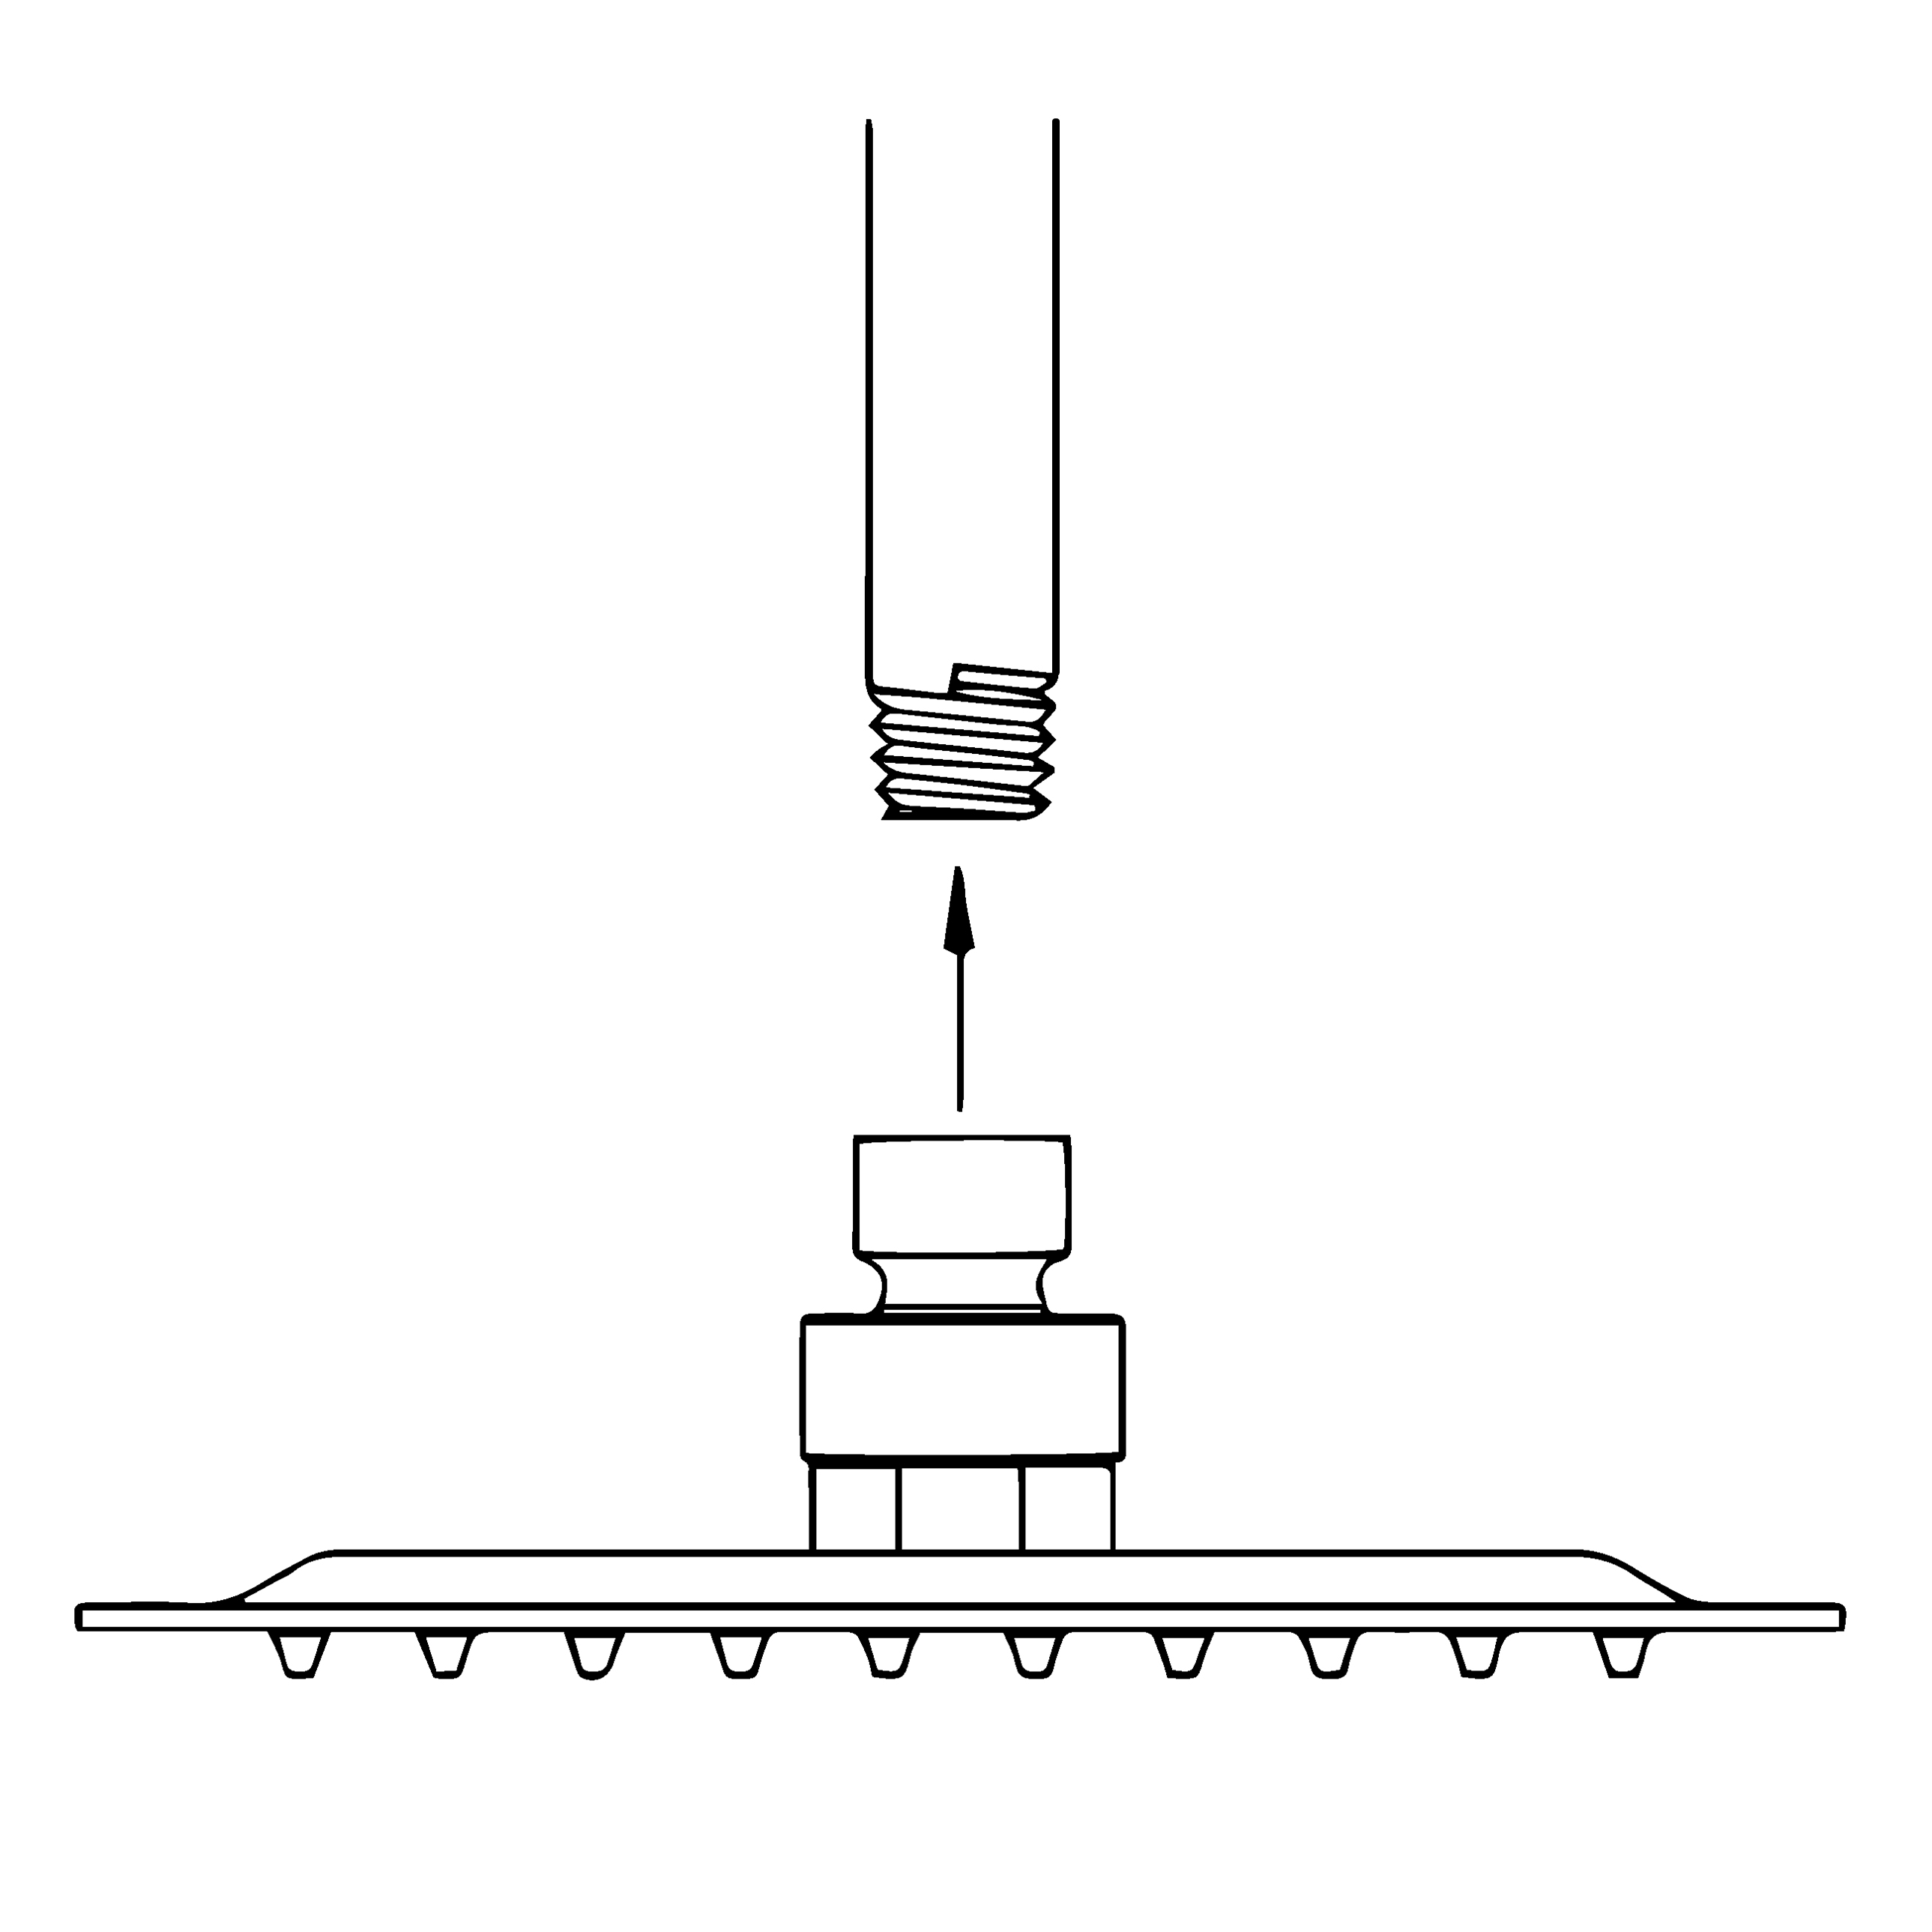
Step 4:
|
|
|
|
|
|
|
|
|
Step 5:
|
|
|
|
|
|
|
|
|
|
Step 1: Take Out the Old Shower Head
You can easily remove it by hand, but depending on how long the rain showerhead has been installed, you might need to use an adjustable wrench. Hence, if you find it difficult to remove, rotate the showerhead with an adjustable wrench in a counterclockwise direction to unscrew it.
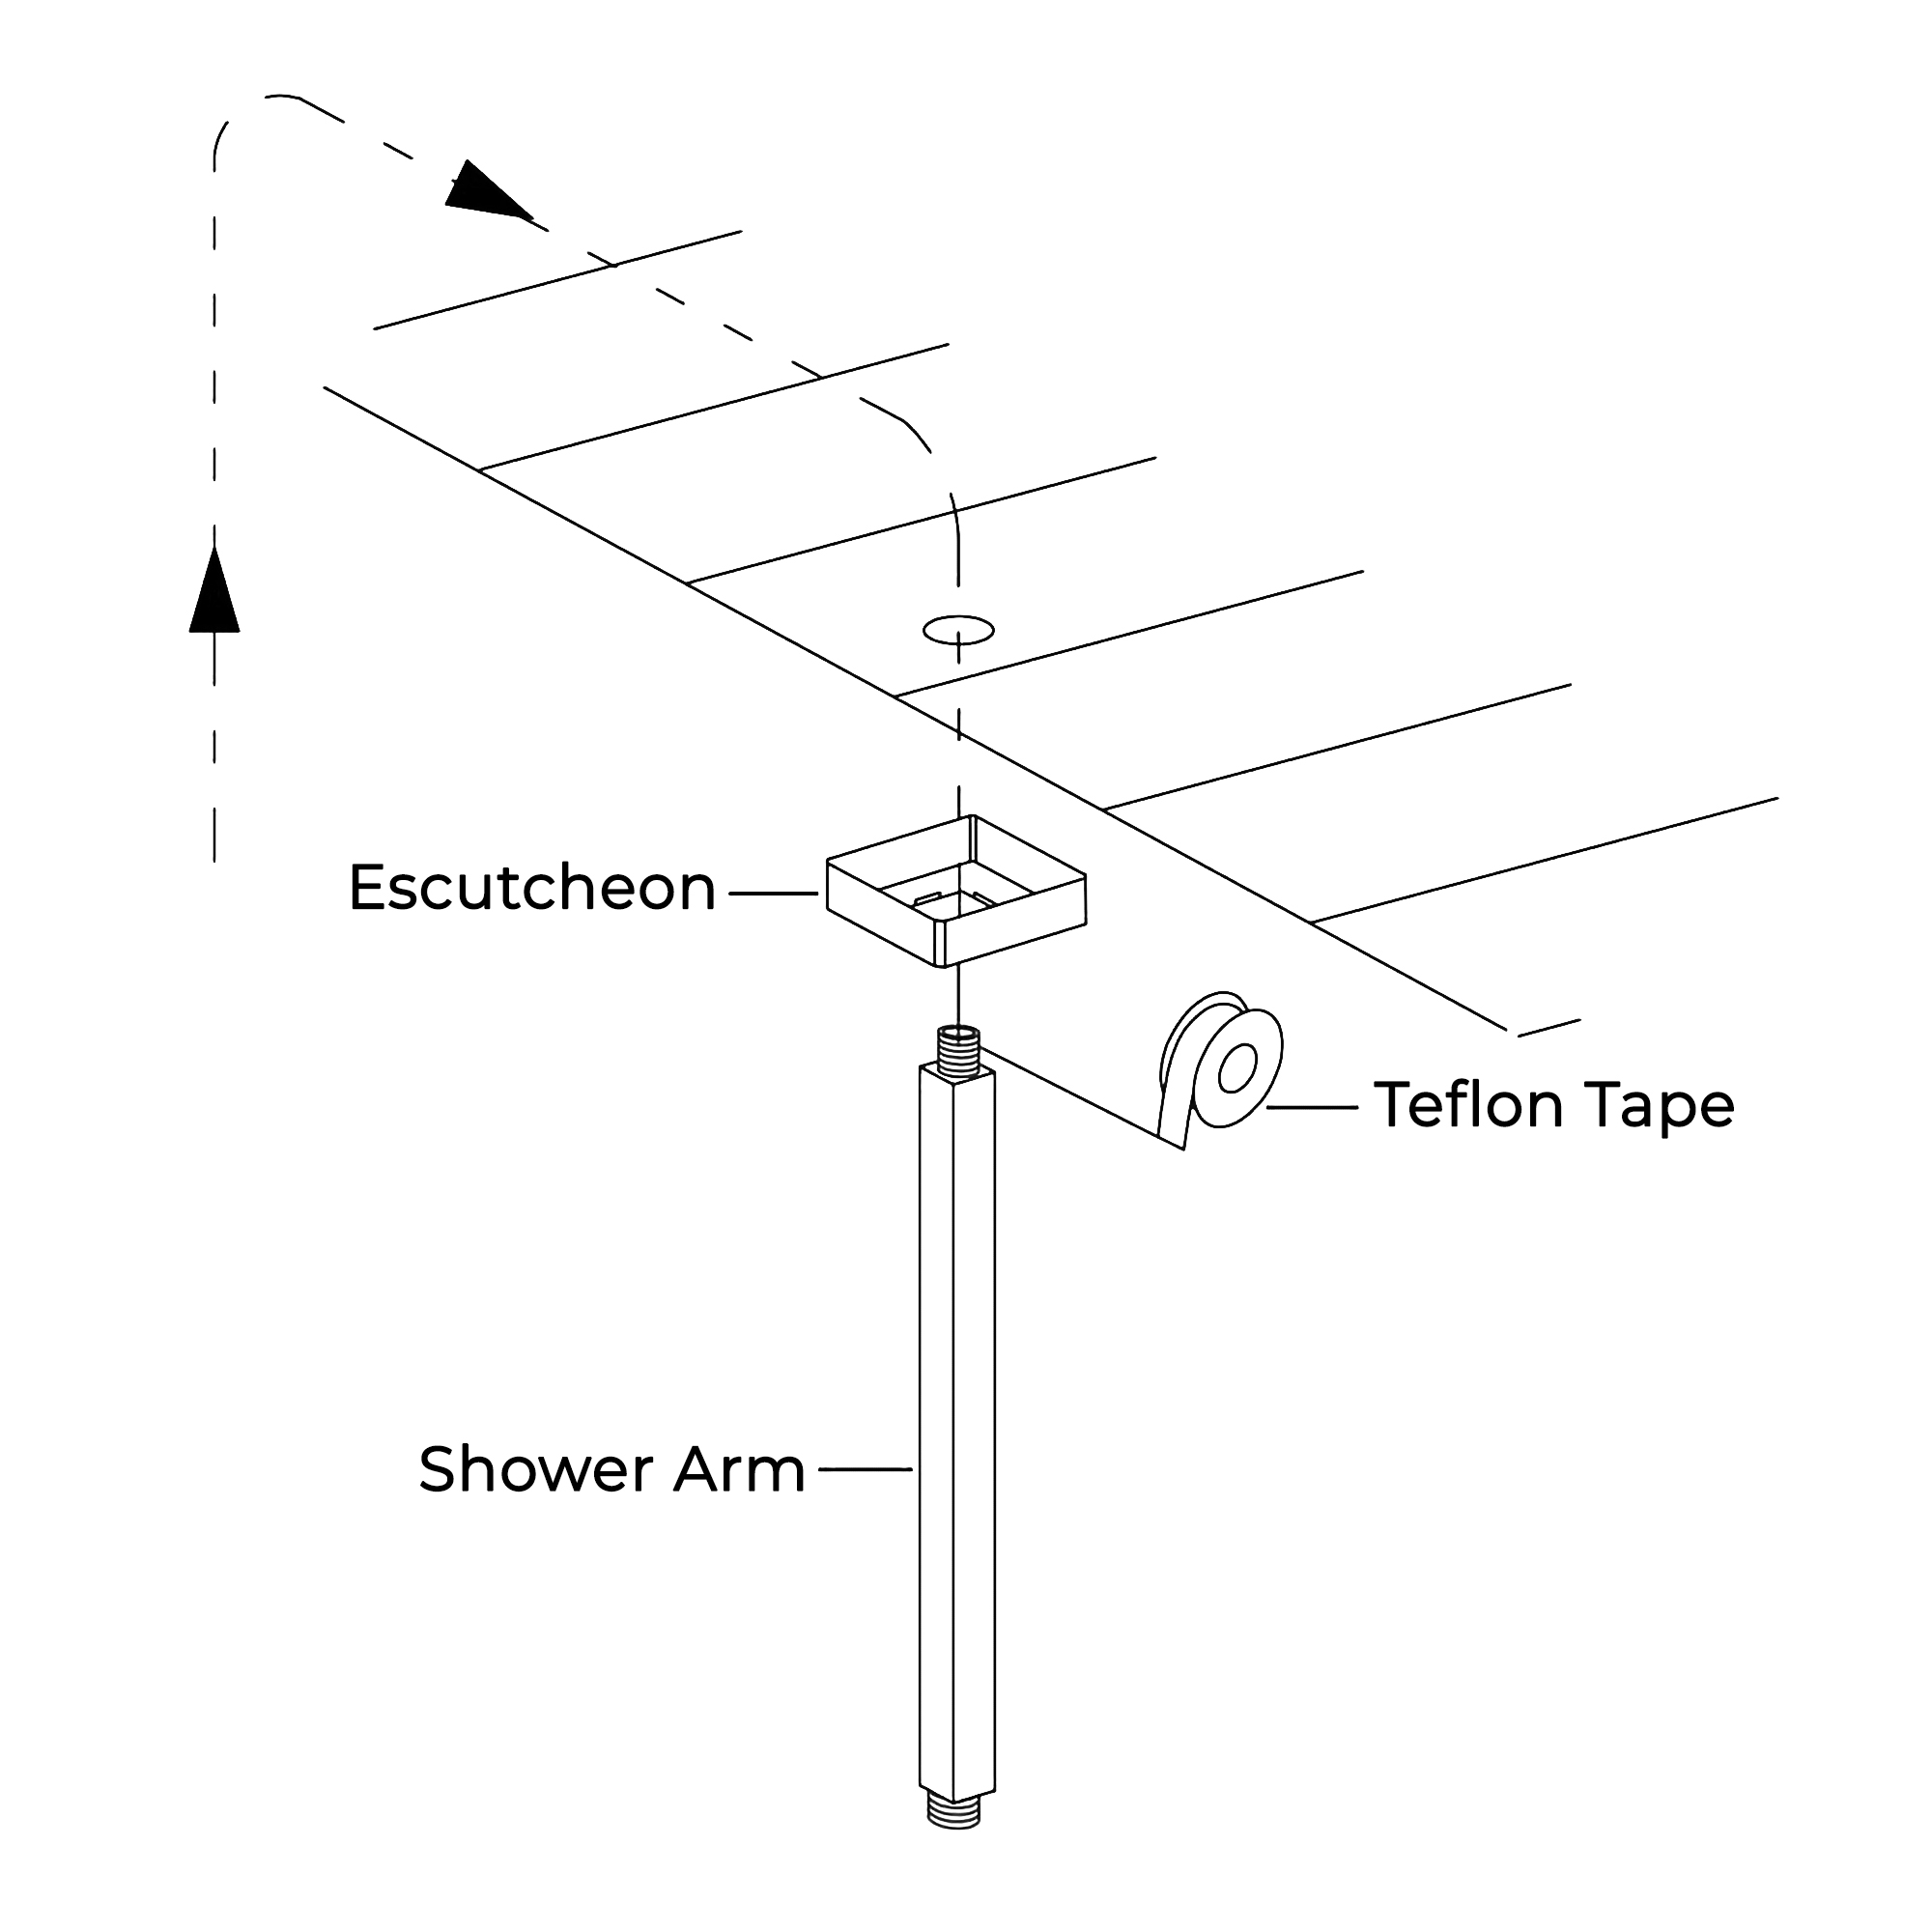
Step 2: Keep the Shower Arm Clean and In Good Shape
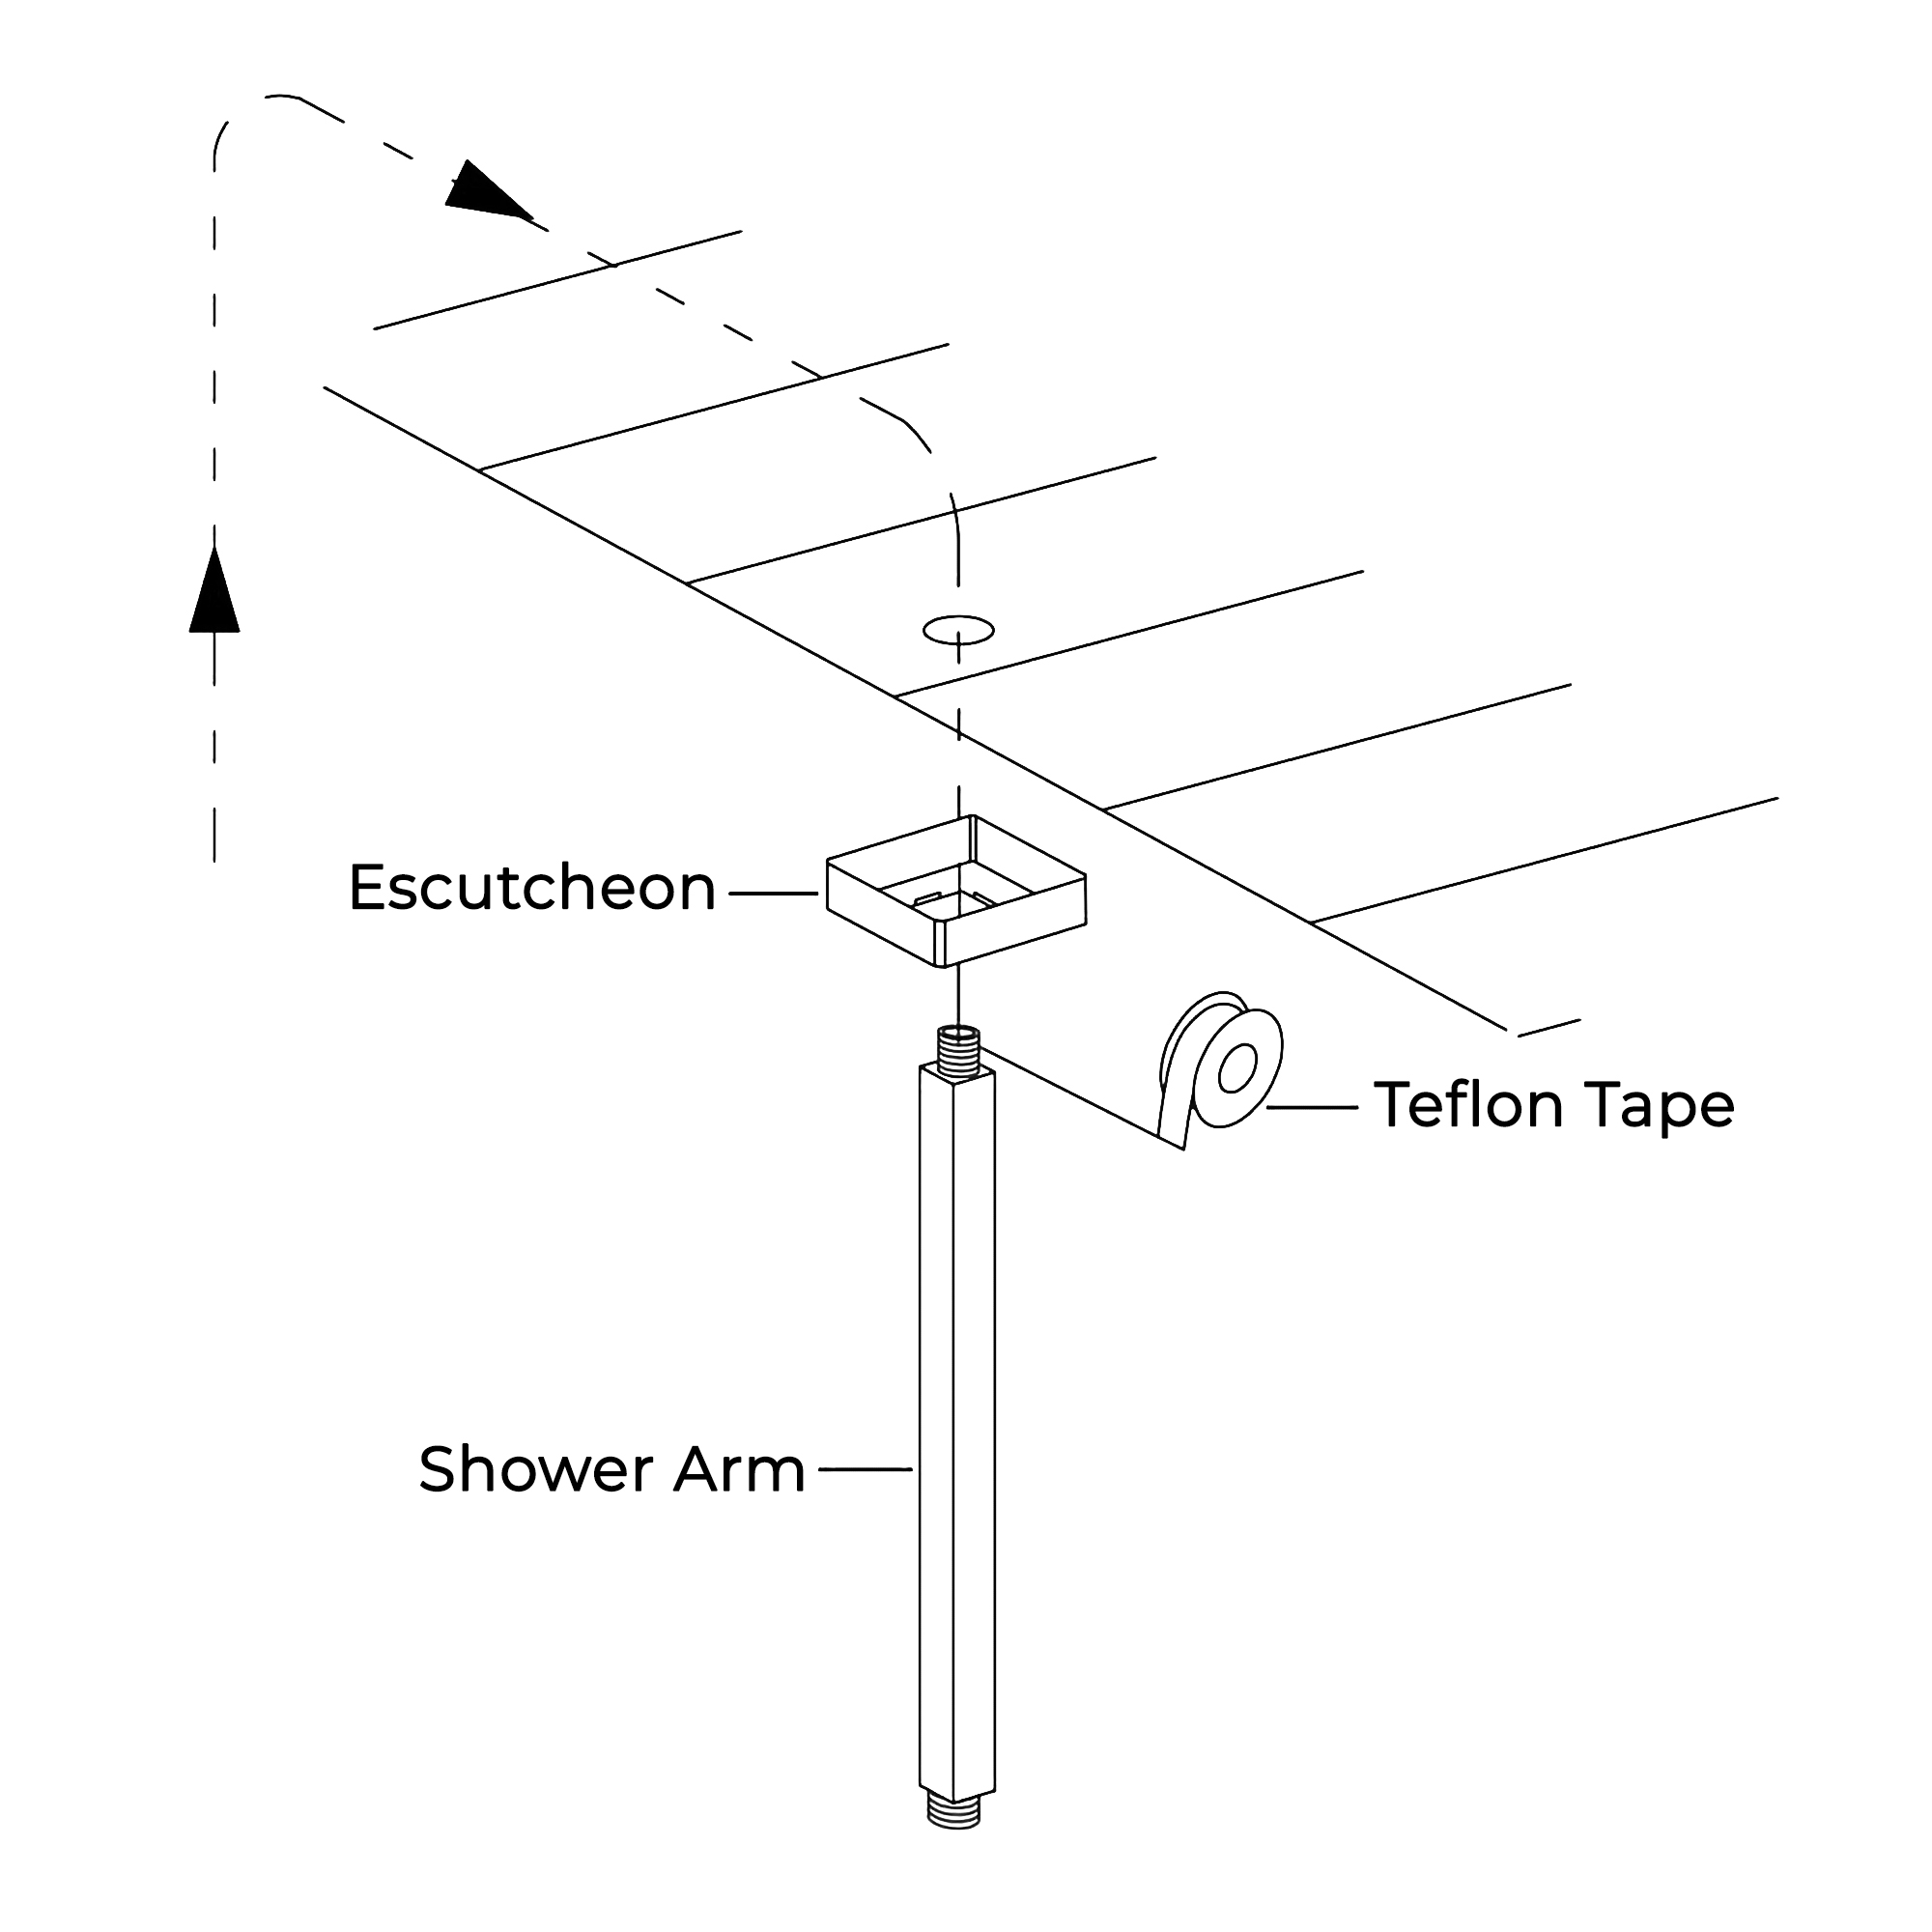
After you have removed the head, check the shower arm threads for any debris and old Teflon tape. If you find any, remove it and clean them off thoroughly. It’s best to use a microfiber cloth when cleaning the thread because it removes Teflon tape perfectly and works great to pick up tiny grits.
Once you’re done cleaning, check if it is corroded or leaking. For damaged threads, it will be best you replace it entirely so you can have a comfortable shower experience any time.
Step 3: Time to Add New Teflon Tape
Since you have removed the old Teflon tape, you have to replace it with new ones. The reason is that this tape helps to protect the shower from leaking after installing the showerhead. Now apply the new Teflon tape about 3-5 turns on the thread and tear the end part. Use your hands to smooth it out to keep it leveled to the thread. Keep in mind that when applying the tape, you should go in a clockwise motion so that it doesn’t come off when you attach the head in the same direction.
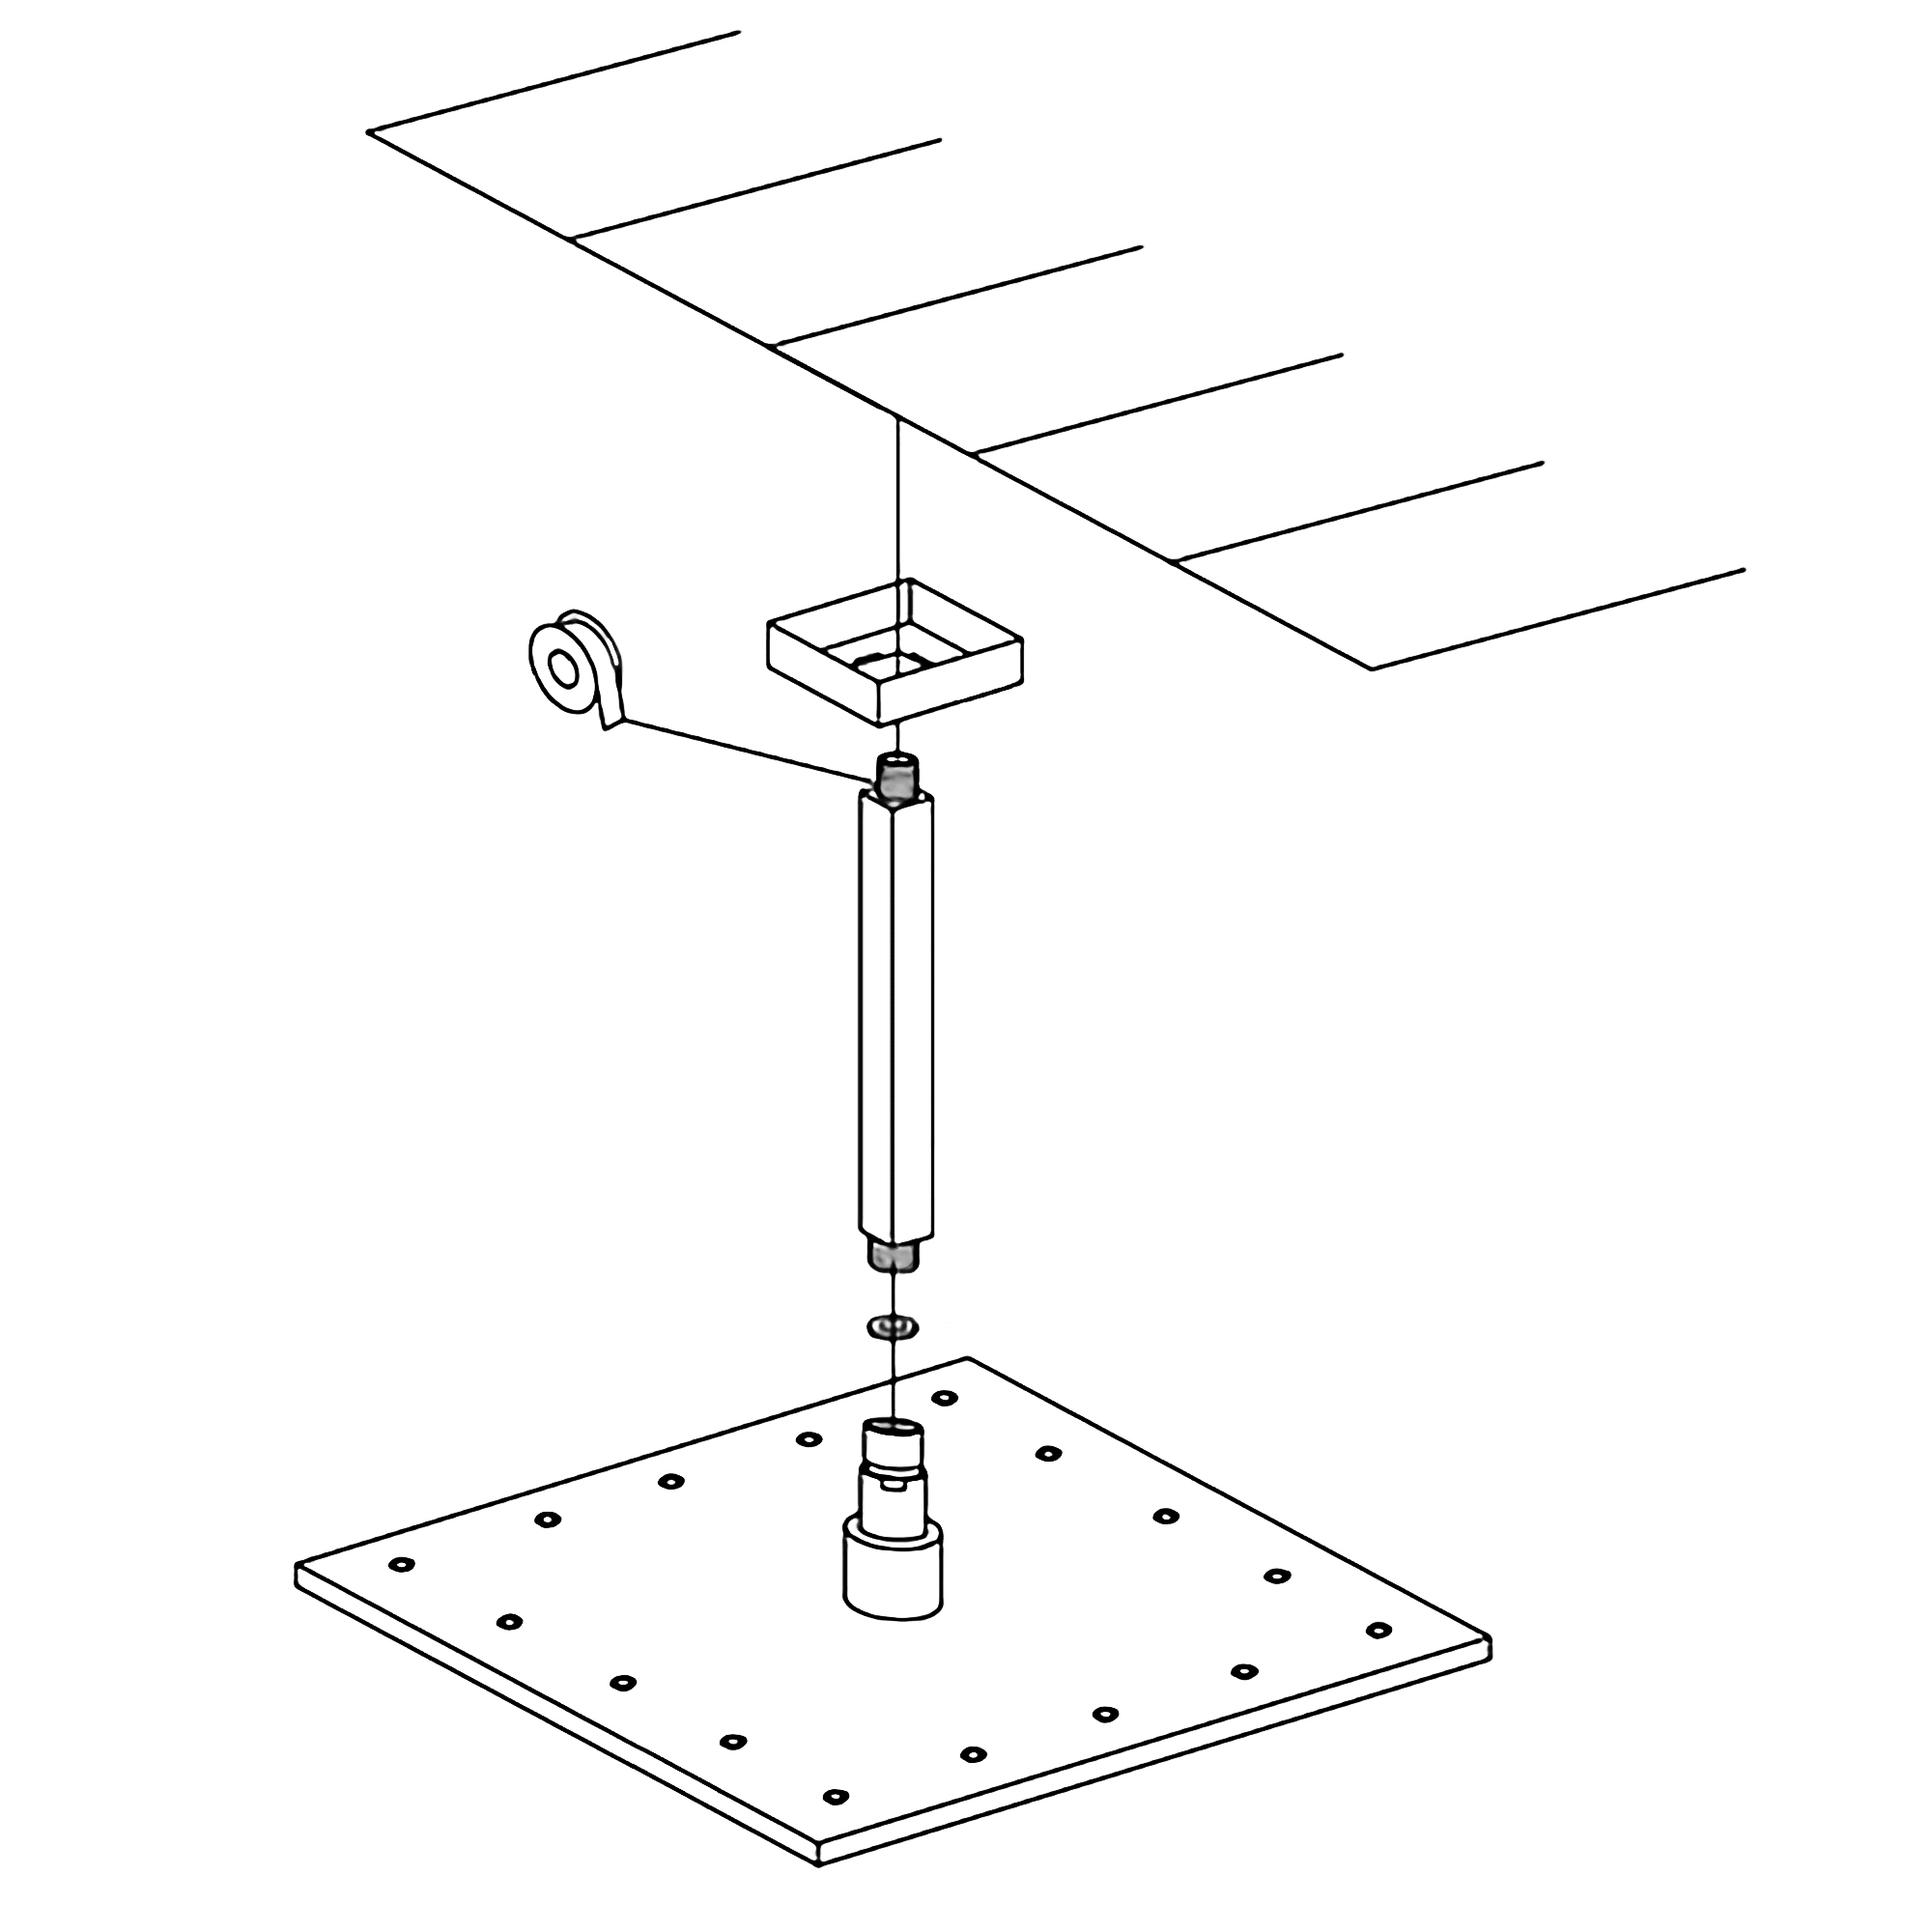
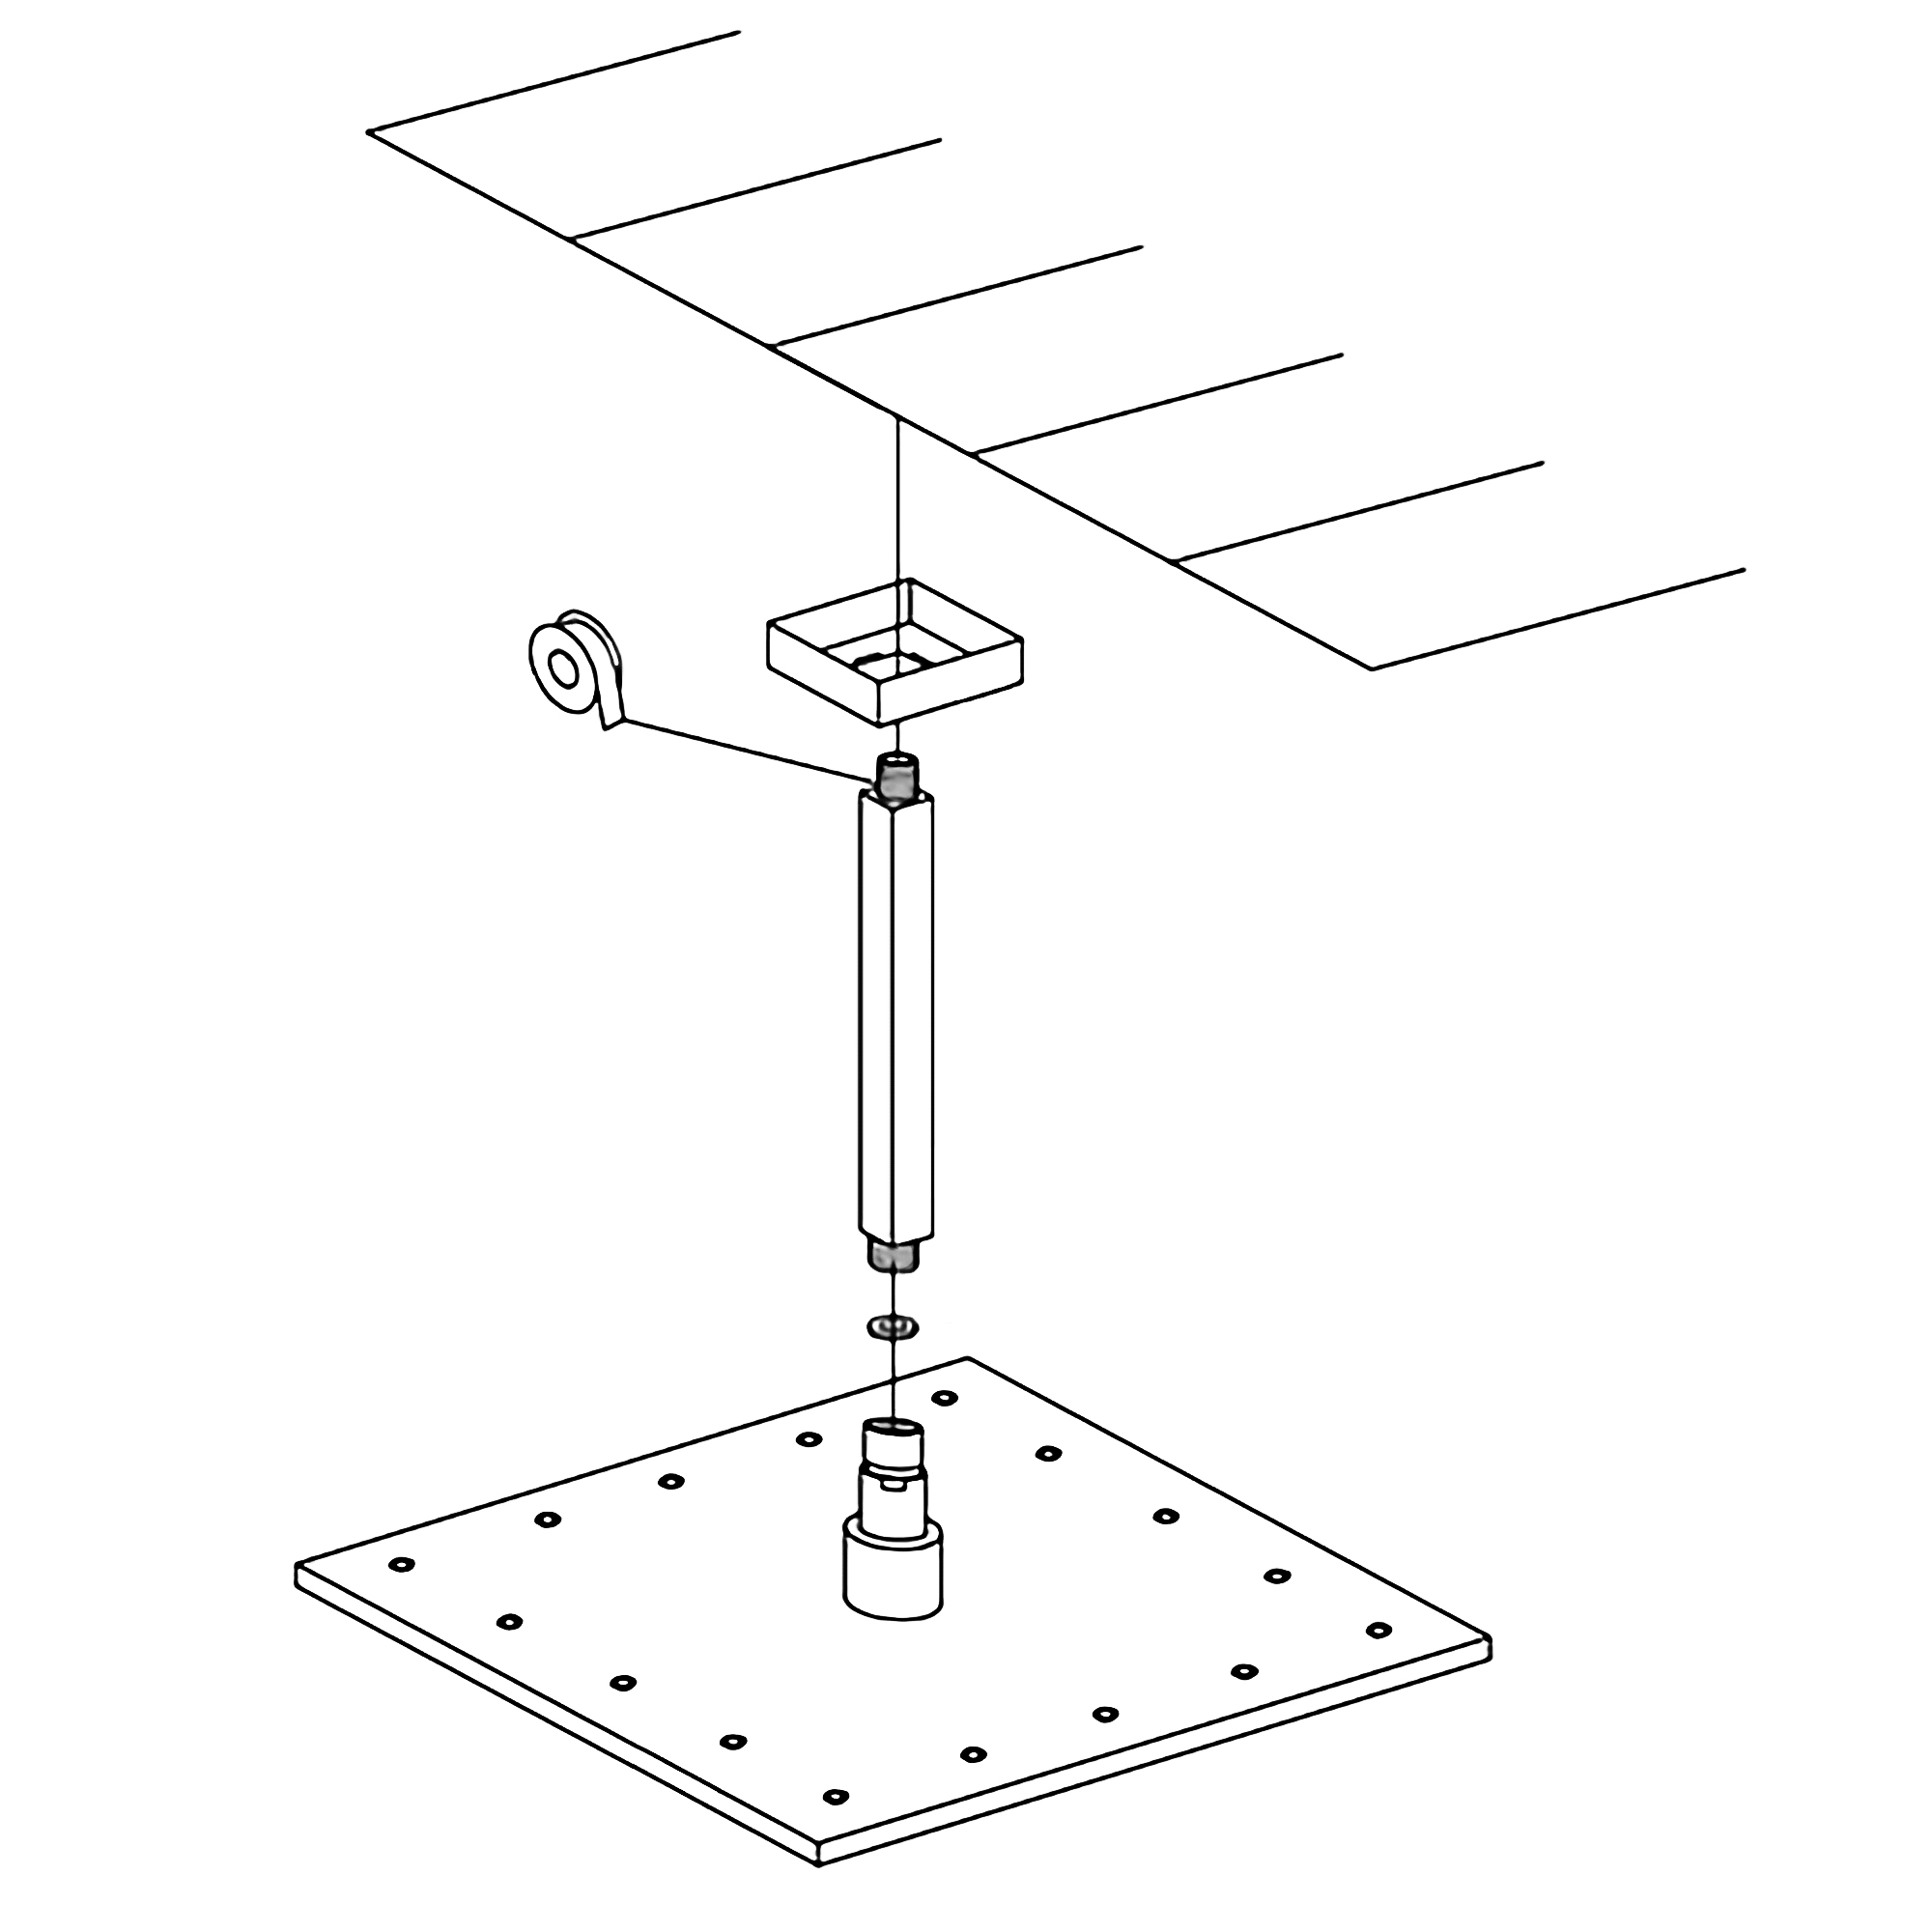
Step 4: Connect the Showerhead
As said earlier in the tools needed, we’re using the rubber sealing washer that comes with the showerhead. This tool helps to make the showerhead stay watertight and secured on to the thread. Ensure you place it properly before installing it.
After that, reconnect the shower head and tighten it down with your hands. You can employ a chair or ladder to make things easier for you.
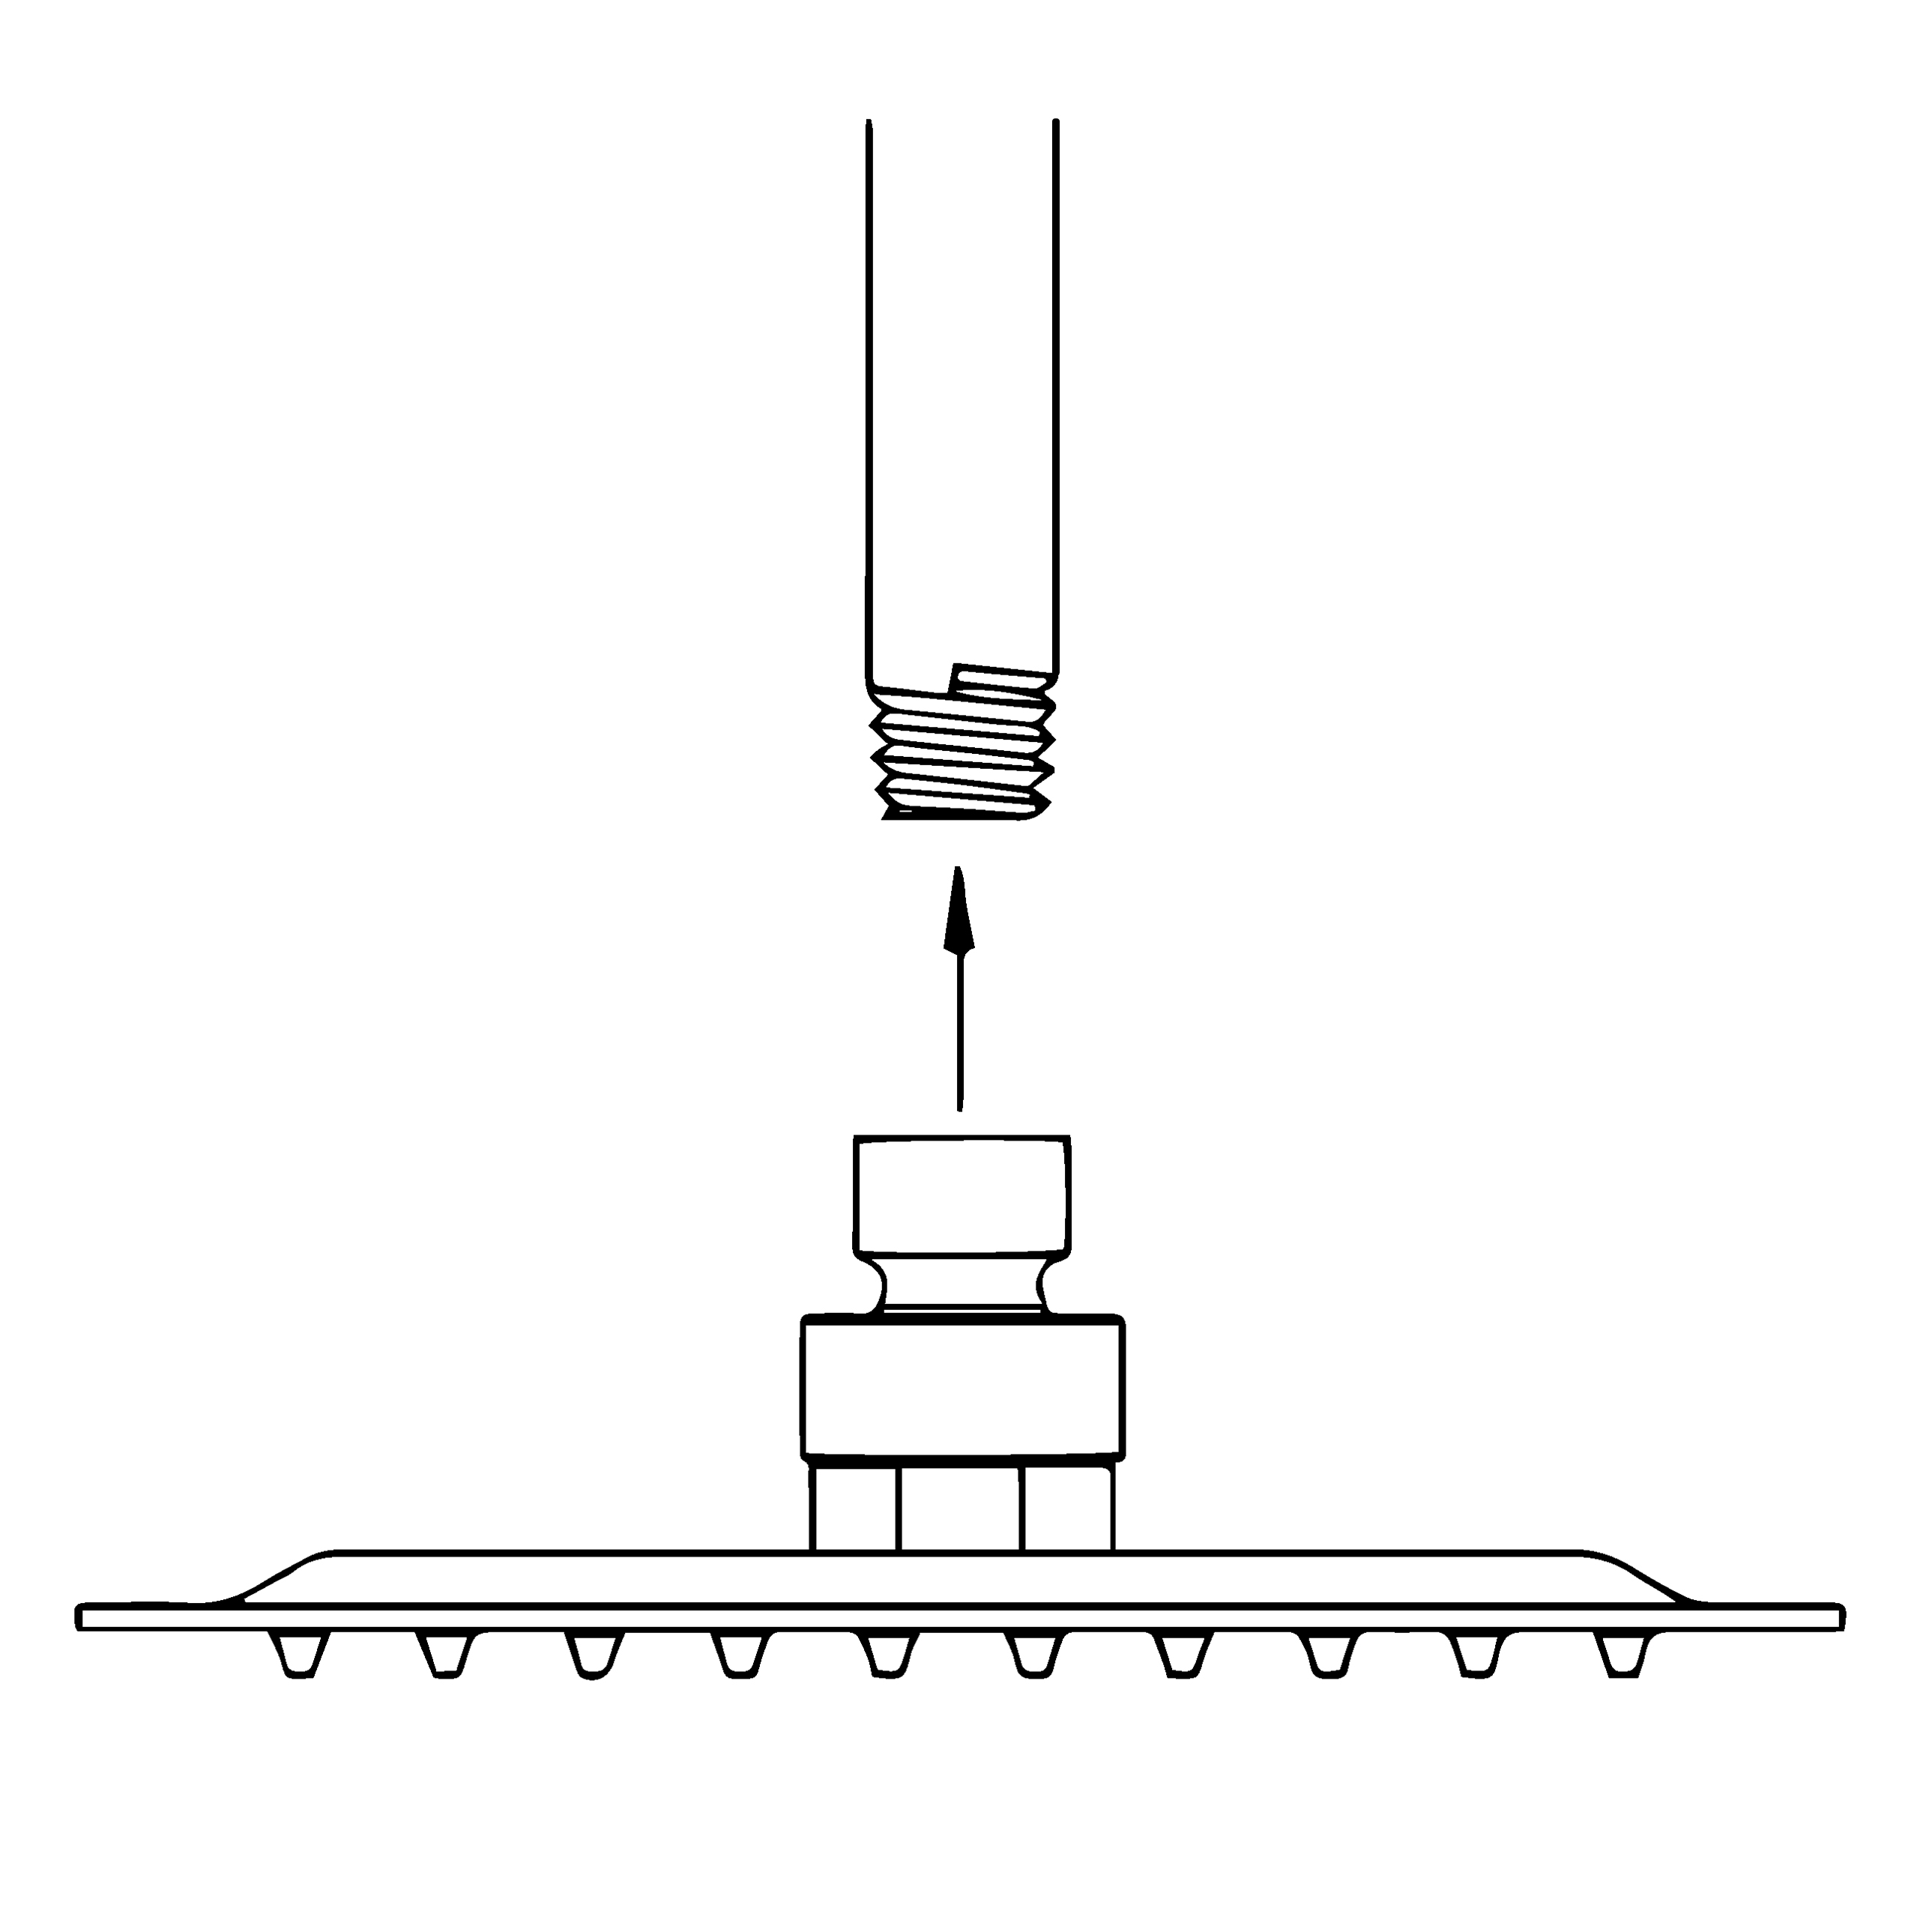
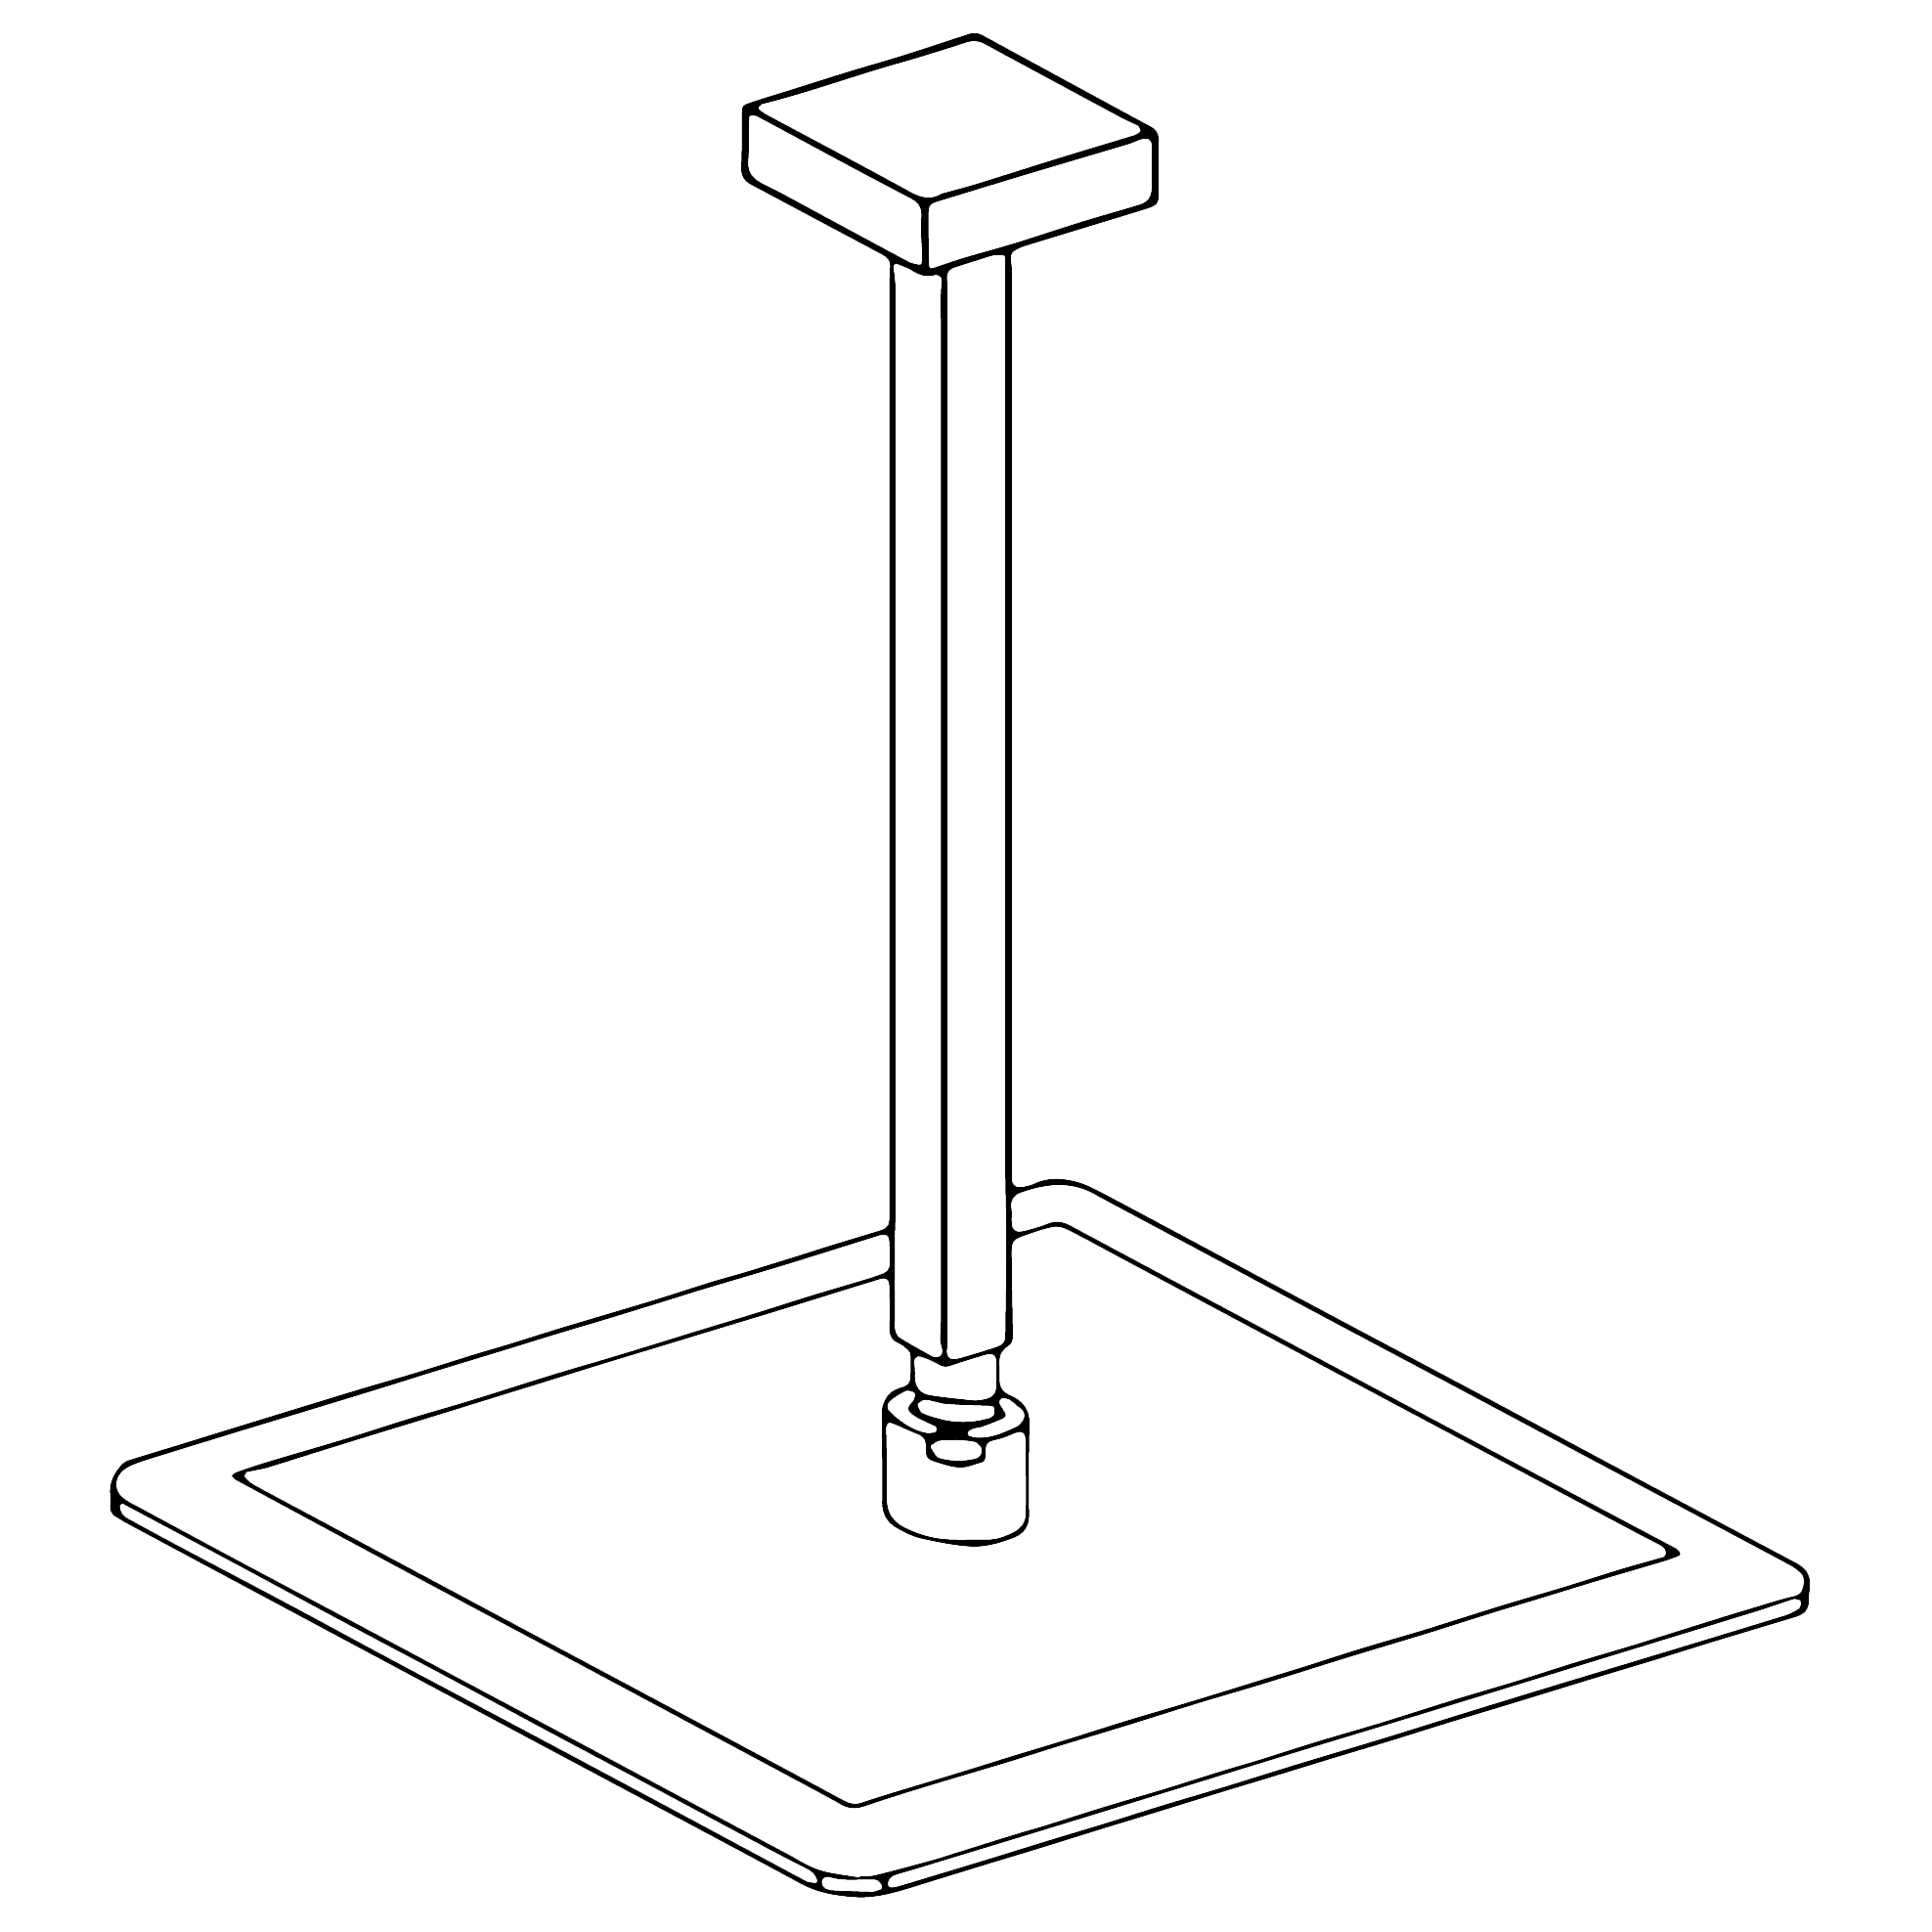
Step 5: Tighten the Showerhead
On To the Thread You will need to get the adjustable wrench handy to tighten down the shower very well. But make sure you wrap the threads with a terry cloth, so it doesn’t damage the finish when tightening the showerhead.
Once you have done that, now use the adjustable wrench to tighten down the showerhead. However, don’t over-tight or force it so that it’s easier to remove in the future.
|
|

|
|
|
|
|
|
|
|