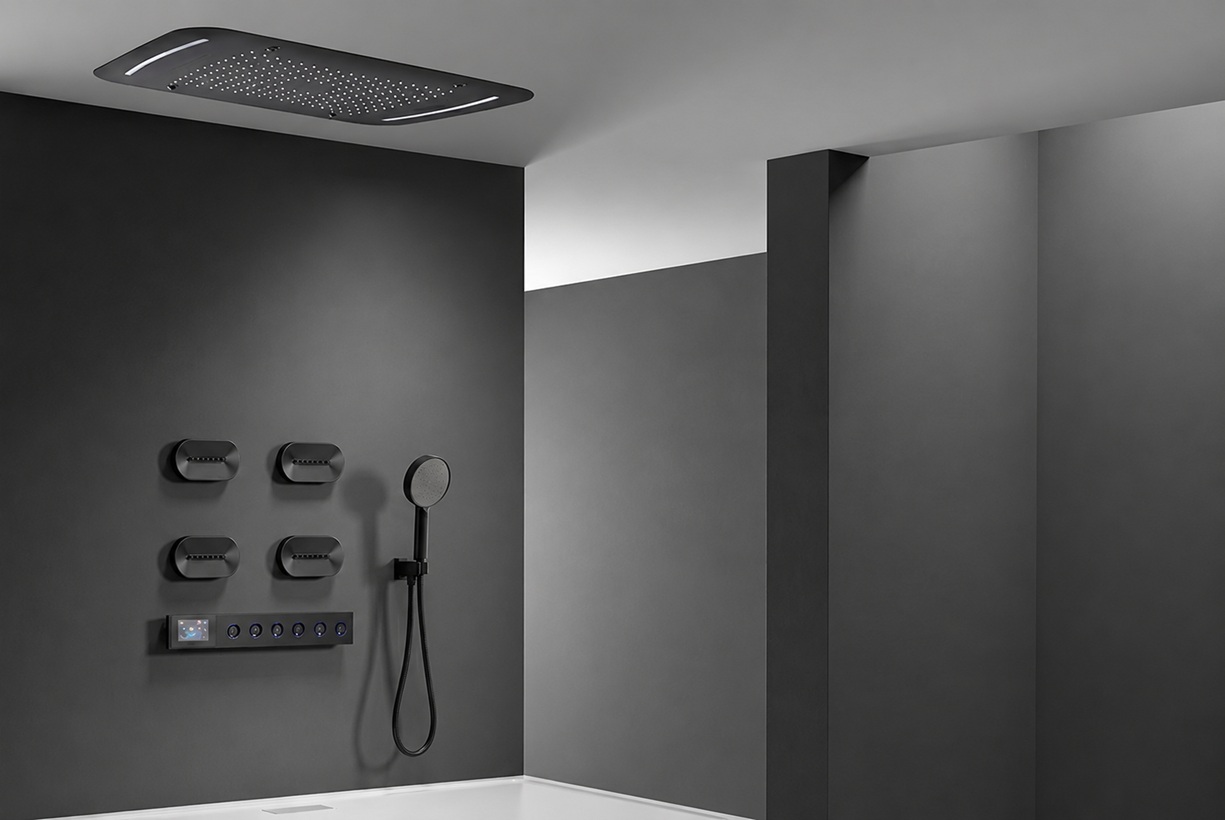
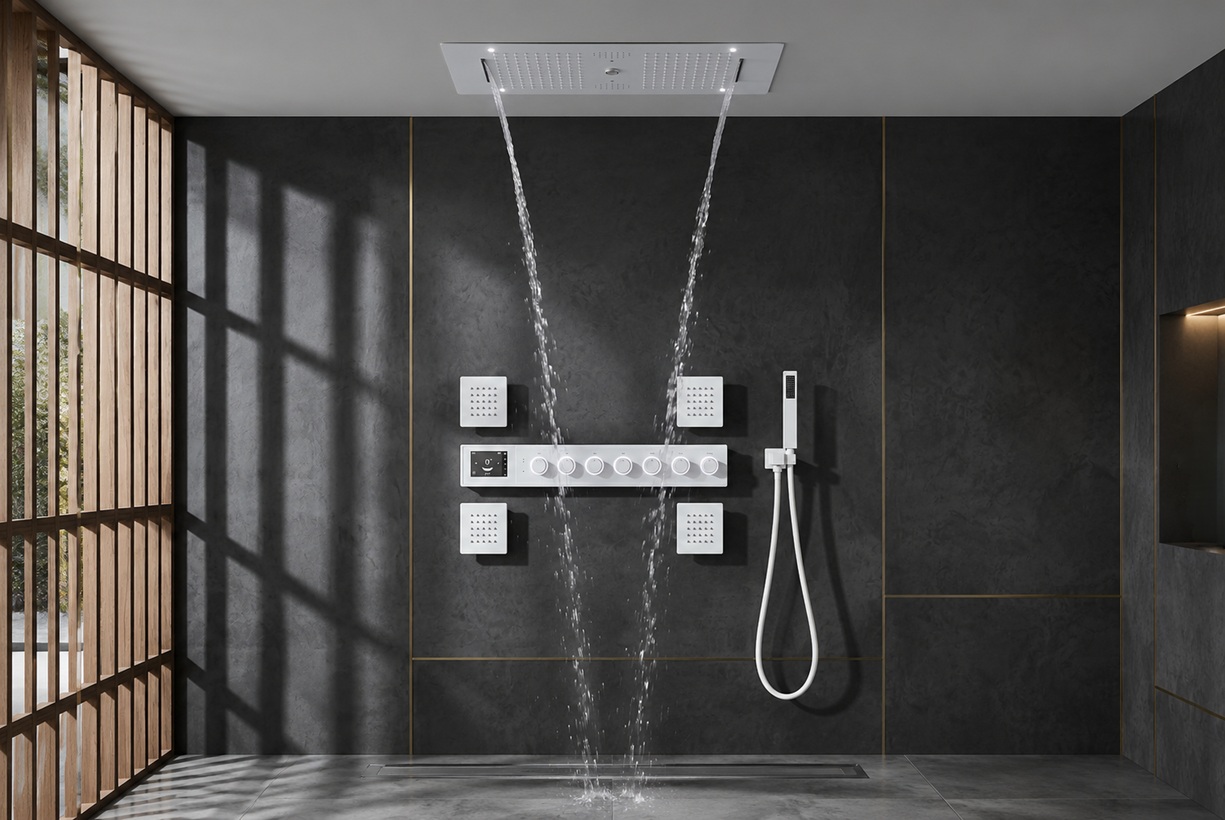
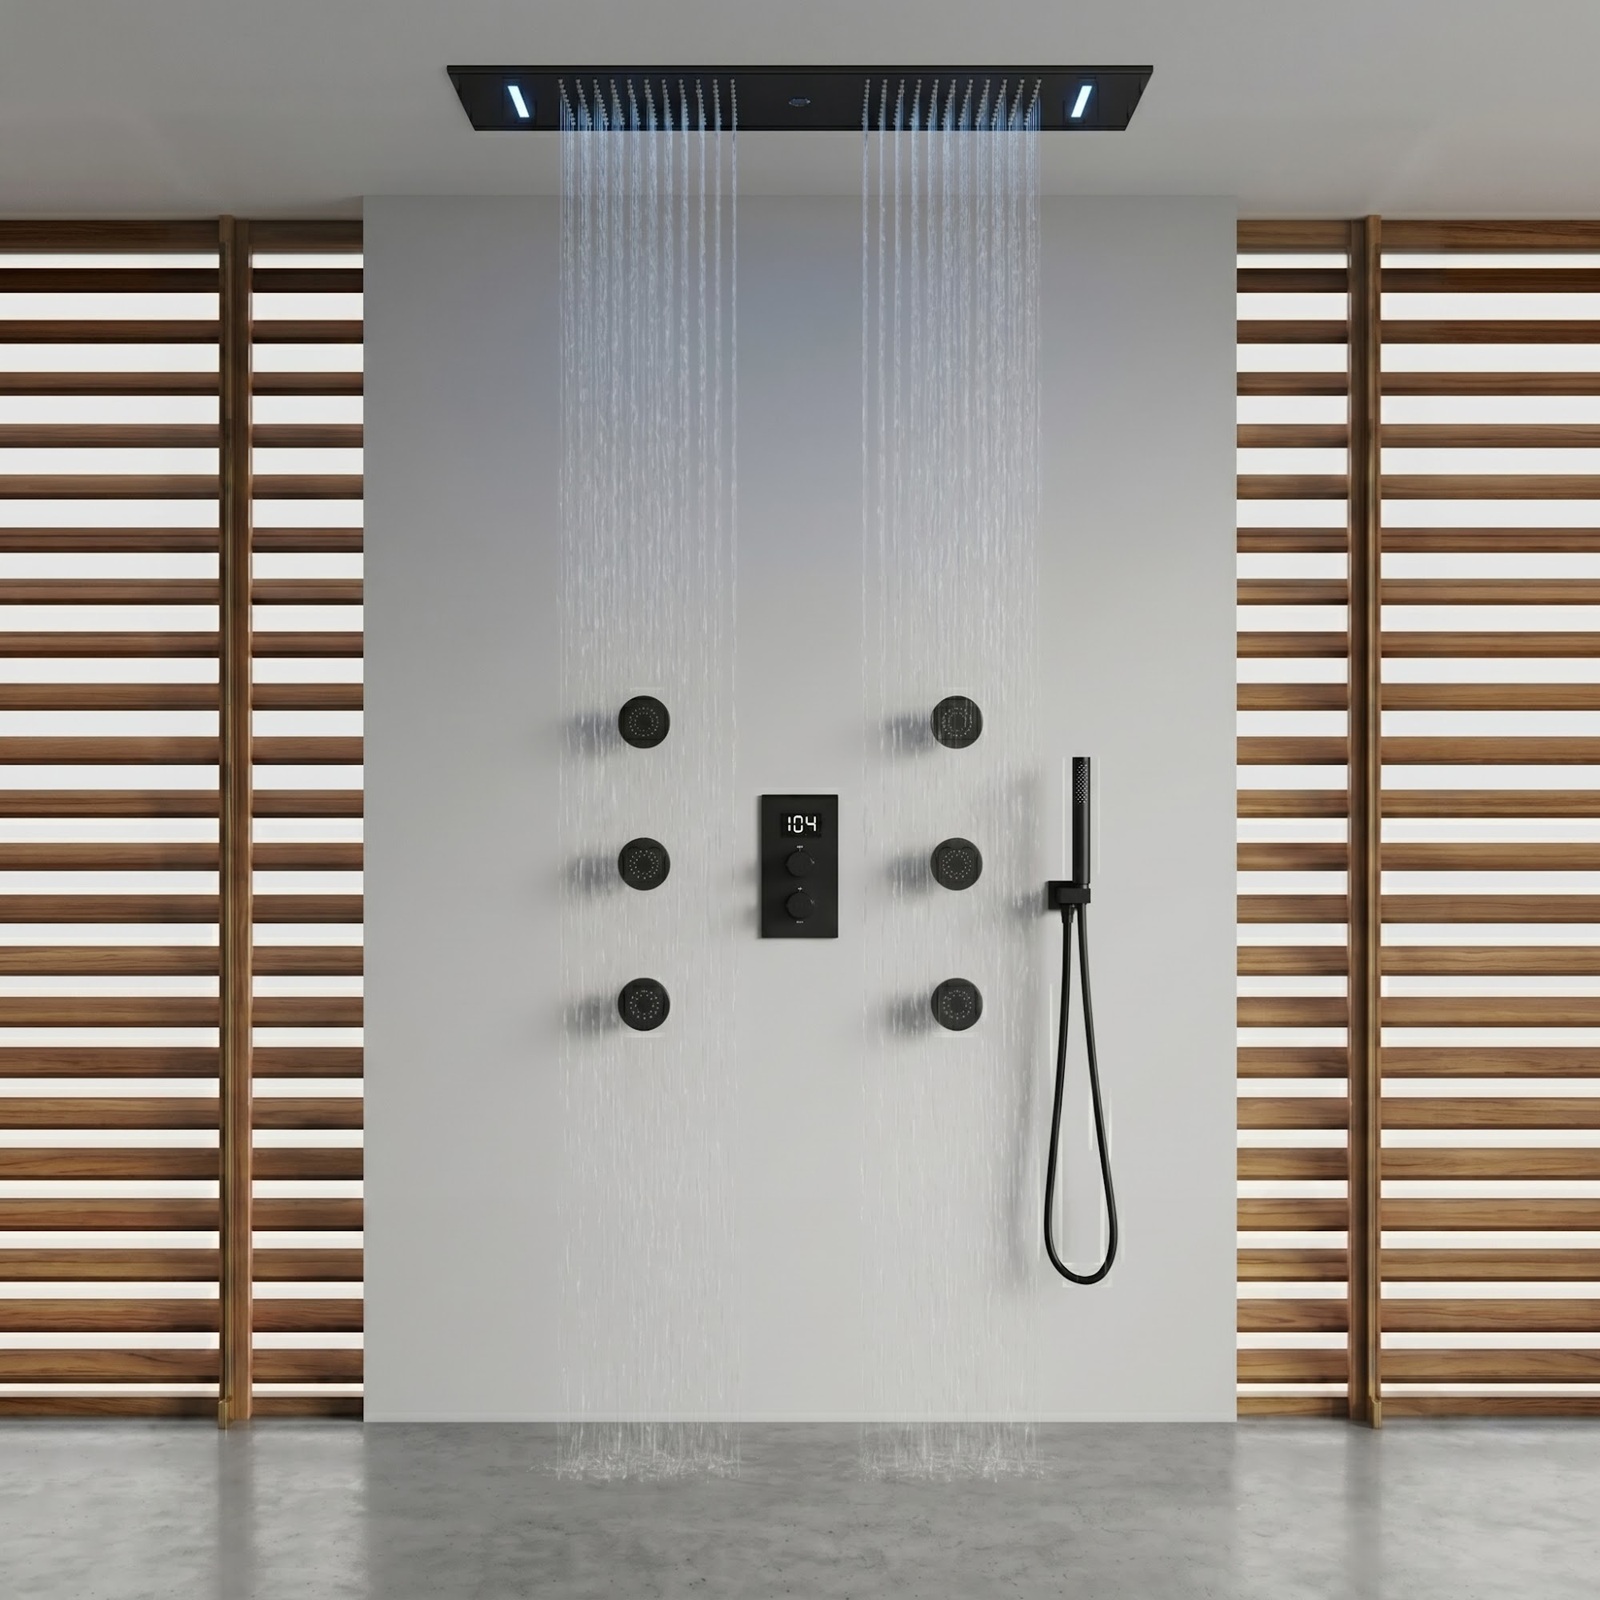
A leaking shower head may indicate trapped water, mineral restriction, a loose connection, a damaged seal, excessive pressure, or an internal shower-valve problem. This engineering guide explains how to identify the source and select the correct repair.
Figure 1. Shower-head leakage may originate at the spray face, threaded connection, shower arm, diverter, or concealed mixing valve.
First Determine When the Leak Occurs
The timing and location of the water provide the fastest clues. A few drops immediately after shutting off the shower may be normal drainage. Continuous dripping after several minutes usually indicates that water is still passing through the valve or another component under pressure.
Observed Condition
Most Likely Cause
First Inspection
Drips for less than several minutes after shutdown
Residual water draining from the shower head or arm
Observe whether dripping gradually stops
Continues dripping long after the valve is closed
Worn cartridge, valve seat, seal, or pressure-balance component
Inspect the mixing valve and cartridge
Leaks around the shower-head connection
Loose threads, damaged washer, or inadequate thread sealing
Check the shower-head-to-arm connection
Water sprays sideways from the face
Mineral buildup or blocked spray nozzles
Inspect and clean the spray plate
Tub spout and shower head run together
Restricted tub-spout piping, diverter wear, or installation error
Inspect diverter and tub-spout flow path
Leak appears inside the wall
Loose fitting, cracked pipe, failed joint, or damaged valve body
Shut off water and arrange professional inspection
Is Post-Shower Dripping Always a Leak?
Not every drop indicates a failed component. Large rainfall shower heads contain internal chambers, spray plates, air pockets, and dozens of nozzles that may retain water after the control valve is closed. Gravity slowly releases this remaining water.
The condition becomes more concerning when the dripping remains steady, continues for an extended period, or stops only after the building water supply is shut off. That pattern generally indicates that the valve is not fully sealing.
Figure 2. Large shower heads may retain water temporarily after the valve is closed.
The Five Most Common Causes
01
Worn Valve Cartridge
Internal seals may no longer stop water completely when the handle is closed.
02
Loose Connection
The shower head may not be fully tightened to the shower arm.
03
Damaged Washer
A flattened, cracked, or missing washer can allow water to escape around the joint.
04
Mineral Restriction
Blocked spray outlets increase internal resistance and redirect water through unintended gaps.
05
Excessive Pressure
High static pressure can accelerate seal wear and expose weak connections.
Figure 3. The shower head may be where water appears, while the actual failure may be inside the mixing valve.
1. A Worn Shower-Valve Cartridge
The shower valve controls water flow and temperature before water reaches the shower head. Inside many valves is a replaceable cartridge containing precision openings, seals, ceramic surfaces, O-rings, or pressure-balancing components. When these internal surfaces wear or collect debris, the valve may allow a small amount of water to pass even when the handle appears fully closed.
Because the shower head is downstream from the valve, the water eventually appears at the spray nozzles. Replacing the shower head alone will not correct this condition.
Diagnostic indicator: If the shower head drips continuously with the control valve closed, inspect the valve cartridge before replacing the shower head.
2. A Loose Shower-Head Connection
If water appears around the threaded connection rather than through the spray nozzles, the shower head may be loose. Repeated adjustment, vibration, cleaning, or installation without proper thread sealing can weaken the joint.
Remove the shower head carefully, inspect the threads, remove damaged sealing tape, clean the connection, and reinstall the fixture using appropriate plumbing thread-seal tape where required. Do not apply excessive force because overtightening can damage the shower-head inlet or shower arm.
Some shower heads use a flat internal washer to seal the joint. In that design, the washer condition and seating may be more important than applying additional thread tape.
3. Damaged Washers and O-Rings
Washers and O-rings create a watertight seal between connected components. Age, heat, chemical exposure, mineral deposits, deformation, and overtightening can flatten or crack these parts. A damaged seal may produce a slow drip, visible moisture around the swivel joint, or water escaping from the connection only while the shower is running.
Replacement seals must match the original diameter, thickness, material, and intended position. An incorrectly sized washer may appear to fit while still allowing leakage under operating pressure.
4. Mineral Deposits and Blocked Nozzles
Hard-water minerals can collect in spray nozzles and internal water passages. As the openings become restricted, water distribution becomes uneven and pressure loss increases across the spray plate. The result may include sideways spray, reduced coverage, delayed drainage, or leakage around seams.
Figure 4. Mineral deposits may restrict individual spray outlets and alter internal water distribution.
Cleaning procedure
Shut off the shower and allow the fixture to drain.
Remove the shower head when the manufacturer permits removal.
Clean flexible nozzles gently by hand.
Use a manufacturer-approved descaling method.
Rinse thoroughly before reinstallation.
Test the spray pattern and connection for leakage.
5. Excessive Water Pressure
Excessive static pressure places additional force on cartridges, O-rings, threaded joints, diverters, hoses, and internal shower-head components. High pressure may not immediately create a leak, but it can accelerate wear and make small sealing defects more visible.
A qualified plumber can measure static and dynamic pressure, inspect the pressure-regulating valve, and verify whether the plumbing system operates within the acceptable range for the installed fixtures.
Shower Leak Diagnostic Sequence
Step 1Dry the shower head, arm, wall plate, hose, and surrounding surfaces.
Step 2Run the shower and identify the exact point where water first appears.
Step 3Close the valve and time how long dripping continues.
Step 4Inspect the connection, washer, shower arm, diverter, and spray face.
Step 5If dripping continues, inspect or replace the shower-valve cartridge.
How to Repair a Leaking Shower-Head Connection
Repair Stage
Required Action
Important Check
Preparation
Turn off the shower and protect the fixture finish.
Use padded tools or a protective cloth.
Removal
Unscrew the shower head while supporting the shower arm.
Avoid twisting piping inside the wall.
Inspection
Check threads, washer, inlet, swivel joint, and mineral buildup.
Replace damaged seals with matching parts.
Sealing
Apply thread-seal tape when appropriate for the connection design.
Wrap in the direction of tightening.
Reinstallation
Thread the shower head on straight and tighten carefully.
Do not cross-thread or overtighten.
Testing
Run the shower and inspect the connection under pressure.
Dry the joint first so new moisture is visible.
Figure 5. Support the shower arm during removal to avoid transferring force to concealed piping.
When the Tub Spout Causes Shower-Head Leakage
In a tub-and-shower system, water should normally flow through the tub spout until the diverter redirects it toward the shower head. If the tub-spout piping is restricted, incorrectly sized, excessively long, or installed with unnecessary fittings, pressure may rise in the riser leading to the shower head.
This condition may cause water to emerge from the shower head even when the diverter has not been activated. The problem is often called shower rise or stacking. Replacing the shower head does not correct the underlying piping restriction.
Installation warning
Tub-spout piping must follow the valve manufacturer's required material, diameter, length, and fitting arrangement. Flexible tubing or undersized piping may create excessive restriction.
Leaks Around the Shower Arm or Wall
Water appearing where the shower arm enters the wall may come from the decorative escutcheon, the threaded shower-arm connection, or a concealed fitting. Remove the escutcheon only when it can be done without damaging the finish or waterproofing.
A loose shower arm may sometimes be resealed, but a leak inside the wall requires prompt attention. Moisture behind the finished surface can damage drywall, framing, insulation, tile backing, and adjacent rooms.
Shut off the water supply and contact a licensed plumbing professional when water is visible inside the wall cavity or when the source cannot be confirmed externally.
Common Installation Errors
Cross-threading the shower head onto the shower arm.
Installing the wrong washer or omitting the washer entirely.
Applying excessive thread-seal tape.
Overtightening and cracking the inlet connection.
Failing to support the shower arm during removal.
Allowing debris to enter the valve during installation.
Reversing or misaligning valve components.
Using restricted tub-spout piping.
Operating the system above the fixture's approved pressure range.
Using cleaners that damage seals, coatings, or flexible spray nozzles.
The fixture repeatedly leaks after correct repair.
Preventive Maintenance
Maintenance Item
Recommended Action
Purpose
Spray nozzles
Remove deposits using an approved cleaning method.
Maintain even spray distribution.
Threaded connections
Inspect for movement, moisture, and damaged sealing material.
Prevent connection leakage.
Valve cartridge
Monitor handle movement, shutoff performance, and temperature stability.
Identify internal wear early.
Hoses and hand showers
Inspect fittings, washers, outer surfaces, and swivel connections.
Reduce hose and connection failures.
Water pressure
Measure when repeated leaks or unusual flow conditions occur.
Protect seals and internal components.
Professional Inspection Is Recommended When
Water is visible inside the wall or ceiling.
The valve body or concealed piping may be damaged.
The main water supply must be shut off to stop the leak.
The shower valve cannot be accessed safely.
The system uses thermostatic, digital, or multi-outlet controls.
The leak returns after replacing the washer or cartridge.
Water pressure, pipe sizing, or diverter configuration requires testing.
Frequently Asked Questions
Why does my shower head drip after I turn it off?
Brief dripping may be residual drainage. Continuous dripping usually indicates that the shower valve or cartridge is not fully sealing.
Can a leaking shower head increase water use?
Yes. A continuous drip can waste water and may indicate an internal valve condition that becomes worse over time.
Will replacing the shower head stop continuous dripping?
Not when the water is passing through a worn valve cartridge. The shower head is only the outlet where the water becomes visible.
Should thread-seal tape be used on every shower-head connection?
Not necessarily. Some connections seal through a washer rather than the threads. Follow the installation requirements for the specific fixture.
Can hard water cause a shower head to leak?
Mineral deposits can restrict nozzles, interfere with seals, delay drainage, and create uneven spray or leakage around joints.
Why does water come from the shower head when using the tub spout?
The tub-spout piping may be restricted, incorrectly sized, or improperly configured, causing water to rise toward the shower outlet.
When should a plumber inspect the leak?
Arrange professional inspection when water is inside the wall, the valve body is inaccessible, pressure is abnormal, or repairs do not stop the leak.
Figure 7. Correct diagnosis protects the shower fixture, concealed plumbing, surrounding finishes, and long-term system performance.
BATHSELECT SHOWER DIAGNOSTIC ENGINEERING
How to Diagnose and Prevent Shower Head Leaks
A shower head is often where a leak becomes visible, but it is not always where the failure begins. This supporting engineering guide explains how valve cartridges, threaded connections, washers, diverters, mineral deposits, pressure conditions, piping arrangements, and installation practices influence shower leakage.
Figure 1. A complete shower-leak investigation evaluates the outlet, shower arm, valve, diverter, supply piping, seals, and operating pressure.
Why the Visible Drip May Not Identify the Failed Component
Water follows the available hydraulic path. When a valve cartridge fails to close completely, water moves through the shower arm and exits at the shower head. When a threaded joint fails, water appears around the inlet. When spray nozzles become restricted, water may remain inside the head longer or escape around seams. Correct repair therefore begins with identifying the first location where water appears and the operating condition under which it appears.
Before removing any component, dry the shower head, arm, escutcheon, hose, diverter, valve trim, and surrounding wall. Run the shower briefly and observe where moisture first appears. Then close the valve and determine whether the water stops immediately, decreases gradually, or continues at a steady rate.
Leak Location
Likely Condition
Primary Inspection
Typical Response
Spray nozzles after shutdown
Residual drainage or valve bypass
Time the dripping period
Observe first; inspect cartridge if persistent
Shower-head inlet
Loose thread, damaged washer, or misalignment
Check connection and seal
Reseat or replace the sealing component
Swivel ball or adjustable joint
Worn O-ring or internal joint damage
Move the joint while water is running
Replace serviceable seal or assembly
Wall opening around shower arm
Loose concealed connection or damaged pipe
Inspect behind escutcheon where accessible
Shut off water and obtain plumbing inspection
Valve trim or handle
Stem seal, cartridge, or valve-body condition
Remove trim according to instructions
Service cartridge or valve components
Hand-shower hose connection
Missing washer, damaged hose, or loose fitting
Inspect both hose ends
Replace washer or hose assembly
Figure 2. Drying the fixture before testing makes the first point of water escape easier to identify.
Residual Drainage Versus Continuous Valve Leakage
A rainfall shower head may contain a broad internal chamber, multiple outlet passages, flexible nozzles, air pockets, and a large spray surface. Water remaining inside these areas can continue to drain after the valve closes.
Residual drainage generally decreases in frequency and eventually stops. A worn cartridge or valve seat produces a different pattern: the dripping remains steady because pressurized water continues entering the shower riser.
Figure 3. Large spray chambers may release retained water after the control valve has closed.
The Valve Cartridge Is Often the Actual Source
The cartridge regulates water flow and temperature before water reaches the shower head. Depending on the valve design, it may contain ceramic surfaces, elastomeric seals, O-rings, pressure-balancing mechanisms, thermostatic elements, springs, ports, and sealing seats.
Mineral particles, installation debris, wear, heat exposure, pressure fluctuations, and chemical deterioration may prevent the cartridge from closing completely. The resulting water passes through the riser and appears at the shower head.
Figure 4. A shower head may continue dripping when an internal mixing-valve cartridge no longer closes completely.
Threaded Connections, Washers, and O-Rings
A shower-head inlet may seal through tapered pipe threads, a flat washer, an O-ring, or a combination defined by the fitting design. Adding thread-seal tape cannot compensate for a missing washer, cracked inlet, cross-threaded fitting, or damaged sealing surface.
The connection should be disassembled carefully while the shower arm is supported. Old tape and deposits should be removed before the threads, washer seat, inlet body, and arm are inspected.
Overtightening should be avoided. Excessive force can deform a washer, fracture the fixture inlet, damage plating, or rotate the concealed fitting behind the wall.
Thread alignment
The shower head should begin threading smoothly without binding or entering at an angle.
Washer condition
The washer should be correctly sized, flexible, undamaged, and seated evenly.
Seal compatibility
Use the sealing method required by the fitting rather than adding materials indiscriminately.
Arm support
Hold the shower arm securely so removal force is not transferred to piping inside the wall.
Figure 5. Correct thread engagement and seal placement are more important than excessive tightening force.
Mineral Deposits Can Change Internal Drainage
Hard-water deposits accumulate around spray outlets, check components, seals, and internal flow passages. Restricted outlets create uneven resistance across the spray plate. Water may remain trapped behind blocked nozzles, discharge sideways, or escape through a seam that was not intended to carry operating flow.
Cleaning methods must be compatible with the fixture material and finish. Abrasive tools, aggressive acids, bleach, and unapproved chemical cleaners can damage plated surfaces, flexible nozzles, adhesives, gaskets, and protective coatings.
Figure 6. Mineral deposits may restrict individual nozzles and delay complete drainage from the spray chamber.
Controlled Shower-Head Cleaning Procedure
1. IsolateClose the shower control and allow retained water to drain.
2. ProtectCover finished surfaces before using tools.
3. RemoveDetach the head only when permitted by its installation design.
4. InspectExamine nozzles, inlet screen, washer, threads, and internal debris.
5. CleanUse only a finish-compatible and manufacturer-approved method.
6. TestReinstall, pressurize, and inspect every connection.
Figure 7. Static and flowing pressure measurements help identify abnormal loading on shower components.
Excessive Pressure Accelerates Seal Wear
Pressure affects cartridges, diverters, hoses, O-rings, connection washers, threaded joints, and internal shower-head chambers. A component that remains sealed at moderate pressure may begin leaking when exposed to high static pressure or sudden pressure changes.
Pressure diagnosis should distinguish between static pressure when no fixture is operating and dynamic pressure while the shower is flowing. A qualified plumber can evaluate the pressure-regulating valve, expansion conditions, pipe sizing, restrictions, and supply behavior.
In a tub-and-shower installation, water should normally discharge through the tub spout until the diverter directs it upward. If the piping between the valve and tub spout is undersized, excessively long, restricted, or configured with unsuitable fittings, pressure may build in the shower riser.
The result can be water emerging from the shower head while the tub spout is operating. This condition is commonly associated with piping restriction rather than a defective shower head.
Engineering distinction
A leaking shower head drips because water passes a seal or connection. Unintended shower rise occurs because resistance in the tub-spout path directs water upward.
Figure 8. Tub-spout pipe diameter, material, length, elevation, and fittings influence whether water rises toward the shower head.
A Concealed Wall Leak Requires Immediate Attention
Water appearing behind the escutcheon, inside an access opening, on the opposite wall, or below the shower may indicate a loose drop-ear elbow, cracked pipe, damaged valve body, failed soldered or threaded joint, or waterproofing issue.
Concealed moisture can affect wallboard, framing, insulation, tile backing, adjacent finishes, ceilings, and electrical components. Shut off the supply when active leakage is confirmed and arrange professional inspection.
Professional project teams may also reference design and coordination resources from the
American Institute of Architects
and plumbing-engineering information from
ASPE
.
Figure 10. Coordinated specifications help prevent pressure, valve-access, piping, and maintenance conflicts.
Commercial and Hospitality Shower Considerations
Hotel, resort, healthcare, fitness, multifamily, and institutional showers may experience frequent cycling, varied user behavior, extended operating periods, cleaning-chemical exposure, and pressure fluctuations. Serviceability becomes as important as initial appearance.
Project teams should consider cartridge access, isolation valves, standardized replacement parts, cleaning procedures, inspection frequency, hose replacement, pressure management, and documented maintenance responsibilities.
Figure 11. High-use hospitality showers benefit from documented inspection, cartridge access, pressure control, and replacement-part planning.
Repair, Replace, or Escalate?
Repair the Connection
Loose shower-head inlet
Replaceable flat washer
Serviceable O-ring
Minor removable deposits
Undamaged fixture body and threads
Replace the Component
Cracked shower-head inlet
Failed swivel assembly
Unavailable internal seal
Extensive corrosion
Repeated leakage after correct servicing
Call a Professional
Water inside the wall
Damaged valve body
Unstable temperature control
Abnormal system pressure
Leak persists after cartridge replacement
Figure 12. Final testing should confirm dry connections, complete valve shutoff, stable temperature, correct diversion, and uniform spray.
Preventive Maintenance Schedule
Component
Inspection
Warning Sign
Maintenance Direction
Spray nozzles
Check spray uniformity and deposits
Sideways spray or blocked outlets
Clean using an approved method
Shower-head inlet
Check movement and moisture
Water around threaded joint
Inspect washer, threads, and alignment
Valve cartridge
Observe shutoff and temperature stability
Persistent dripping or temperature drift
Service or replace the cartridge
Hand-shower hose
Inspect jacket, ends, and washers
Bulging, cracking, or connection moisture
Replace damaged hose or seals
Diverter
Confirm complete outlet switching
Water discharges from multiple outlets
Inspect diverter and flow restrictions
System pressure
Measure when leaks recur
Noise, water hammer, or repeated seal failure
Evaluate pressure regulation
Engineering, Plumbing, Water-Efficiency, and Building References
The following independent organizations publish standards, certification information, engineering resources, codes, sustainability programs, or professional guidance relevant to shower systems and building water performance.
Why does the shower head drip even though the handle is fully closed?
A worn cartridge, damaged sealing surface, debris, or pressure-related valve bypass may allow water to continue entering the shower riser.
How can I distinguish retained water from a valve leak?
Retained water normally decreases and stops. Valve leakage usually produces a continuing or regularly repeating drip.
Why does the connection leak only while the shower is running?
Operating pressure may expose a loose thread, damaged washer, cracked inlet, swivel-joint defect, or hose-connection problem.
Can blocked nozzles create a leak?
Blocked outlets alter water distribution and may cause delayed drainage, uneven spray, or water escape around weakened seals.
Why does water reach the shower head while the tub spout is operating?
Restricted or incorrectly configured tub-spout piping can create enough resistance to force water upward through the shower riser.
Can excessive pressure damage a shower system?
High pressure increases loading on cartridges, hoses, diverters, washers, O-rings, joints, and internal shower-head components.
When should the water supply be shut off?
Shut off the supply when water is entering the wall, a fitting is damaged, the leak cannot be controlled, or valve servicing requires isolation.
Should a leaking shower head always be replaced?
No. The cause may be a washer, threaded joint, valve cartridge, pressure condition, diverter, mineral restriction, or concealed plumbing connection.
BathSelect Engineering Conclusion
Successful shower-leak repair depends on identifying the true hydraulic source rather than replacing the component where water happens to appear. Observe the leak location, timing, pressure condition, diversion behavior, seal design, mineral condition, valve performance, and concealed connections before selecting the repair.