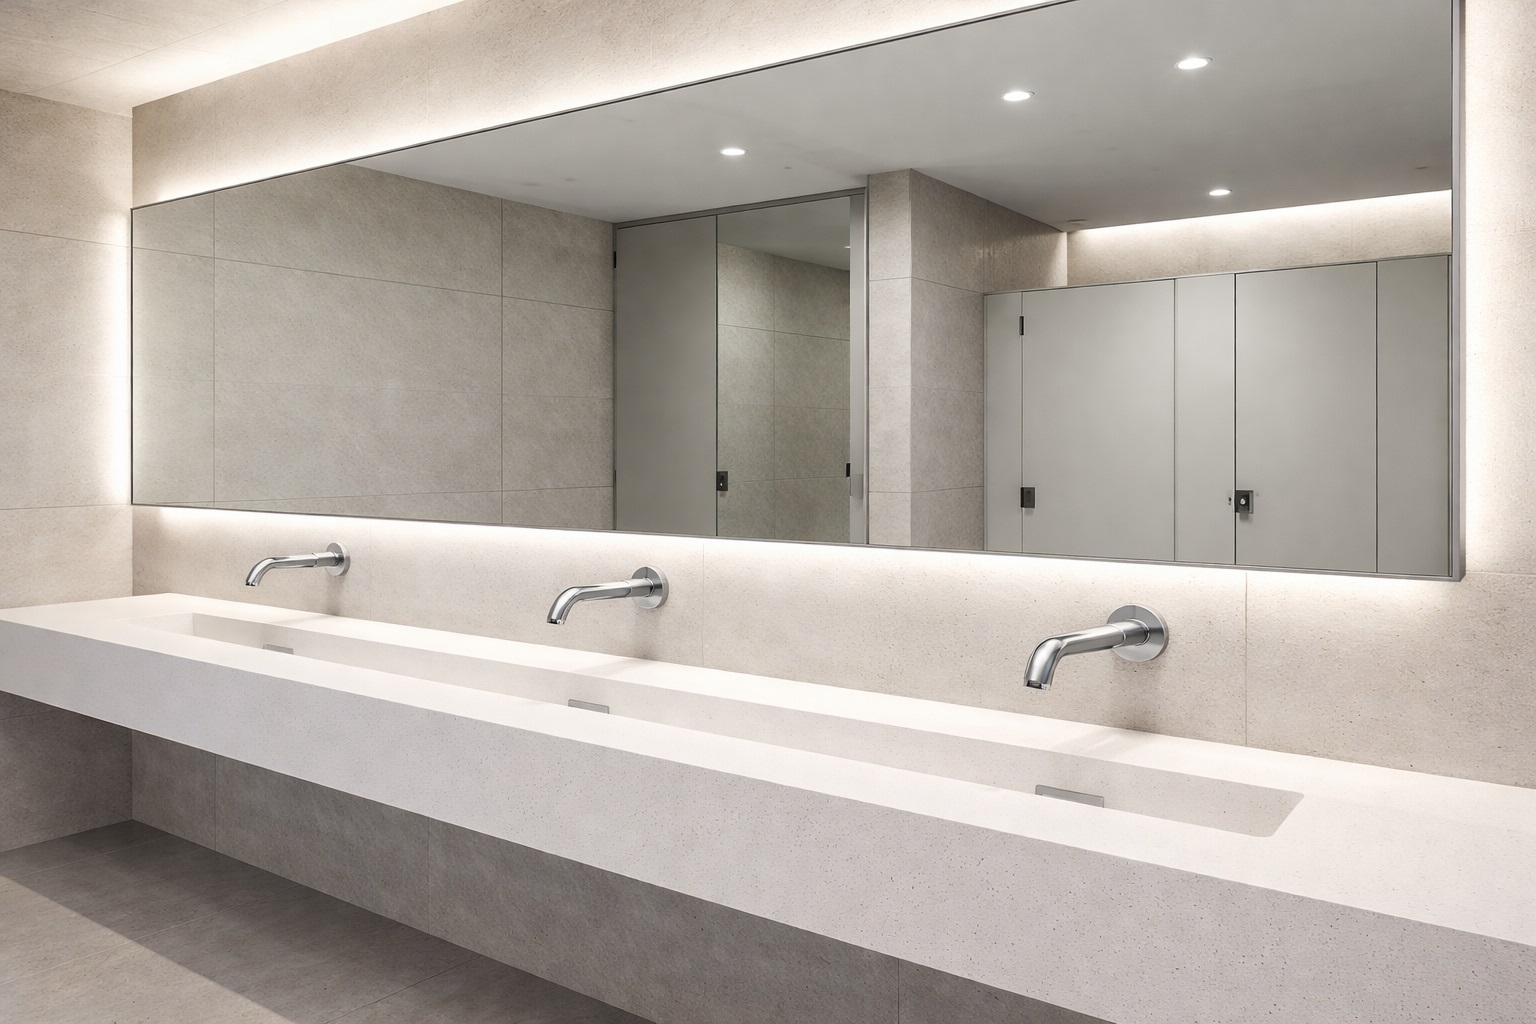
Modern commercial and residential restrooms increasingly rely on touchless technology to improve hygiene, water efficiency, and operational reliability. BathSelect sensor faucets utilize infrared detection systems connected to electronic control modules and solenoid valves that automatically regulate water flow without physical contact.
When hands enter the sensing zone, the infrared sensor activates the solenoid valve to initiate water flow. Removal of hands immediately stops water delivery, reducing waste and minimizing surface contamination.
Infrared DetectionElectronic Control BoxAutomatic ShutoffHands-Free Hygiene
Pre-Installation Requirements
Plumbing Compatibility
Designed for standard single-hole sink configurations with accessible hot and cold supply lines and adequate cabinet clearance.
Required Tools
Adjustable wrench, basin wrench, screwdriver, Teflon tape, towel or bucket, and electrical outlet (for AC installations).
Power Options
Battery pack operation or AC/DC adapter depending on installation environment.
Installation Preparation
Verify mounting hole size, deck thickness limits, and shut off water supply prior to installation.
Sensor-faucet commissioning begins before the faucet is energized, because mounting geometry, water-supply cleanliness, control-box location, cable routing, power availability, and the sensor’s clear field of view all influence final activation reliability. Architects, Engineers, Consultants, plumbing contractors, and commissioning teams should verify the approved faucet model against the deck opening, basin geometry, mounting thickness, accessible below-deck service volume, supply routing, solenoid orientation, power source, sensor direction, and any reflective or obstructing surfaces before startup. Model-specific assembly and connection sequences should be checked through BathSelect Product Installation Instructions, concealed plumbing, electrical, mounting, and service interfaces can be coordinated through the bathroom fixture rough-in and MEP coordination guide, and compatible commercial configurations can be reviewed through BathSelect touchless faucet systems so mounting, supply flushing, power, sensor calibration, solenoid operation, leak inspection, and final hands-free activation are verified as one commissioning sequence rather than treated as separate installation tasks.
Sensor Calibration & Final Testing
Factory sensing distance typically 4–5 inches.
Adjust detection range using control module settings.
Test automatic activation and shutoff repeatedly.
Confirm temperature mixing and leak-free operation.