BathSelect Rena LED Shower Installation
Explore the Rena Thermostatic LED Shower
Discover LED rainfall and waterfall systems, thermostatic controls and installation resources.
Main CollectionsProduct TypeTechnologyMountingComponentsInstallation
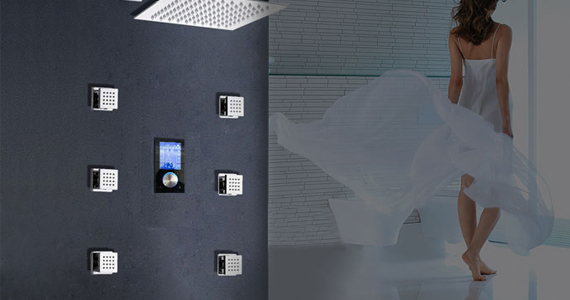
The Rena combines thermostatic temperature control with LED rainfall and waterfall functions. Its advantages include stable temperature, varied water delivery and illuminated ambience. Multiple spray channels and concealed controls increase plumbing complexity and servicing requirements. Installation should confirm supply capacity, valve orientation, diverter connections, structural support and waterproofing. Calibrate the temperature limit and test every function before completing surrounding surfaces.
Installation Instructions for Rena LED Shower Set
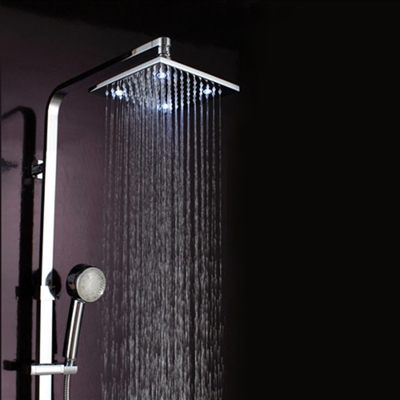
Rena LED Shower Set - Square Waterfall Shower Head (LED0514)
LED Shower Head
LED Handheld Shower & Shower Faucet
- Saturating Spray
- Massage Spray
- Bubbling Spray
- Saturating Spray & Massage Spray
- Saturating Spray & Bubbling Spray
- Self-powered by water. No battery nor electricity needed.
- Stainless steel shower hose double hooked Ø0.55"Anti-twist brass conical nut & brass hex nut
1 Year Manufacture Warranty
- The built-in device generating electricity without any battery and no need for any other power.
- Just connect to water, LED will emit the light.
- When water flows down, the LED will light instantly and automatically as per water temperature.
All Fontana Led Showers change color by detecting water temperature
- When water temperature is ≤89 °F (≤32 °C), Green color will show automatically;
- When water temperature is between 97 to 107 °F (36-42 °C), Blue color will show automatically;
- When water temperature is between 109 to 122 °F ( 43-50 °C), Red color will show automatically;
- When water temperature is above 122 °F (>50 °C), Red color will flash immediately.
- The flow rate is 2.5 GPM
Material:
- Shower Head: Brass
- Hand Shower: ABS
- Shower Faucet: Brass
Led Color: Blue, Green, Red, Red Flash (According to the water temperature changing)
BathSelect® Manufacturer Warranty Information
- Before you begin, please read the installation instructions below. Observe all local building and safety codes.
- Unpack and inspect the product for any shipping damages. If you find damages, do not install.
- Please note all showers must be installed by a professional and certified plumber otherwise warranty might be voided
|
|
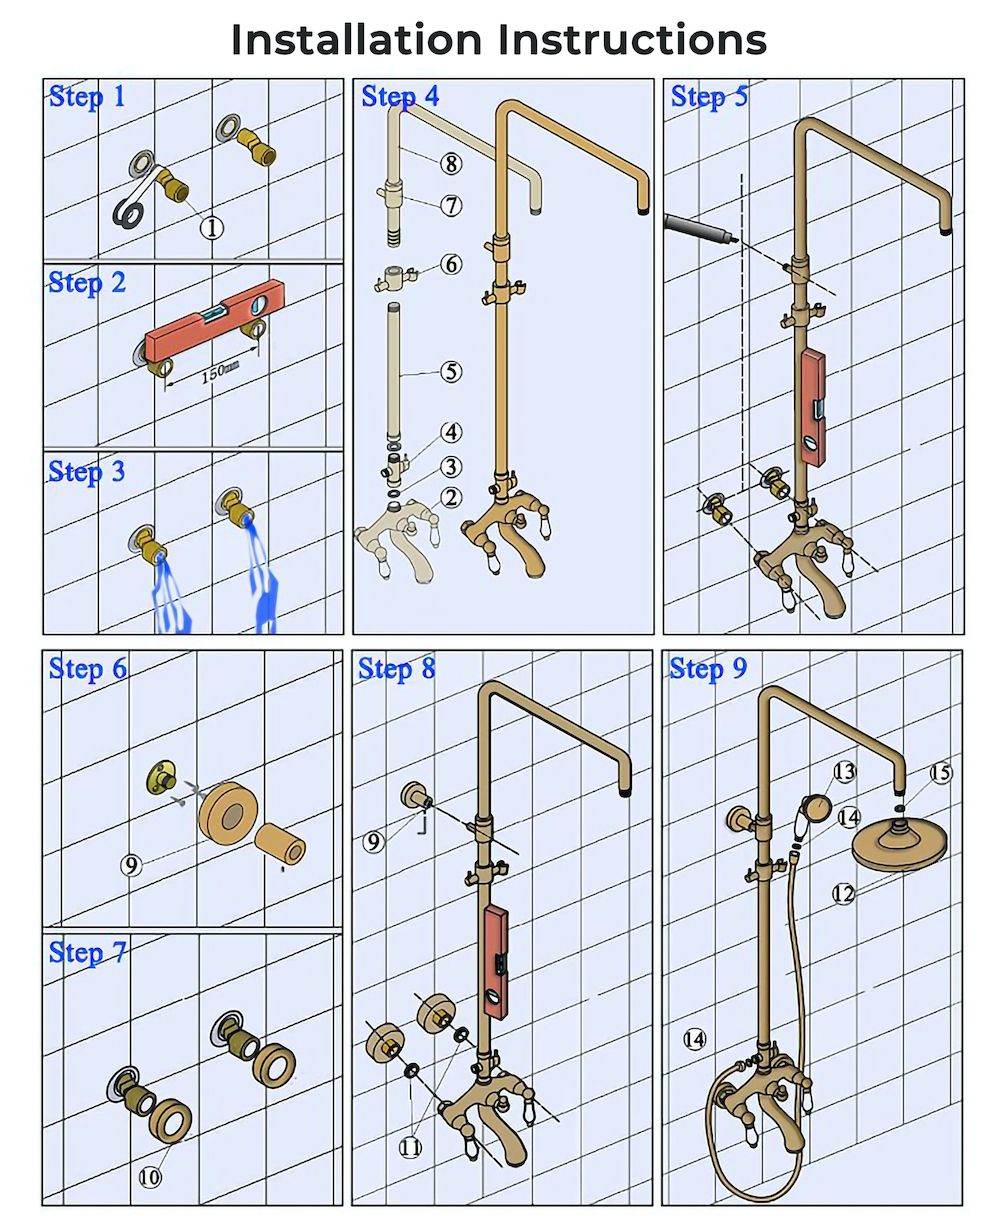
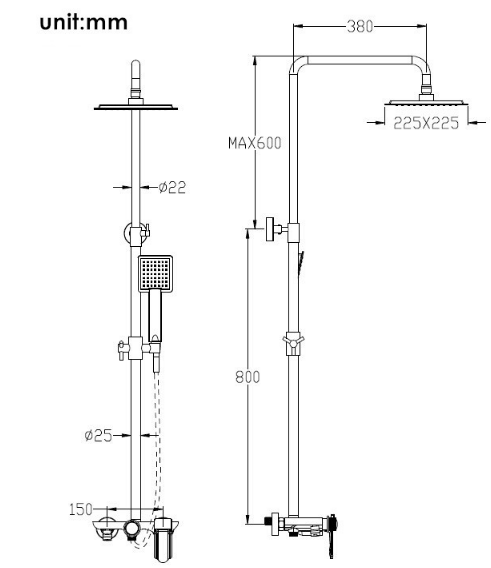
1. Brass Adapter
2. Faucet body
3. Washers
4. Diverter
5. Shower bar
6. Hand shower holder
7. Shower bar bracket
8. Shower bar
9. Mounting base
10. Decoration cover
11. Rain shower head
12. Handheld shower
Step 1: Connect the brass adapter provided to the water supply line.
Step 2: Adjust lever and distance to fit the faucet body.
Step 3: Turn the water valve on for a while to let the dust and impurities out.
Step 4: Assemble the shower set.
Step 5: Place a pre-assembled shower in the wall to find the proper position and then mark the mounting hole that needs to be drilled.
Step 6: Drill a hole for the upper part shower bar bracket, screw it.
Step 7: Place the decoration cover to the brass adapters.
Step 8: Install the pre-assembled shower to the connections.
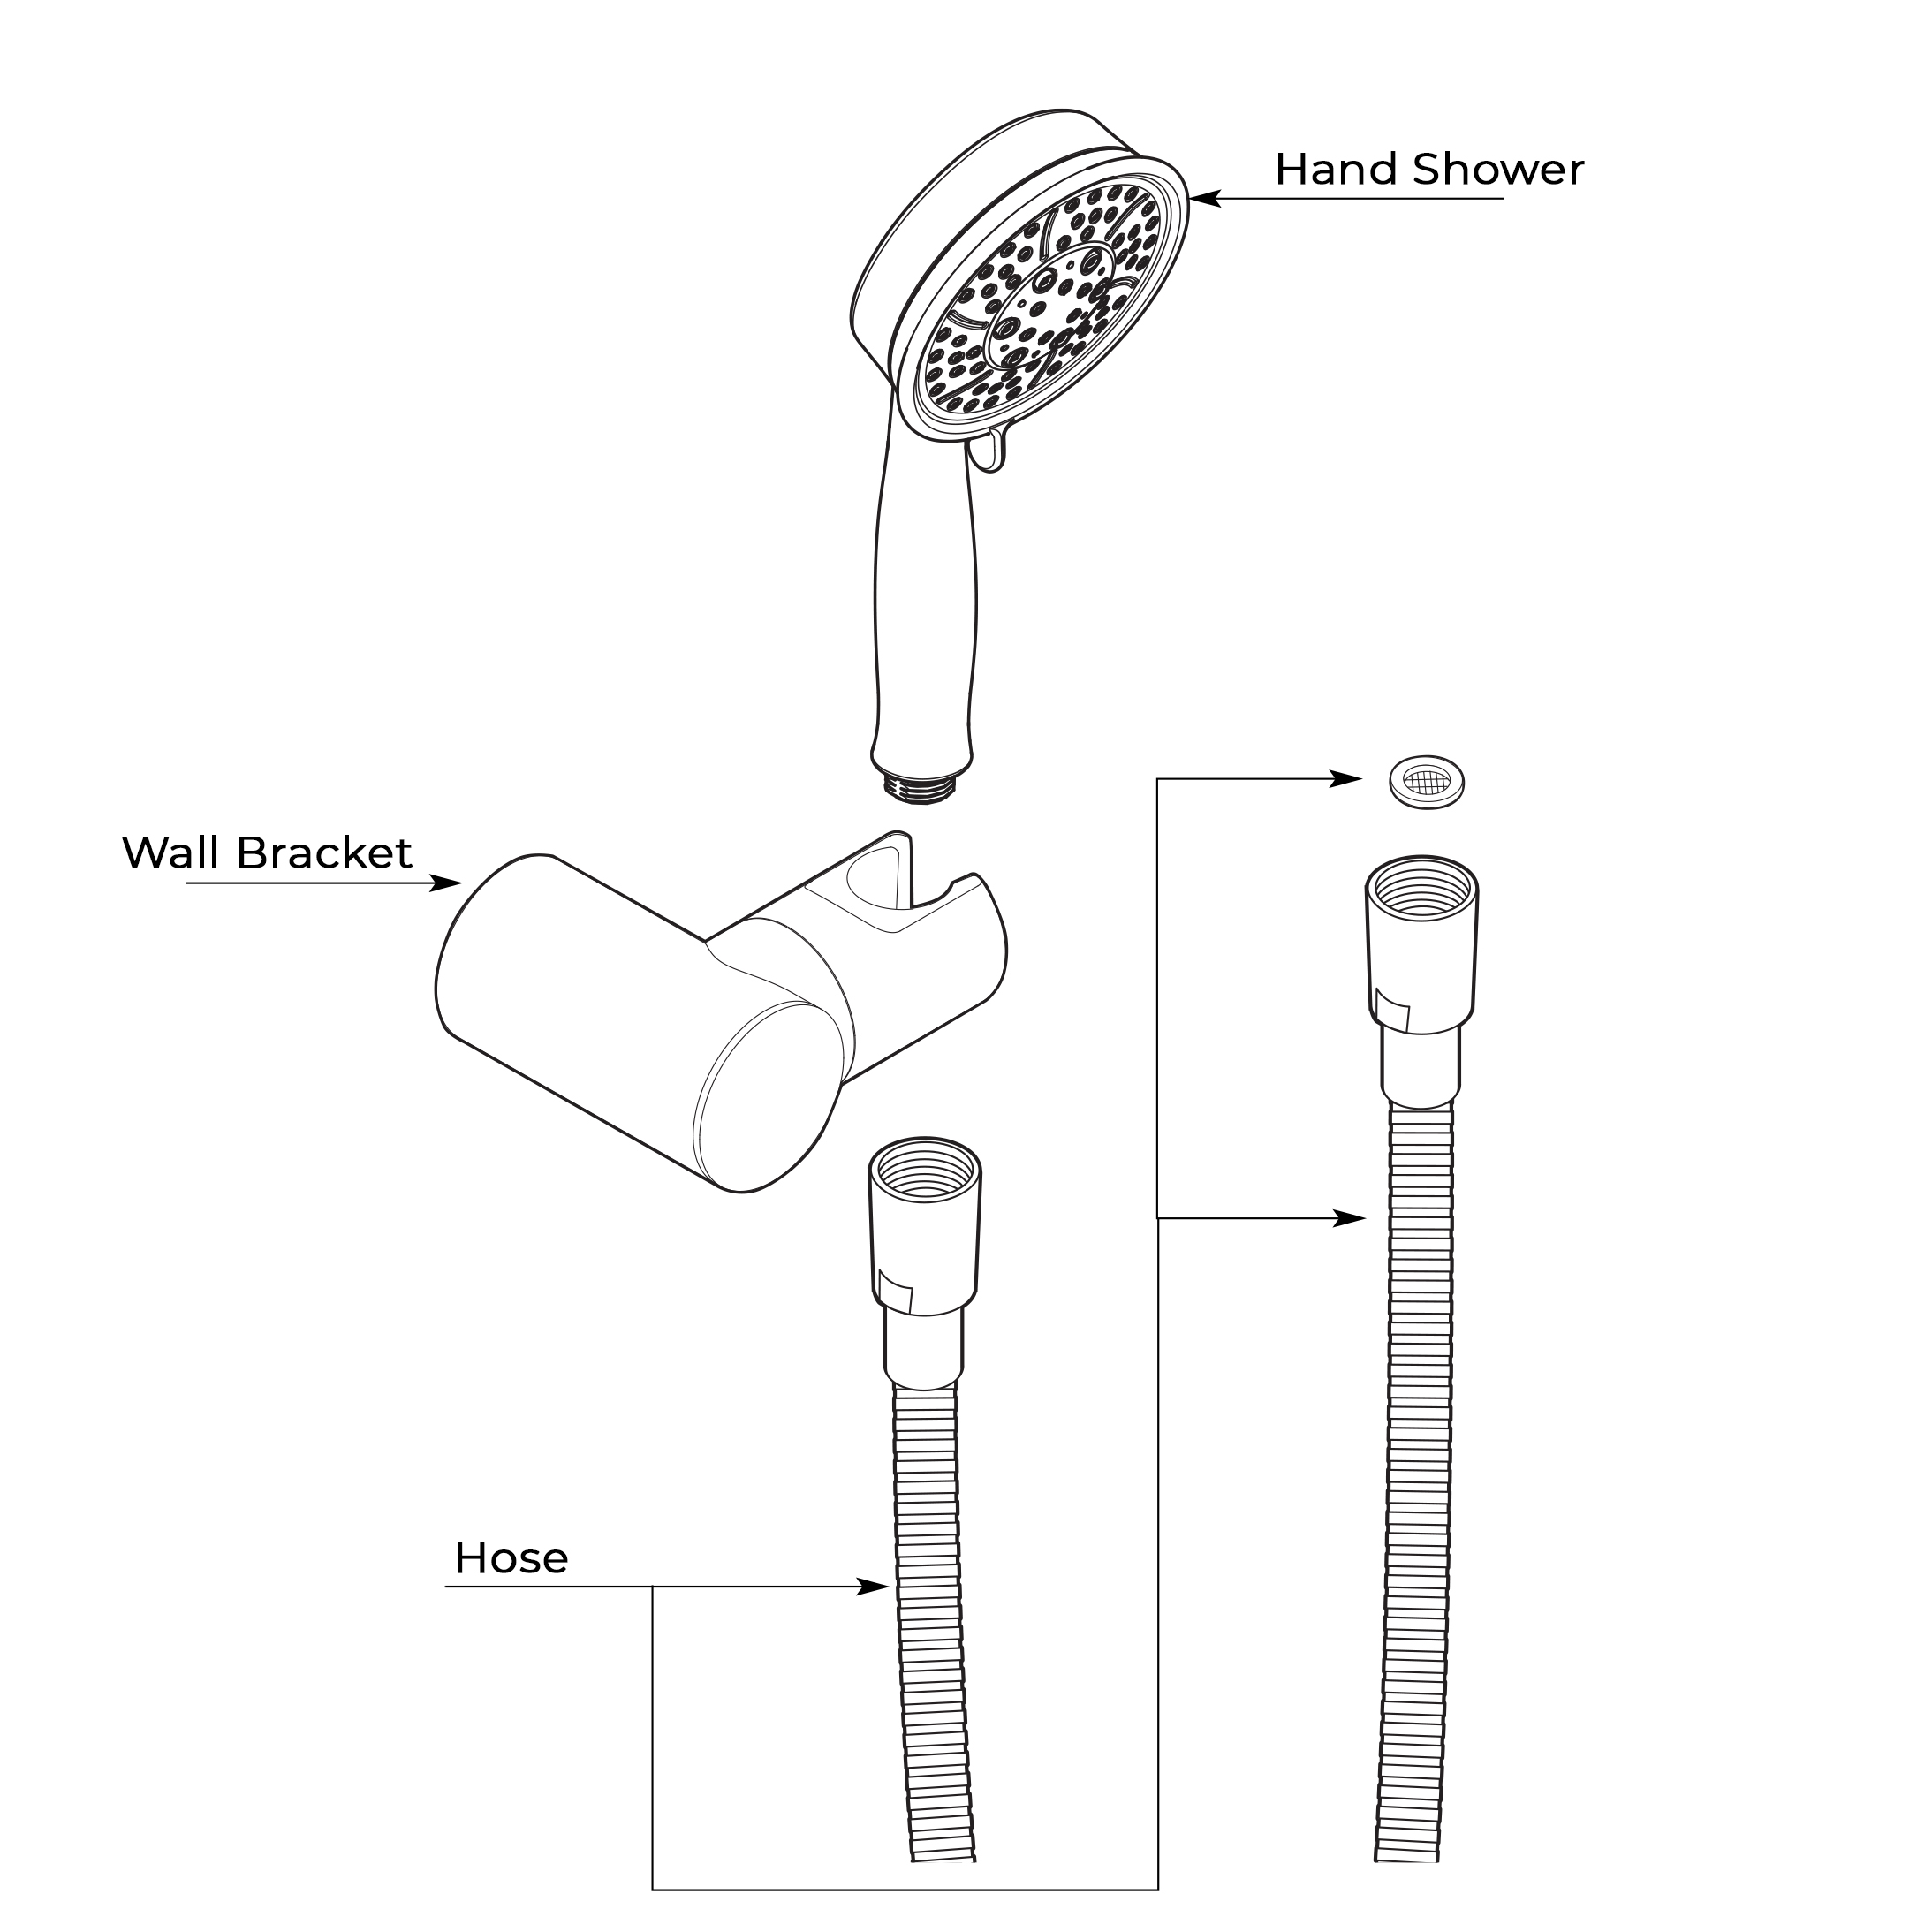
Step 9: Connect shower hose, handheld shower, and rain shower head.
|