Installation Instructions for Square LED Rain Shower Head
|
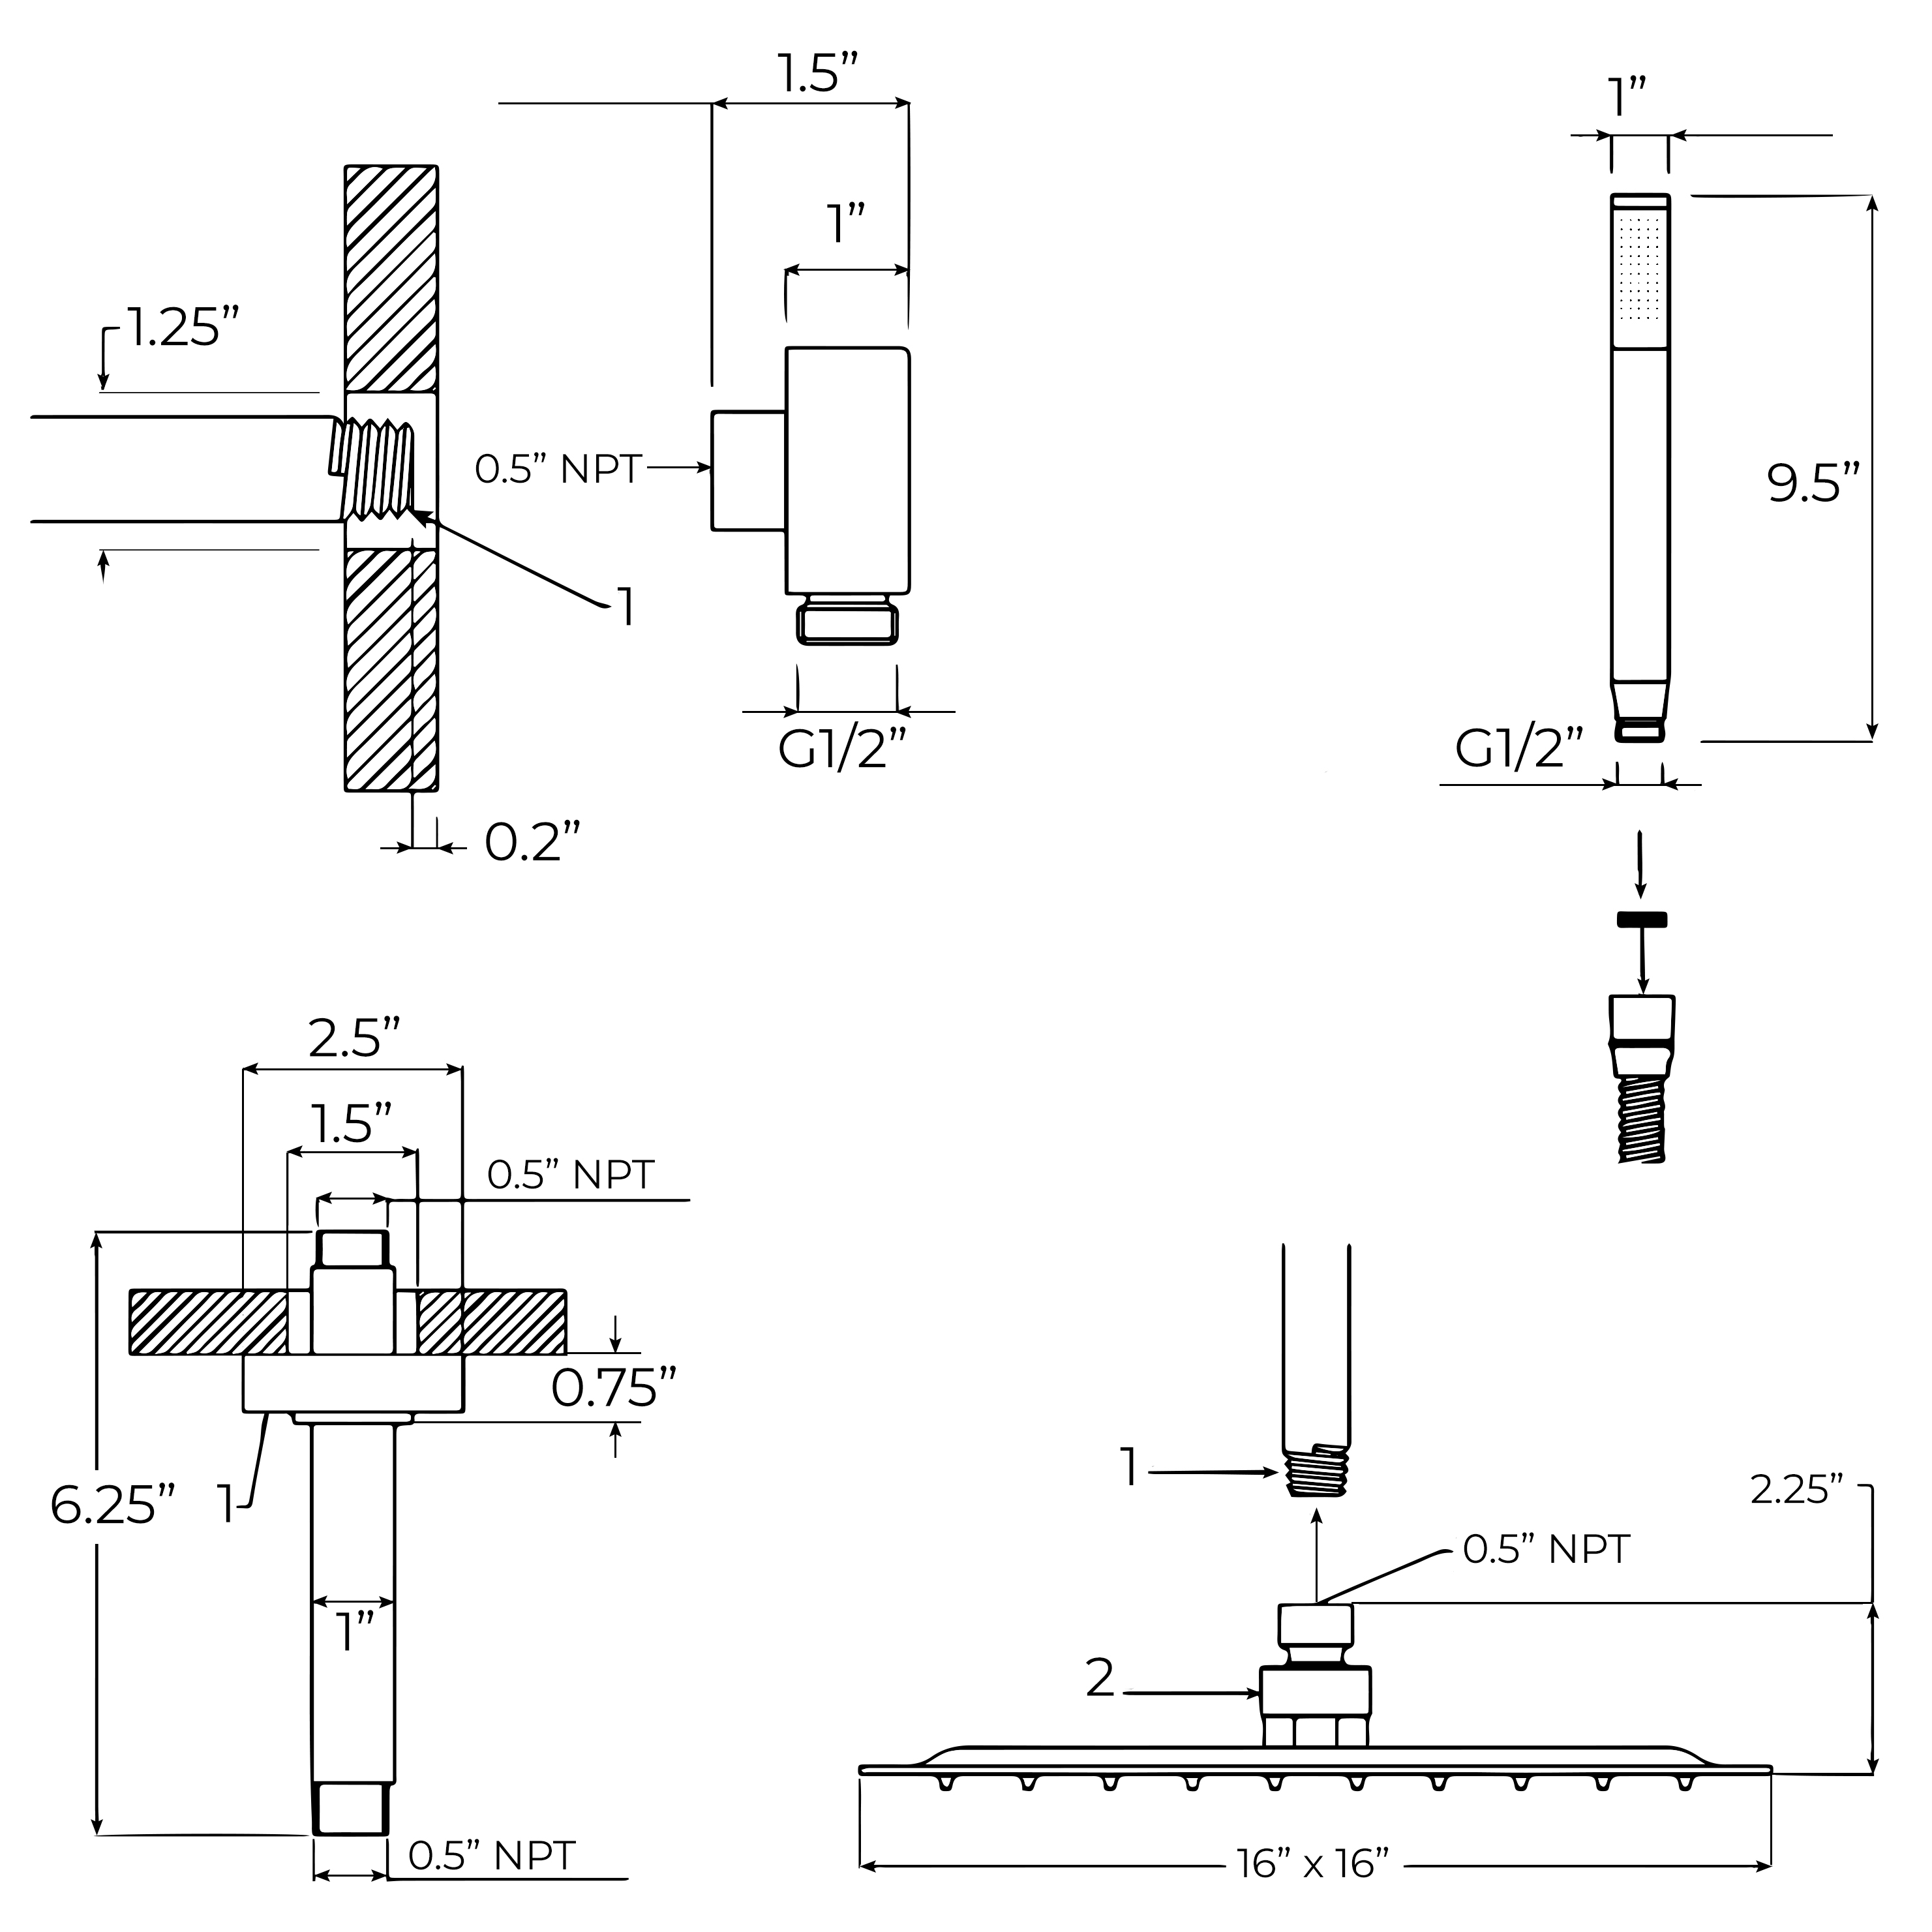
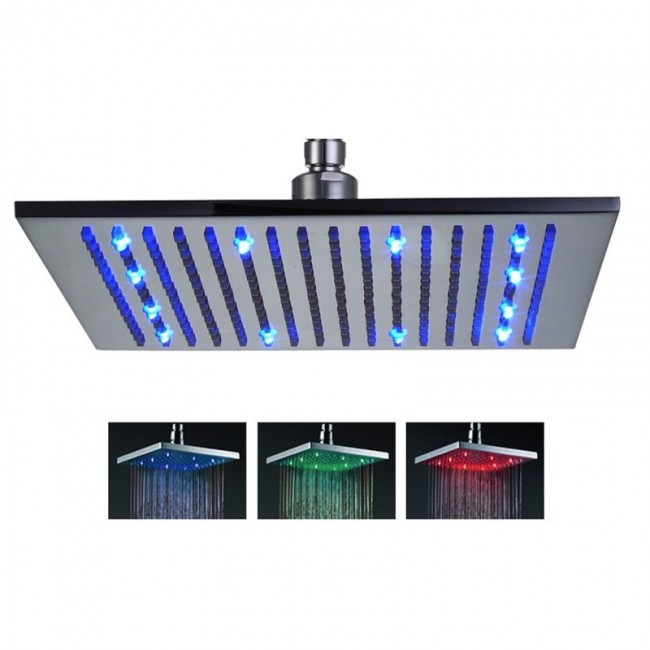
8" 10" and 12" Square LED Rain Shower Head
|
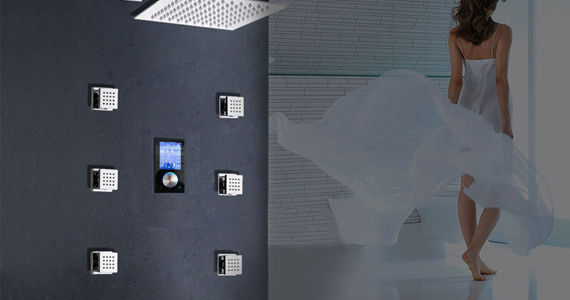
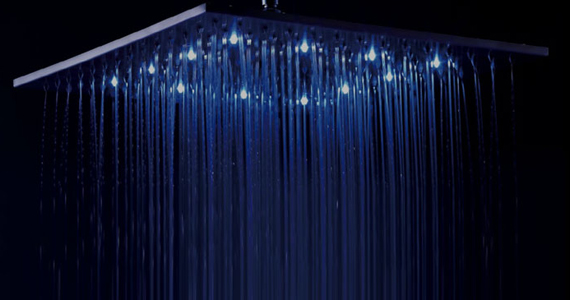
Turn on the fun in your shower just by turning on the water, the LED lights will automatically light up and set the mood. They will even change colors automatically based on the water temperature. All this with no batteries, everything is self-powered by a built in dynamo that takes advantage of the water pressure to create the energy to light the bulbs.
- Type: Bathroom Shower Head
- Shower Head Feature: LED Shower Heads, Rainfall Shower Heads
- Surface Finish: Chrome
- Material: Brass
- Bathroom Accessory Type: Shower Heads
- Appliance: Bathroom
- Color change: Temperature control
- Function: Rainfall Shower Head
- Rain shower head size: 8", 10", 12 inch
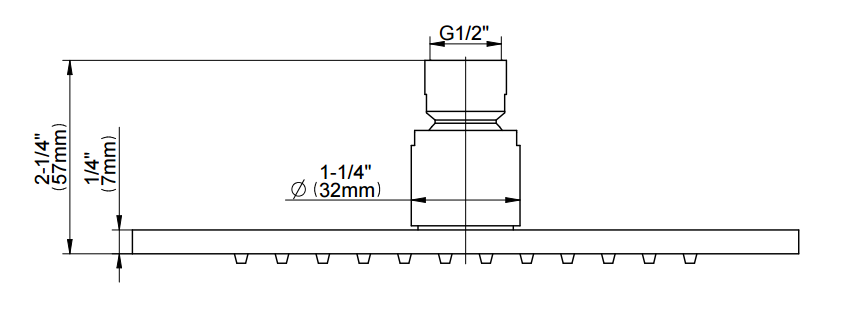
- Thred: G1/2
- LED light: Water power, no need battery
- Saturating Spray; Massage Spray; Bubbling Spray
- Finish: Durable thick layer brass. Polished finish resist corrosion and tarnishing.
- Body : Made of heavy solid brass for durability & reliability.
- When water temperature is ≤89 °F (≤32 °C), Blue color will show automatically;
- When water temperature is between 97 to 107 °F (36-42 °C), Green color will show automatically;
- When water temperature is between 109 to 122 °F (43-50 °C), Red color will show automatically;
- When water temperature is above 122 °F (>50 °C), Red color will flash immediately
|
|
BathSelect® Manufacturer Warranty Information
|
|
- Remove your existing shower head with a wrench.
- Set the wrench in place and turn the nut to the left to loosen it.
- Have a hand ready to catch the shower head when it falls so that the metal doesnt crack your shower floor.
- Clean the threads of the base of the shower head steel wool.
- Be sure to remove any debris that had collected around the threads.
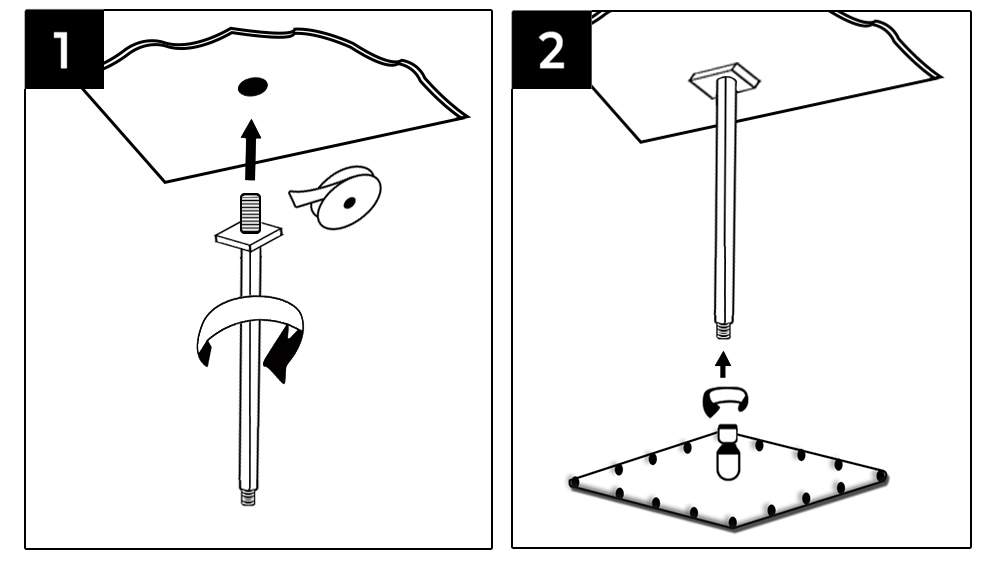
- Wrap the threads with Teflon tape, This tape comes with almost all new shower faucets and heads and provides traction for the new hardware.
- Place a rubber O-ring inside the new shower head and water connection, this prevents any leaks and improves water pressure.
- Tighten the LED shower head.
- Test the Temperature Controlled Shower Head to make sure there are no leaks and that everything is working properly.
- Now you have a huge improvement in your bathroom for a minimal amount of cost and effort.
|
|
|
|
|
|