Installation Instructions for BathSelect Oil Rubbed Bronze Finish Ultra Shower Set
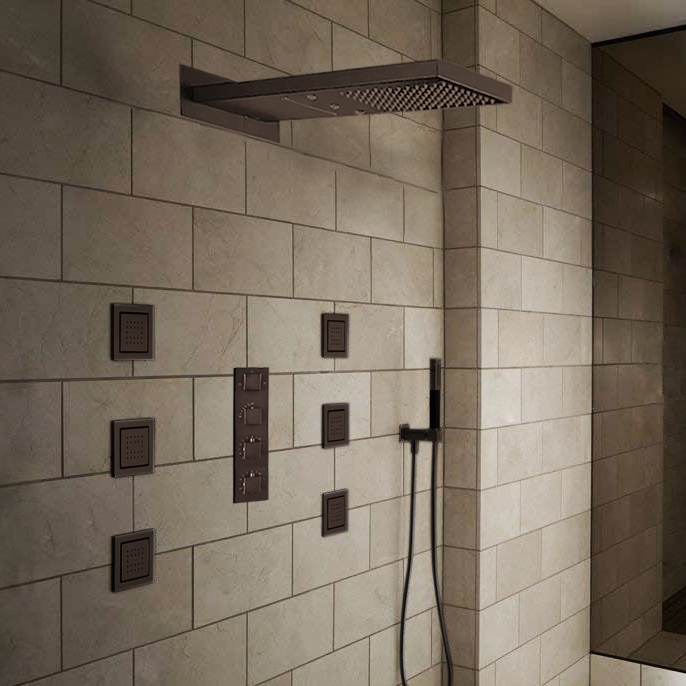
BathSelect Oil Rubbed Bronze Ultra Bathroom Body Massage Water Fall Shower Set
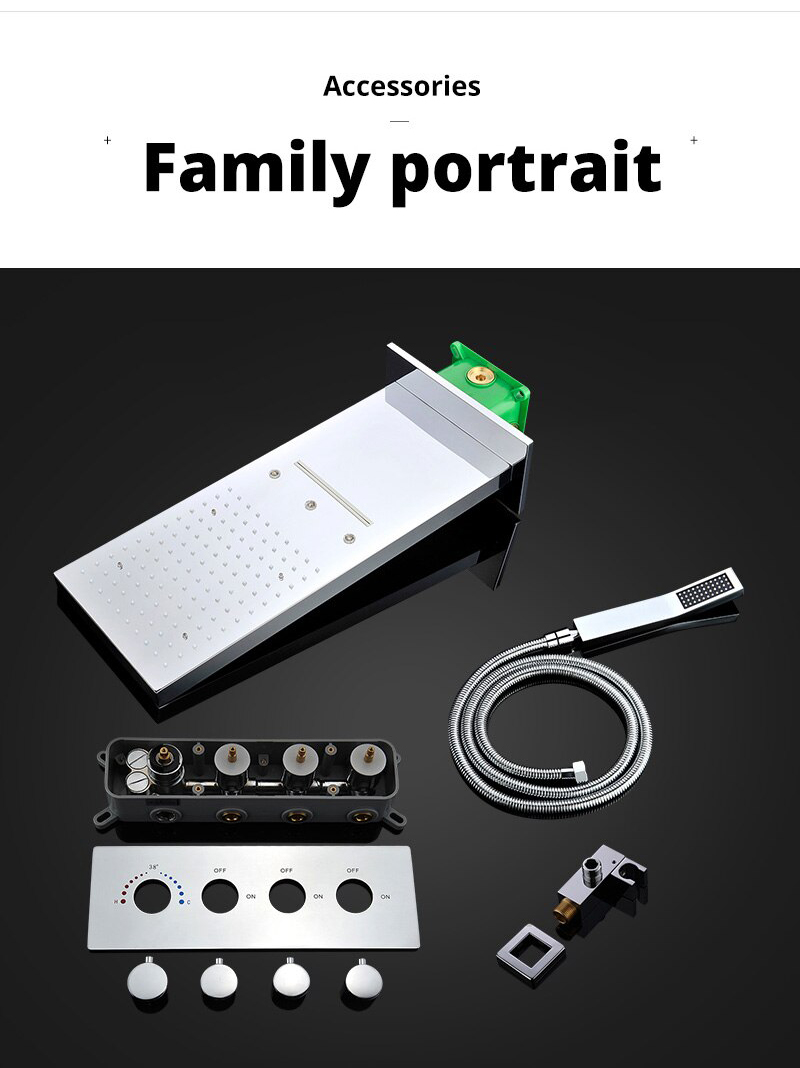
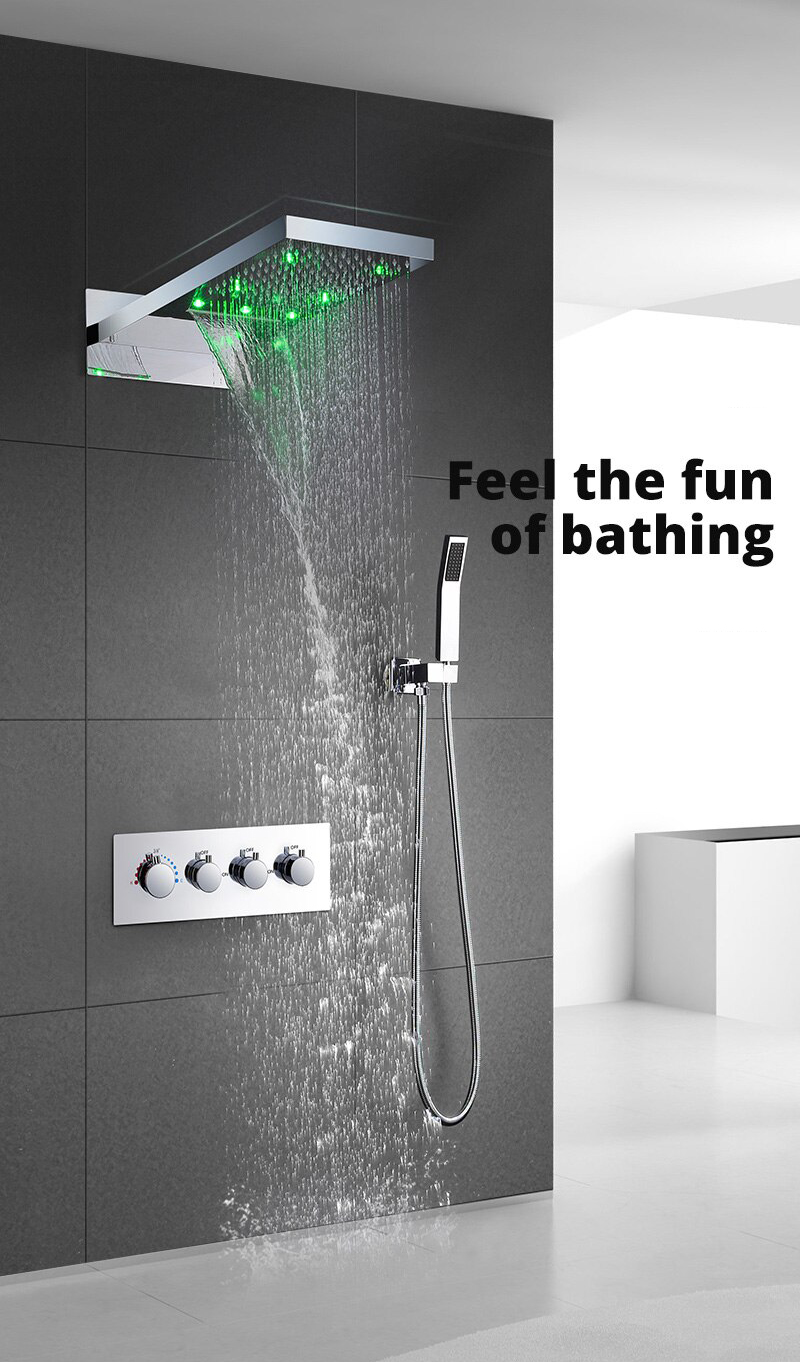
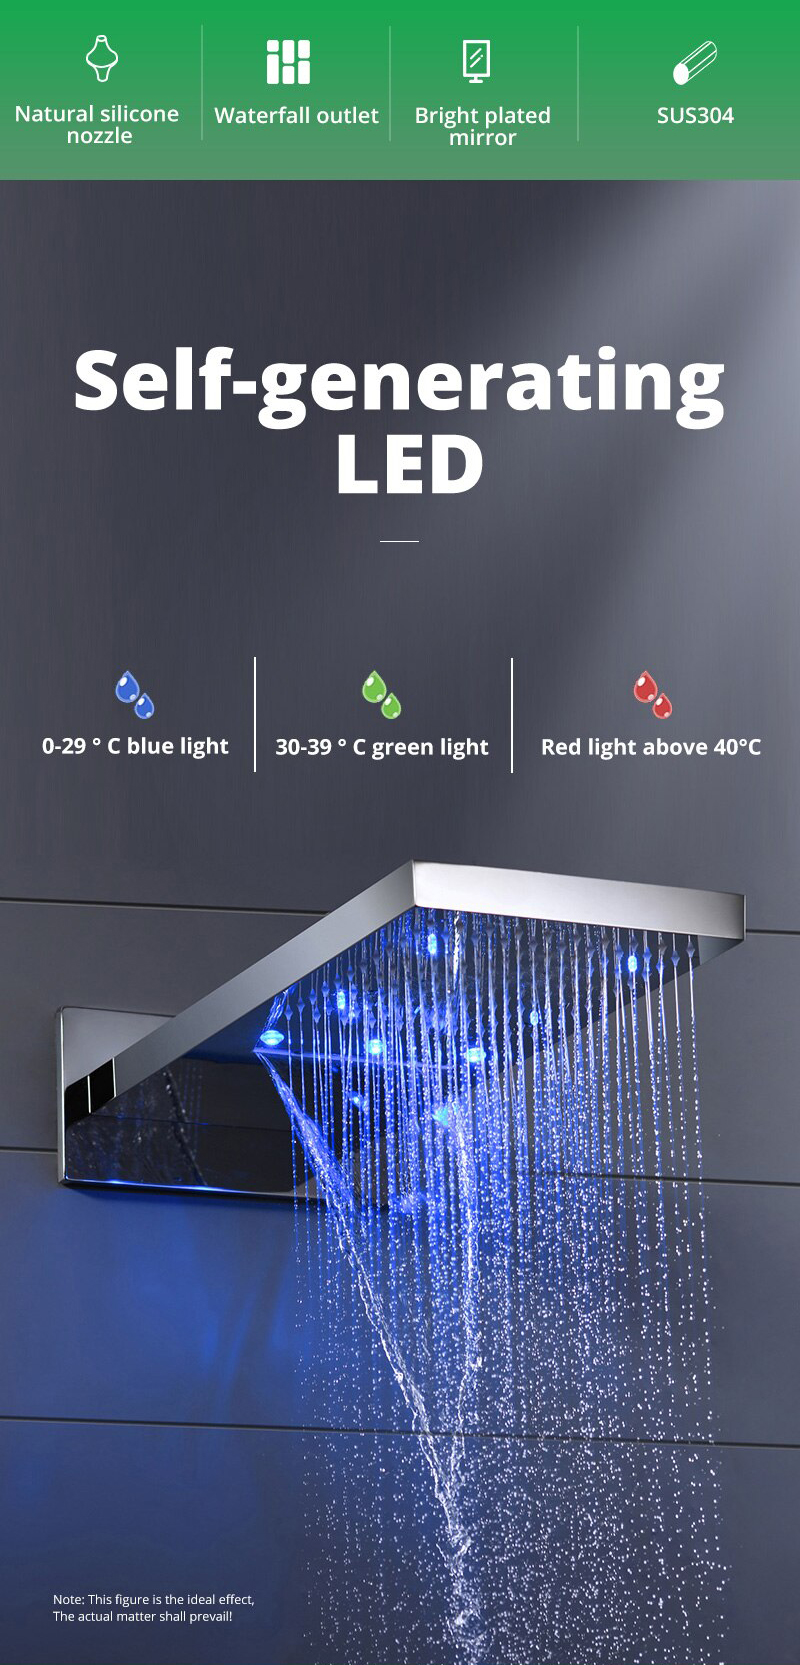
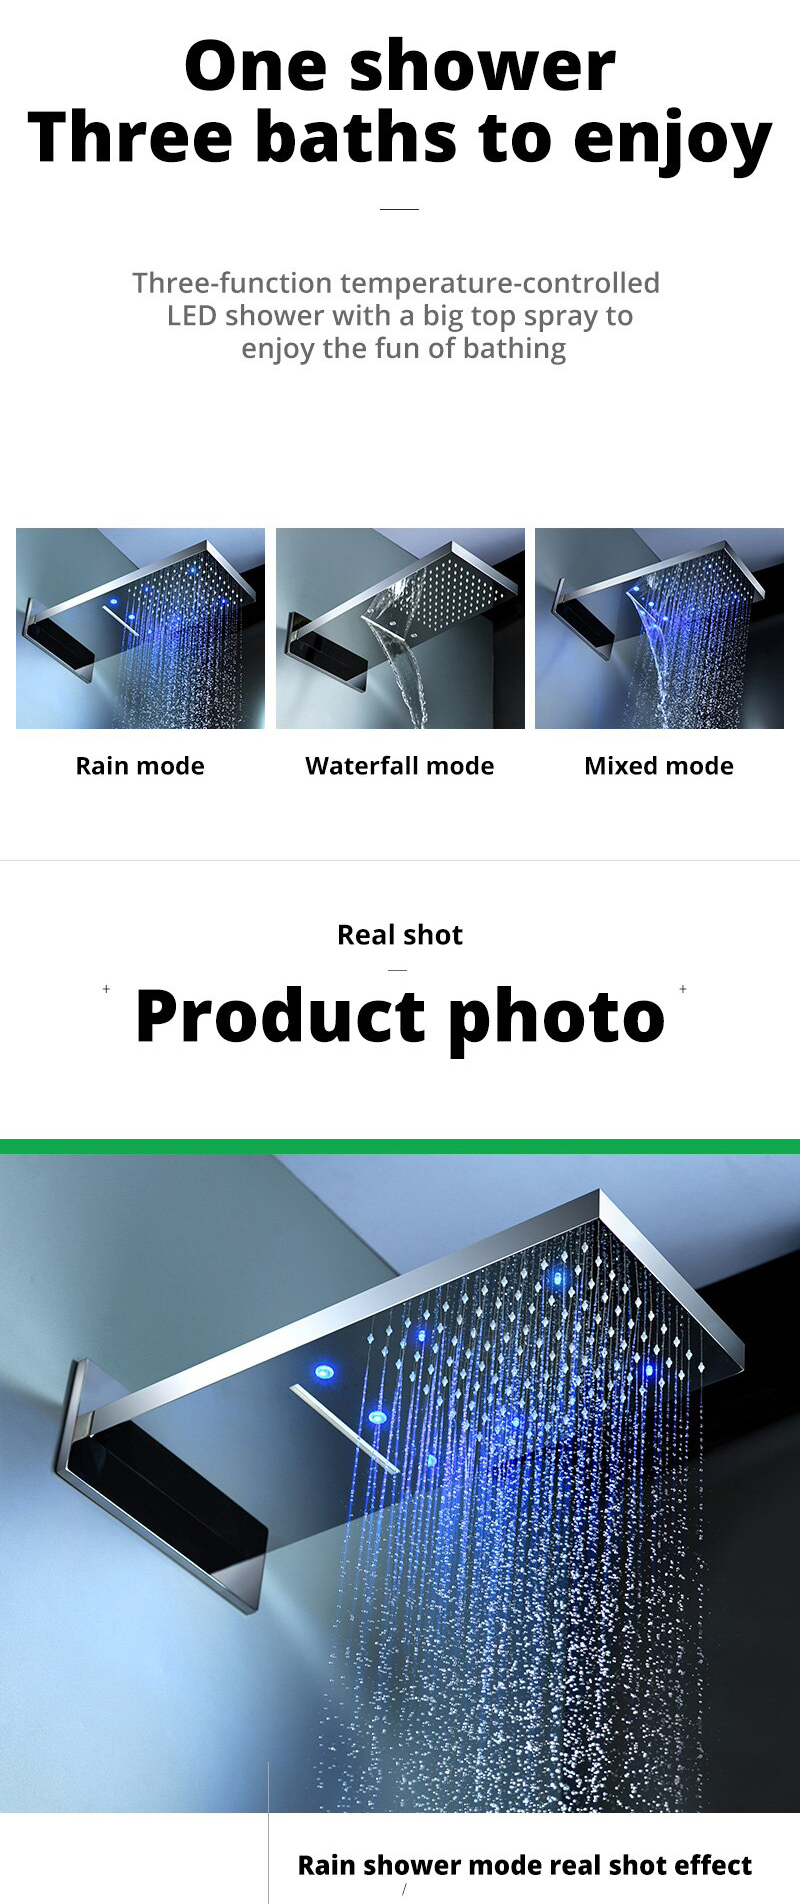
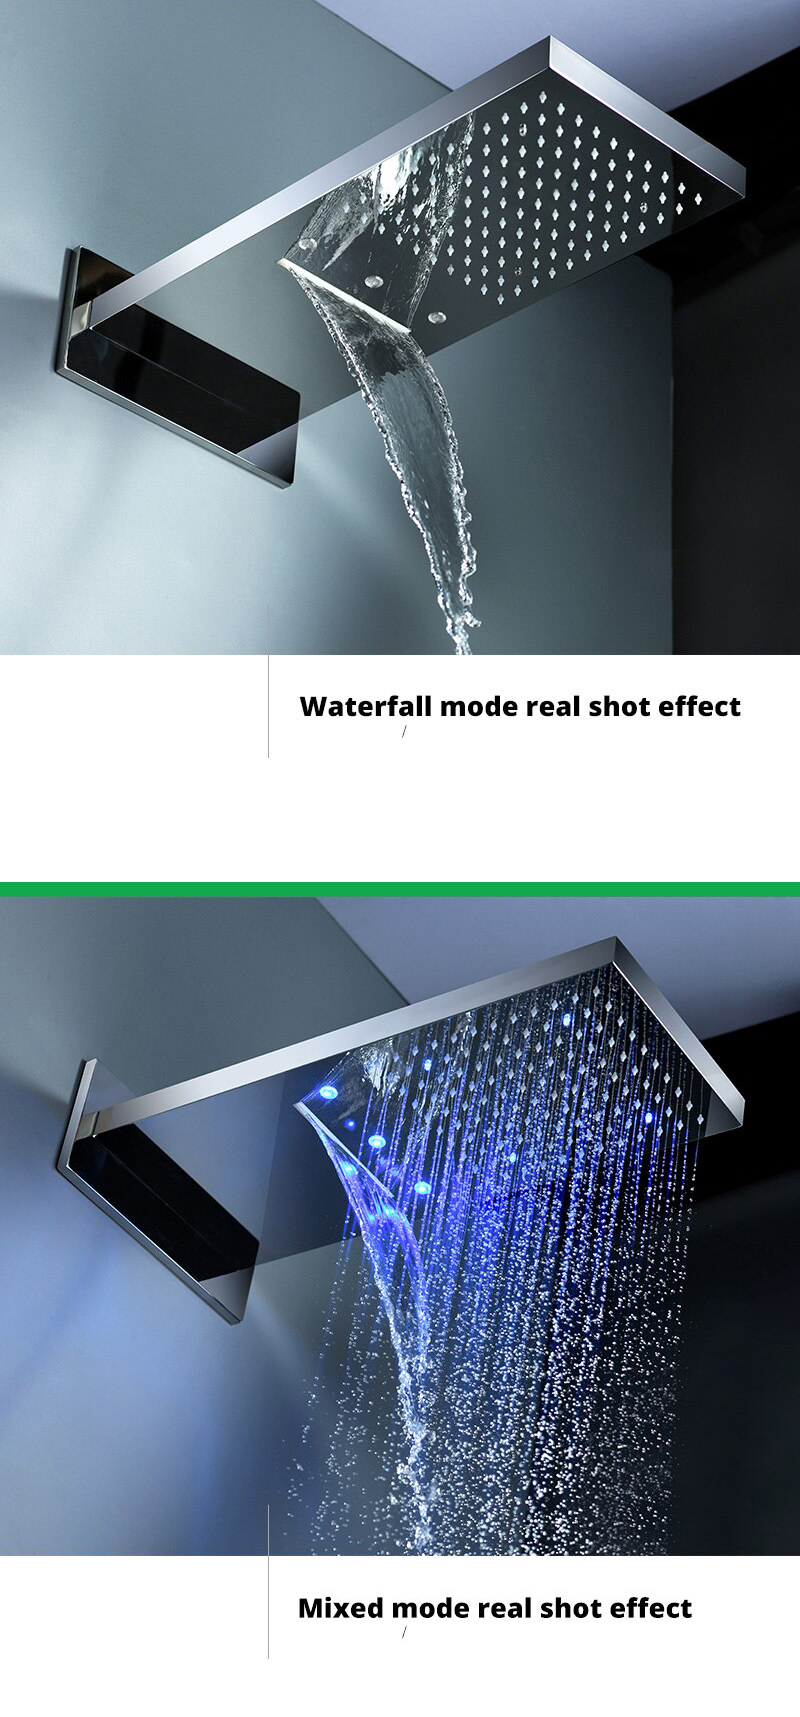
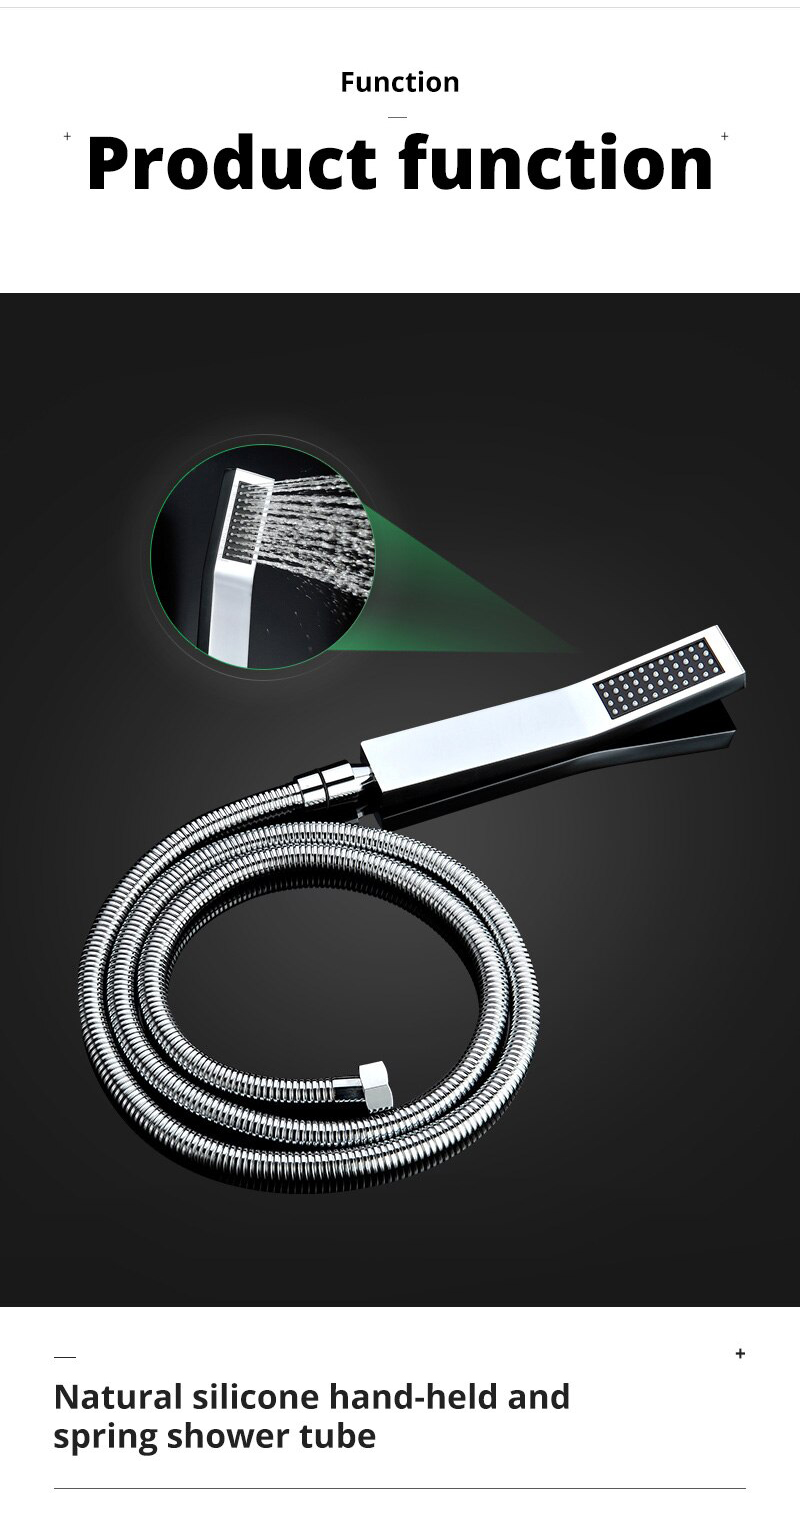
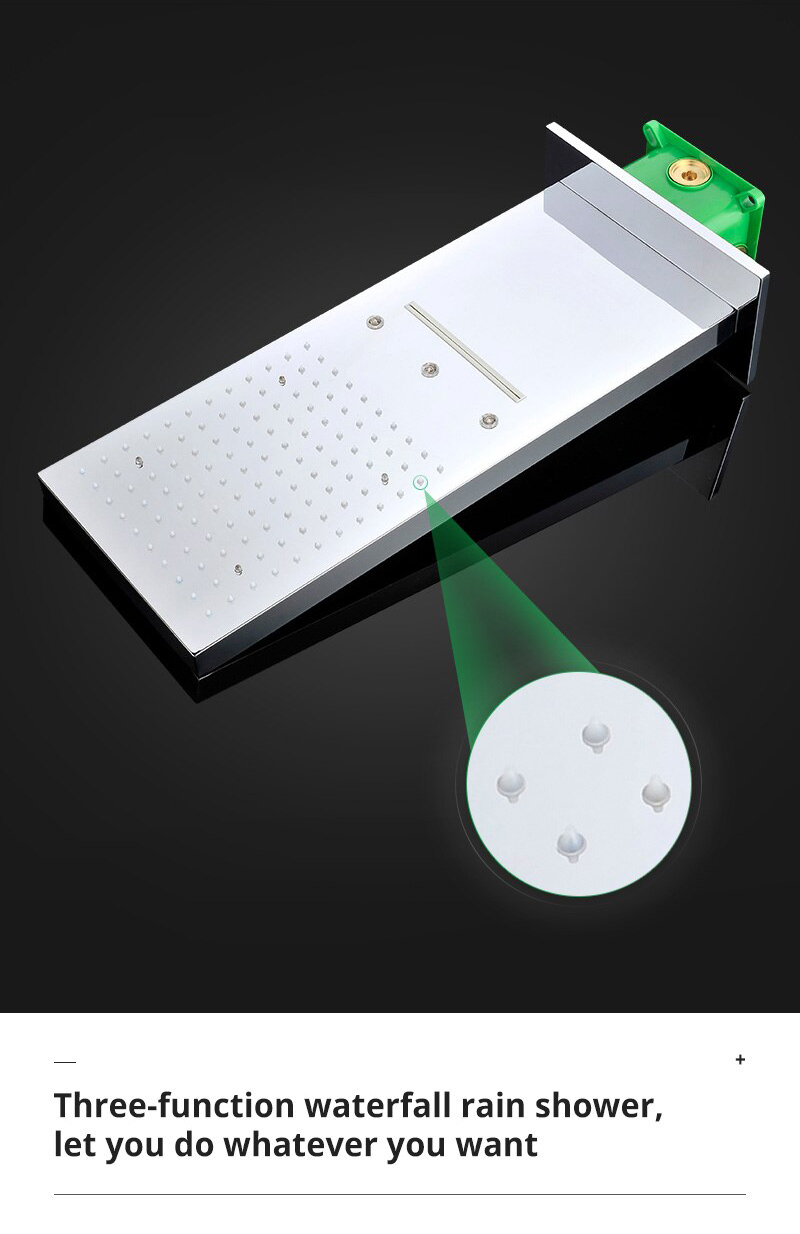
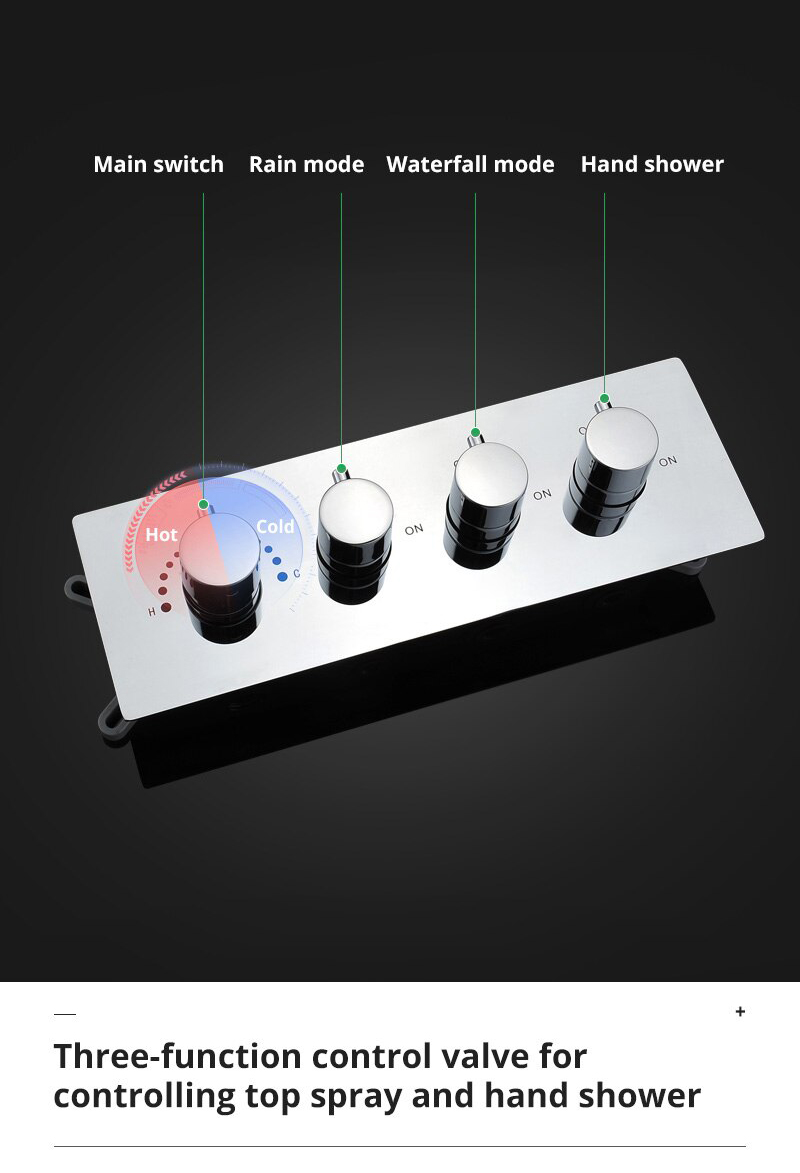
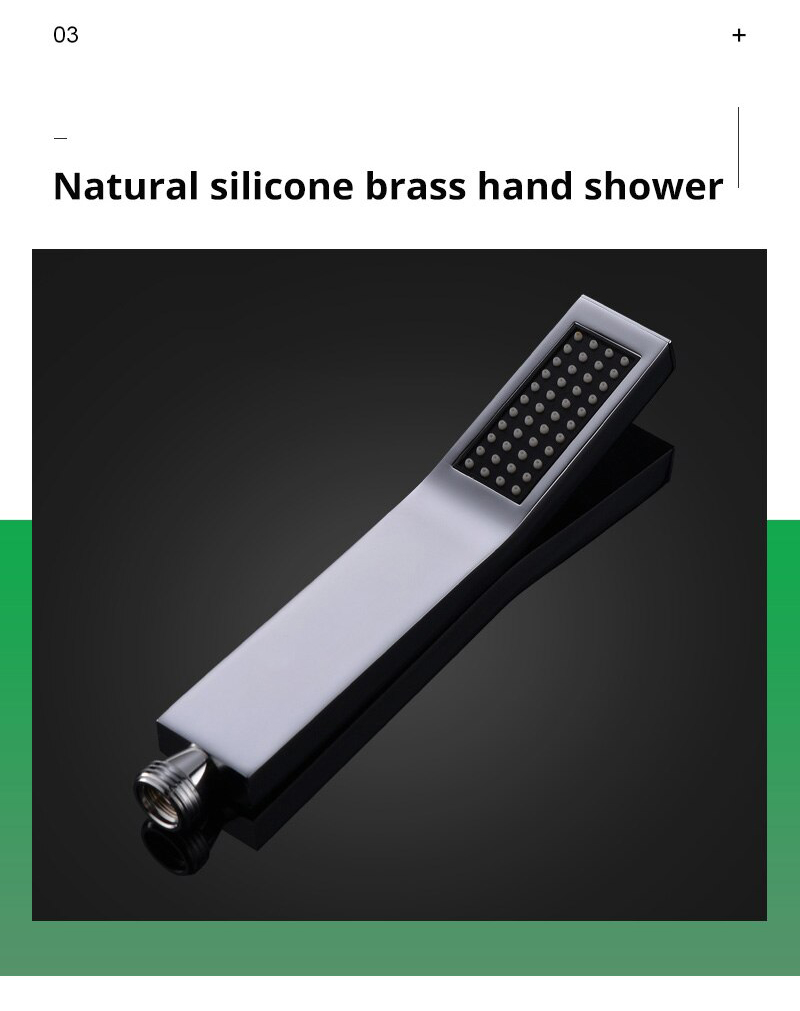
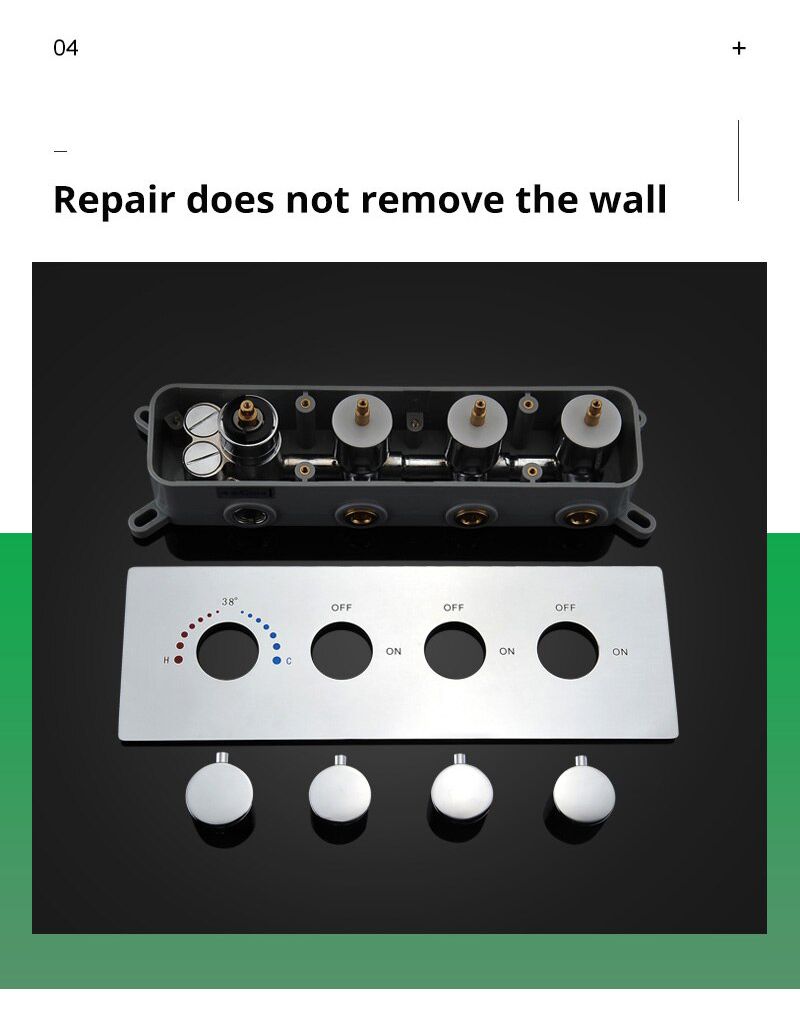
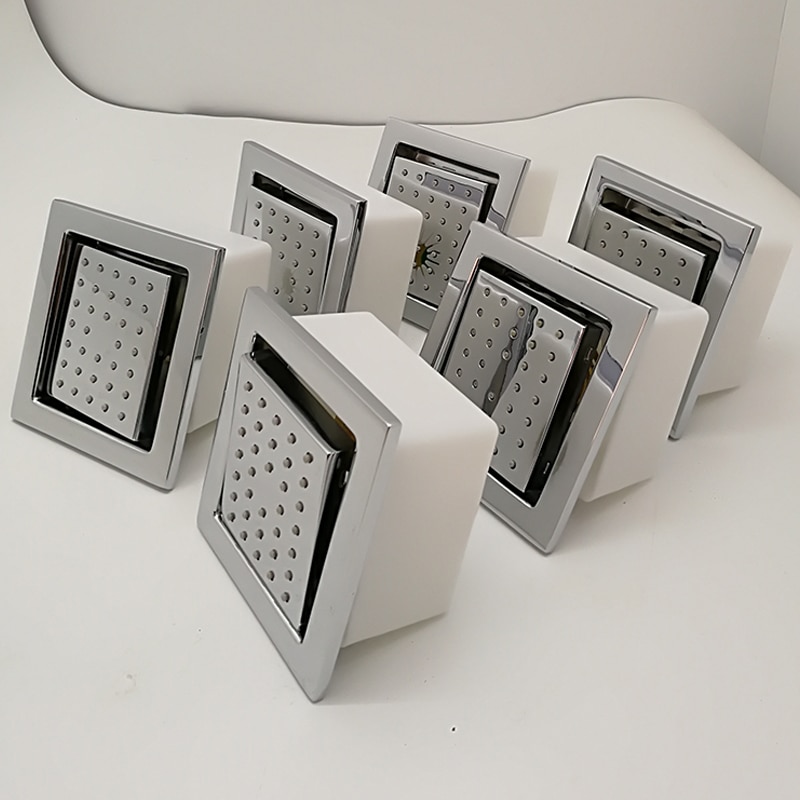
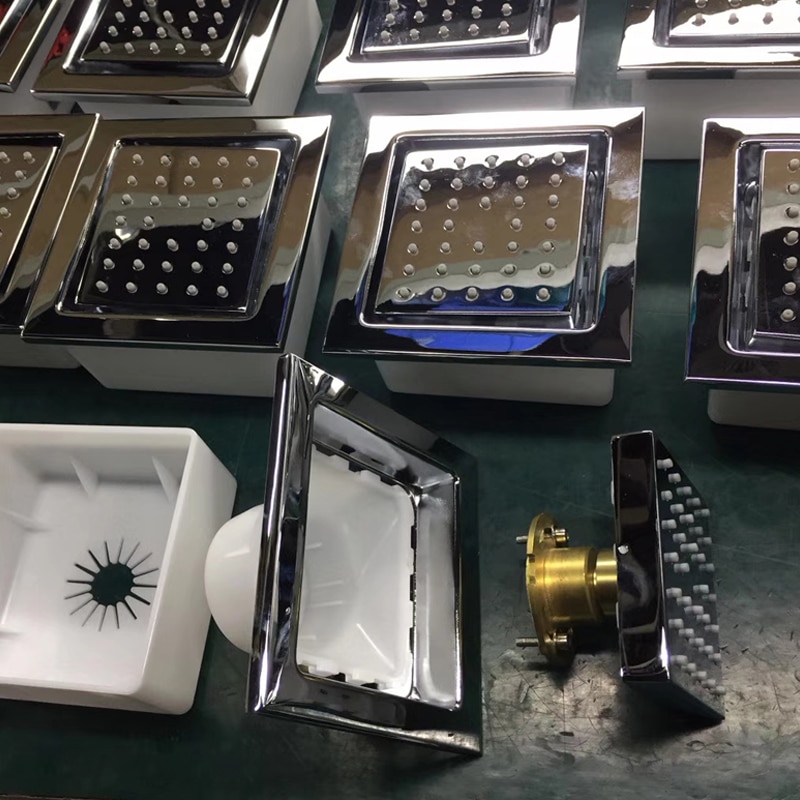
Enhance your modern bathroom with the Soma Oil Rubbed Bronze Thermostatic Shower Set. This latest and wonderful showerhead comes in a high-quality bathroom head shower and 6 body jets. The 5 thermostatic shower valve features stylish yet easy to use handles that control the flow and temperature of the water and a diverter that allows you to switch between the fixed head, hand shower or the body jets. LED shower head will turn your shower into one that looks exceptional. If you already have bronze in your bath fixtures, it makes perfect sense to invest in oil rubbed bronze shower head. The valve core material is a high quality of ceramic. It has self-cleaning silicon nozzle water and air mixture technology & It shower head is a multifunctional mode like rainfall mode, waterfall, mode, water column hand shower mode. It's a great experience showering with the water falling directly overhead like rain or waterfall, offering you the luxury and relaxing shower enjoyment. This shower set has been made with premium-grade material.
Features:
Brand Name: BathSelect
Model Number: BST-762-ORB
Designed to be lightweight, durable and corrosion-resistant
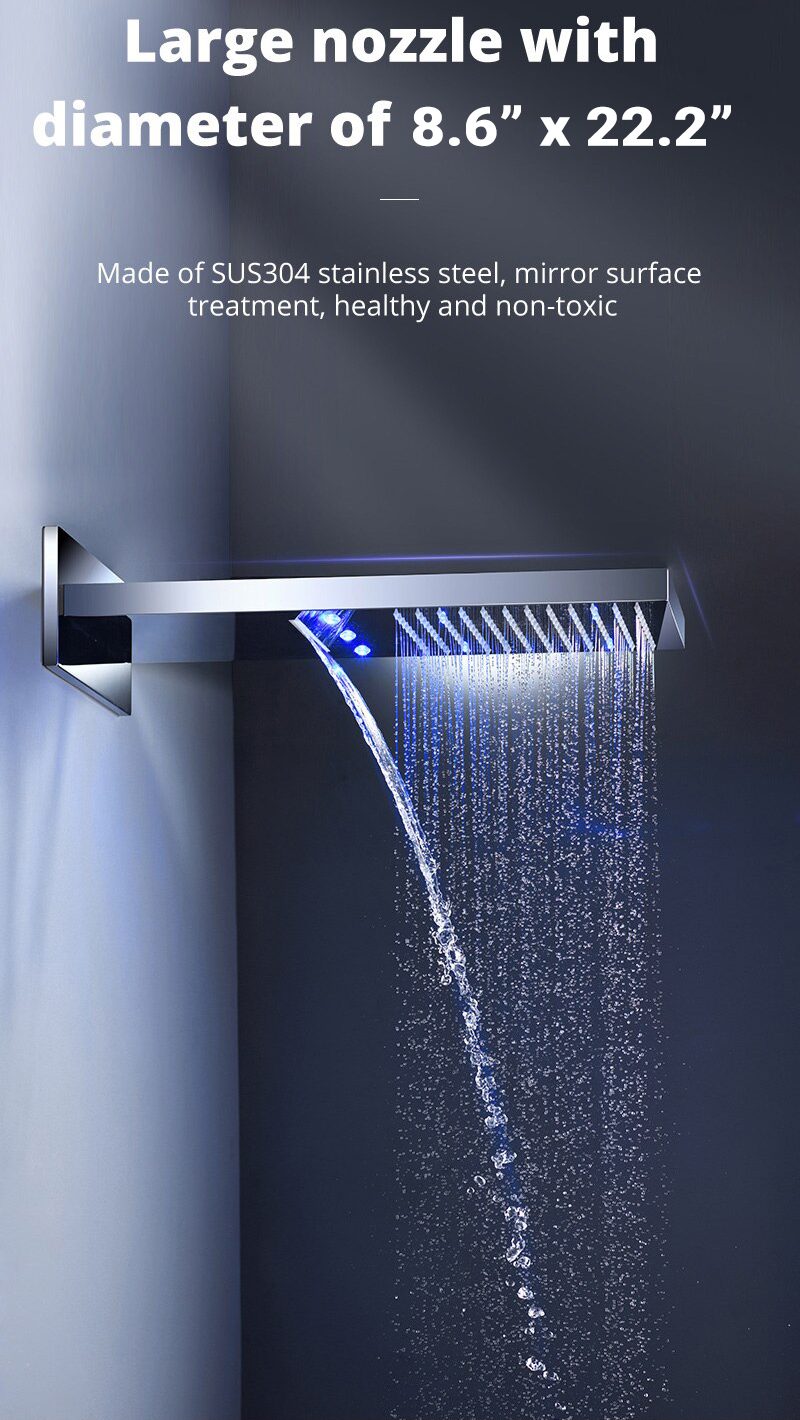
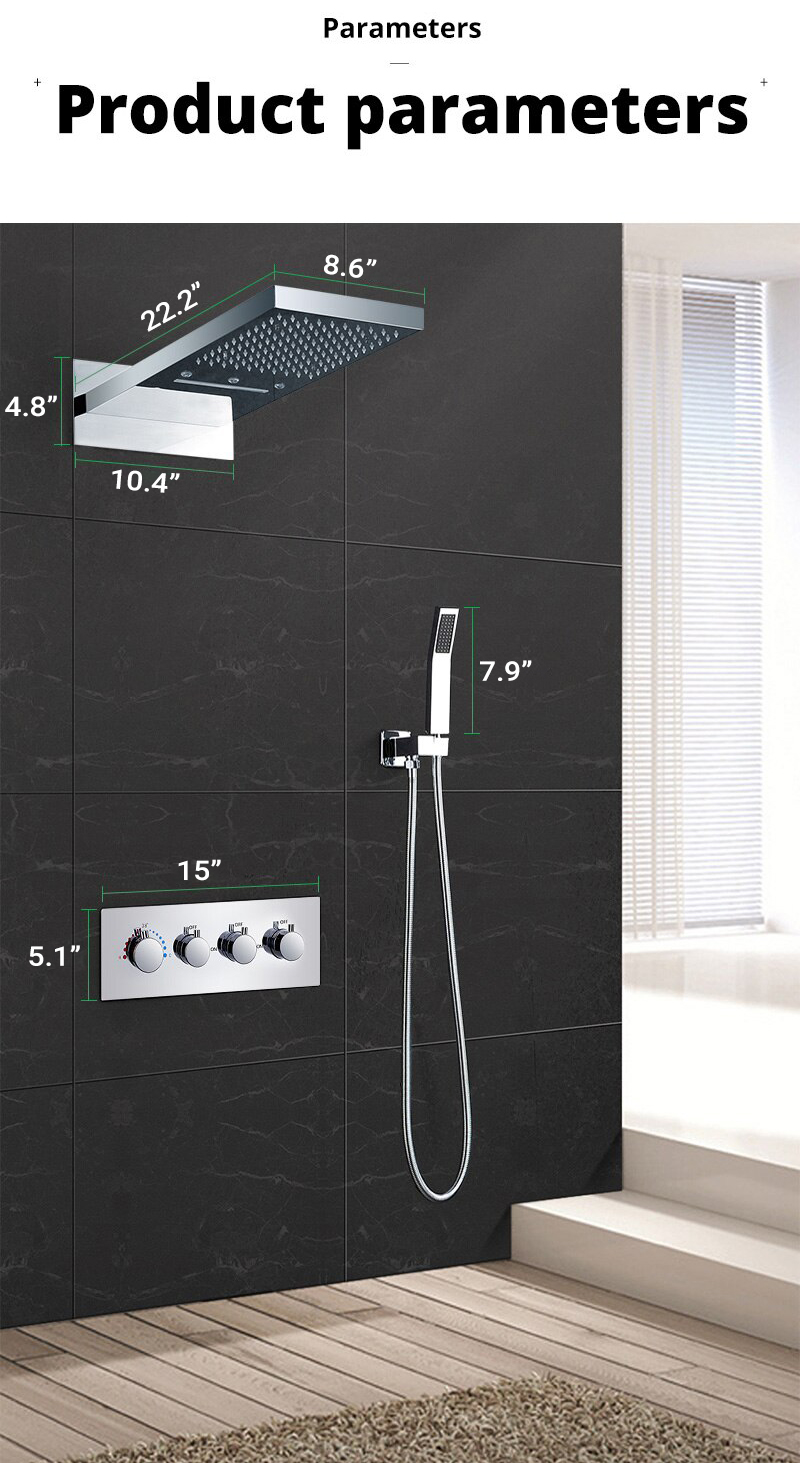
Size:22" long
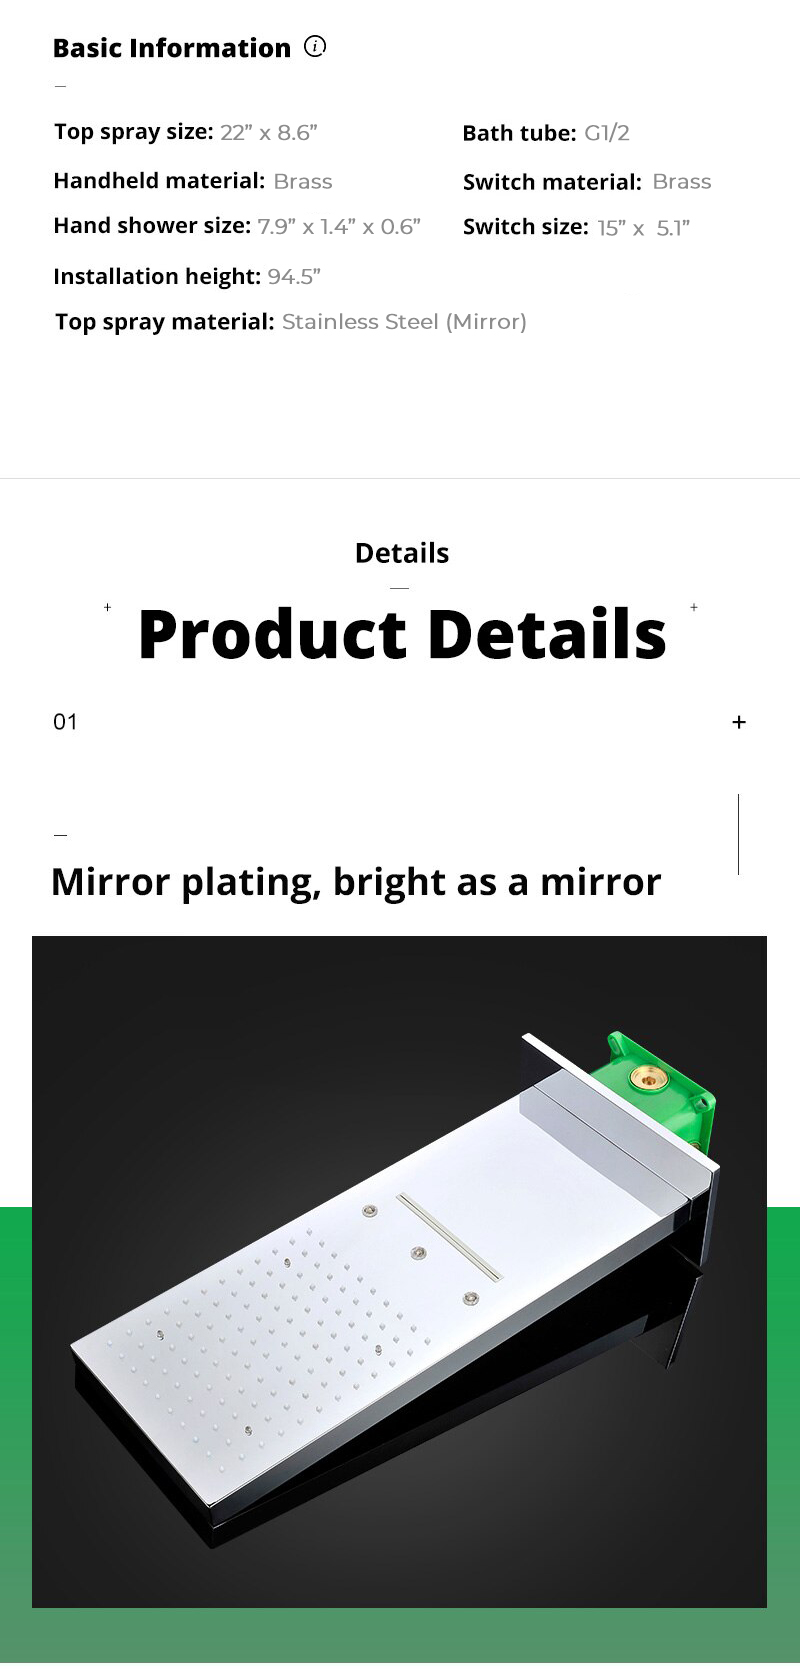
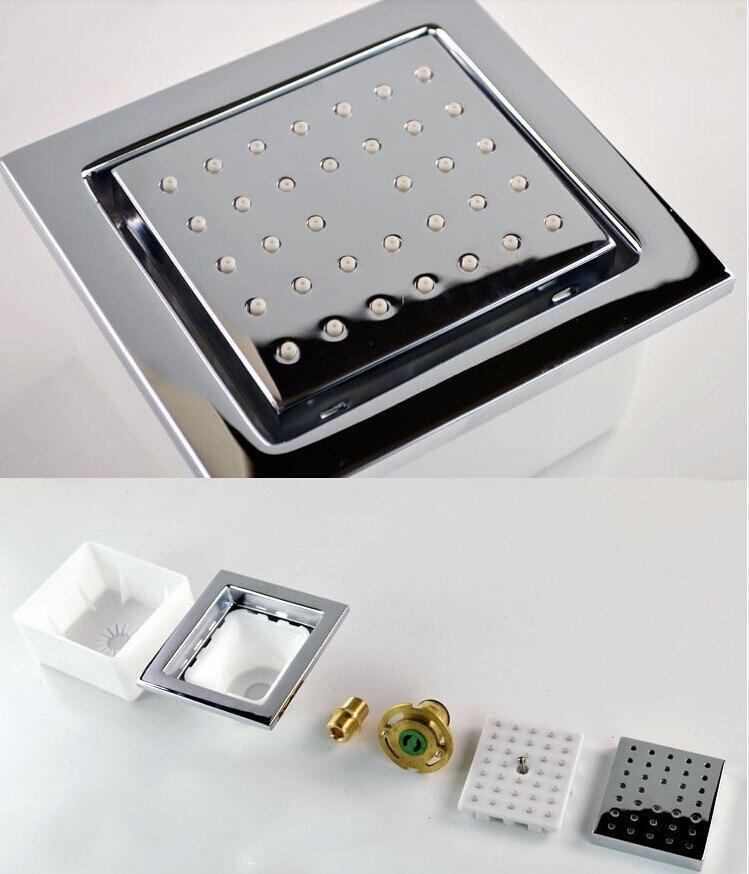
Oil Rubbed Bronze Finish Stainless Steel shower head
Brass diverter Stainless Steel control valve mixer
Double locked stainless steel shower hose 64"
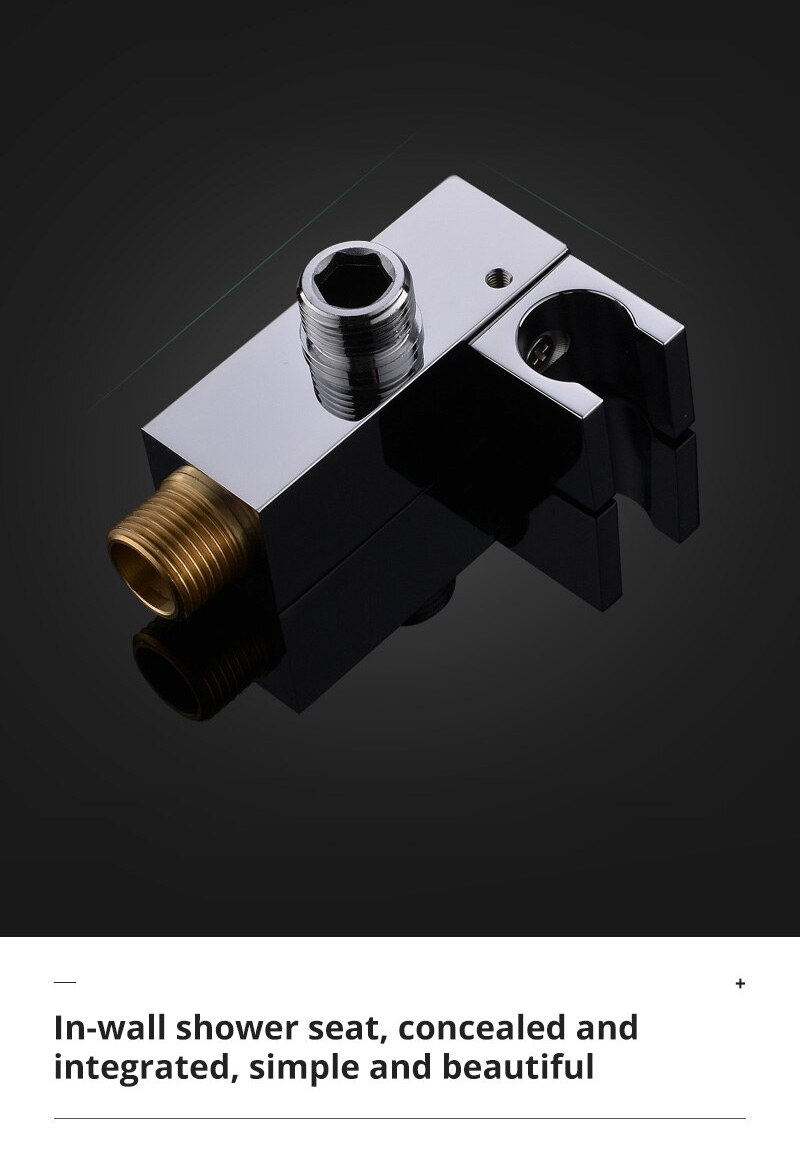
Installation: Wall-mount
Showerhead function: Rain and Waterfall
Standard plumbing connection
Minimum pressure required: 29 psi
Maximum pressure required: 72.7 psi
Ceramic Disc Technology Chrome finish ½" NPT Inlets and Outlets
Compatible with standard US plumbing connections
Pre-set maximum temperature 104ºf Automatic anti-scald device
Recommended pressure: 2 to 75 psi
Easy installation, comes with all standard accessories.
Flow rate is 2.5 GPM
Important Note:
Before you begin, please read the installation instructions below. Observe all local building and safety codes.
Unpack and inspect the product for any shipping damages. If you find damages, do not install.
Please note all showers must be installed by a professional and certified plumber otherwise warranty might be voided.
Shower Head Installation Instructions
Step 1:
shower
head
Step 2:
Open the top cover and drill according to the marked position. 1. Mark by the position of the four holes. 2. Take care to avoid wires and pipes to prevent damage. 3. Be sure to confirm that the four holes are on the same horizontal line.
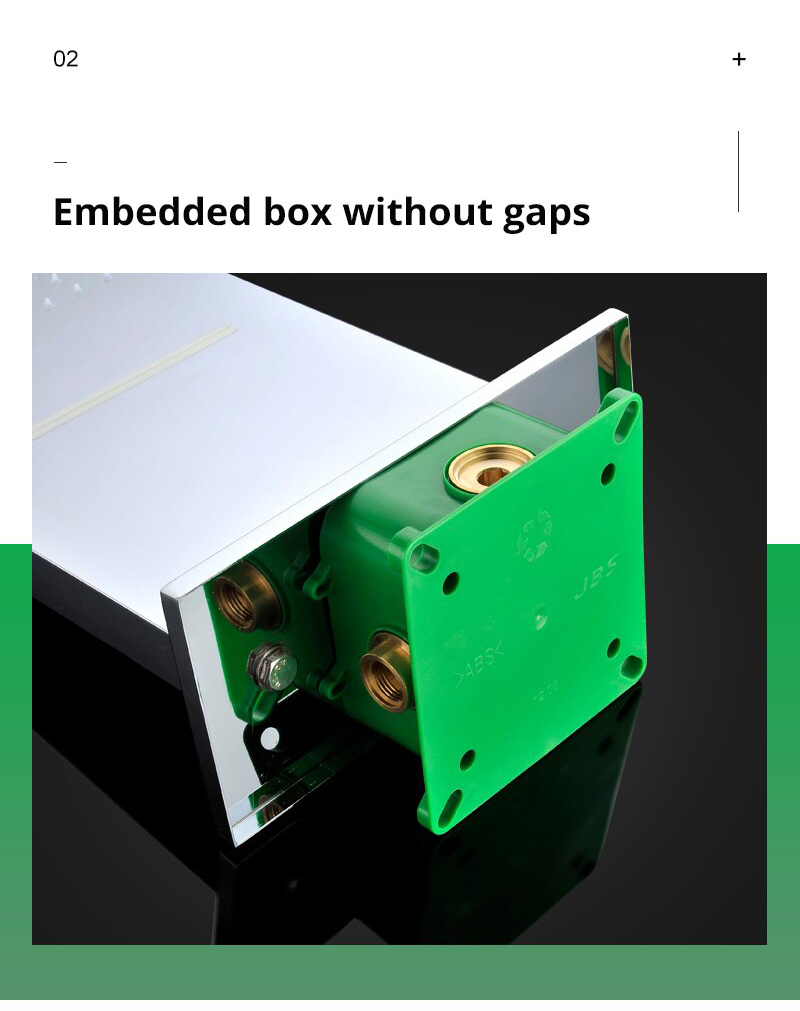
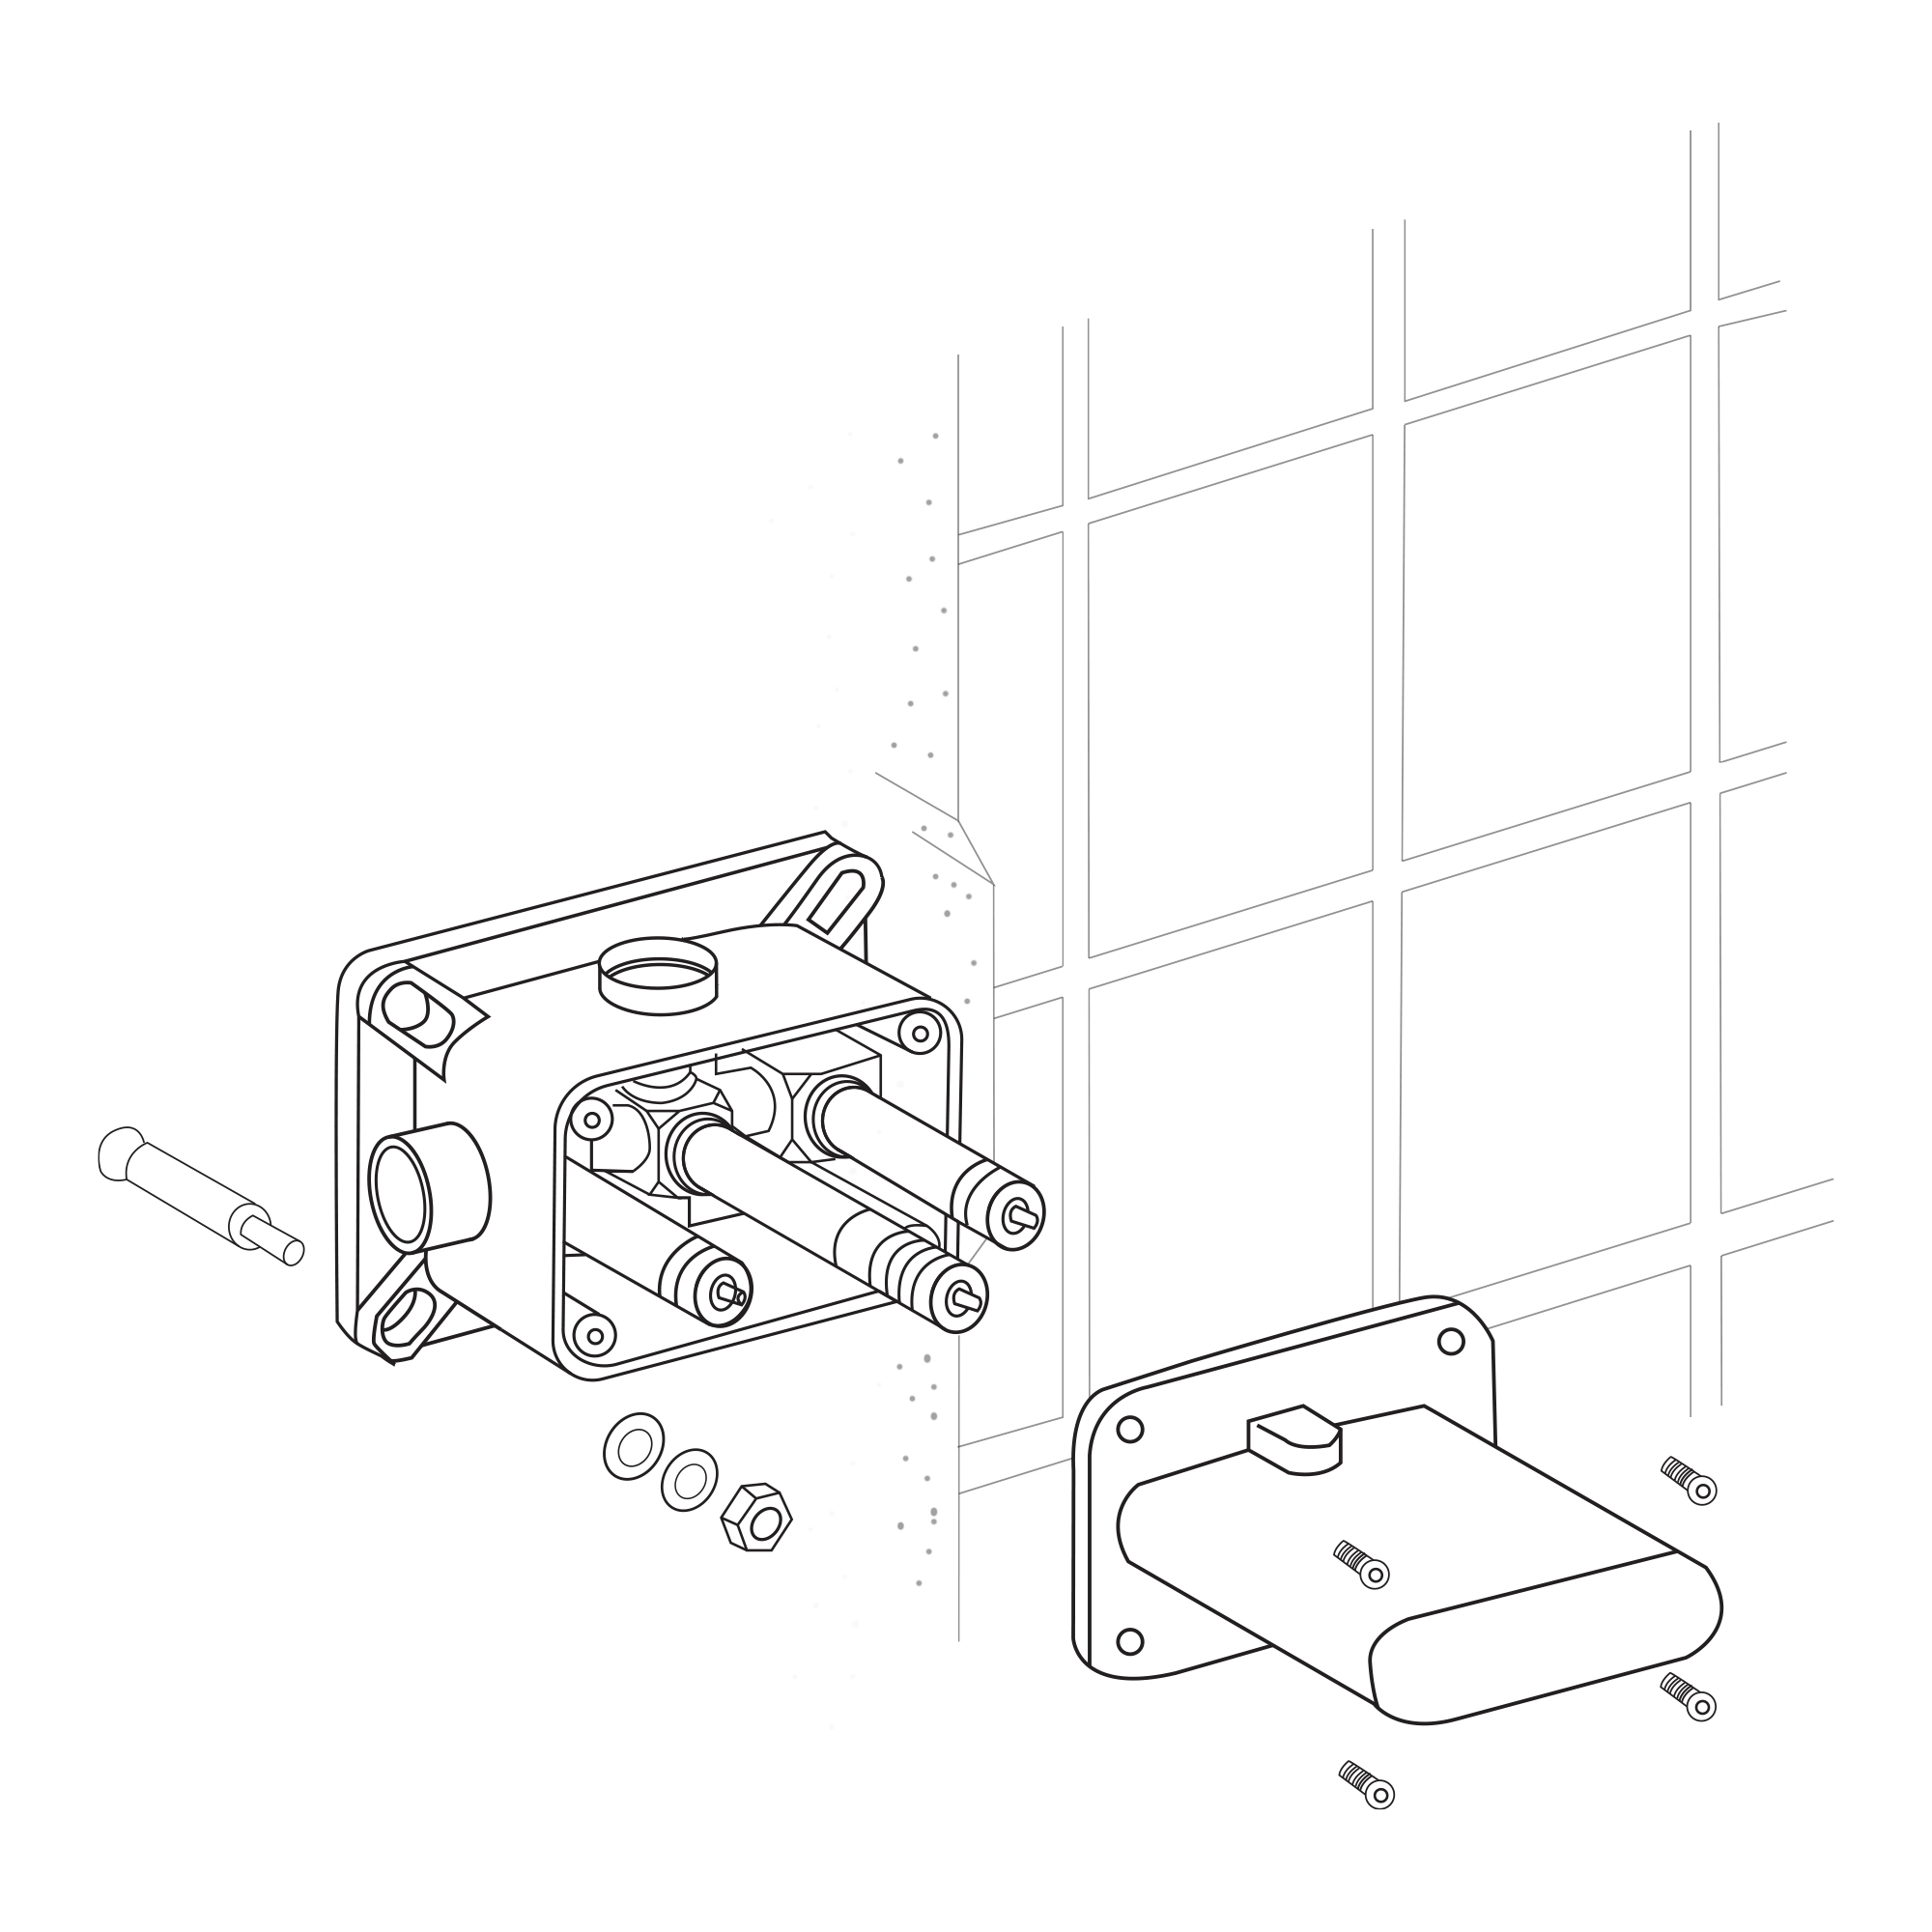
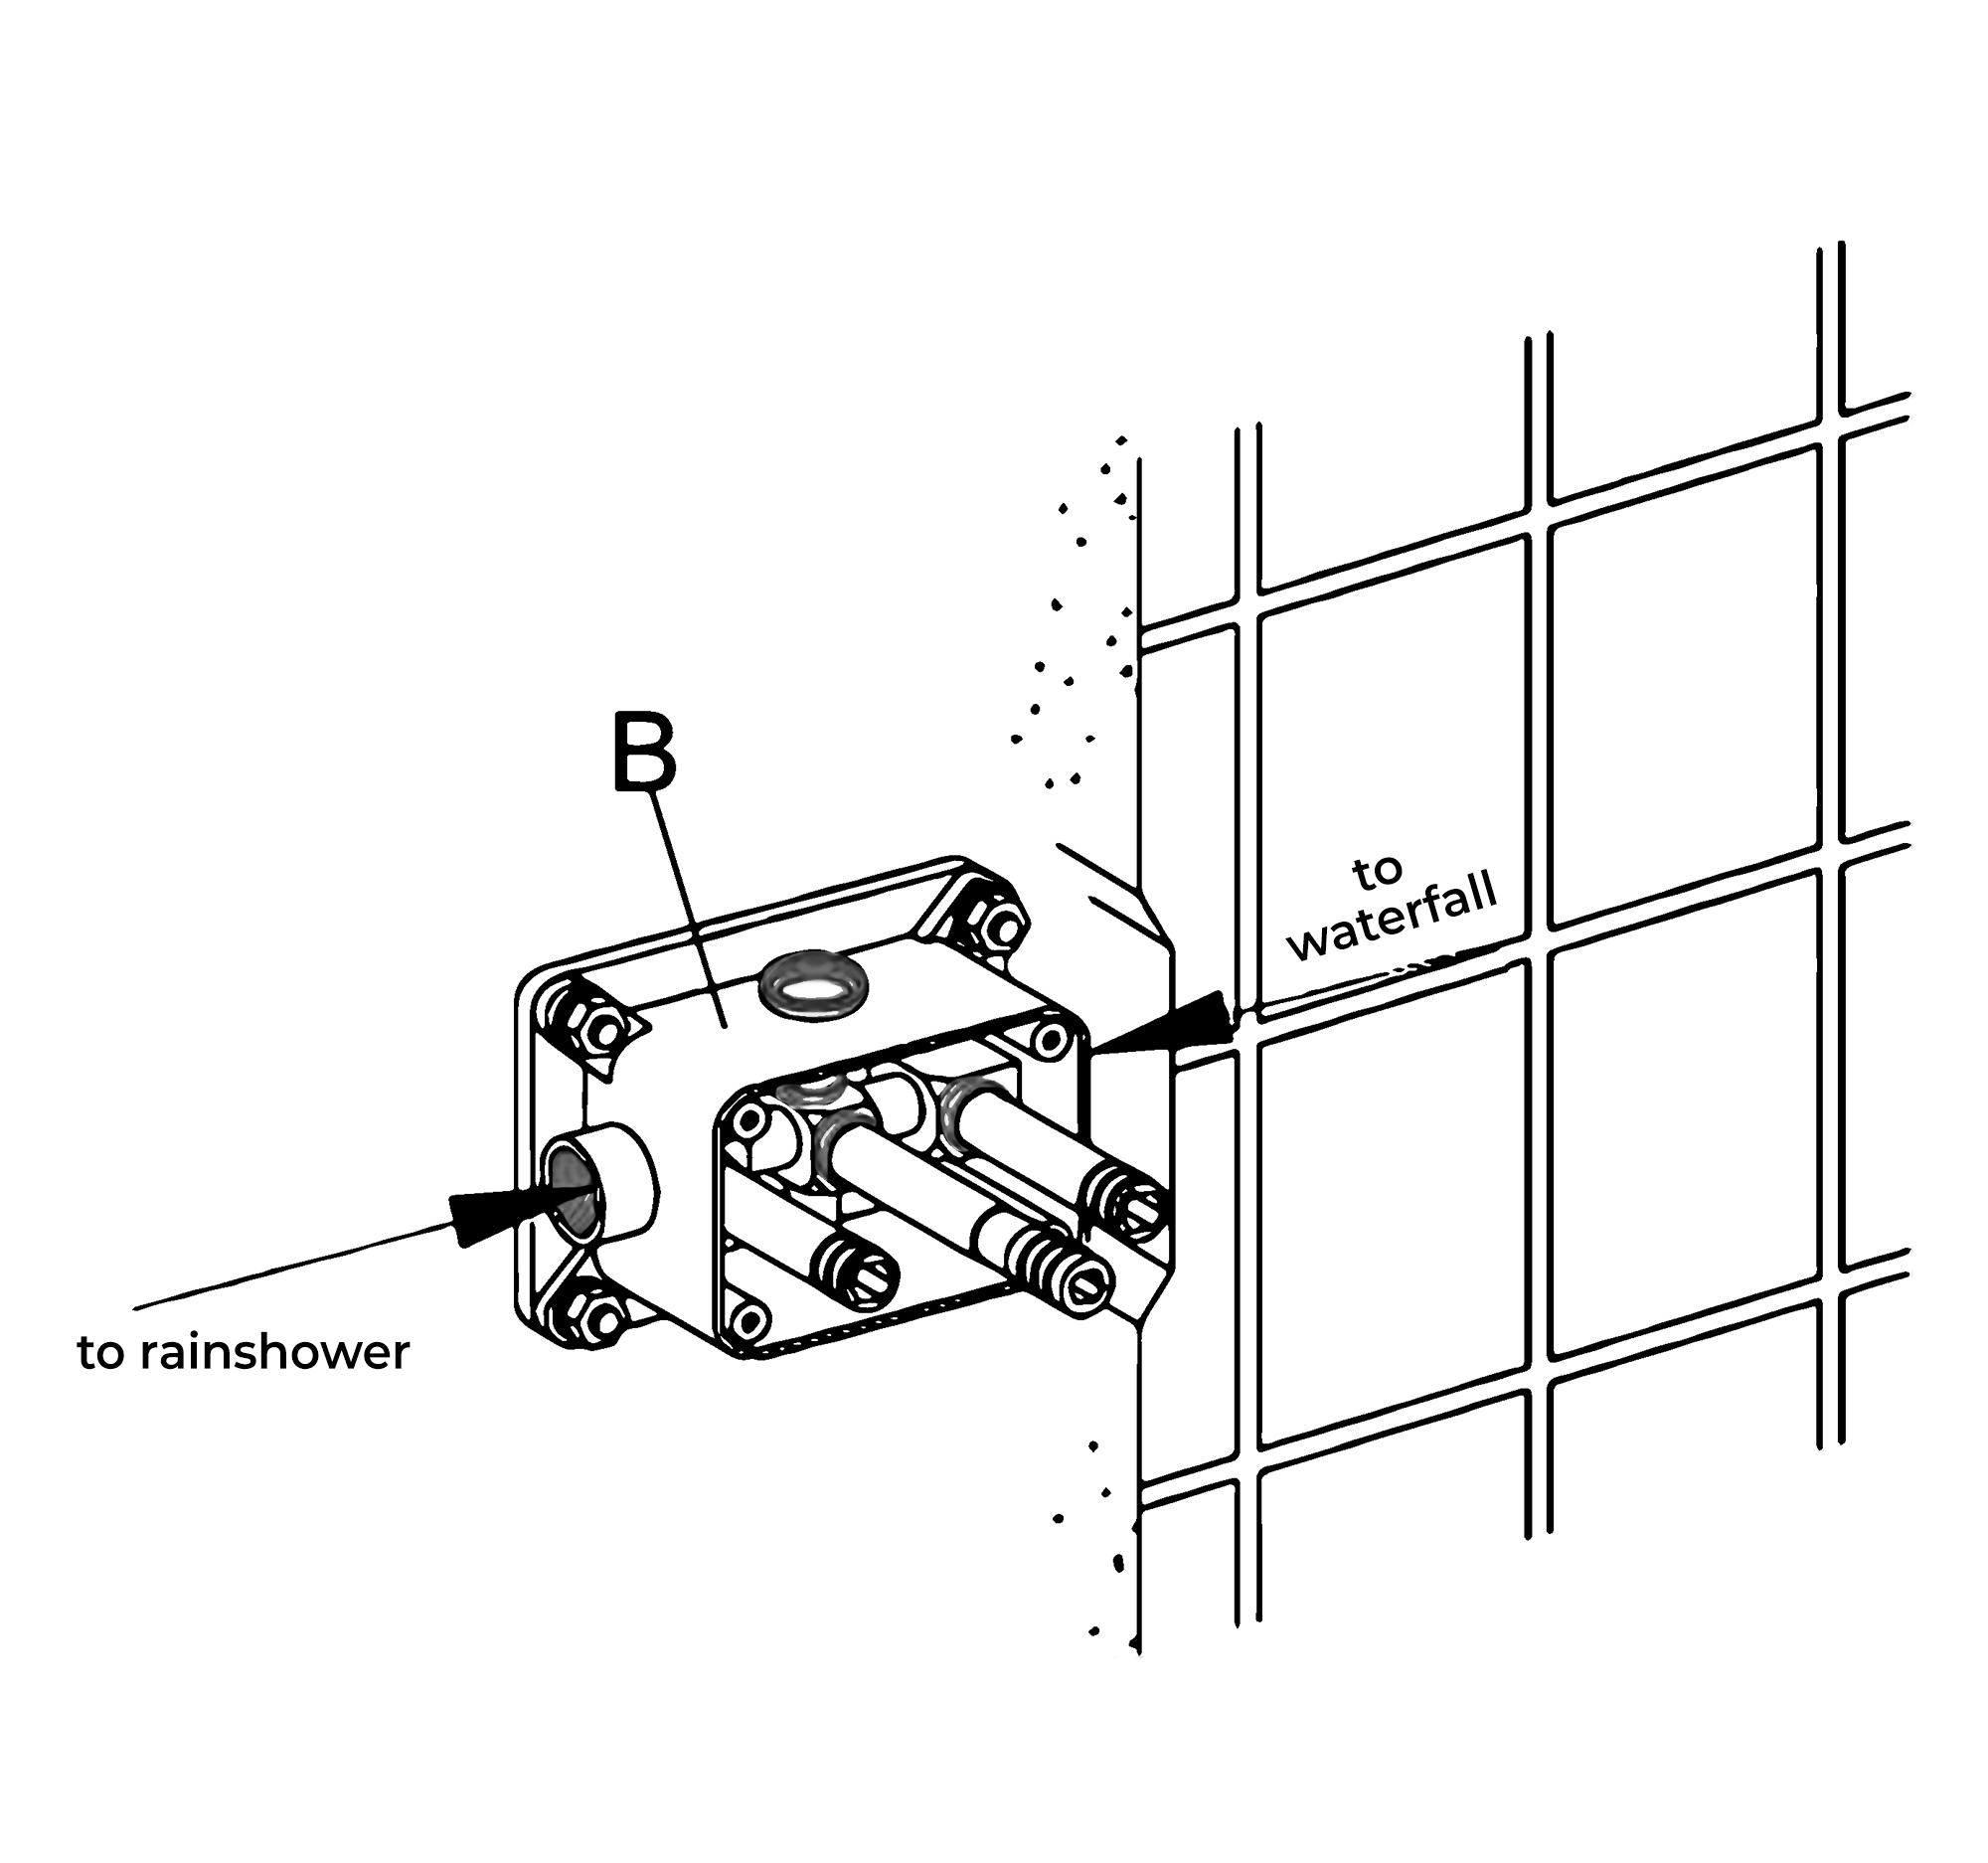
Remove the protective cover (F). Mark the positions and drill holes to suit the anchors (A). Install the anchors (A) and fix the rough-in valve (B) into the wall with screws. Use a level to ensure that the rough-in valve (B) is straight and level. (Important: Flush the water supply to remove any dirt and debris before installing the valve body).
Shower Head Installation Instructions
Step 3:
Step 4:
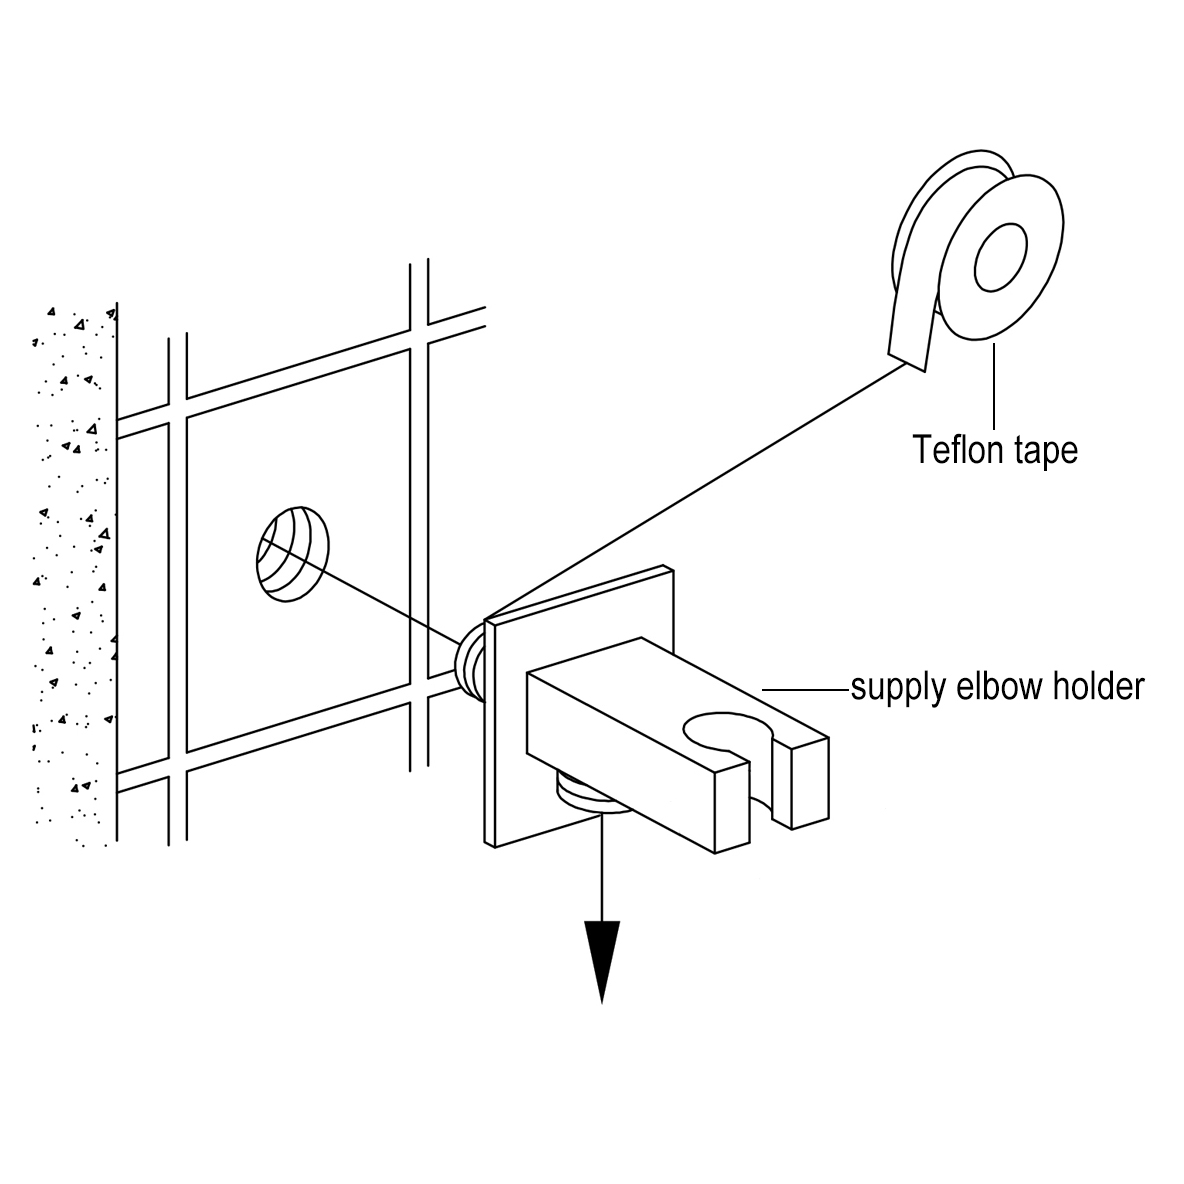
Wrap Teflon tape around the pipe threads and connect water supply lines and in-wall pipes (not included) as desired to the rough-in valve (B). Turn on the water supply and open the cartridge to check for leakage. Then put on the protective cover and finish the wall surrounding the valve. (Note: Test the water pressure after the pipe connections have been made and before the finished wall material is installed).
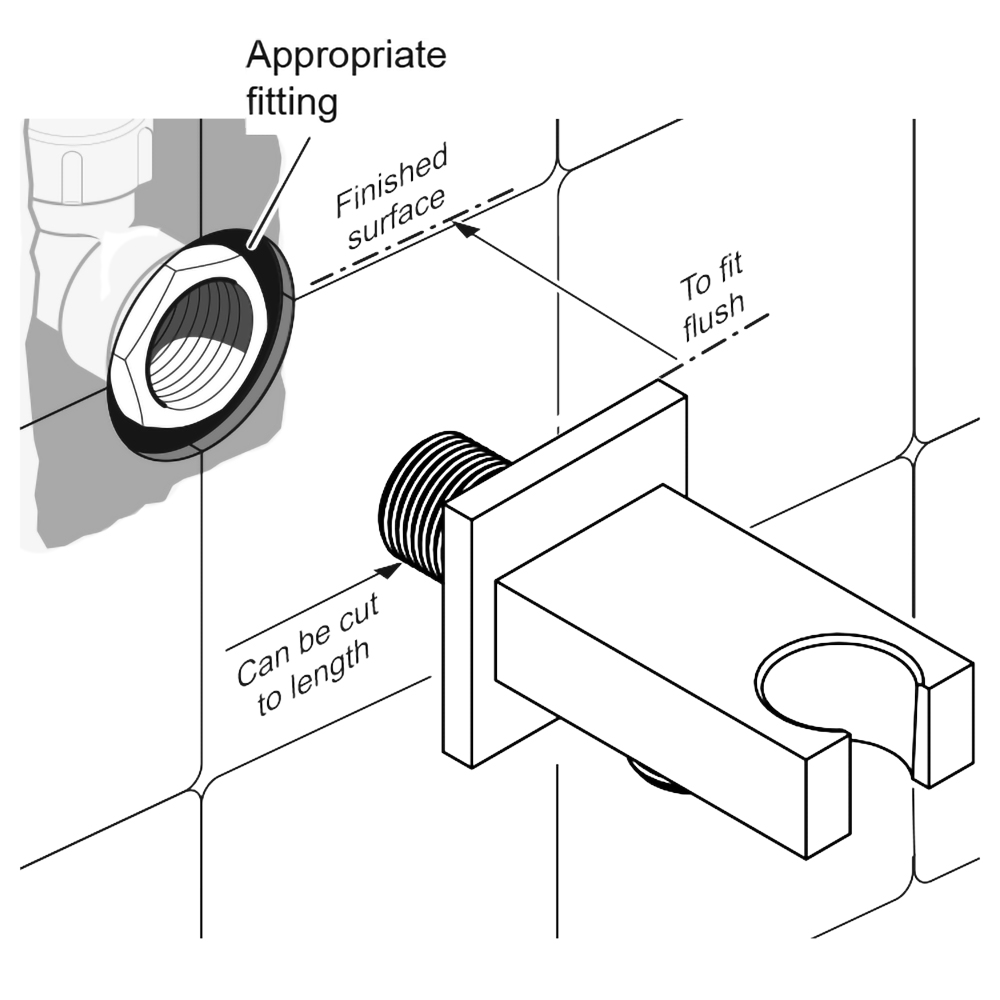
Two inlet fittings are connected to the pipe joint of the wall; then the nut, expansion screw, and inlet pipe are connected.
Shower Head Installation Instructions
Step 5:
Step 6:
Reinstall the top cover.
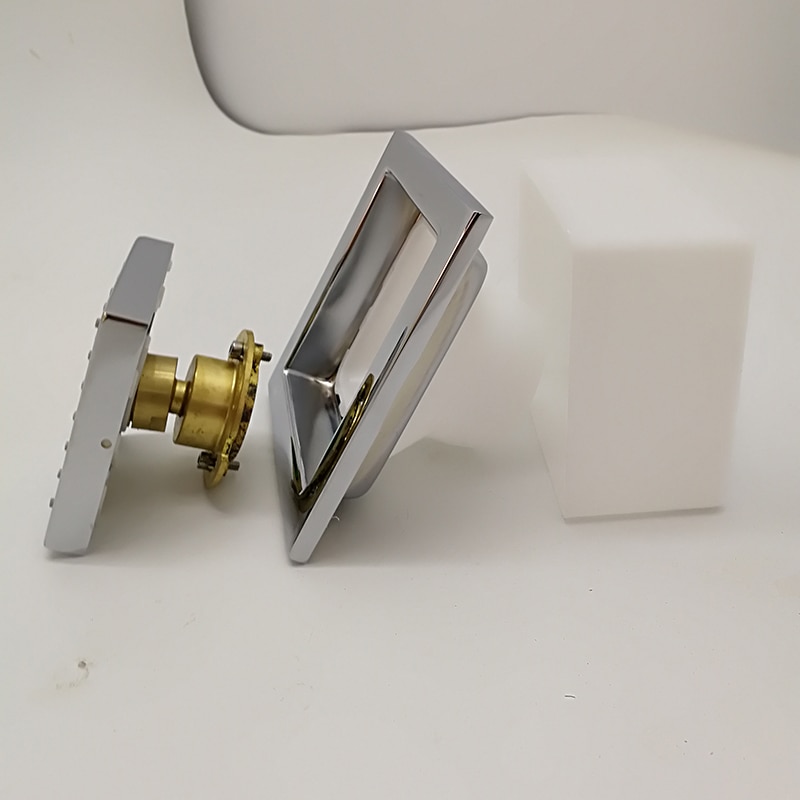
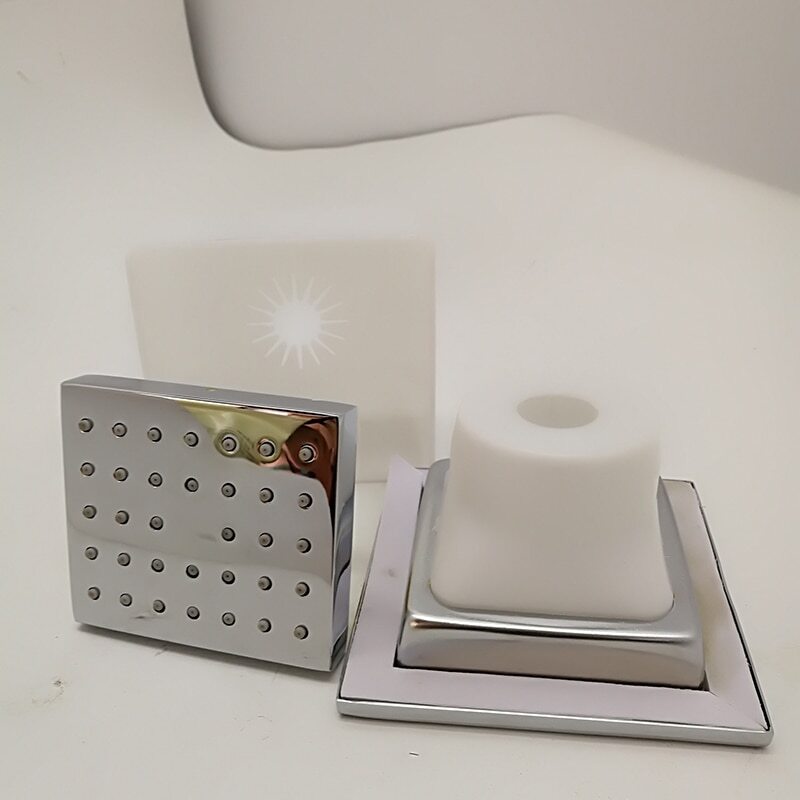
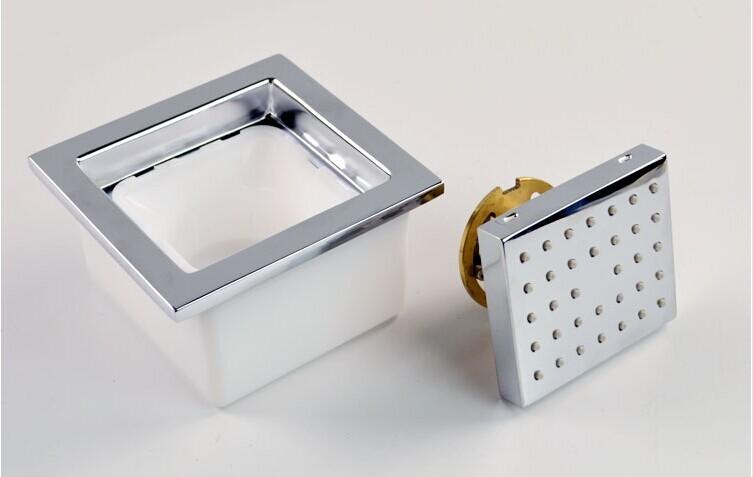
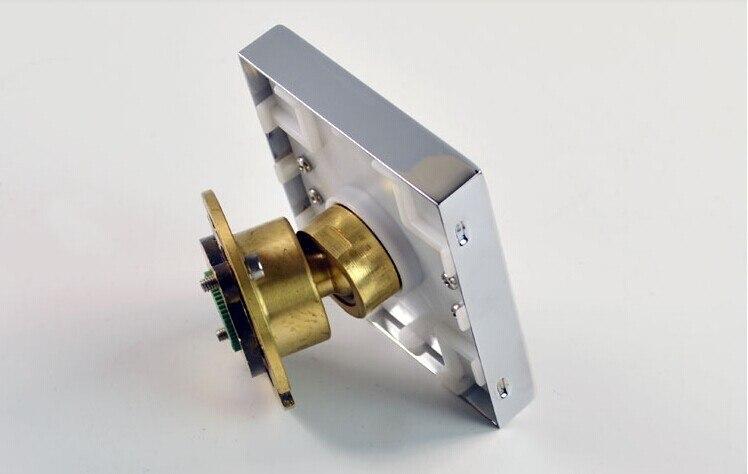
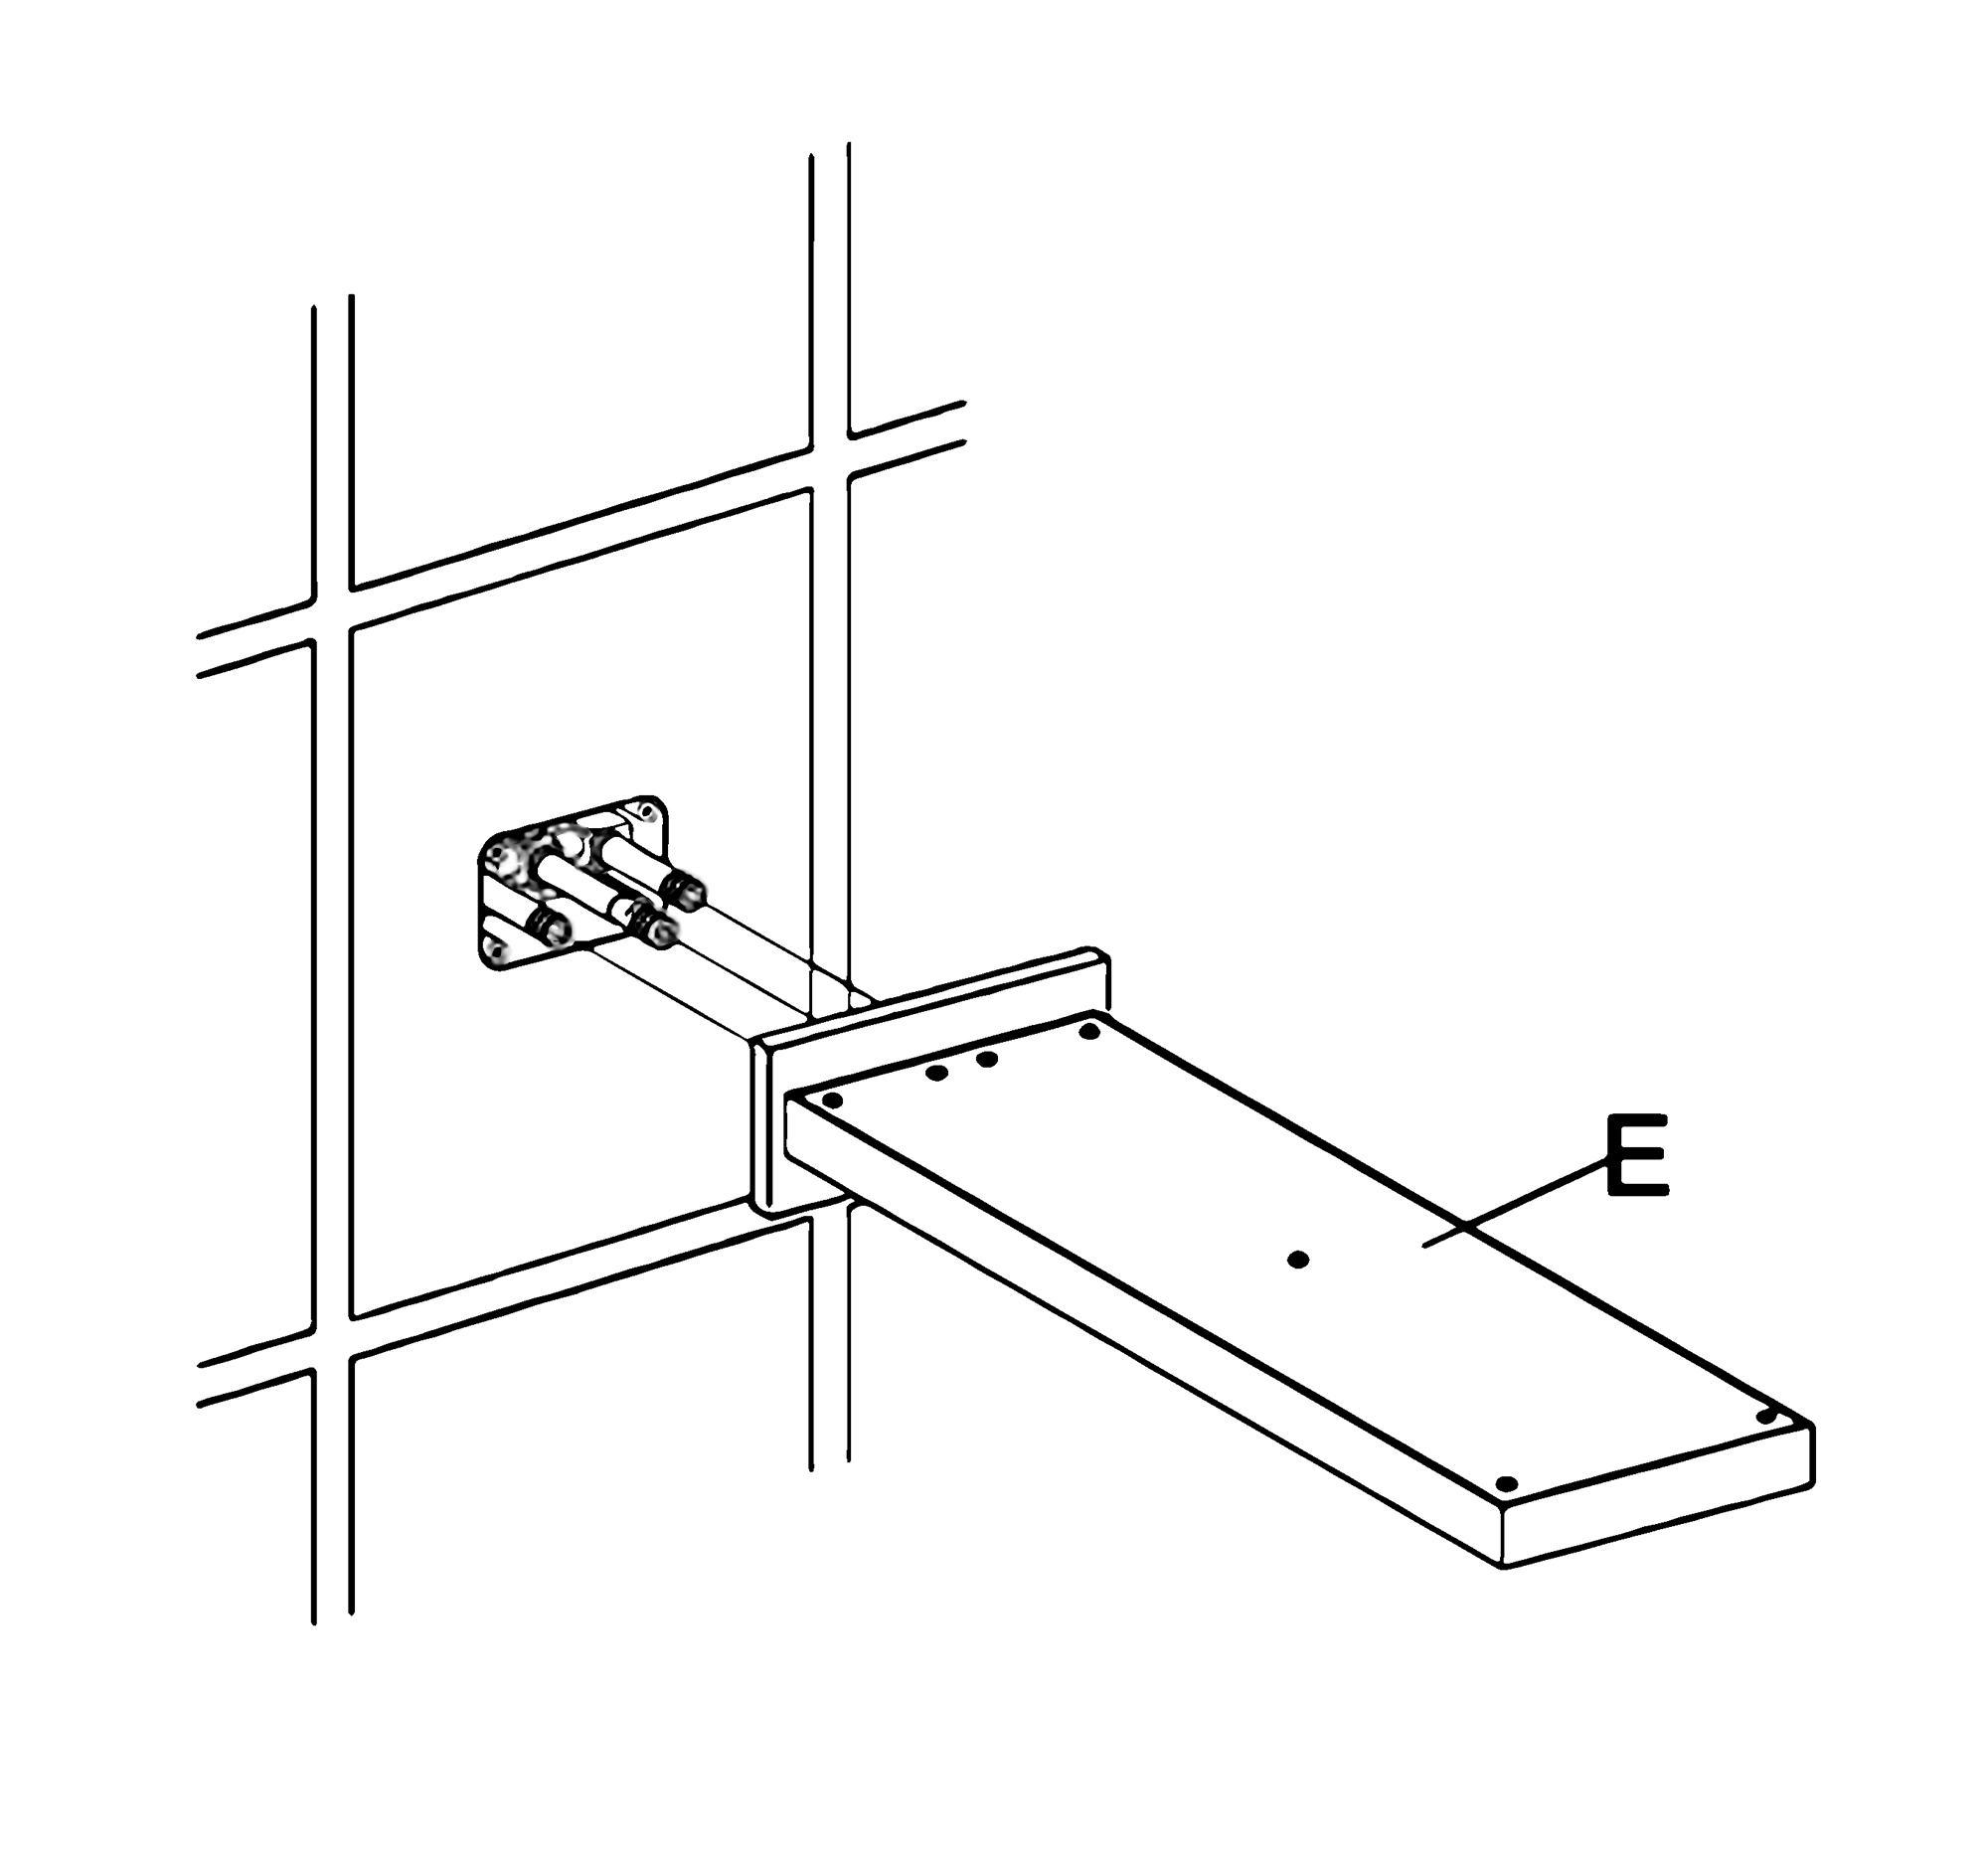
Fix the escutcheon (D) to the showerhead (E) with screws (C).
Shower Head Installation Instructions
Step 7:
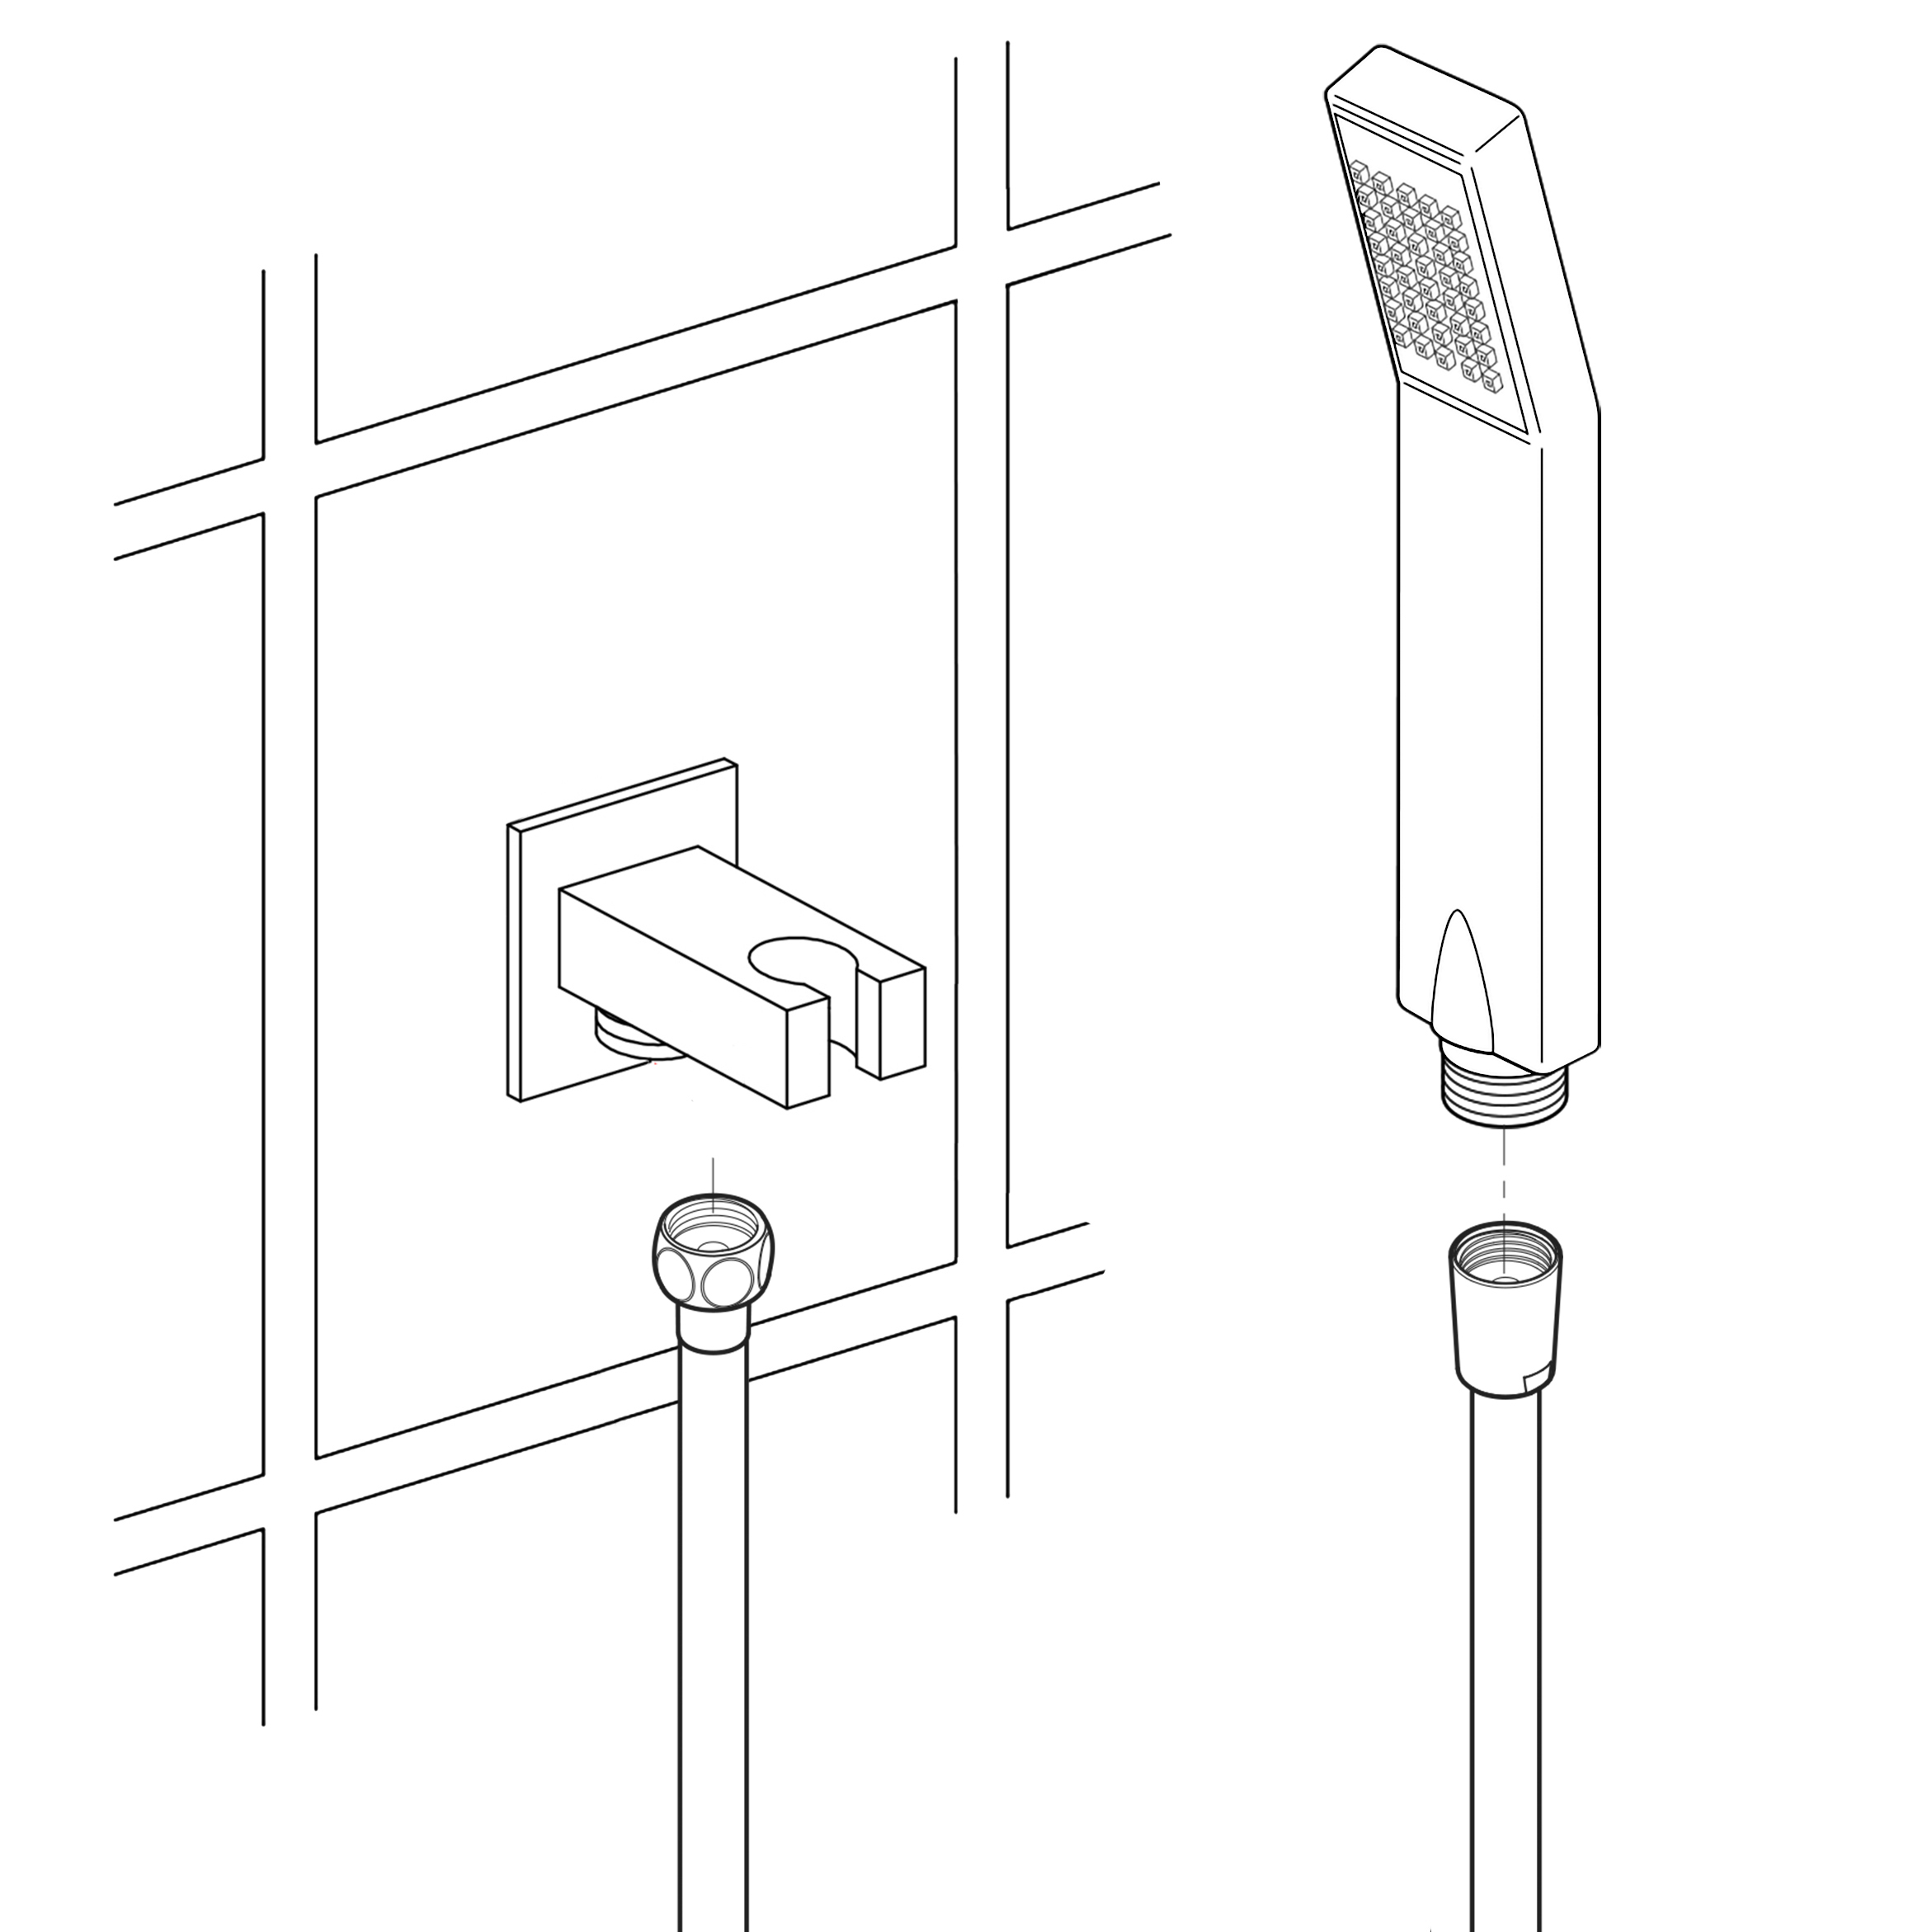
Remove the protective cover when the finished wall is completed. Then, install the showerhead (E) and press it against the finished wall.